How To Make A Padded Bed Head

Ever found yourself lounging in bed, maybe scrolling through your phone, or just enjoying a lazy Sunday morning, and thought, "You know what this bed needs? A little more oomph"? Or perhaps you’ve bumped your head against a stark, unforgiving wall one too many times after a particularly enthusiastic pillow fort construction? Yeah, me too. That’s where the magical, mood-boosting, and surprisingly achievable DIY padded headboard swoops in to save the day (and your noggin).
Think of your bed as the heart of your bedroom. It’s where you recharge, dream big, and maybe even sneak in an extra episode of your favorite show. And just like any good heart deserves a comfy spot to rest, your bed deserves a headboard that’s not just functional, but also a little bit of a style statement. Plus, let’s be honest, a padded headboard just screams coziness. It’s like giving your bed a giant, soft hug.
So, why bother with this DIY adventure? Well, for starters, store-bought headboards can sometimes come with a price tag that makes you want to hide under your duvet. And sometimes, even the prettiest ones just aren't quite what you envisioned. This is your chance to create something that's perfectly you, tailored to your room’s vibe and your personal comfort level. It’s not just a headboard; it’s a little piece of bedroom art that you made yourself. How cool is that?
Must Read
Let's Talk Comfort (And Avoiding Head Knocks)
One of the biggest wins of a padded headboard? It’s surprisingly comfortable. Imagine this: you’re propped up in bed, reading a book, and instead of that hard, cold wall digging into your back, you’ve got a soft, plush surface to lean against. It’s like having a built-in reading nook, a cozy embrace that makes those long reading sessions (or just a deep dive into social media) so much more enjoyable. No more strategically placed pillows that inevitably slide down!
And for those of us who, shall we say, have a slightly more active relationship with our beds – maybe you’re a side sleeper who sometimes drifts a little too close to the wall, or you’ve got a partner who tends to flail a bit during the night – a padded headboard offers a welcome buffer. It’s a gentle reminder to stay in your lane, and a much softer landing than a plaster wall. Think of it as your bed’s personal bodyguard, looking out for your precious noggin.
The "I Can Totally Do This" Factor
Now, I know what some of you might be thinking: "DIY? Me? I once tried to assemble an IKEA shelf and ended up with three extra screws and a wobbly bookcase." Totally valid! But here’s the secret: making a padded headboard is actually way less intimidating than it sounds. It’s more about layering and securing than intricate joinery. Think of it like making a really fancy, giant pillow for your wall.
You don’t need a workshop full of fancy tools. Most of what you’ll need can be found at your local craft store or hardware shop. And the process itself is pretty straightforward. It's a project that can be tackled in a weekend, maybe even an afternoon if you’re feeling particularly ambitious and have a good playlist going. Imagine the satisfaction of looking at your beautiful, custom headboard and saying, "Yep, I made that!"
Gathering Your Supplies: The "What You'll Need" Cheat Sheet
Alright, let’s get down to the nitty-gritty of what you’ll need to embark on this headboard-making journey. Don't worry, it's not a scavenger hunt for obscure materials. We're talking about things that are readily available and won't break the bank.
The Foundation: Your Plywood or MDF Board
This is the backbone of your headboard. You can grab a piece of plywood or MDF (medium-density fiberboard) from any good hardware store. The size will depend on how big you want your headboard to be – measure your bed and decide if you want it to just span the width of your mattress or go a little wider for a more dramatic look. Most places will even cut it to size for you, which is a lifesaver!
The Cushion: Foam or Batting
This is where the "padded" magic happens. You can use a thick piece of foam, like upholstery foam, for a really plush feel. If you want something a little softer and more budget-friendly, a couple of layers of polyfill batting (the stuff you use for quilting) can work wonders. The thicker the foam or batting, the more luxurious your headboard will feel. Think of it like layering up for a cozy night in – the more layers, the warmer and more comfortable you are.
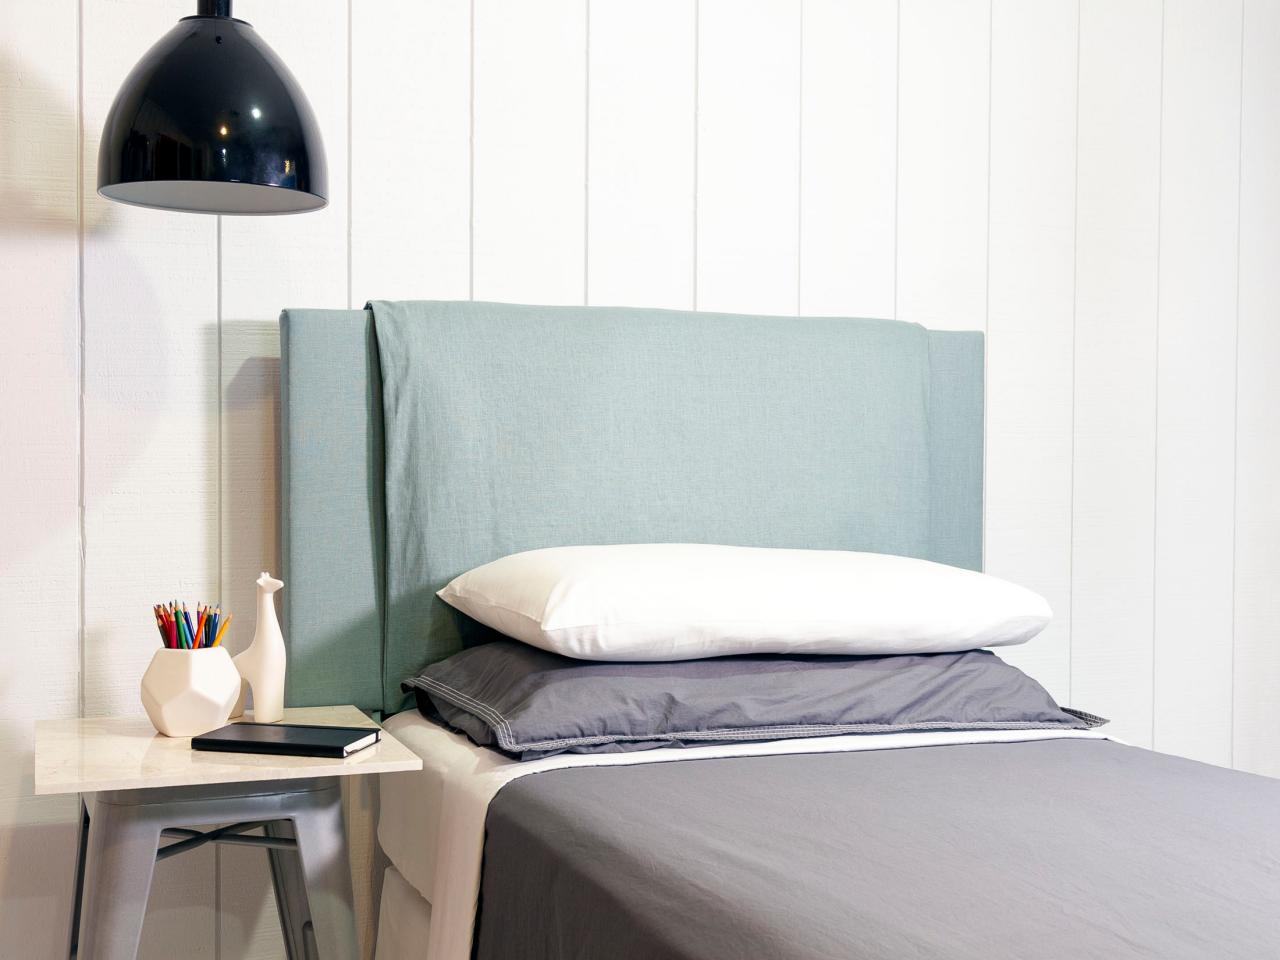
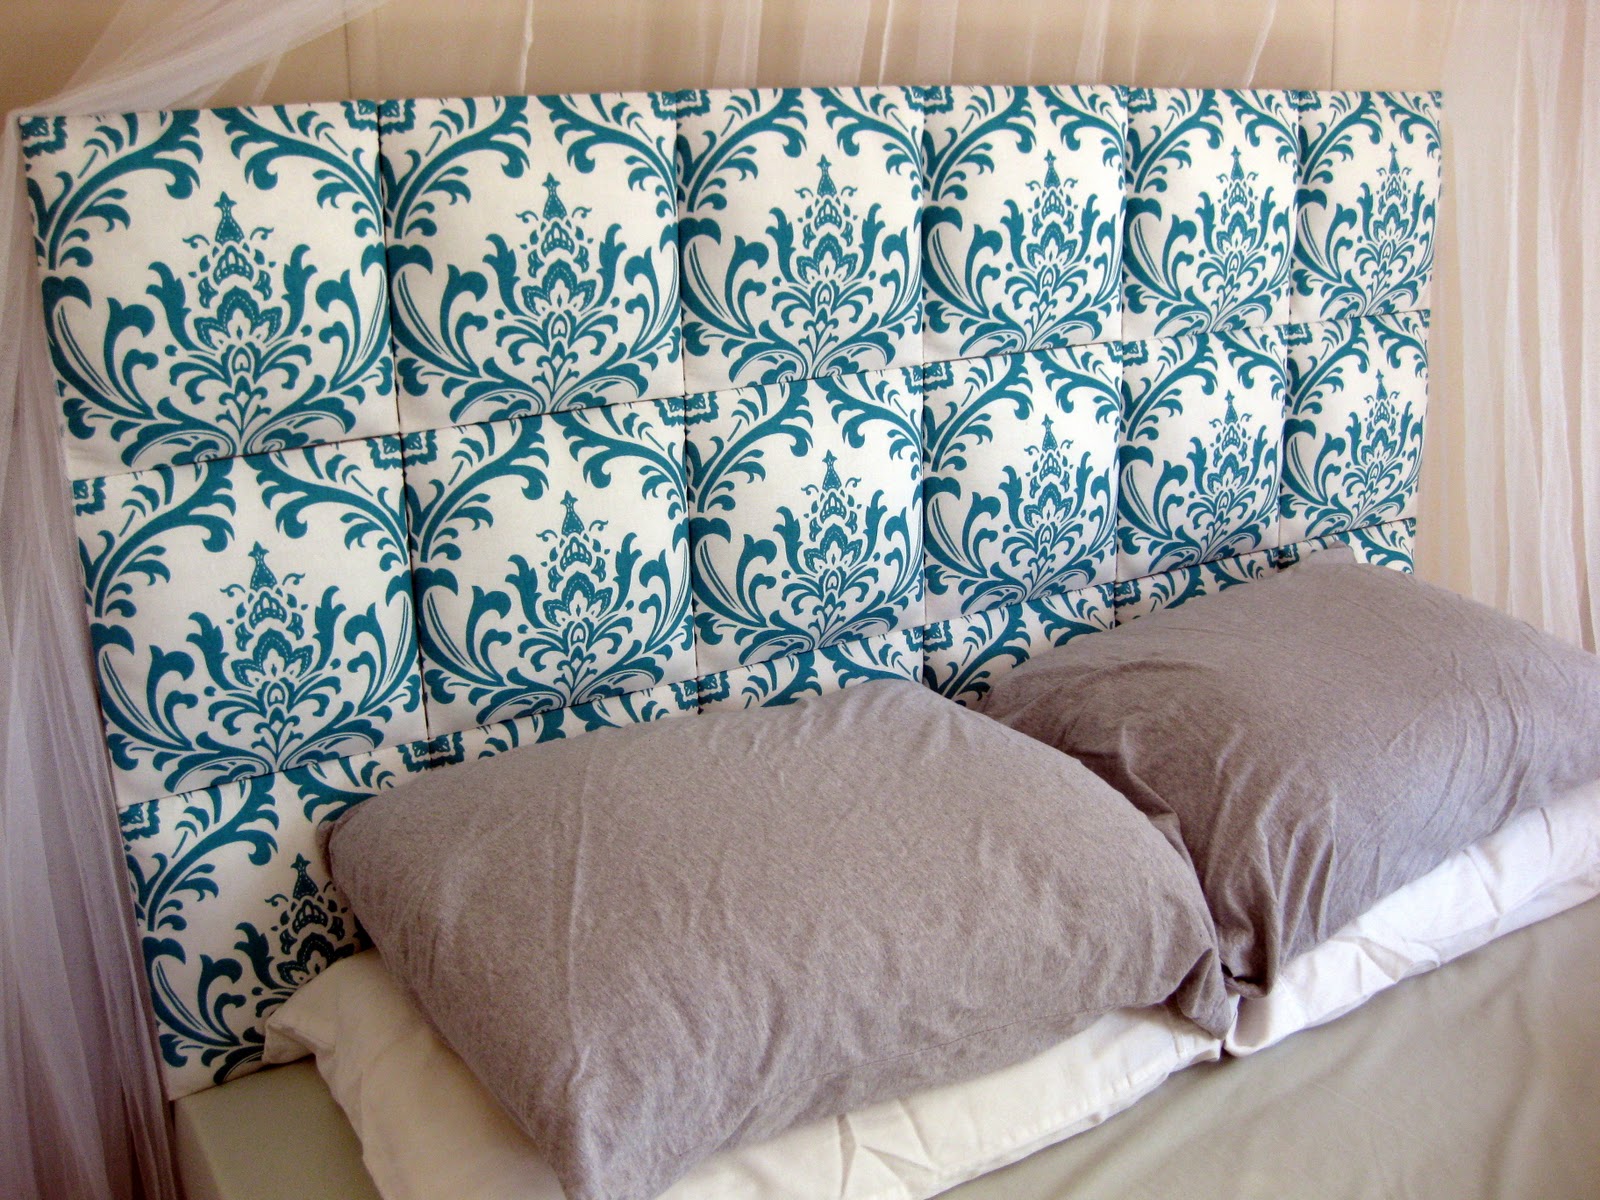
The Cover-Up: Fabric, Fabric, Fabric!
This is your chance to really let your personality shine! You can choose anything from a soft, textured velvet that feels like a million bucks, to a durable and stylish linen, or even a fun, patterned cotton. Consider your existing bedroom decor. Do you want something that blends in seamlessly, or a bold statement piece? This is your canvas!

The Tools of the Trade: Simple and Straightforward
You’ll need some basics:
- A heavy-duty staple gun and plenty of staples. This is your best friend for securing everything tightly.
- Spray adhesive or a good quality craft glue. This will help your foam or batting stick to the board.
- Scissors for cutting your fabric.
- A utility knife if you're using thicker foam.
- And possibly some screws and brackets if you plan to mount it to the wall (more on that later!).
Let's Get Crafting! Step-by-Step (No Scary Math Involved!)
Okay, deep breaths. We’re going to walk through this. It’s all about layering and securing.
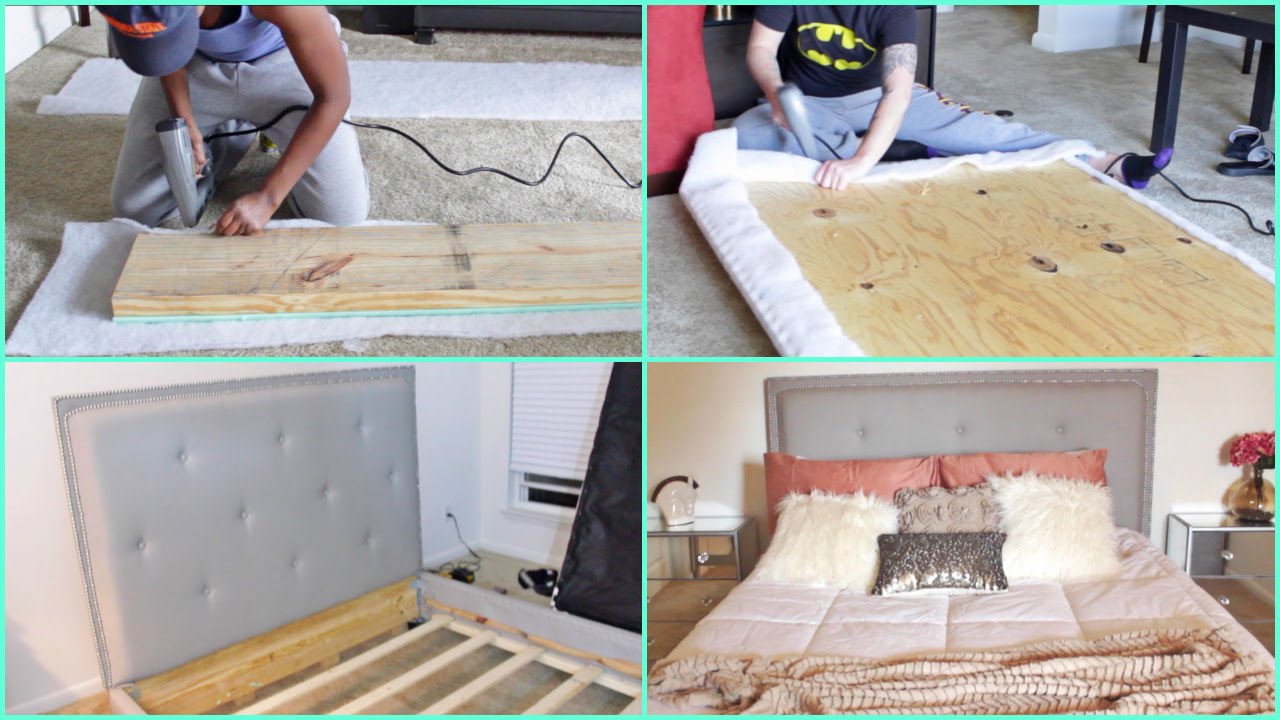
Step 1: Prep Your Base
Lay your plywood or MDF board on a clean, flat surface. If your board has any rough edges, you can give them a quick sand. This is like making sure your canvas is smooth before you start painting.
Step 2: Add the Cushioning
If you’re using foam, lay it on top of the board. Trim it so it’s the same size as your board, or slightly larger if you want a softer, rounded edge. If you’re using batting, lay out a few generous layers. Use your spray adhesive or craft glue to secure the foam or batting to the board. Give it a good, even spray, and then press down firmly. Let it dry according to the adhesive instructions. This is where you start building that lovely padding.
Step 3: The Fabric Wrap
Lay your fabric out flat, right side down. Place your padded board on top of the fabric, centered. Now, here’s the part that requires a little bit of muscle and precision: you're going to wrap the fabric around the edges of the board and staple it to the back. Start by pulling one side of the fabric taut and stapling it to the back of the board. Then, pull the opposite side equally taut and staple that. Work your way around, pulling the fabric smoothly and neatly, and stapling as you go. Think of it like wrapping a present, but with much more forgiving edges. You want to avoid any major wrinkles or loose bits. Corners can be a little tricky, but you can usually fold them neatly like you would when wrapping a present.
If you're using foam that's thicker than your board, you might need to pull the fabric a little further to get it to lie flat against the back. Don't be afraid to pull it tight! This is what gives you that nice, smooth, upholstered look. Your staple gun is going to get a workout here, so make sure you have plenty of staples!
Step 4: Finishing Touches
Once your fabric is all stapled and secure, trim any excess fabric from the back. You can even add a piece of thin fabric or felt to the back to cover up the staples for a cleaner look. And voilà! You’ve got yourself a beautiful, padded headboard.
Mounting Your Masterpiece: To the Wall or Freestanding?
Now, how do you get this beauty onto your bed? You have a couple of options:
Option 1: Freestanding Charm
If your headboard is sturdy enough and slightly wider than your bed frame, you can simply have it stand behind your bed. The weight of your mattress and bed frame will usually keep it in place. This is the easiest and most temporary option.
Option 2: Secure and Sturdy (Wall Mount)
For a more permanent and secure setup, you’ll want to mount it to the wall. You can use heavy-duty picture hanging hardware, or attach some wooden cleats to the back of your headboard and corresponding ones to the wall. Make sure you screw into the wall studs for the strongest hold! If you’re not comfortable with drilling into your walls, this is where you might want to enlist a handy friend or family member to help. Safety first, after all!
The "Why It's Worth It" Recap
So, there you have it! A padded headboard that’s not only a visual upgrade but a comfort upgrade too. It's a project that adds personality and warmth to your bedroom, turning it from just a place to sleep into a true sanctuary. You'll have a spot that’s perfect for reading, for relaxing, and for generally feeling a little bit more put-together. And the best part? You did it yourself. That sense of accomplishment is the ultimate stylish accessory for any bedroom.
Think of the compliments you’ll get! Think of the cozy mornings! Think of all the times you won't bump your head! It’s a small project with a big impact, and I promise, once you’ve got it up, you’ll wonder how you ever lived without it. Happy crafting!

