How To Make A Bow On Paper
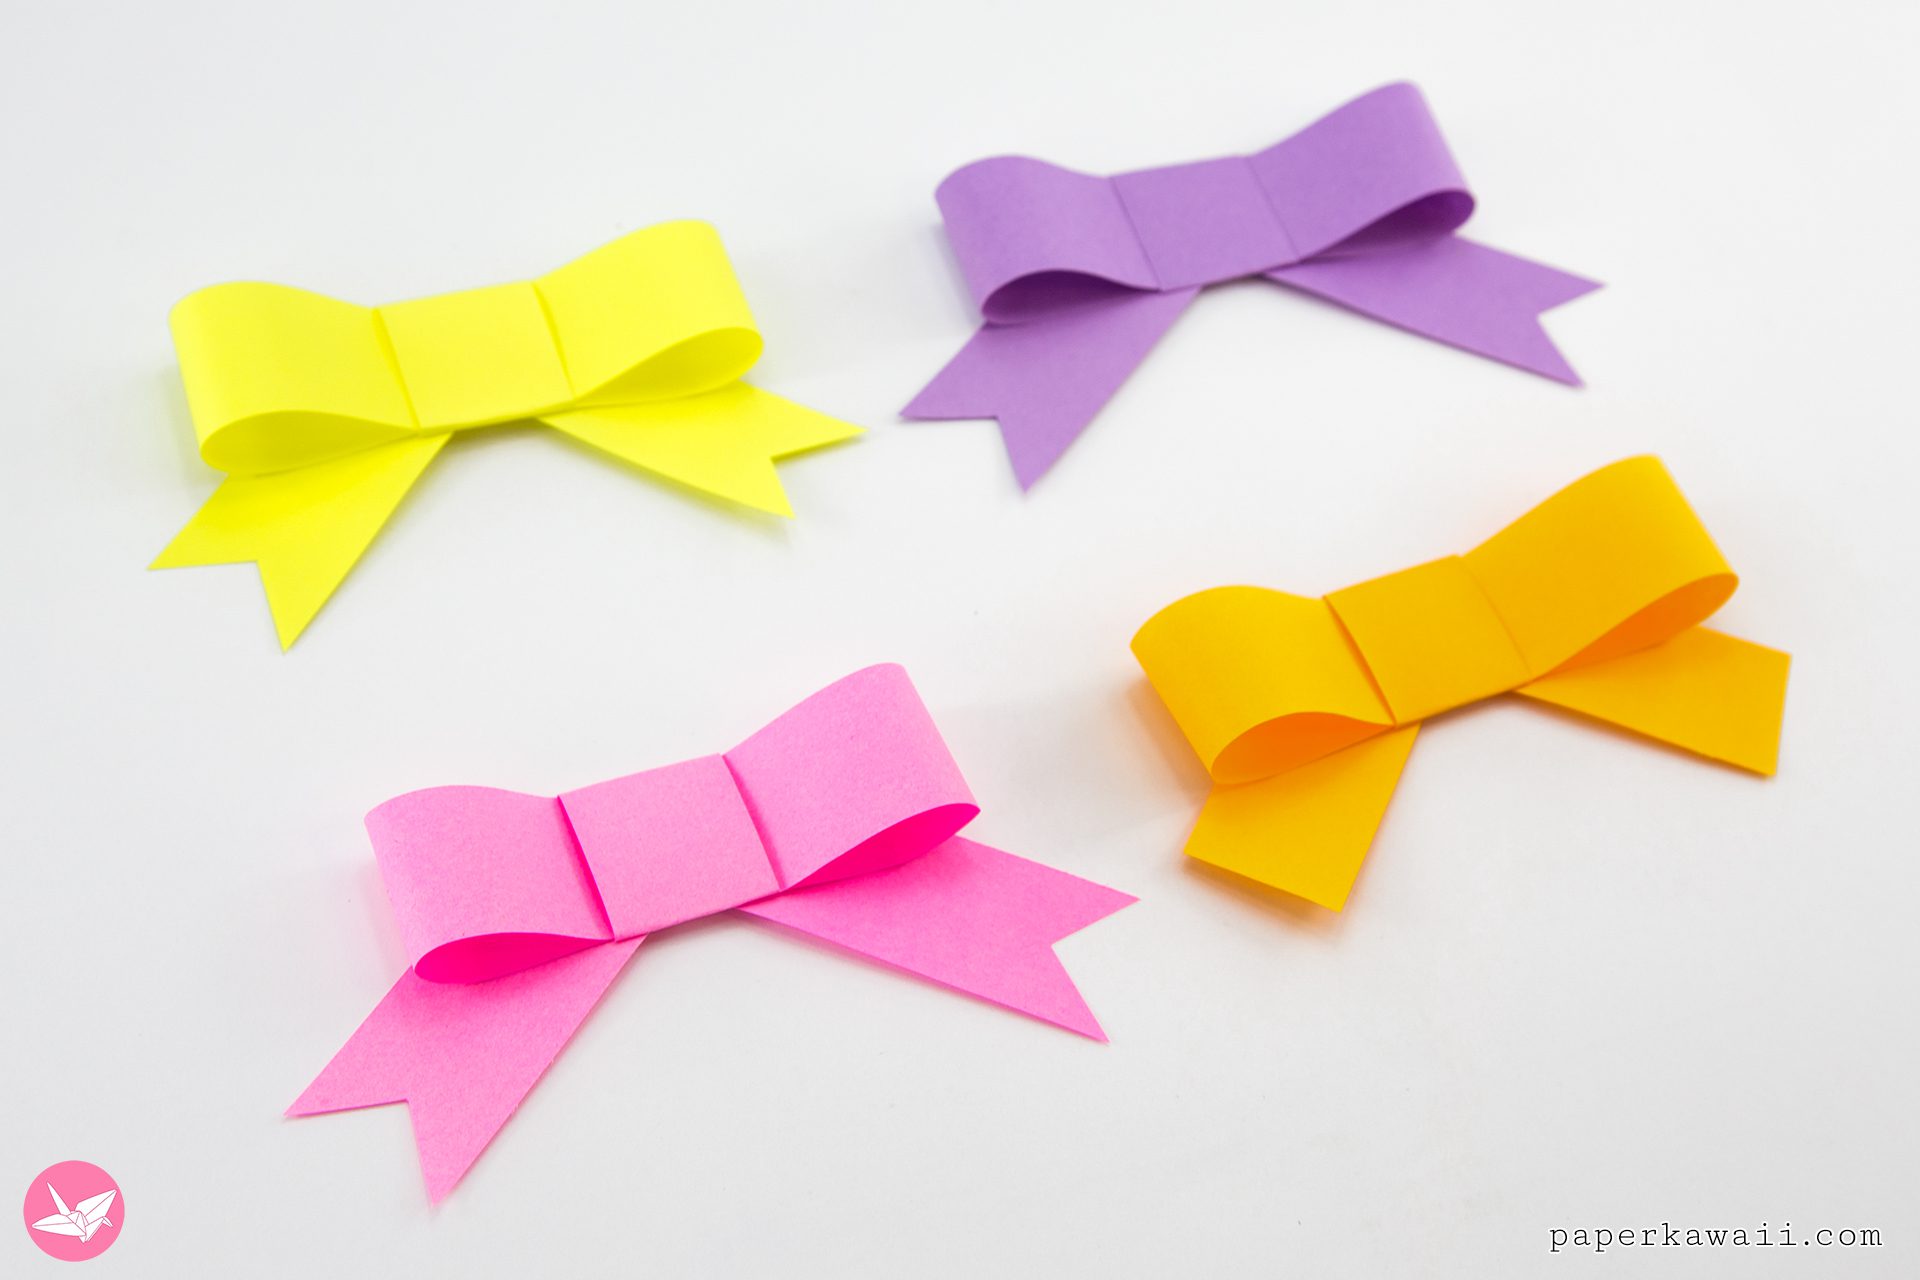
Have you ever seen a beautiful ribbon tied into a perfect bow and thought, "Wow, how did they do that?" It looks so fancy, doesn't it? Well, guess what? You can totally do that too! And the best part is, it's not as tricky as it seems. Making a bow on paper is like a little magic trick you can perform with just a strip of paper. It's a super fun way to add a pop of charm to anything you're working on. Think of it as the cherry on top of your creative sundae!
Why is this so neat? Because you're taking something flat and giving it dimension, life even! It’s like folding a little bit of joy into existence. Imagine you have a card you’ve drawn, or a gift tag you’ve decorated. A little paper bow can transform it from nice to absolutely dazzling. It’s the kind of detail that makes people go “Ooooh!” and “Aaaah!” It’s the secret handshake of thoughtful presentation.
Let’s talk about the magic ingredient: paper. Not just any paper, mind you. While a crisp sheet of printer paper can work in a pinch, you'll find that slightly thicker paper, like cardstock or patterned scrapbooking paper, holds its shape beautifully. This means your bow will look plump and proud, not saggy and sad. Think of colorful papers, papers with glitter, or even plain brown craft paper for a rustic vibe. The possibilities are as endless as your imagination!
Must Read
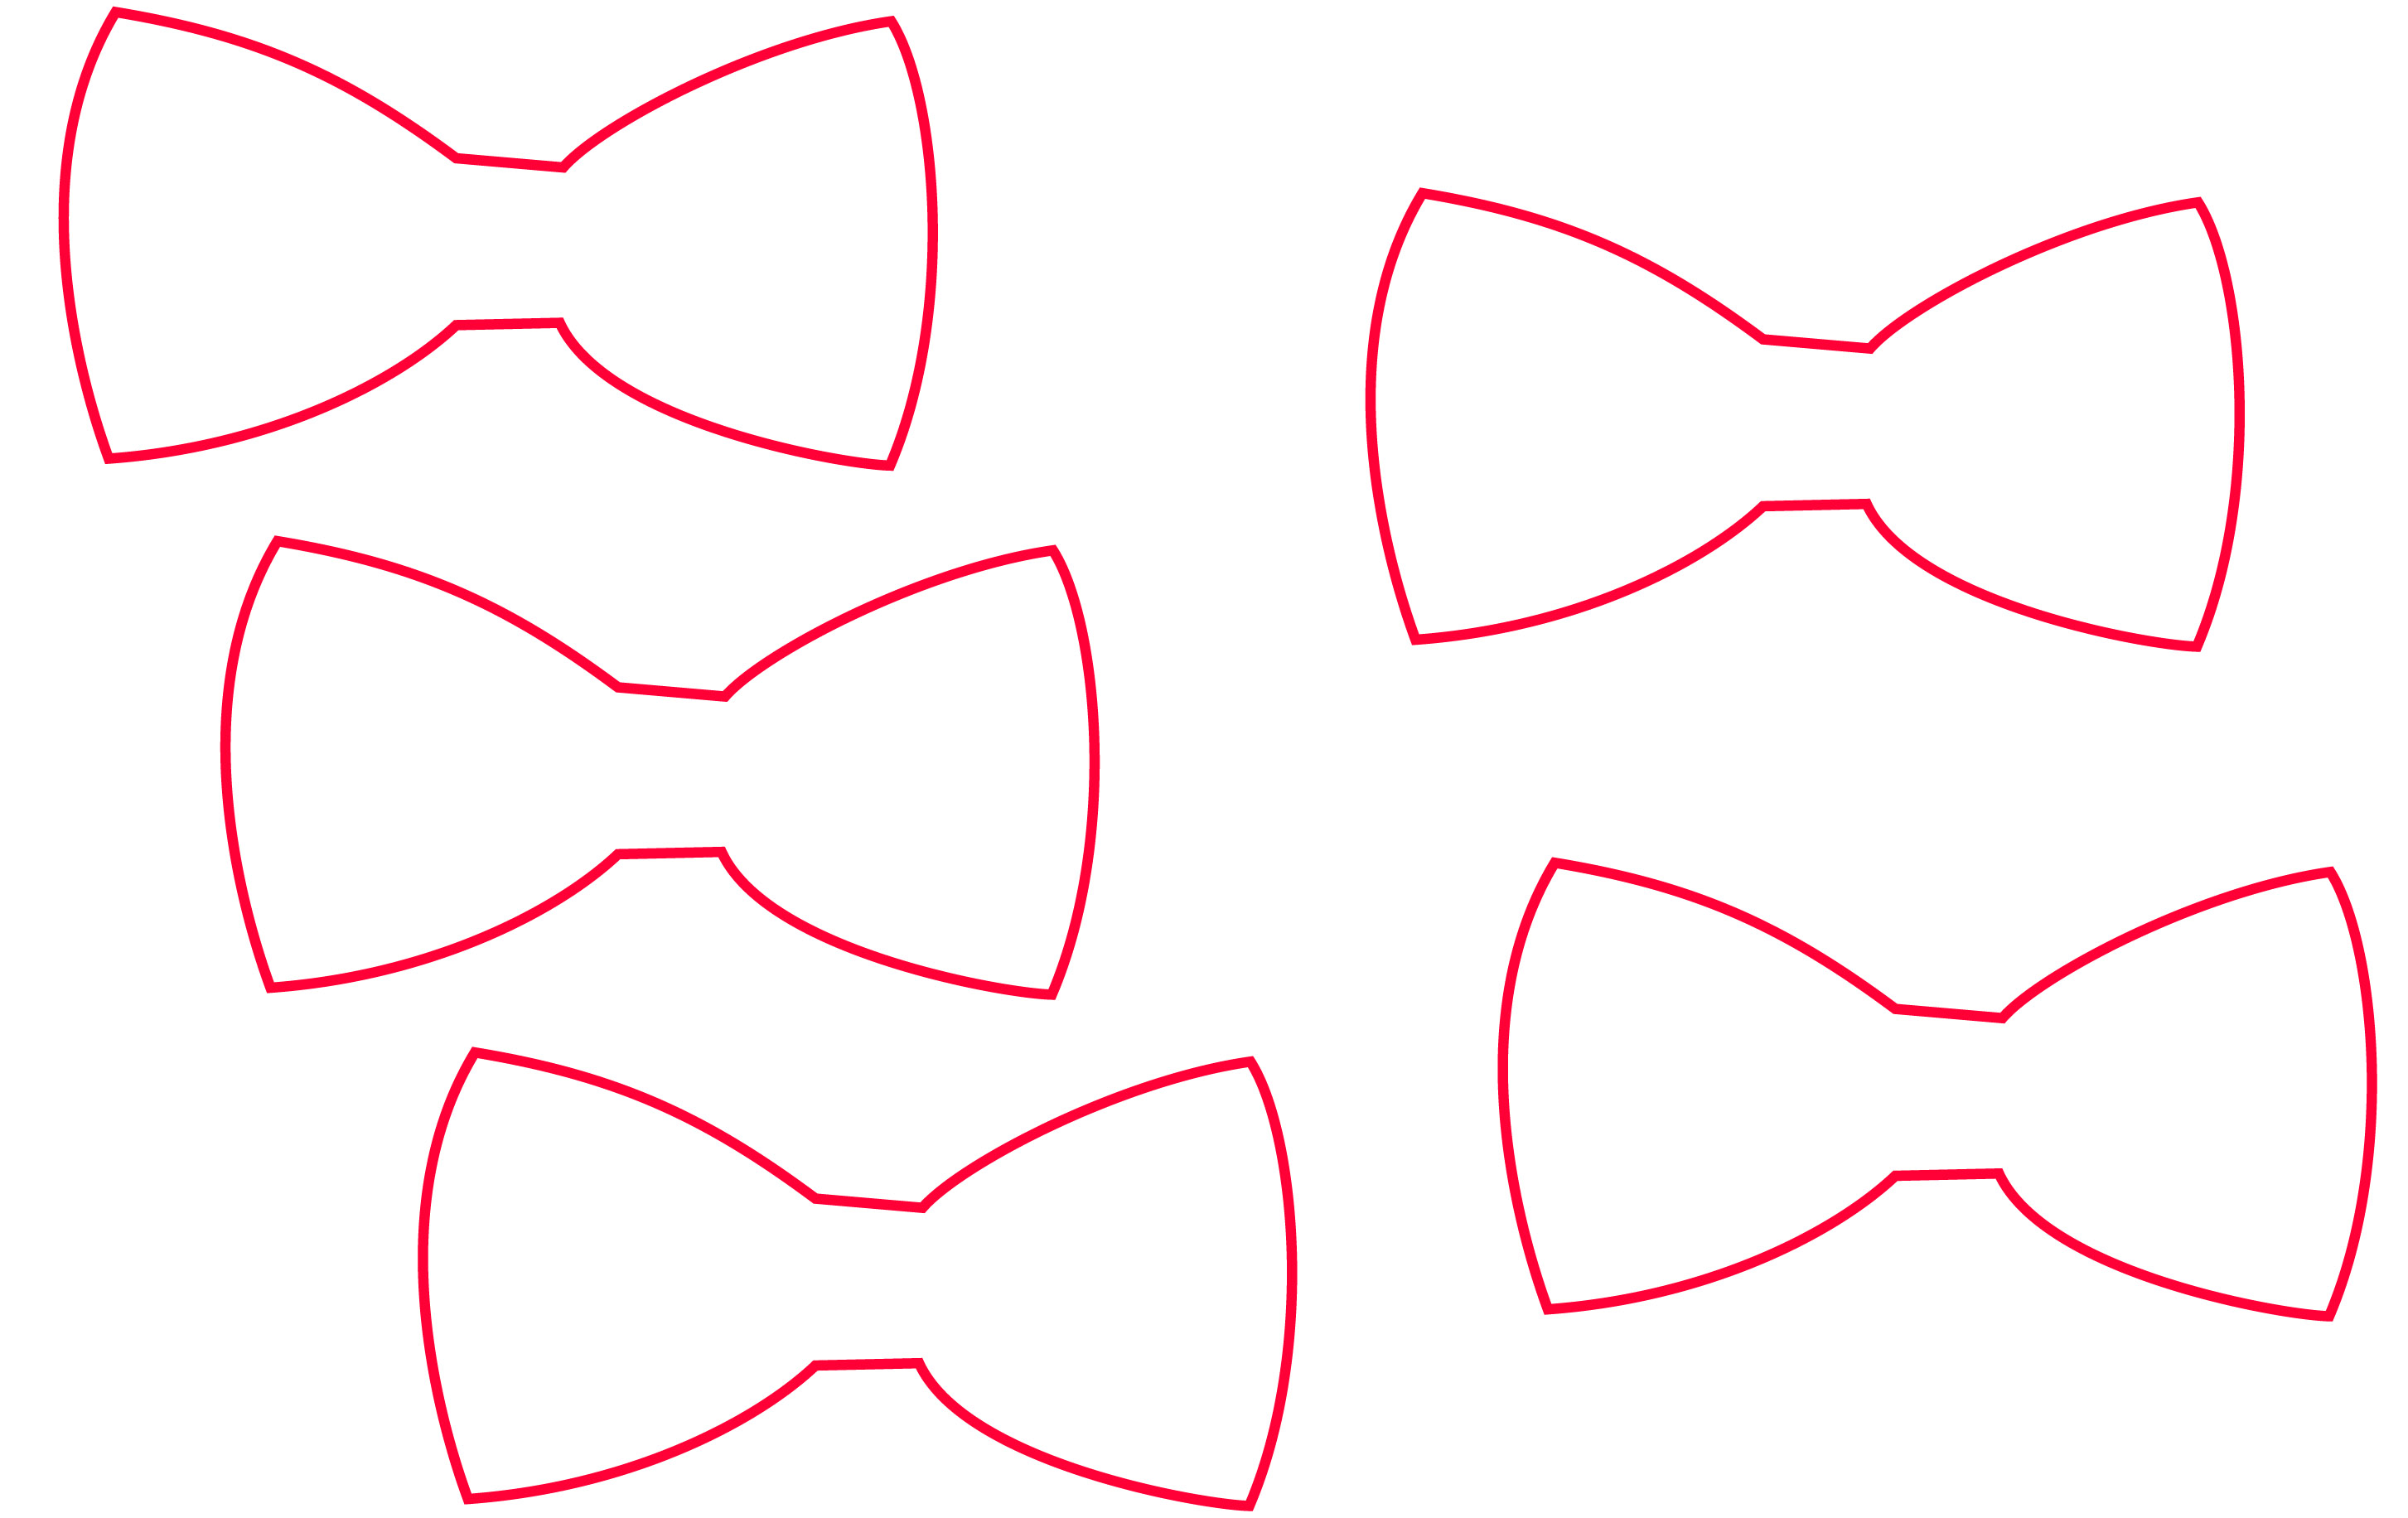
So, how do we get this paper transformation going? It starts with a simple strip. Grab your paper and cut a rectangle. The width of your strip will determine the thickness of your bow. A narrower strip will give you a daintier bow, perfect for small accents, while a wider strip will make a statement. The length is important too. You want enough paper to create those lovely loops and the center knot. It’s a bit of a Goldilocks situation – not too short, not too long, but just right!
Now, for the actual folding. This is where the fun really begins. You’ll be folding, tucking, and shaping. It’s almost like a mini origami project, but way simpler. The goal is to create those classic bow shapes – the loops and the central “knot” that holds it all together. Don't worry if your first few attempts aren't perfectly symmetrical. That's part of the charm! A slightly wonky bow can have its own unique personality. It shows it’s handmade with love, not churned out by a machine.

One of the most satisfying parts of making a paper bow is the moment you finish and see the shape emerge. It's like revealing a hidden treasure. You take a flat piece of paper, do a few simple folds and tucks, and suddenly, you have this lovely three-dimensional adornment. It’s incredibly rewarding. It’s that little “aha!” moment when you realize you’ve created something pretty with your own two hands.
These paper bows are incredibly versatile. You can glue them onto:
- Greeting cards: Make your birthday cards, thank-you notes, and holiday greetings extra special.
- Gift tags: Elevate your presents with a handmade touch.
- Scrapbook pages: Add a decorative element to your cherished memories.
- Party decorations: String them together to make a festive garland or use them to adorn favors.
- Journal covers: Give your notebook a touch of elegance.
- Planner embellishments: Brighten up your daily schedule.
There are actually a few different ways to make a paper bow. Some methods involve cutting notches and folding, while others might use a bit of glue or tape to secure the center. Each method results in a slightly different look, so you can experiment to find your favorite. The basic principle is always the same: creating loops and a center. Think of it as having a few secret recipes for the perfect bow, and you get to try them all!
Let's consider a simple method. You cut a strip of paper. Then, you fold it in half to make a crease. Unfold. Now, fold the two ends towards the center crease, making them meet in the middle. You’ll have a longer, narrower strip. Next, you’ll fold this strip in half again, but this time, the folded edge should be at the top. Now, pinch the bottom of this folded strip and bring it up towards the top, forming the loops of your bow. You’ll then take another small piece of paper and wrap it around the pinched center to create the knot. It’s a bit like playing with play-doh, but with paper! The pinching and shaping are key to getting that nice, full bow look.
What makes this so special is its simplicity and accessibility. You don’t need fancy tools or expensive materials. Just paper, scissors, and a little bit of patience. It’s a craft that’s perfect for a rainy afternoon, a quiet moment of creativity, or even something you can do with kids. It teaches them about folding, precision, and the joy of making something beautiful from simple materials. It’s a little bit of mindfulness in a world that’s often rushing by.
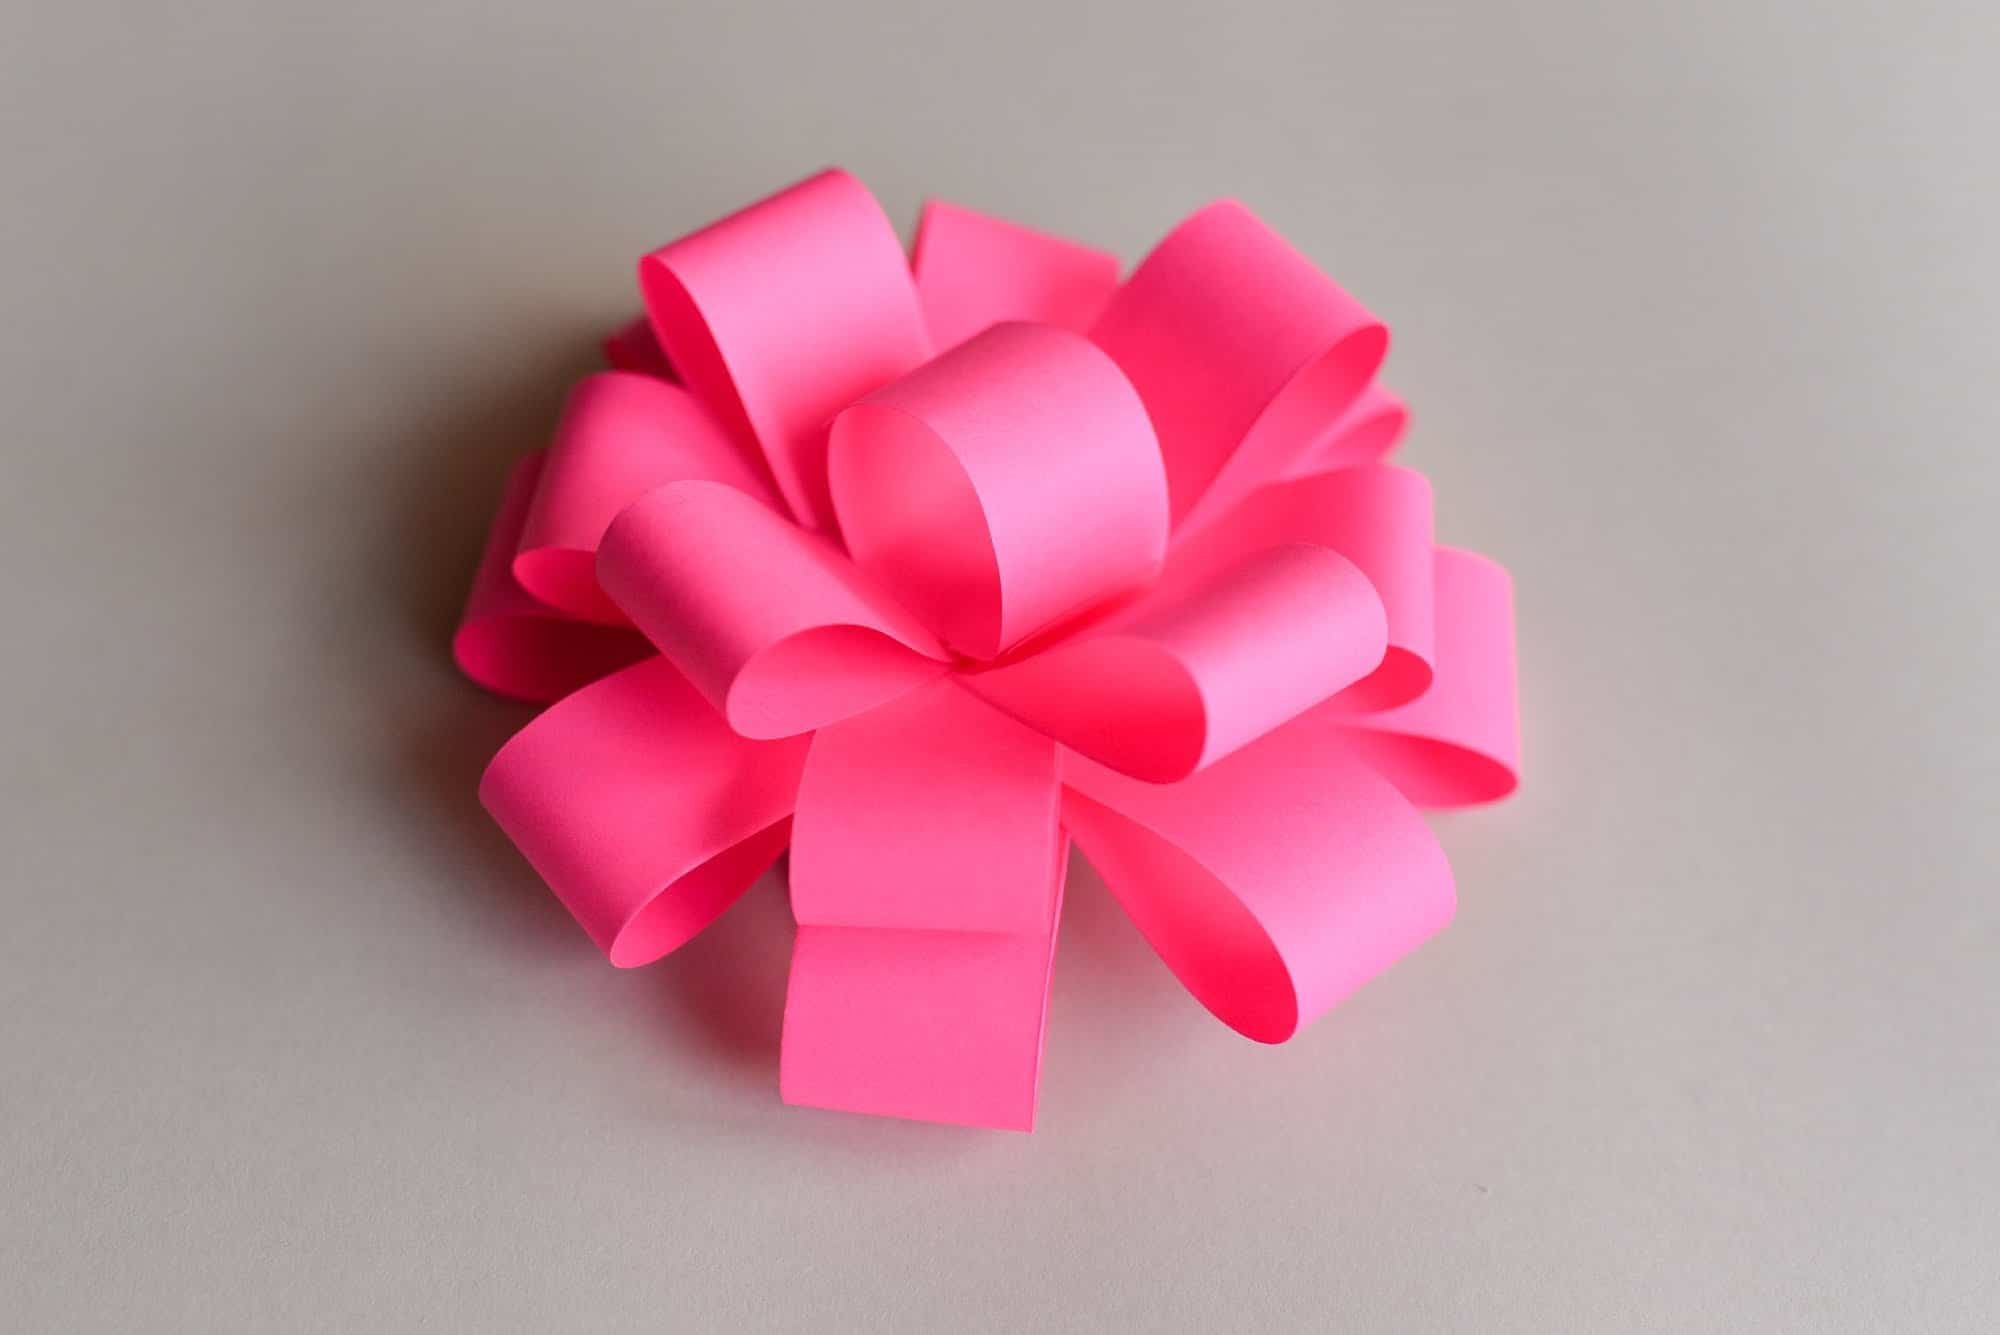
And the sense of accomplishment? It’s huge! When you hold up a perfectly formed paper bow that you’ve made yourself, there’s a genuine feeling of pride. It’s a small victory, but it’s a delightful one. It's your creation, your little piece of handmade art. You can even make them in different colors and sizes to match any project. Imagine a whole collection of these little paper wonders, ready to be deployed whenever inspiration strikes.
The beauty of a paper bow is that it adds a handmade, personal touch that store-bought ribbons sometimes lack. It shows you’ve put in that extra effort, that you care. It’s the difference between a generic gift and a gift that feels truly special. It’s the little details that often make the biggest impact, and a paper bow is a prime example of that. It's like a tiny, paper hug for whatever you're decorating.
So next time you’re looking for a way to add a little something extra, a touch of handmade charm, or just a fun way to spend a few minutes, give making a paper bow a try. It’s surprisingly easy, incredibly satisfying, and the results are simply delightful. You might just find yourself addicted to folding these little bursts of joy. It’s a small craft with a big impact, and it’s waiting for you to discover its magic!


