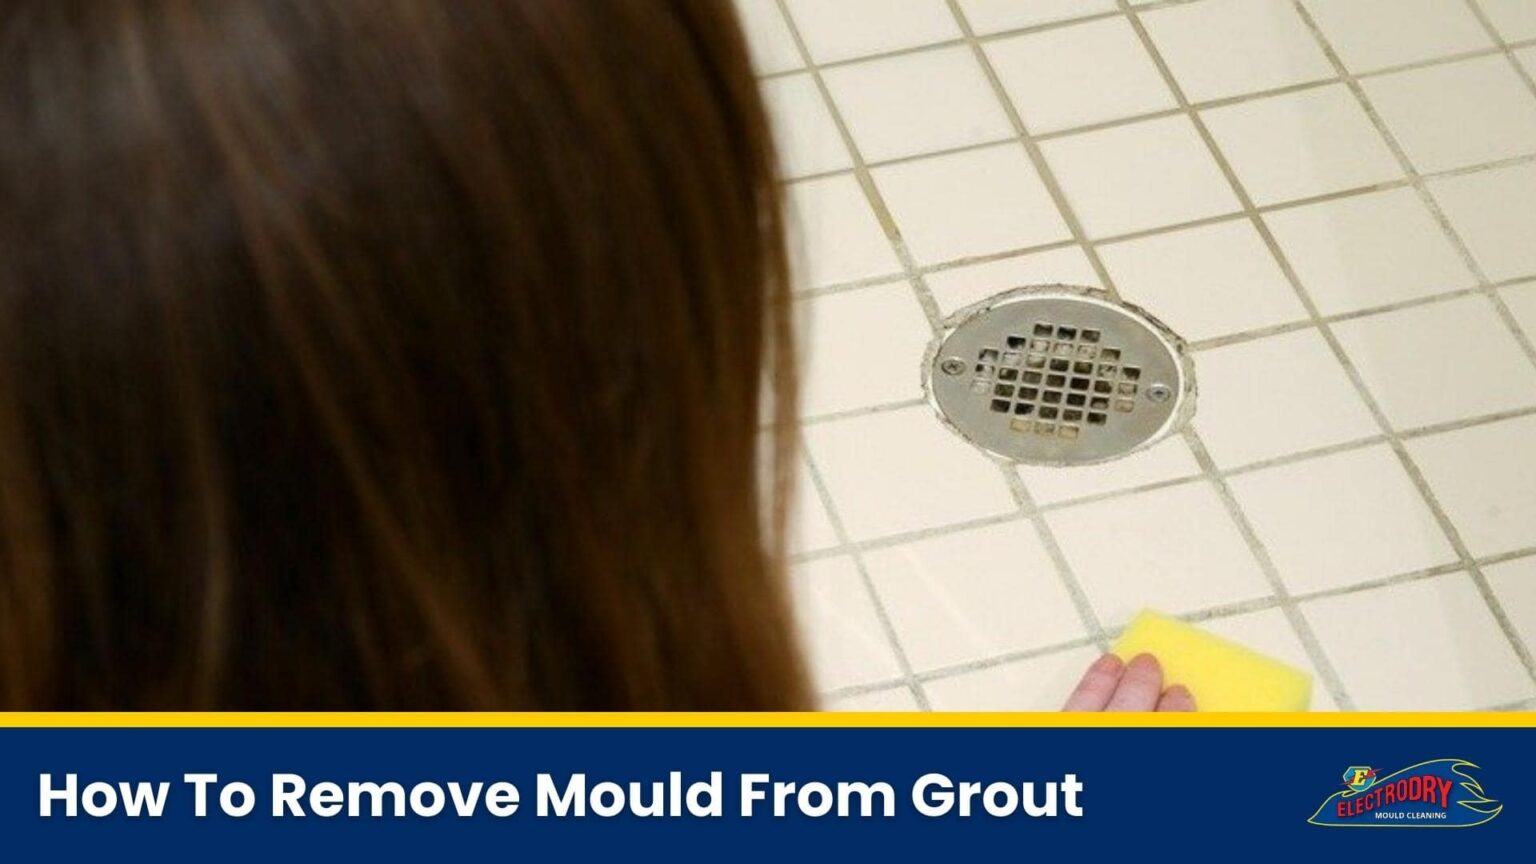
How To Clean Mould From Grout

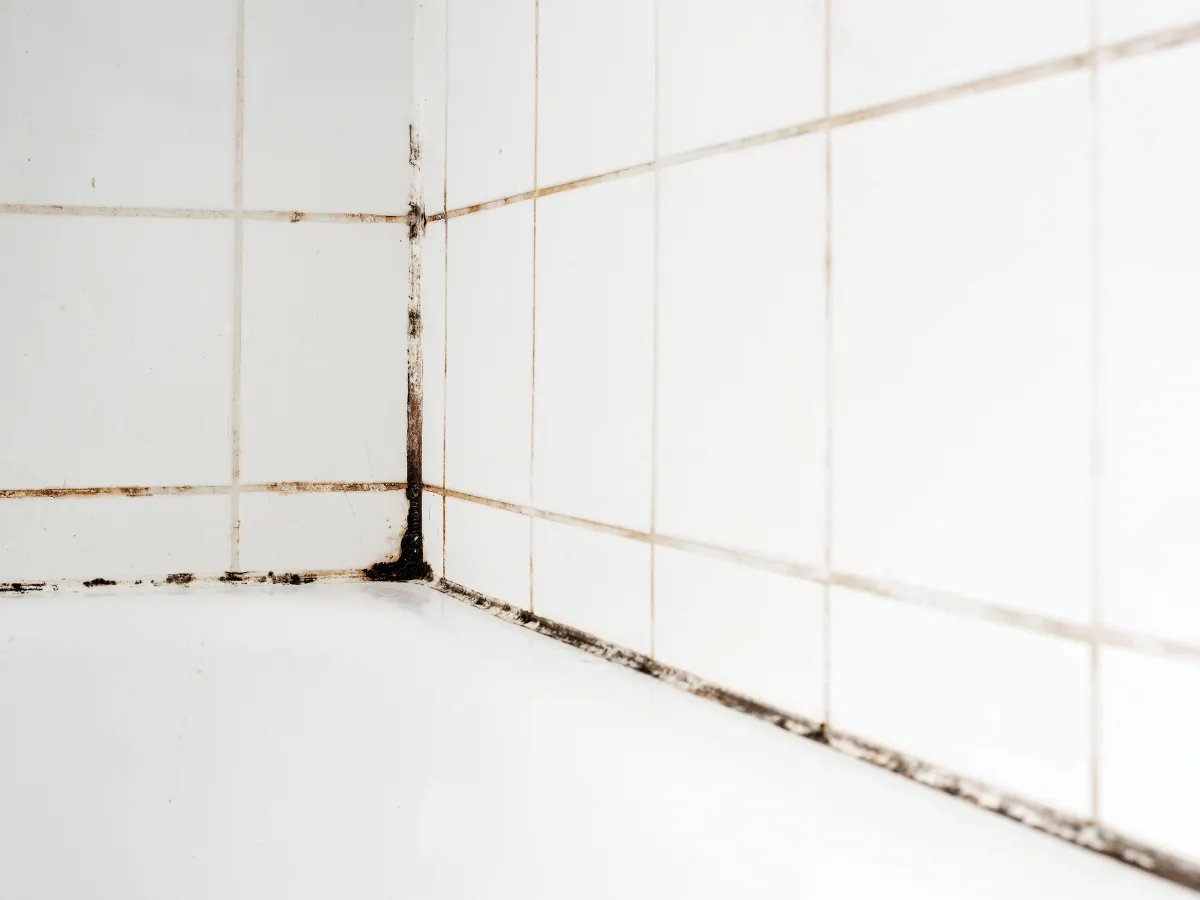
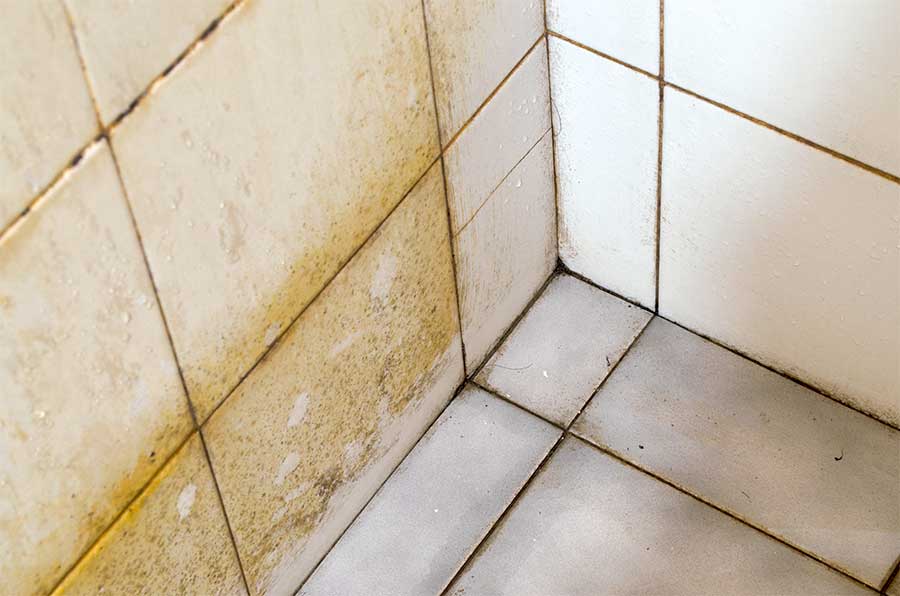
Alright, so you’ve noticed it, haven’t you? Those little black or greenish… visitors… that have decided to call your bathroom grout home. Yep, we’re talking about mould. The bane of every homeowner’s existence, or at least the bane of their bathroom's aesthetic. Don’t worry, though! It’s not the end of the world, and you don’t need a hazmat suit to tackle this. We’re going to get your grout looking spick and span again, and honestly, it’s not as scary as it sounds. Think of it as a little DIY spa day for your tiles.
First things first, let's get our battle stations ready. You wouldn't go into a fight without your trusty weapons, right? So, let's gather our supplies. You'll want some rubber gloves – because nobody likes sticky, mouldy hands, shudder. And a pair of old clothes you don't mind getting a bit… well, you know. Mouldy.
For ventilation, open up those windows! Let some fresh air circulate. Mould loves damp, stagnant air, so we're going to give it the boot with some good old-fashioned airflow. Think of it as politely but firmly showing it the door. Ciao, mould!
Must Read
Gathering Your Mould-Busting Arsenal
Now, for the actual cleaning agents. There are a few superstars in the mould-fighting world, and lucky for us, some are probably already lurking in your cleaning cupboard.
The Classic: Bleach
Ah, bleach. The mighty warrior. It's a powerhouse against mould and its pesky spores. Just remember, bleach is strong stuff. You definitely want to mix it with water. Never, ever mix bleach with ammonia or any other cleaning product – that can create some seriously nasty fumes. We're aiming for a clean bathroom, not a trip to the emergency room, okay? A good starting ratio is about half water, half bleach. You can always adjust it later if you need a bit more oomph, but start there.
Some people prefer to use a spray bottle for this. It’s a great way to get an even coating on the grout. Just be careful not to overspray onto surrounding surfaces, as bleach can discolour some materials. So, a light mist is your friend here.
The Natural Warrior: Vinegar
If you're more of a natural-remedies person, or if you have respiratory sensitivities that bleach plays havoc with, then vinegar is your knight in shining armour. White vinegar, specifically. It’s acidic, which means it can break down mould and its roots. And the best part? It’s way less harsh than bleach, and it usually doesn’t have that… chemically smell. Plus, you can probably drink it in a pinch. (Just kidding. Please don't drink your cleaning vinegar.)
You can use vinegar straight up, or you can dilute it with water – about 50/50 is a good starting point here too. Some people find the smell of vinegar a bit strong, so if that’s you, opening those windows becomes even more crucial. Imagine your bathroom smelling like a really fancy salad. You're welcome.
The Gentle Giant: Baking Soda Paste
For a milder approach, or for when the mould is just starting to make its presence known, baking soda is your go-to. It’s a gentle abrasive that can help lift away mould and grime without damaging your grout. It’s also great for deodorizing, so you’re basically hitting two birds with one stone. Or, in this case, one mouldy grout line.
To make a baking soda paste, simply mix baking soda with a little bit of water until you have a thick, spreadable consistency. Think toothpaste, but for your tiles. This is a fantastic option if you're worried about damaging delicate tiles or if you have little ones or pets running around and want to avoid harsher chemicals.
The Special Ops: Hydrogen Peroxide
Hydrogen peroxide is another great option, especially if you’re looking for something that’s effective but a little gentler than bleach. It has antifungal, antiviral, and antibacterial properties, making it a triple threat against mould. You can buy it at pretty much any pharmacy or supermarket. Look for the 3% solution – that’s the stuff you want.
You can use hydrogen peroxide straight from the bottle. Just pour it into a spray bottle and apply it directly to the mouldy grout. It’s a good idea to let it sit for a bit to really work its magic. And unlike bleach, it breaks down into water and oxygen, so it’s a bit more environmentally friendly. Fancy that!
The Application Process: Let the Games Begin!
Okay, you’ve got your cleaner of choice. Now, how do we actually get it onto the grout? This is where your trusty cleaning tools come into play.
The Mighty Scrub Brush
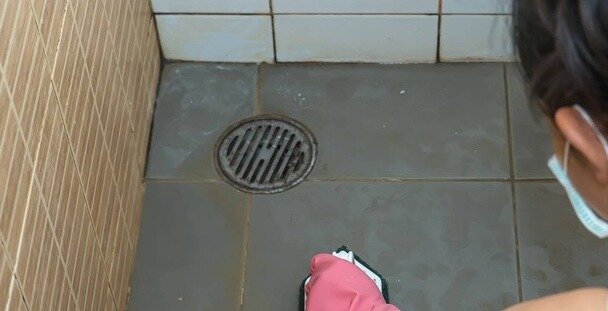
An old toothbrush is your best friend here. Seriously, if you’ve got a drawer full of old toothbrushes you don’t know what to do with, this is their moment of glory. The small bristles are perfect for getting right into those grout lines. You can also use a small scrub brush specifically designed for grout, which you can find at most hardware stores.
Dip your brush into your chosen cleaning solution (bleach/water, vinegar, or baking soda paste) and get ready to scrub! Work in small sections. You don’t want the cleaner to dry out before you’ve had a chance to scrub and rinse. Think of it like painting, but with less finesse and more elbow grease.
The Spray and Pray (and Scrub) Method
If you're using a spray bottle with bleach or vinegar, spray the solution directly onto the mouldy grout. Let it sit for a few minutes – this gives it time to work its magic and break down the mould. Then, grab your toothbrush or scrub brush and go to town!
For the baking soda paste, you’ll want to apply it directly to the grout with your fingers (gloves on, remember!) or a small spatula/butter knife. Let it sit for a good 10-15 minutes, or even longer for stubborn mould.
The Waiting Game (It’s Not That Long!)
Now, this is where patience comes in. You can’t just spray and expect miracles instantly. You need to let the cleaner do its thing. How long? Well, it depends on the strength of your cleaner and how bad the mould is.
For bleach or vinegar, start with about 5-10 minutes. For baking soda paste, you can let it sit for 10-15 minutes. If the mould is really tenacious, you might need to leave it a bit longer. Just keep an eye on it. You don't want your cleaner drying out completely.
While you're waiting, you can always admire your clean tiles from afar. Or, you know, go make a cup of tea. Or scroll through cat videos. Whatever floats your boat.
The Rinse and Reveal: Drumroll Please!
The moment of truth! Once you’ve let the cleaner do its work, it’s time to rinse it all away. Use a damp cloth or a sponge to wipe away the loosened mould and cleaning solution. You might need to rinse your cloth or sponge several times.
For really stubborn patches, you might need to go back in with your scrub brush and a little more cleaner. Don’t be afraid to give it another go! Persistence is key.
Once you’ve rinsed everything thoroughly, you can use a clean, dry towel to dry the grout. This helps prevent new mould from forming. A little bit of drying goes a long way in the war against dampness.
What If It’s Still There? The Stubborn Mould Strikes Back!
So, you’ve scrubbed, you’ve rinsed, and you still see a hint of that unwelcome guest? Don’t despair! Sometimes mould can be a bit more stubborn than we’d like.
If you used vinegar or baking soda and the mould is still hanging around, you could try a stronger solution of bleach. Just remember the safety precautions we talked about. If you used bleach and it didn't quite do the trick, you might need to scrub a little more vigorously, or let the bleach sit for a longer period (but keep an eye on it!).
Another option is to use a dedicated mould and mildew remover. These are specifically designed to tackle tough mould stains and can be very effective. Just be sure to follow the instructions on the product carefully.
In some extreme cases, if the mould has deeply penetrated the grout, you might need to consider regrouting. This is a bigger job, but it’s the only way to completely get rid of deeply ingrained mould. But let's not jump to that conclusion just yet! Most of the time, a good scrub and the right cleaner will do the trick.

Prevention is Better Than Cure (Or, How to Keep Mould From Moving In Again)
Now that your grout is looking fabulous, let’s talk about keeping it that way. Mould thrives in damp environments, so the key to prevention is to reduce moisture.
Ventilation is Your New Best Friend
Seriously, open those windows! If you have an extractor fan in your bathroom, use it every time you shower or bathe. Let it run for at least 15-20 minutes after you’re done. This is like giving your bathroom a mini-sauna, but in reverse – it’s blowing all the damp air out!
Dry, Dry, Dry!
After you’ve showered, take a squeegee to your shower walls and doors, and then wipe down any excess water on the tiles and grout with a towel. It takes an extra minute or two, but it makes a huge difference in preventing mould growth. Think of it as giving your bathroom a quick pat down after a swim.
Deal with Leaks Promptly
Any dripping taps or leaky pipes are a mould's dream come true. Get them fixed as soon as you notice them. A small leak can quickly turn into a big mould problem.
Consider Mould-Resistant Products
When you're renovating or replacing grout, look for mould-resistant grout or sealants. These are specifically designed to fight off mould and mildew, giving you extra protection.
Regular Maintenance Cleans
Don’t let the mould get a foothold in the first place. A quick wipe down of your bathroom with a general cleaner once a week can help prevent mould from even starting to grow. It’s much easier to do a quick clean than to tackle a full-blown mould invasion!
And there you have it! Your grout is no longer a canvas for creepy crawlies, but a testament to your cleaning prowess. You’ve conquered the mould, and your bathroom is looking and smelling (hopefully!) so much better. Give yourself a pat on the back. You’ve earned it! Now go forth and enjoy your sparkling, mould-free sanctuary. Your bathroom tiles are singing your praises, and so are we!