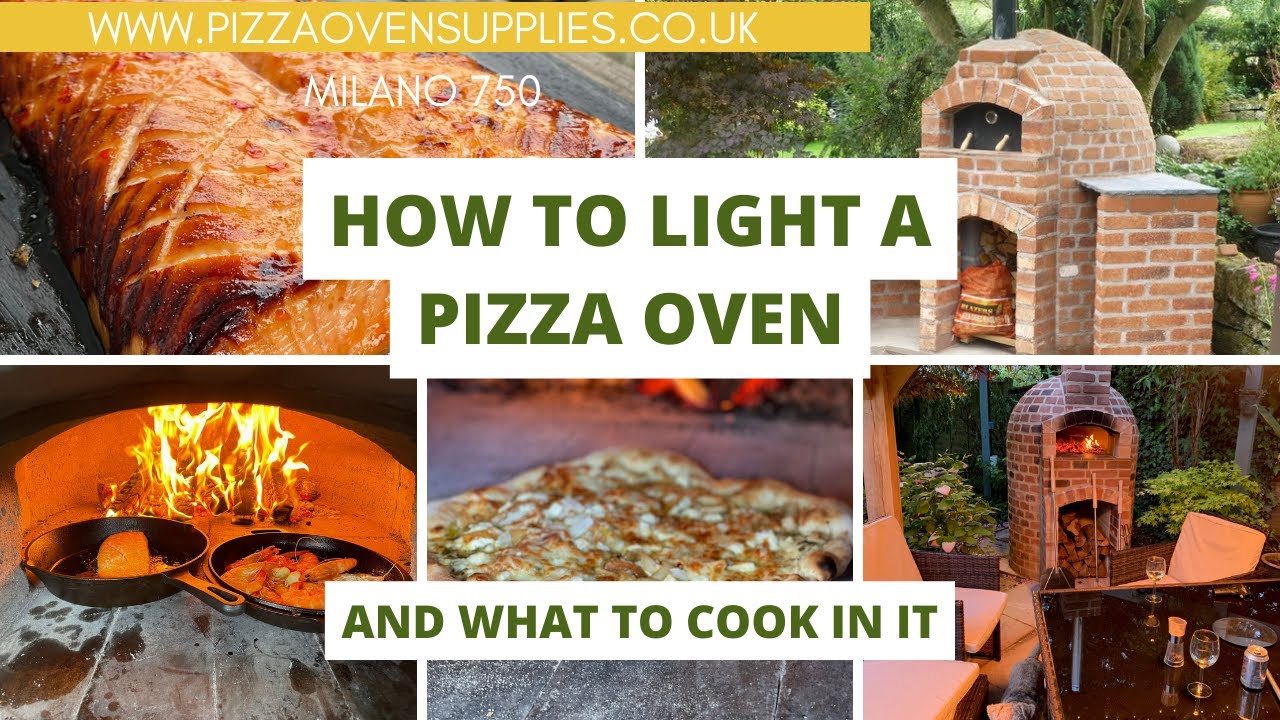
How To Light A Pizza Oven Fire

There’s this one time, a few summers ago, when I decided it was finally time. I’d inherited this beautiful, slightly intimidating pizza oven from the previous owners of my house. It was this magnificent dome of brick and mortar, sitting proudly in the garden, looking like a tiny, sleepy volcano. For months, it just… sat there. I’d admire it, maybe sweep some leaves away from its base, but the actual firing of it? That felt like a ritual I wasn't quite ready for. It was like having a dragon in your backyard and being afraid to offer it a marshmallow.
Then, one balmy evening, after a particularly disastrous attempt at store-bought pizza dough (let’s just say it resembled a deflated frisbee), I declared, “Tonight, we conquer the brick beast!” I gathered some wood, a whole lot of hope, and a healthy dose of “what could possibly go wrong?” Spoiler alert: a few things could go wrong. But eventually, after much sputtering, smoking, and maybe a tiny bit of panicked fanning with a baking sheet, that oven roared to life. And oh, the pizza that followed! Worth every single ember.
So, if you’re staring at your own pizza oven, feeling that same mix of awe and mild terror, this is for you. We’re going to demystify this whole ‘lighting a pizza oven fire’ thing. Think of this as your friendly, slightly unhinged guide to becoming a pizza-firing sorcerer. No ancient scrolls required, just a bit of patience and the right ingredients.
Must Read
The Sacred Art of Igniting Your Oven
Alright, first things first. You’ve got your pizza oven. It might be made of clay, brick, metal – the specifics don’t matter as much as the intention. You want to turn that dormant structure into a glowing inferno of deliciousness. It’s not just about getting a fire going; it’s about building a specific kind of fire, one that can reach those crazy-high temperatures needed for a truly authentic Neapolitan-style crust. You know, the one with the beautiful leopard spotting and the airy, chewy edges? Yeah, that kind.
This isn't like lighting a barbecue. We’re aiming for something a lot hotter, a lot more intense. So, let’s break it down into manageable steps. No need to wear a wizard’s hat (though I wouldn’t judge you if you did).
Step 1: Gather Your Fuel – The Heart of the Fire
This is crucial. You can’t make a fire without fuel, obviously. But what fuel you choose makes a huge difference. For most wood-fired pizza ovens, you'll want hardwood. Think oak, beech, ash, or fruitwoods like apple or cherry. Why hardwood? Because it burns hotter and cleaner than softwood (like pine), which tends to produce more ash and creosote. Nobody wants their pizza tasting like a campfire gone wrong, right?
Avoid treated lumber, painted wood, or anything that looks like it’s been used for construction. You're cooking food in there! We want natural, clean-burning goodness. So, source some good quality, dry, seasoned hardwood. You'll want a mix of sizes:
- Kindling: Small, dry twigs, bark, or commercially bought fire starters. This is what gets the initial flame going. Think of it as the baby steps of fire-building.
- Small Logs/Fingers: Slightly larger pieces of wood, about the thickness of your thumb to your wrist. These will catch from the kindling and build up the initial heat.
- Larger Logs: The main event. These will sustain the fire once it's established and generate the long-lasting heat needed for cooking.
Make sure your wood is seasoned. This means it's been dried out for at least six months to a year. Wet wood hisses, smolders, and just generally makes a mess of things. You want that satisfying crack and a clean burn, not a smoky sigh.

Step 2: Preparing the Oven – Clearing the Way
Before you even think about striking a match, take a look inside your oven. Is it full of ash from previous fires? If so, it’s time for a clean-out. A thick layer of ash can actually insulate the oven floor, preventing it from getting as hot as it needs to be. Use a metal brush or shovel to scrape away any old ash. You want a clean hearth for that pizza to land on.
This is also a good time to check for any debris that might have blown in. Leaves, cobwebs, that weird little bug that’s decided your oven is its new winter home – get it all out. A clean oven is a happy oven, and a happy oven makes amazing pizza. Simple as that.
Step 3: The Initial Ignition – The Spark of Life
Now for the fun part! You've got your clean oven and your sorted wood. It's time to build your fire in the right place. For most dome-style pizza ovens, you'll want to build your fire towards the back or side of the oven, not smack in the middle. Why? Because you need space to eventually push the embers and coals to the side to create a clear cooking area.
Start by creating a small teepee or log cabin structure with your kindling. Think of it as a little nest for your future flames. Place a few pieces of kindling loosely together, leaving plenty of air gaps. Air is the oxygen that fire needs to thrive, so don't smother it!
Once your kindling nest is built, it's time to light it. Use a long match or a fireplace lighter to ignite the kindling in a few places. Be patient. Let the flames catch and start to lick at the larger pieces of wood you’ve strategically placed nearby. This is where you’ll see your first wisps of smoke. Deep breaths, this is all part of the process. If it’s not catching, gently blow on the base of the flames. Just a gentle puff, not a hurricane.
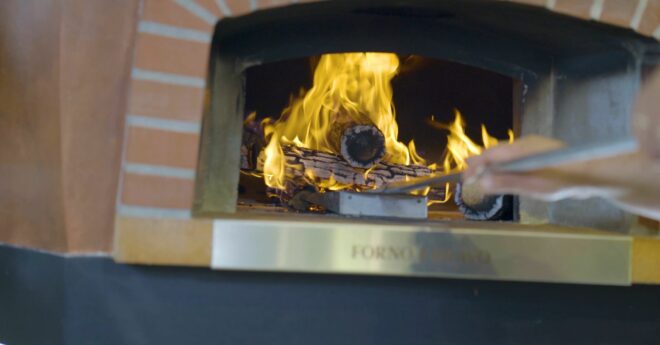
Step 4: Building the Fire – Feeding the Flames
As the kindling burns strongly, add your smaller, finger-sized logs. Add them gradually, still maintaining those air gaps. Don’t just dump a whole armful in at once. You want to encourage the fire to grow, not extinguish it with too much fuel. The goal here is to get a good, solid bed of embers going.
Keep adding progressively larger pieces of wood as the fire grows. You’re looking for the flames to become strong and consistent. You’ll see the inside of your oven starting to turn black as soot from the combustion coats the dome. This is normal! It’s like the oven is getting its war paint on.
At this stage, you'll likely have a significant amount of smoke. This is unavoidable when you're first starting. Open your oven door fully to allow for good airflow. Some ovens have adjustable vents or chimneys, so make sure those are open as well to help draw the smoke out.
Step 5: The Crucial Heat-Up – Reaching Inferno Status
This is where the real magic happens, and also where many beginners get a little impatient. You can’t just chuck your pizza in when the flames are still licking everywhere. You need to build up serious heat. Keep feeding the fire with your larger logs, focusing on maintaining a strong, active flame at the back or side of the oven for a good 30-60 minutes, or even longer, depending on your oven.
The dome of the oven will turn from black to white or a very pale grey. This is your visual cue that the soot has burned off and the oven is reaching its searing temperatures. You want to see these white patches appear and eventually cover most of the dome. This indicates that the bricks are saturated with heat.
As the fire burns, you’ll see embers and coals forming. This is exactly what you want! Once the oven is consistently hot and the dome is mostly clear of black soot, it's time to manage the fire.
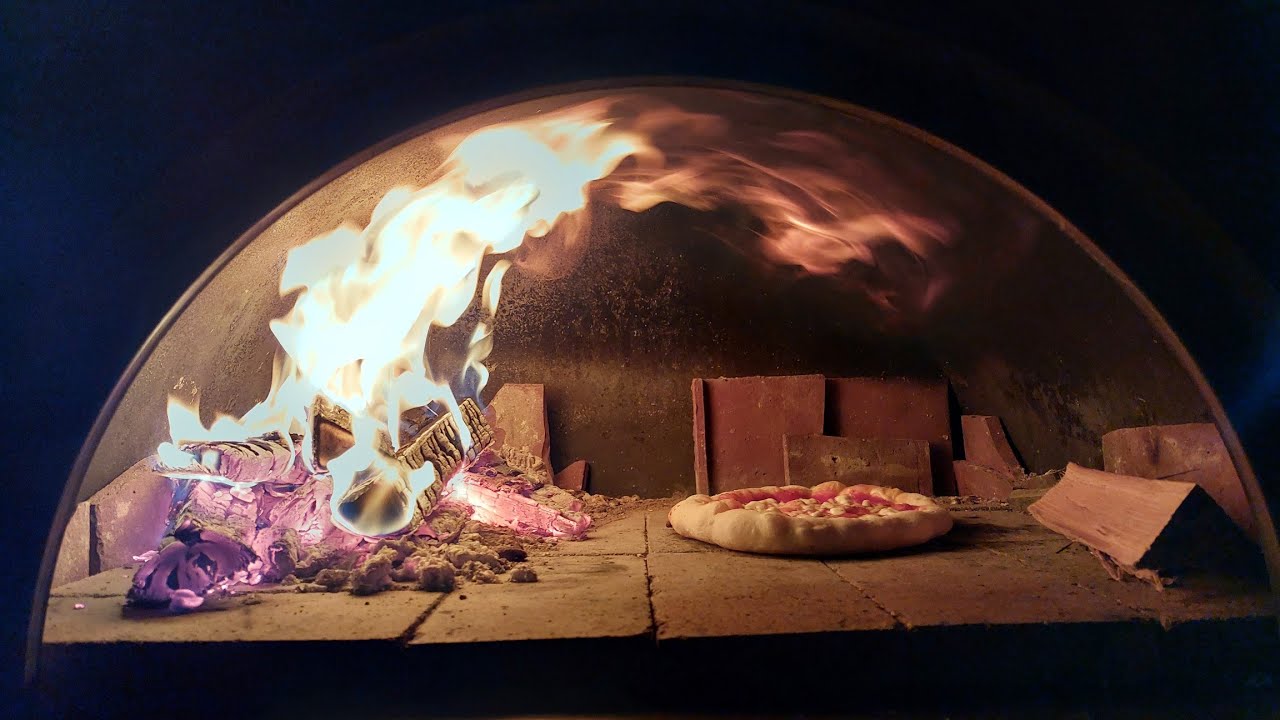
Step 6: Managing the Embers – Creating Your Cooking Zone
Now, you want to transition from a roaring fire to a steady heat source. Using your oven peel or a poker, gently push the burning logs and glowing embers to the side or back of the oven, away from where you’ll be placing your pizza. You want to create a clear space on the oven floor.
You should still have a flame or two dancing around the edges of the embers, but the main cooking surface should be clear of direct flame. The radiant heat from the hot bricks and the glowing coals will cook your pizza. This is the sweet spot – intensely hot, but controllable.
Don’t let the fire die down completely! You want that residual heat to be intense. You might need to add a small log or two every 15-20 minutes if you're cooking multiple pizzas to maintain the temperature. This is the ongoing dance of the pizza chef.
Troubleshooting the Blaze: When Things Go a Bit Awry
Let's be honest, not every fire-starting attempt is going to be perfect. You might encounter a few hiccups along the way. Don't despair! It’s all part of the learning curve.
Problem: Too Much Smoke, Not Enough Flame
Cause: Wet wood, not enough airflow, or the fire is being smothered.
Solution:
- Check your wood: Is it dry and seasoned? If not, try using some drier kindling.
- Increase airflow: Make sure your oven door is open wide and any vents are clear. Gently fan the base of the flames with a piece of cardboard or a small fan if you're really struggling.
- Don't overload: Are you putting too much wood on too soon? Go back to smaller pieces of kindling and build up gradually.
Problem: Fire Dies Down Too Quickly
Cause: Not enough fuel, poor quality wood, or the oven isn't hot enough yet.
Solution:
- Feed it more: Add more wood, starting with smaller pieces to get it going again.
- Use better wood: If your wood is damp or very soft, it won't burn for long.
- Patience: You might just need to let it burn longer to truly heat the oven mass.
Problem: Oven Floor Isn't Getting Hot Enough
Cause: Too much ash on the floor, not enough preheating time, or the fire wasn't built correctly.
Solution:
- Clean the hearth: Scrape off all the old ash.
- Preheat longer: Seriously, give it time! That oven needs to soak up a lot of heat.
- Fire Placement: Ensure you built the fire towards the back/side and have successfully pushed the embers away from the cooking area.
The Payoff: That First Glorious Pizza
Once your oven is at temperature (you’ll feel the intense radiant heat when you put your hand near the opening, or use an infrared thermometer to check the floor – aim for 700-900°F or 370-480°C), it’s time to launch your pizza! Use a well-floured pizza peel, assemble your masterpiece quickly, and slide it onto the hot oven floor. It should cook in 60-90 seconds, sometimes even faster! Rotate it a couple of times to ensure even cooking.
That first slice, with its blistered crust and perfectly melted toppings… oh, it’s pure culinary bliss. All that effort, all that smoke, all that mild panic – it melts away with the first bite. You’ve done it. You’ve conquered the brick beast and coaxed it into producing something truly spectacular.
So, the next time you’re looking at your pizza oven, don’t feel intimidated. Feel empowered! You have the knowledge, you have the tools, and soon you’ll have the most amazing homemade pizza you’ve ever tasted. Now go forth and fire!

