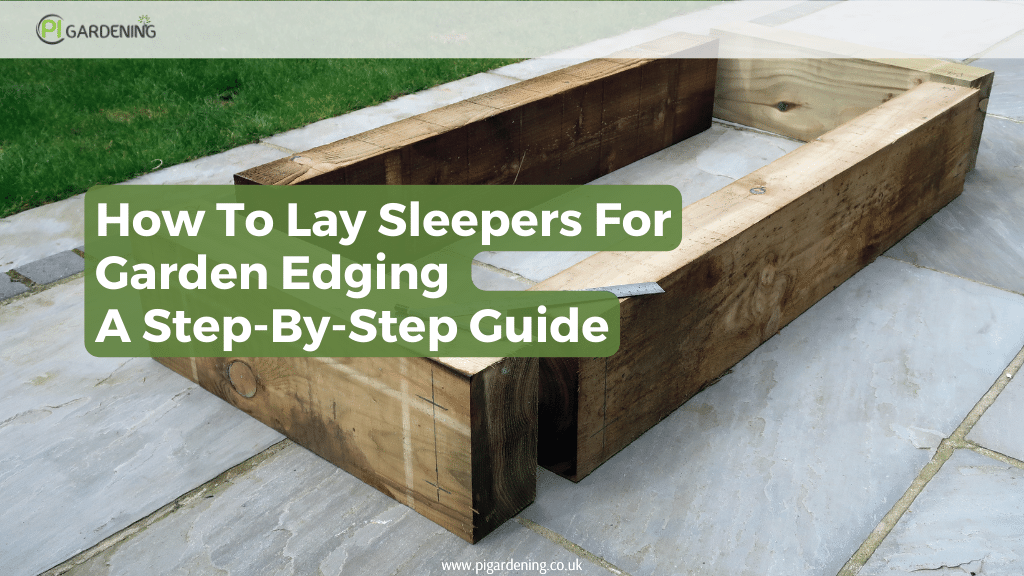
How To Lay Sleepers In A Garden

Ever looked at your garden and thought, "You know, it's nice, but it could use a little something more"? Maybe you're picturing a gentle slope leading to a cozy seating area, or a neat pathway winding through your flowerbeds. Well, my friends, that's where the humble, yet mighty, garden sleeper comes in!
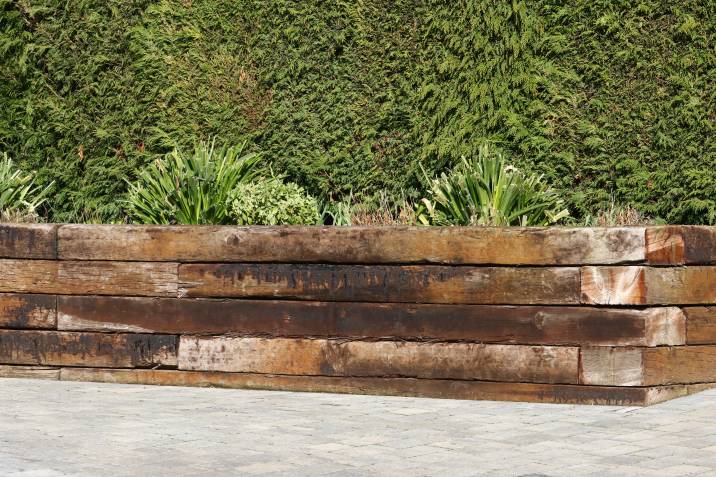
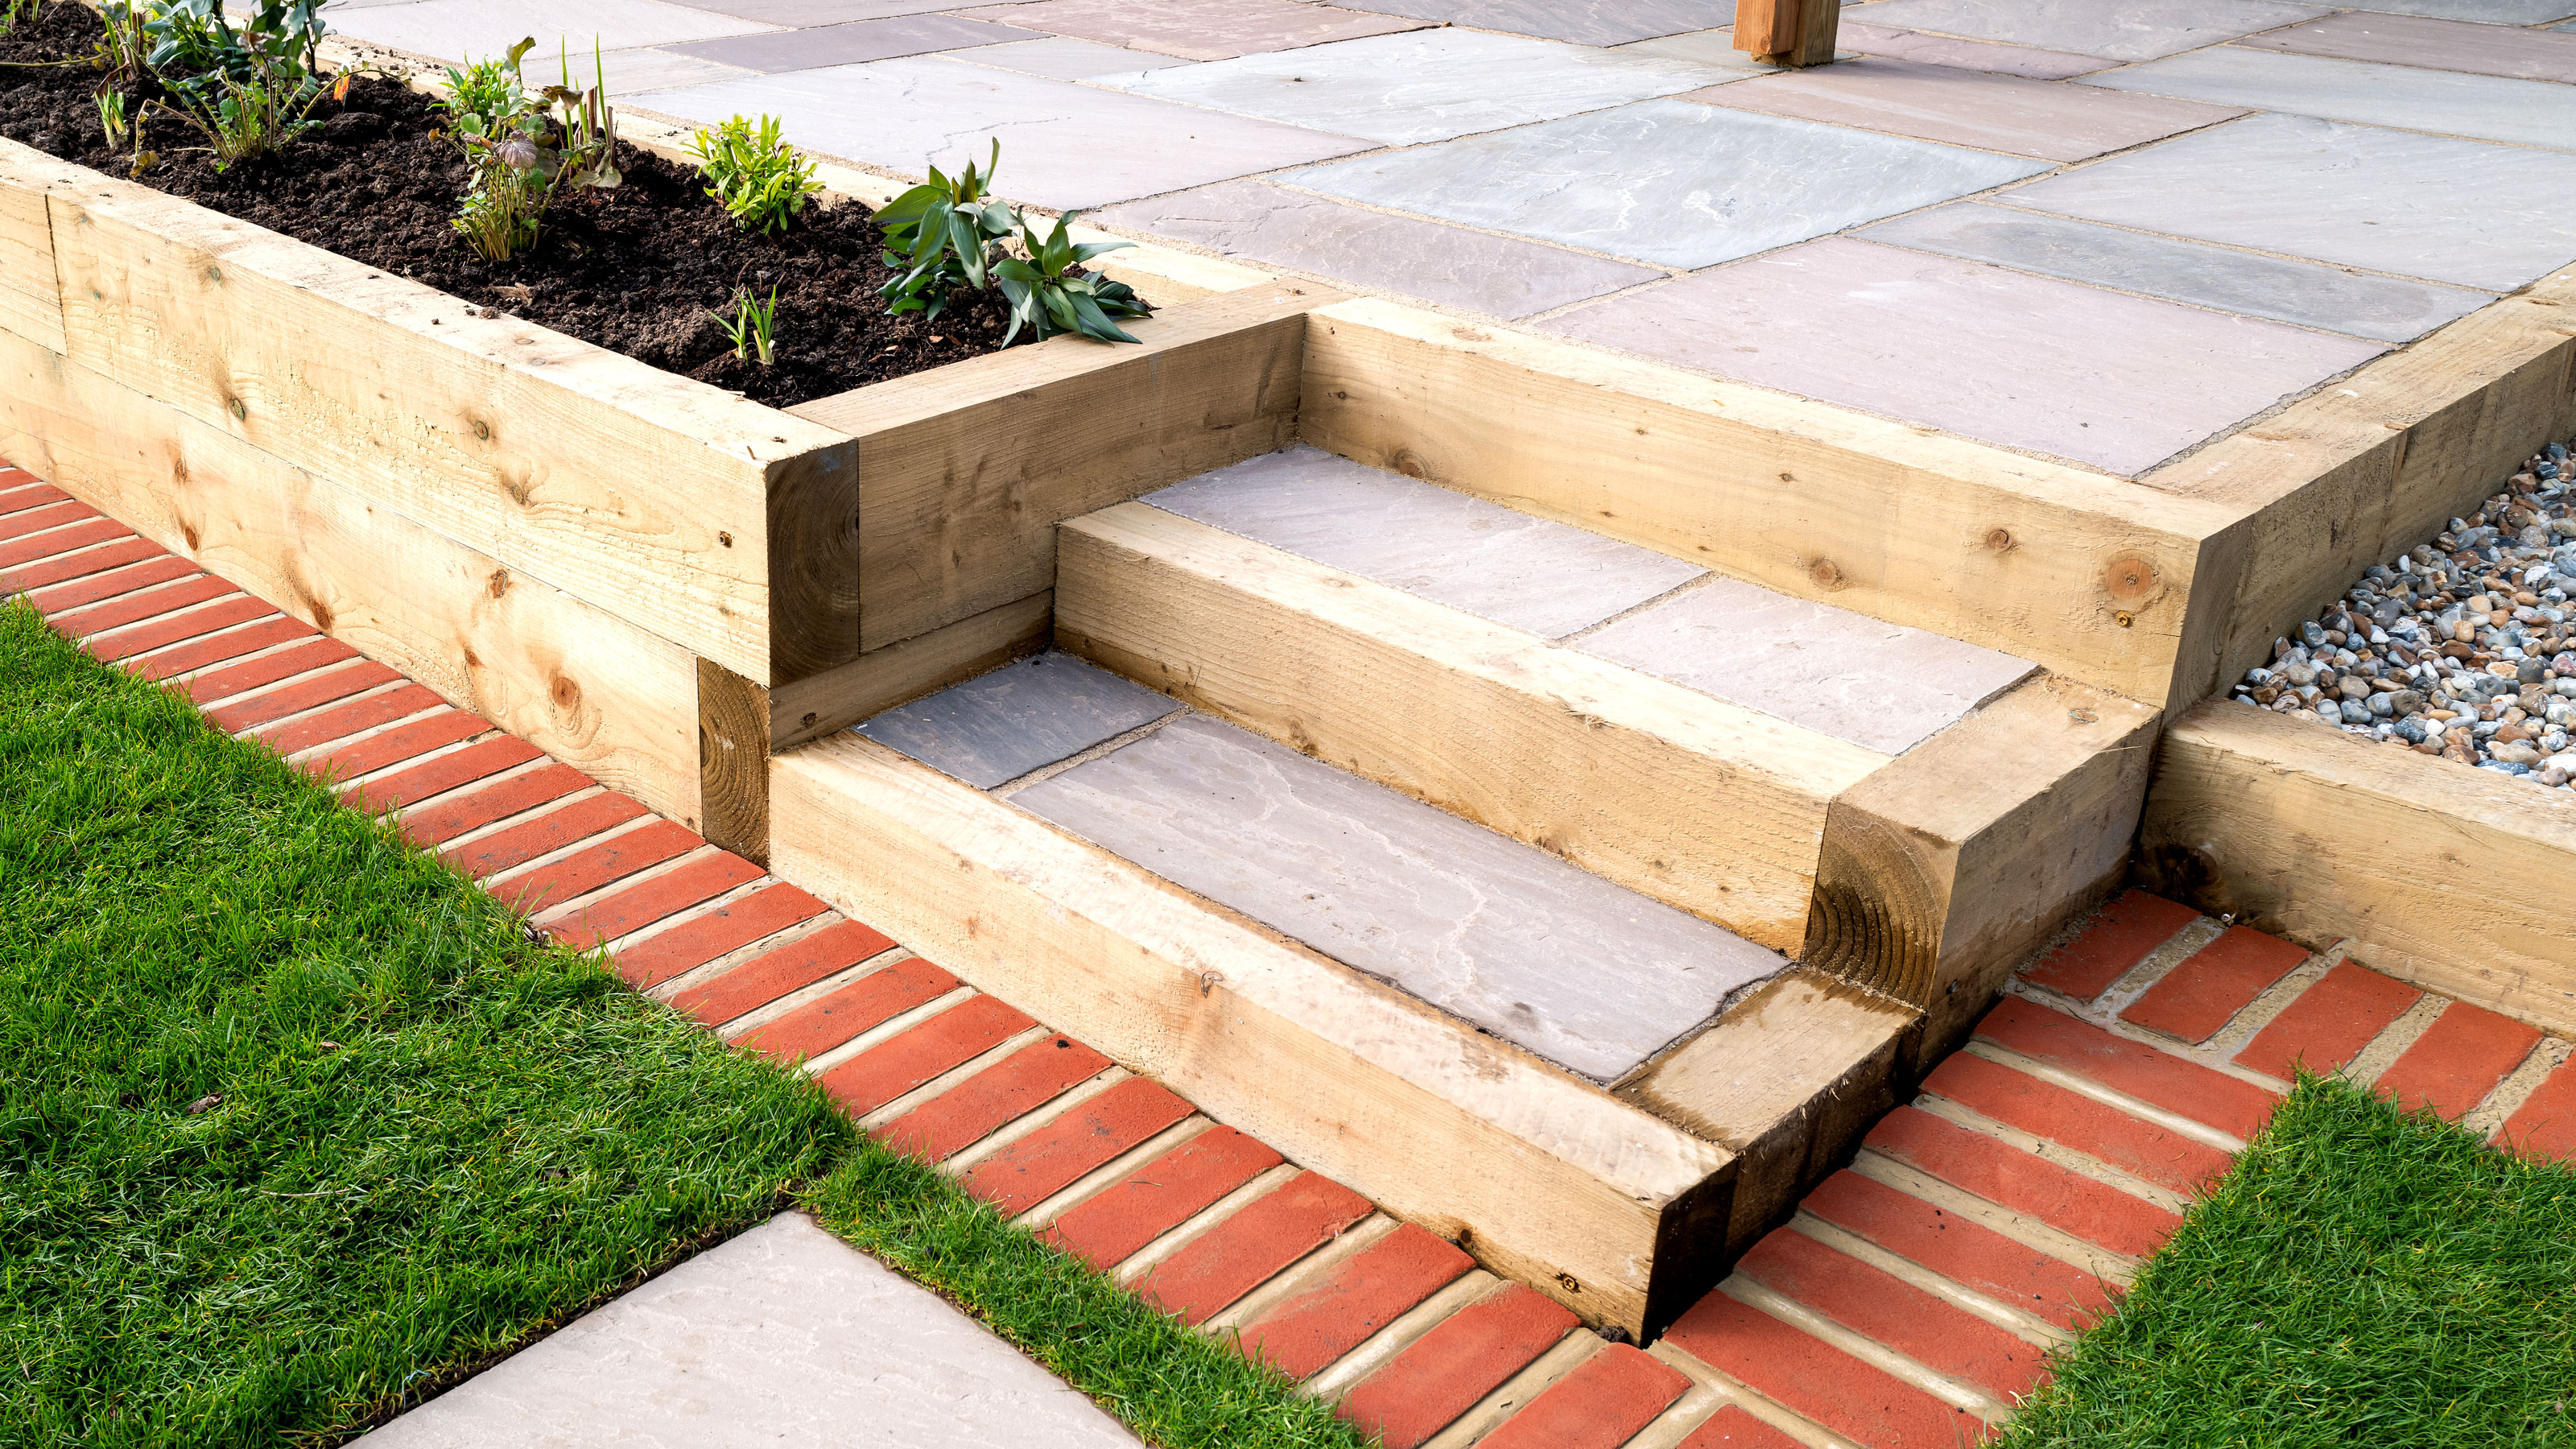
Don't let the name "sleeper" fool you; these aren't for nodding off in the sun (though a good book and a garden bench are pretty close!). Garden sleepers are essentially sturdy, chunky pieces of wood, often reclaimed railway sleepers, though you can get new ones too. They’re like the sturdy, reliable friends of your garden design – the ones who hold things up, define spaces, and just make everything look a bit more put-together. Think of them as the backbone of your outdoor oasis, giving it structure and a touch of rustic charm.
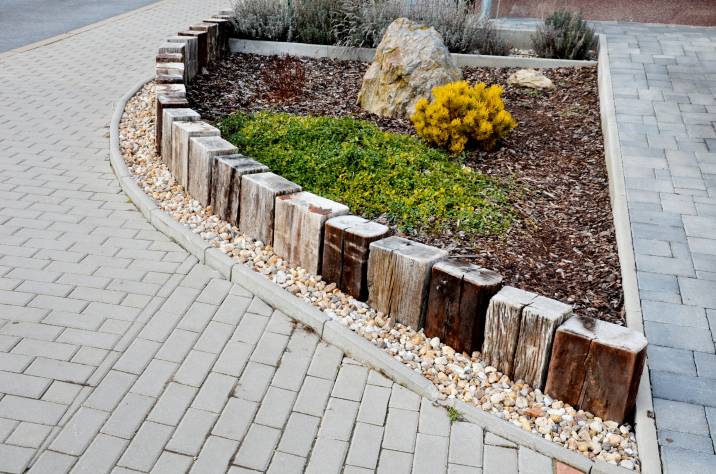
So, why should you even bother with these hefty bits of timber? Well, for starters, they’re incredibly versatile. You can use them to create raised flowerbeds that are easier on your back when you’re planting those prize-winning petunias. They’re fantastic for building retaining walls, especially if you have a bit of a slope in your garden that’s prone to a gentle slide after a heavy rain – you know, the kind where your prize-winning gnomes might go on an unplanned adventure downhill.
Must Read
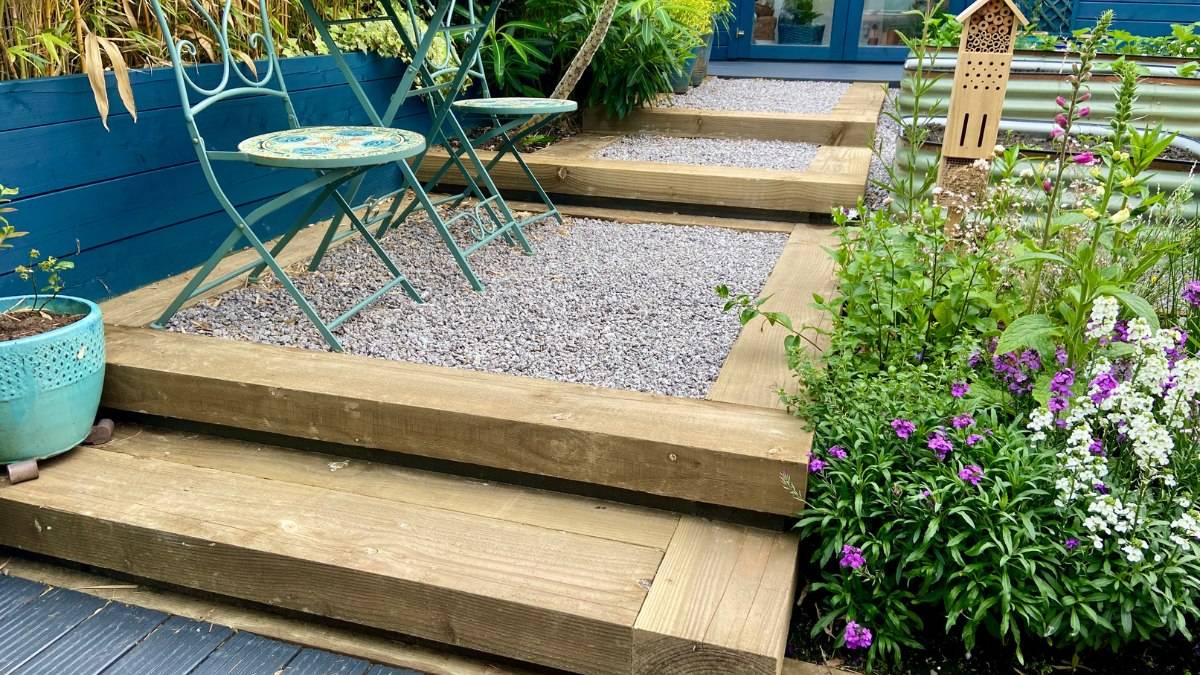
Imagine this: you’re sitting out on a warm evening, enjoying a cuppa or a glass of something bubbly, and your garden looks neat and inviting. The raised beds are brimming with colourful blooms, and the pathway is clearly defined. It just feels… intentional. That’s the magic of sleepers. They take your garden from "a patch of grass" to "a delightful outdoor living space."
Ready to Get Your Hands Dirty? Laying Sleepers 101
Alright, convinced? Good! Now, let’s talk about how to actually get these beauties into the ground. Don't worry, it’s not rocket science, though if you can do that, you’re probably already ahead of the game!
First things first, planning is key. Before you even think about hefting a sleeper, grab a notepad and sketch out your ideas. Where do you want your raised bed? How long should it be? What shape will your pathway take? Measure twice, cut once, as they say. Or in this case, measure twice, dig once!
Once you've got your plan, it's time to gather your supplies. You’ll need your sleepers, of course. If you’re using reclaimed ones, give them a good scrub down to get rid of any old muck. You’ll also need a spade, a spirit level (so your beds don’t look like they’re leaning after a particularly boozy garden party!), some string and stakes for marking out, and if you’re building anything substantial, you might want some rebar or stout wooden stakes to secure them.
Step 1: Mark Out Your Area
This is where your string and stakes come in. Hammer your stakes into the ground at the corners of where you want your sleeper structure to be. Then, stretch your string tautly between them. This gives you a clear outline to work with. It's like drawing a blueprint for your garden masterpiece, but with string and dirt!
Step 2: Dig a Trench (The Foundation!)
Now, for the slightly more energetic part: digging. You’ll need to dig a trench along your marked-out lines. How deep? Generally, you want to dig deep enough so that at least half of your sleeper will be buried. This is crucial for stability. If you’re building a raised bed, this trench will essentially hold the bottom sleeper in place, preventing it from shifting.
Think of it like building a sturdy fence post. If you only bury the bottom inch, the first gust of wind will send it flying like a startled pigeon. Burying a good portion of your sleeper gives it something to really sink its roots into, metaphorically speaking.
Step 3: Place Your First Sleeper
Gently (or not so gently, depending on how strong you are!) lower your first sleeper into the trench. Use your spirit level to make sure it’s as level as possible. This is where you might need a friend or two, as sleepers can be surprisingly heavy. Imagine trying to move a sleeping rhinoceros – it's a similar level of enthusiastic coordination!
If the ground is a bit uneven, you might need to add or remove a bit of soil to get that perfect level. Patience is your friend here. A wonky sleeper in the first layer will cause all sorts of headaches down the line.
Step 4: Add More Sleepers (If You're Building Up)
If you're creating a raised bed that's more than one sleeper high, it’s time to add the next layer. Place your second sleeper on top of the first. Again, check for level as you go. You might want to stagger the joins, like laying bricks, for extra strength and a more pleasing look. If you’re using rebar, you’d hammer it down through the layers at intervals to secure them firmly.
For a really robust structure, especially if you’re dealing with a slope, consider adding stakes to the inside or outside of your sleeper walls and securing the sleepers to them. This is like giving your garden structure a little internal scaffolding. Nobody wants their lovingly built flowerbed to suddenly resemble a deflated bouncy castle.
Step 5: Backfill and Compact
Once your sleepers are in place and looking magnificent, it’s time to backfill the trench. Shovel the soil you dug out back in around the sleepers. You'll want to compact the soil firmly as you go. This is really important for stability. Stamp it down, use the back of your spade, whatever works! Imagine you’re packing a suitcase for a long trip – you want everything snug and secure.
For raised beds, you’ll then fill the inside with your desired soil mix. For pathways, you might add gravel or decorative stone on top of a compacted base. The world is your oyster (or your gravel pit, in this case!).
A Little Something Extra to Smile About
Using sleepers isn't just about practicality; it's about adding character. Reclaimed sleepers, especially, come with their own stories. You might see the odd nail mark or a weathered patina that whispers of a past life on the railway tracks. It’s like giving your garden a little piece of history, a nod to the past while building for the future. It’s a bit like finding an antique dresser – it’s got charm and a story to tell.
And the satisfaction! Building something with your own hands, something that improves your garden and makes it more enjoyable. That feeling is priceless. You can look at your new raised bed and think, "Yep, I did that!" It’s a little boost of DIY pride, and who doesn't love that?
So, if your garden is calling out for a bit of structure, a touch of natural beauty, and a whole lot of personality, consider the humble garden sleeper. With a bit of planning, a willingness to get a little muddy, and perhaps a friend or two for moral (and muscle!) support, you can transform your outdoor space into something truly special. Happy building!