How To Get Oil Off A Driveway
Hey there, driveway disaster survivors! So, you’ve got yourself a little automotive oopsie on your hands, haven't you? That tell-tale dark, greasy stain that screams, "Someone parked here... and possibly leaked a bit of their lifeblood!" Don't worry, friend, it happens to the best of us. Whether it's a rogue oil change, a leaky gasket making a dramatic exit, or just a general vehicular tantrum, that oil spot is usually a temporary resident. We’re going to tackle this thing together, and I promise, it’s not as intimidating as it looks. Think of me as your friendly neighborhood driveway spa technician, here to give your concrete a much-needed makeover.
First things first, let's acknowledge the situation. That oil spot can be a real eyesore, right? It’s like that one tiny smudge on a perfectly clean window that you just have to get rid of. And while it might seem like it's permanently etched into the very soul of your driveway, fear not! With a little bit of know-how and some elbow grease (or, you know, a sponge and some detergent), we’ll have that driveway looking cleaner than a freshly polished chrome bumper.
Now, before we dive headfirst into scrubbing, there’s a little prep work to do. It’s like getting ready for a big event – you wouldn’t just show up in your PJs, would you? (Okay, maybe sometimes, but for this, let’s aim a little higher.)
Must Read
Step 1: The Early Bird Gets the Clean Driveway (Or, Act Fast!)
This is the most crucial step, and I can’t stress it enough. If you catch that oil slick right as it happens, you’re in for a much easier ride. Think of fresh oil like a brand-new stain on your favorite shirt – easier to get out before it has a chance to really set in. So, if you see it, act immediately.
Grab whatever you have handy – paper towels, old rags, even a wad of newspaper (though try to avoid anything too ink-heavy if you don’t want more marks). Your mission, should you choose to accept it, is to blot up as much of the excess oil as possible. Don't rub it in! Seriously, resist the urge. Rubbing is like giving the oil a cozy little hug and telling it to make itself at home. We want to discourage that. Just gently press down and lift, again and again, until you’ve soaked up all that gooey goodness.
If it’s a really fresh spill, this might even solve your problem on its own, or at least significantly minimize the damage. It’s the driveway equivalent of a first-aid kit – simple, effective, and prevents things from getting worse. Now, if you’re reading this and the stain is a bit more… established… don’t despair! We’ve got plenty of tricks up our sleeves.

Step 2: The Absorbent Arsenal (Let Nature Do Some Work)
Okay, so you missed the initial, speedy cleanup. No worries! Now it’s time to call in the cavalry: absorbent materials. These guys are like little sponges that go to work drawing out the oil that’s already soaked into your driveway’s pores. It’s a bit like putting a poultice on a wound, but for concrete.
What kind of absorbents are we talking about? Well, you’ve got a few fantastic options:
- Cat Litter: This is your go-to, budget-friendly hero. Plain, clay-based cat litter works wonders. Just liberally dump a thick layer of cat litter over the entire oil stain. You want it to be so thick that you can’t even see the dark spot anymore. Then, you let it sit. And sit. And sit. Ideally, leave it for at least 24 hours, or even a couple of days if you can. The longer it soaks, the more oil it’ll pull out. Once it’s done its job, just sweep it up and dispose of it properly (don’t just dump it in your regular trash – that oil needs to go somewhere safe!).
- Baking Soda: This pantry staple is another unsung hero. Baking soda is great for absorbing and also has a slight abrasive quality that can help lift the stain. Sprinkle a generous amount over the oil stain, let it sit for several hours, then gently scrub with a stiff brush and rinse. You might need to repeat this one a few times for tougher stains.
- Cornstarch or Flour: Similar to baking soda, these kitchen powders can absorb excess oil. They’re a bit less aggressive, so they might be better for smaller or less severe stains. Apply, let sit, brush, and rinse.
- Sawdust: If you have access to sawdust (maybe you're a DIY guru or have a handy neighbor!), it's also an excellent absorbent. Apply it thickly, let it work its magic, and then sweep it away.
The key here is patience. These absorbents work passively, so the longer you leave them on, the more effective they’ll be. Think of it as a spa treatment for your driveway – it needs time to relax and rejuvenate!

Step 3: The Scrubbing Squad (Time to Get Serious)
So, you’ve blotted, you’ve absorbed, and you’re still seeing a faint shadow of that oil stain. It’s time to bring in the heavy hitters – the cleaning solutions! This is where we really get to work on lifting that embedded grime. Remember, we're aiming for a clean driveway, not a driveway that looks like it’s been through a wrestling match with a greased pig.
Here are some of your best cleaning allies:
- Dish Soap: Yep, the same stuff you use to get your greasy frying pans sparkling clean. Dish soap is fantastic at breaking down grease and oil. Mix a generous amount of good old-fashioned dish soap with warm water. Then, grab a stiff-bristled brush (think garden brush or even an old deck brush). Dunk the brush into your soapy water and get to scrubbing! Work in circular motions, really focusing on the stain. You’ll likely see some suds forming, which is a good sign. Let the soapy water sit on the stain for a few minutes before rinsing thoroughly with a hose.
- Laundry Detergent: Powdered laundry detergent can also be quite effective. Make a paste with water and apply it to the stain. Let it sit for a while (say, 15-20 minutes), then scrub with your stiff brush and rinse. It's a bit like a DIY degreaser!
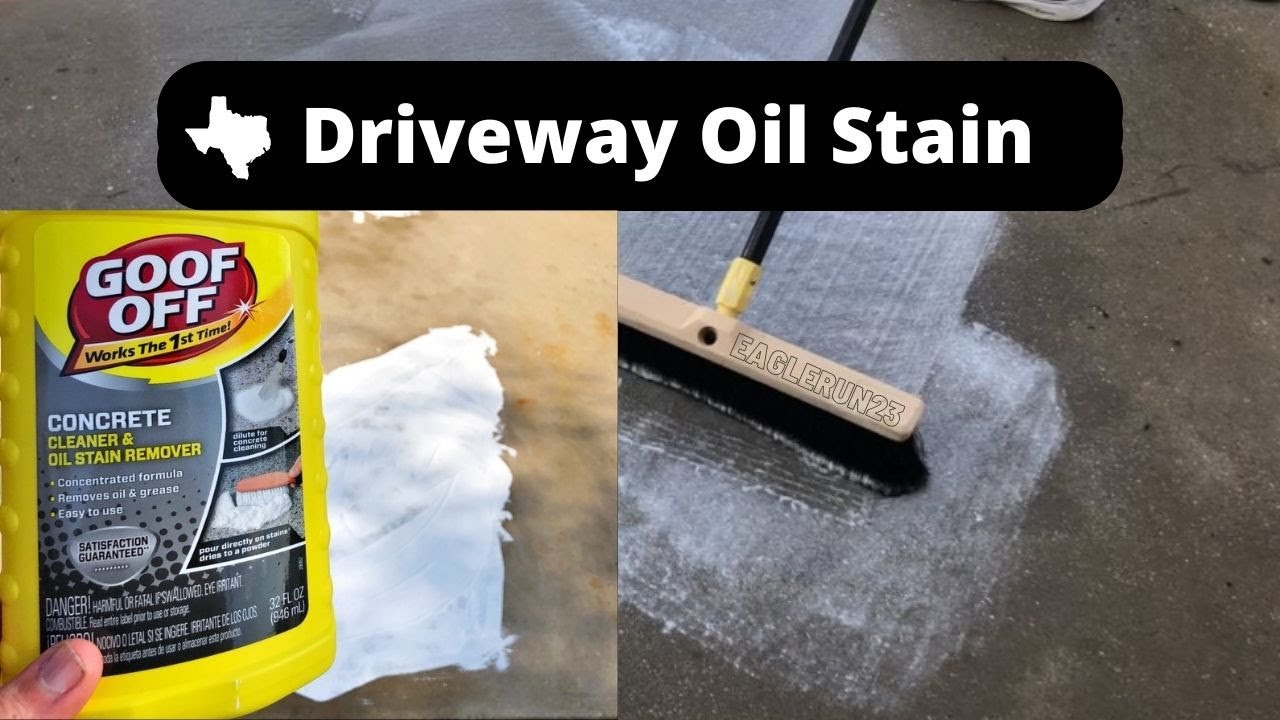
- Commercial Concrete Cleaners/Degreasers: If you’re feeling a bit more adventurous or the stain is particularly stubborn, you can head to your local hardware store and pick up a dedicated concrete cleaner or degreaser. These are formulated specifically for this kind of job. Always follow the manufacturer’s instructions carefully, as these can be quite potent. Wear gloves and eye protection, and make sure you have good ventilation. Some of these might require diluting, while others are ready to go.
- WD-40: This might sound a little unconventional, but WD-40 can actually be surprisingly effective on oil stains. Spray it directly onto the stain, let it sit for about 10-15 minutes, then scrub with a stiff brush and rinse with soap and water. The solvent in the WD-40 helps to break down the oil. Just be prepared for that distinctive WD-40 smell!
- Cola (Yes, Really!): This one’s a bit of a quirky internet favorite, and surprisingly, it can work! The phosphoric acid in cola can help to break down some types of stains. Pour a can of cola directly onto the oil stain, let it fizz and work for a good hour or so, then scrub and rinse. It’s a bit of a wild card, but for a small, less ingrained stain, it's worth a shot if you’ve got a spare can lying around.
When you're scrubbing, remember to work from the outside of the stain inward. This helps to prevent spreading the oil and creating an even bigger mess. And don’t be afraid to get a little vigorous with that brush! Your driveway will thank you for it.
Step 4: The Rinse and Repeat (The Art of Persistence)
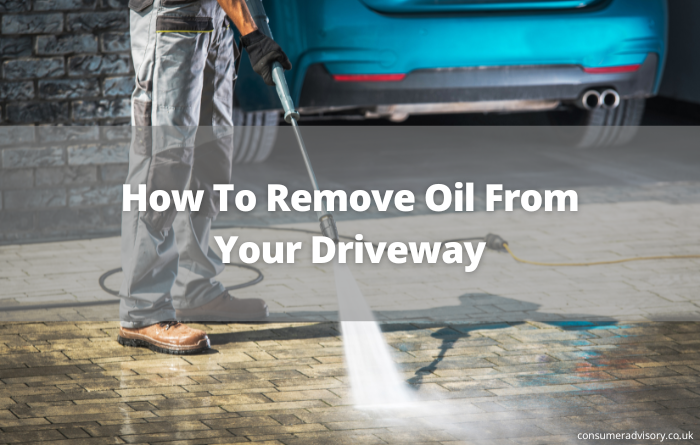
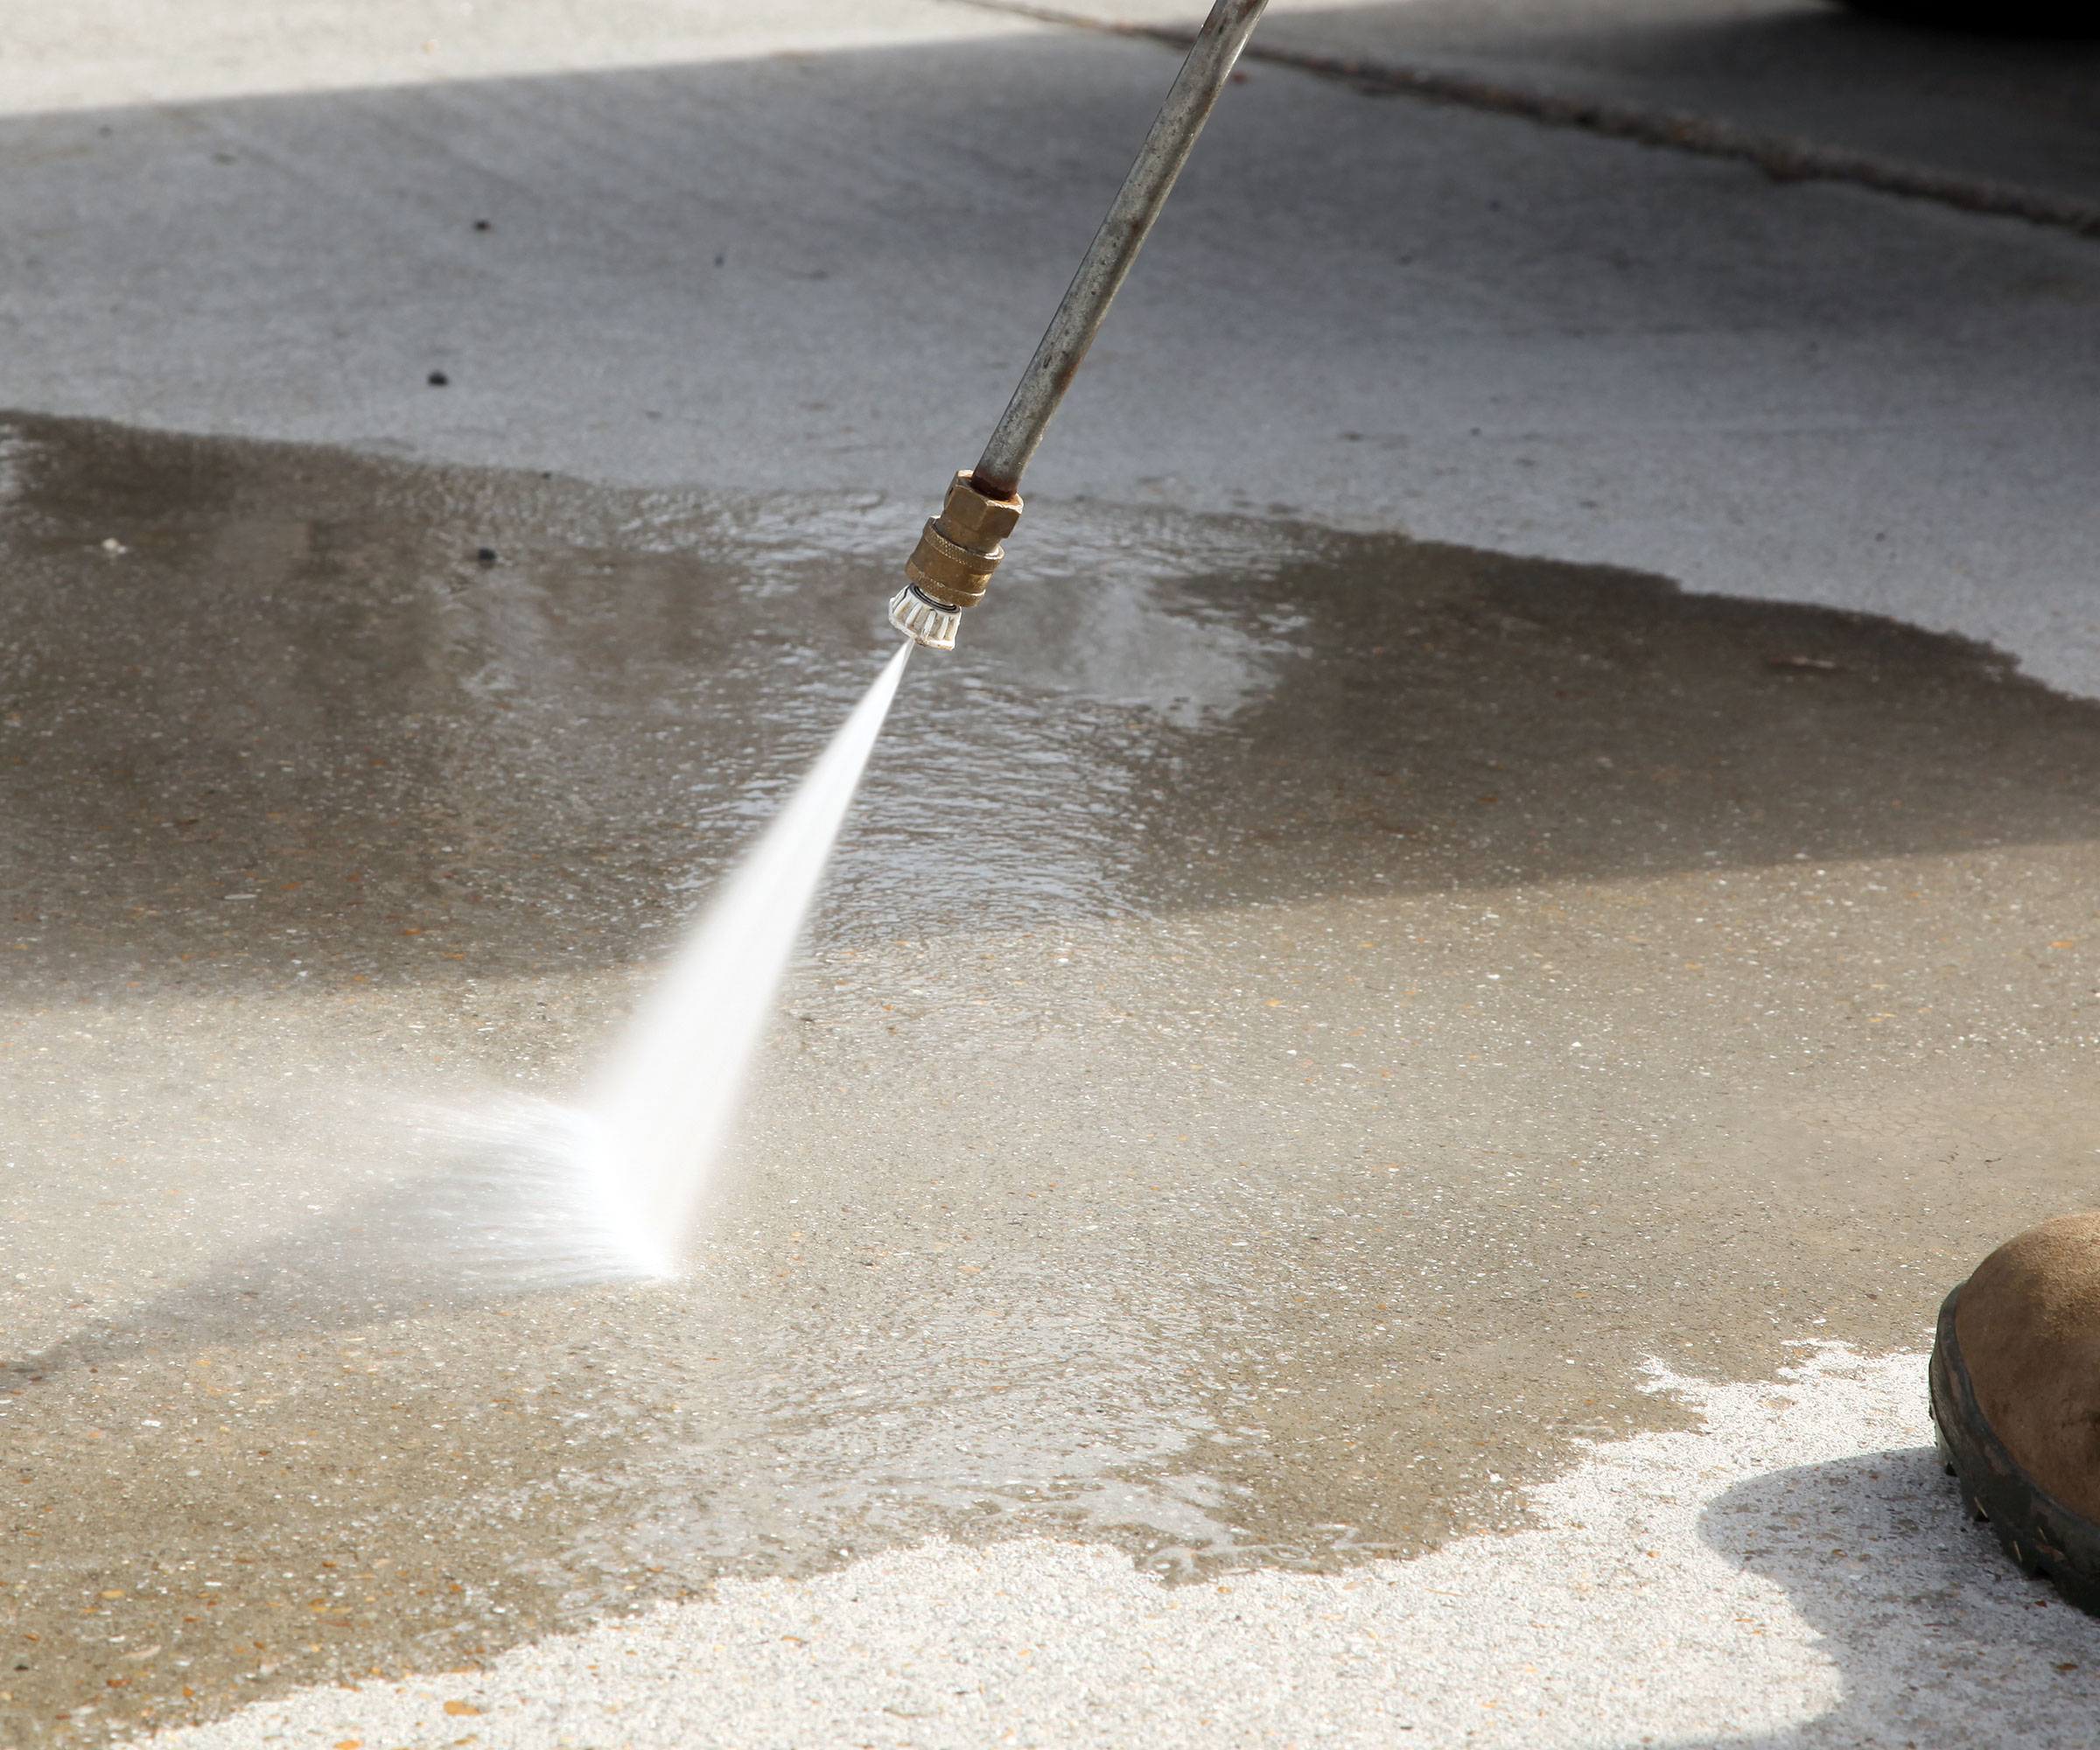
After you’ve applied your chosen cleaning agent and given it a good scrub, it’s time for the grand finale: the rinse. Grab your garden hose and give the area a thorough drenching. You want to make sure you’re washing away all the loosened oil and cleaning solution. If you have a pressure washer, now is its time to shine! A pressure washer can be incredibly effective at blasting away grime, but be careful not to use too much pressure, as you could damage the concrete.
Now, here’s the not-so-fun but entirely necessary part: you might need to repeat the process. Stubborn oil stains rarely vanish in one fell swoop. If you still see a faint outline after the first attempt, don’t get discouraged. Simply reapply your chosen cleaner, give it another good scrub, and rinse again. Sometimes it takes a few rounds to truly conquer the stain.
Think of it like training for a marathon. The first mile is tough, but you keep going, and eventually, you get there. Your driveway is your marathon, and that oil stain is your finish line! And hey, the more you rinse, the more you get to play with the hose, which can be pretty fun on a warm day. Just try not to get your neighbors wet!

Step 5: The Specialized Treatments (For the Really Tough Cases)
Sometimes, even with all our best efforts, that oil stain is just plain rude and refuses to budge. For those exceptionally tenacious stains, there are a few more specialized weapons in our arsenal. These are for when the oil has really dug its heels in, like a grumpy toddler refusing to nap.
- Poultices: This is a more advanced technique, but it can be incredibly effective. A poultice is essentially a paste made of an absorbent material (like kitty litter, diatomaceous earth, or talc) mixed with a solvent (like mineral spirits or a commercial degreaser). You apply the paste thickly to the stain, cover it with plastic wrap, and tape down the edges. The solvent dissolves the oil, and the absorbent material draws it out as the solvent evaporates. You leave it on for 24-48 hours, then scrape it off and rinse. Be sure to work in a well-ventilated area and wear appropriate protective gear when using solvents.
- Enzymatic Cleaners: These are eco-friendly cleaners that use beneficial bacteria to literally "eat" the oil. They are often used for large spills or areas that are difficult to scrub. You pour them onto the stain, and they work over time. They can be a bit slower than chemical cleaners, but they are very effective and environmentally sound.
- Muriatic Acid (Use with Extreme Caution!): This is the nuclear option, and I only mention it as a last resort for extremely stubborn, old stains. Muriatic acid is highly corrosive and dangerous to use. It can etch your concrete if not used properly and can cause severe burns. If you are not experienced with its use, I strongly advise against it. If you do decide to use it, please, for the love of all that is holy, read and follow all safety instructions meticulously. Wear heavy-duty gloves, eye protection, a respirator, and old clothing. Work in a very well-ventilated area. Dilute it according to instructions (never add water to acid, always add acid to water!). Apply sparingly, scrub, and rinse immediately and thoroughly. Seriously, if you’re not comfortable with this, don’t do it. There are other ways!
Remember, the goal is a clean driveway, not a trip to the emergency room. Always prioritize safety and try the less aggressive methods first. Your driveway has seen better days, and it deserves a gentle, yet effective, approach.
Keeping Your Driveway Pristine (A Little Proactive Love)
Once you’ve battled that oil stain and emerged victorious, you’ll want to keep your driveway looking its best. A little preventative maintenance goes a long way!
- Sealant: Consider sealing your driveway. A good quality concrete sealant will create a barrier that makes it harder for spills to penetrate, making future cleanups a breeze. Think of it as a raincoat for your driveway.
- Quick Wipes: Keep a stash of old rags or paper towels in your garage. If you notice any small drips, wipe them up immediately. It only takes a second and can save you a lot of scrubbing later.
- Regular Washing: Periodically wash down your driveway with a hose and mild soap. This will help remove general dirt and grime before it has a chance to become a stubborn stain.
And there you have it! You’ve gone from a driveway full of shame to a driveway full of pride. You’ve faced down those greasy invaders and emerged victorious. Give yourself a pat on the back, maybe even a little victory dance. Your driveway is now looking its spiffy best, ready to welcome guests (and maybe even a car that doesn’t leak for a change!). Remember, even the messiest situations can be cleaned up with a little know-how and determination. So go forth and enjoy your sparkling clean driveway, you absolute legend!