How To Get Hair Dye Of Wood
So, you’ve had a little… oopsie moment, haven’t you? Maybe you were channeling your inner artist, trying to give an old wooden stool a vibrant makeover, or perhaps a rogue splodge of hair dye escaped the confines of your head and landed squarely on your beloved wooden floor. Happens to the best of us, right? It’s like those unexpected plot twists in a movie that leave you scratching your head. But don't you worry your pretty little head about it! Getting hair dye off wood doesn’t have to be a stressful, nail-biting ordeal. Think of it less as a disaster and more as a quirky little home chemistry experiment.
And honestly, isn't it kind of fascinating how these everyday accidents can lead us down a rabbit hole of DIY solutions? It's like discovering a secret superpower for your home! Who knew that the same stuff you use to keep your counters sparkling could also be a knight in shining armor for your wooden furniture?
Why Does This Even Happen? Let’s Get Curious!
Before we dive into the how, let's take a moment to ponder the why. Hair dye, at its core, is a cocktail of chemicals designed to penetrate and alter the porous structure of hair. Wood, surprisingly, shares some of this porosity. When hair dye, with its vibrant pigments and penetrating agents, meets wood, it can seep in, much like water into a sponge. The longer it sits, the deeper it goes, making it a bit trickier to lift out. It’s kind of like when you spill coffee on a light-colored t-shirt – the longer you leave it, the more determined that brown stain becomes.
Must Read
Think of it this way: wood has tiny little pathways, like microscopic highways. The dye just hops on board these highways and decides to set up camp. Our mission, should we choose to accept it (and we totally should!), is to gently coax it off those highways and back into its bottle, metaphorically speaking.
So, How Do We Become Wood Whisperers and Dye Removers?
The good news is, you probably have most of the arsenal you need right in your kitchen or bathroom. We’re talking about common household items that are surprisingly effective. No need for expensive, specialized chemicals that smell like a science lab gone wrong. We’re aiming for a more natural, gentle approach here. It’s like using a gentle scrub for your face instead of a harsh industrial cleaner, right?
The key here is to act relatively quickly, if possible. The fresher the stain, the easier it is to persuade it to leave. But even if it's been there for a while, don't despair! We've got options.
The Gentle Approach: For the Faint of Heart (and Faint of Stain)
Let’s start with the mildest methods. These are perfect for fresh spills or lighter stains where the dye hasn’t had a chance to become too entrenched. Think of these as your warm-up exercises before the main event.
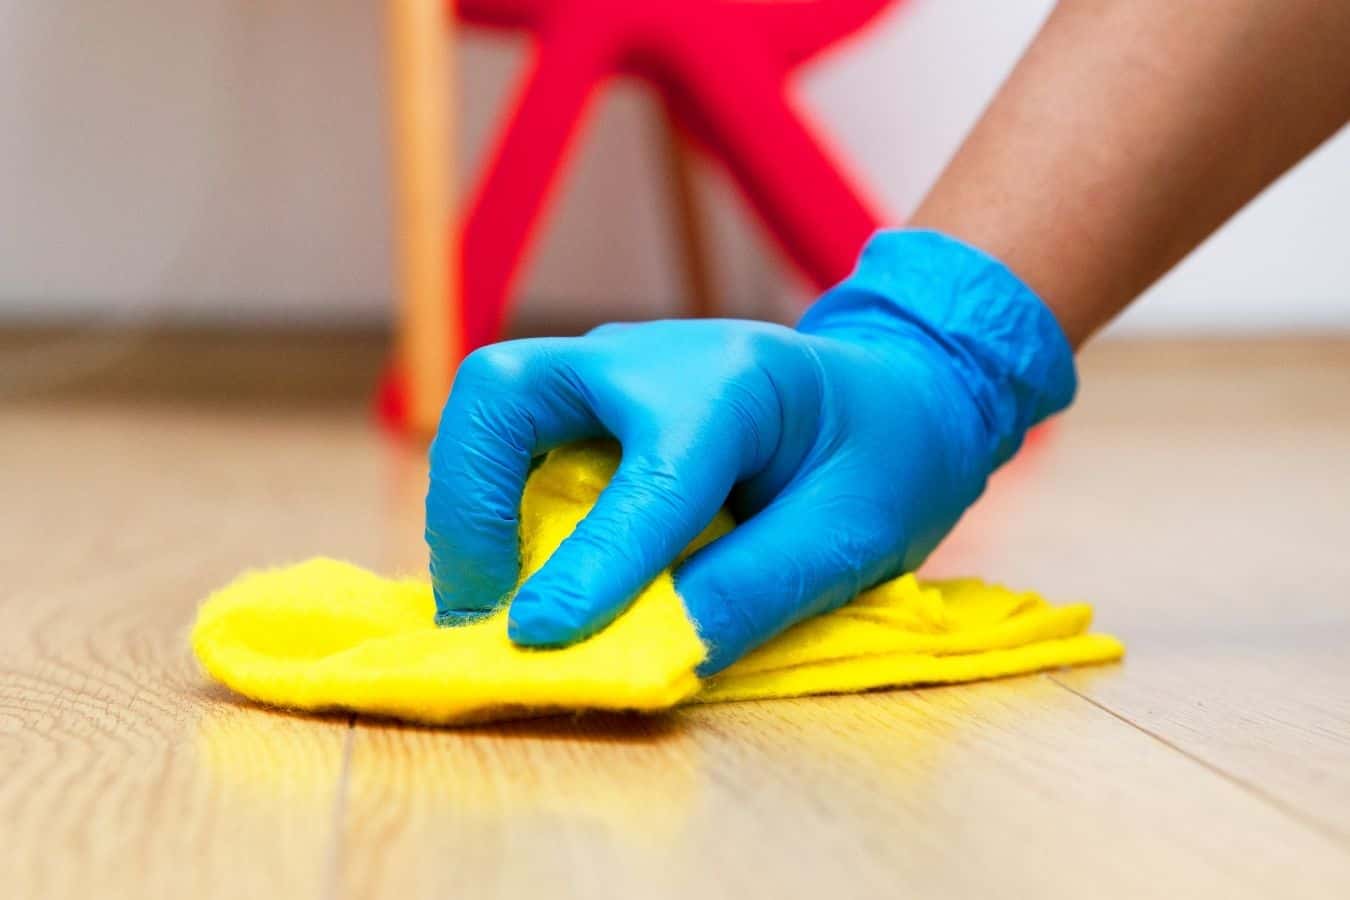
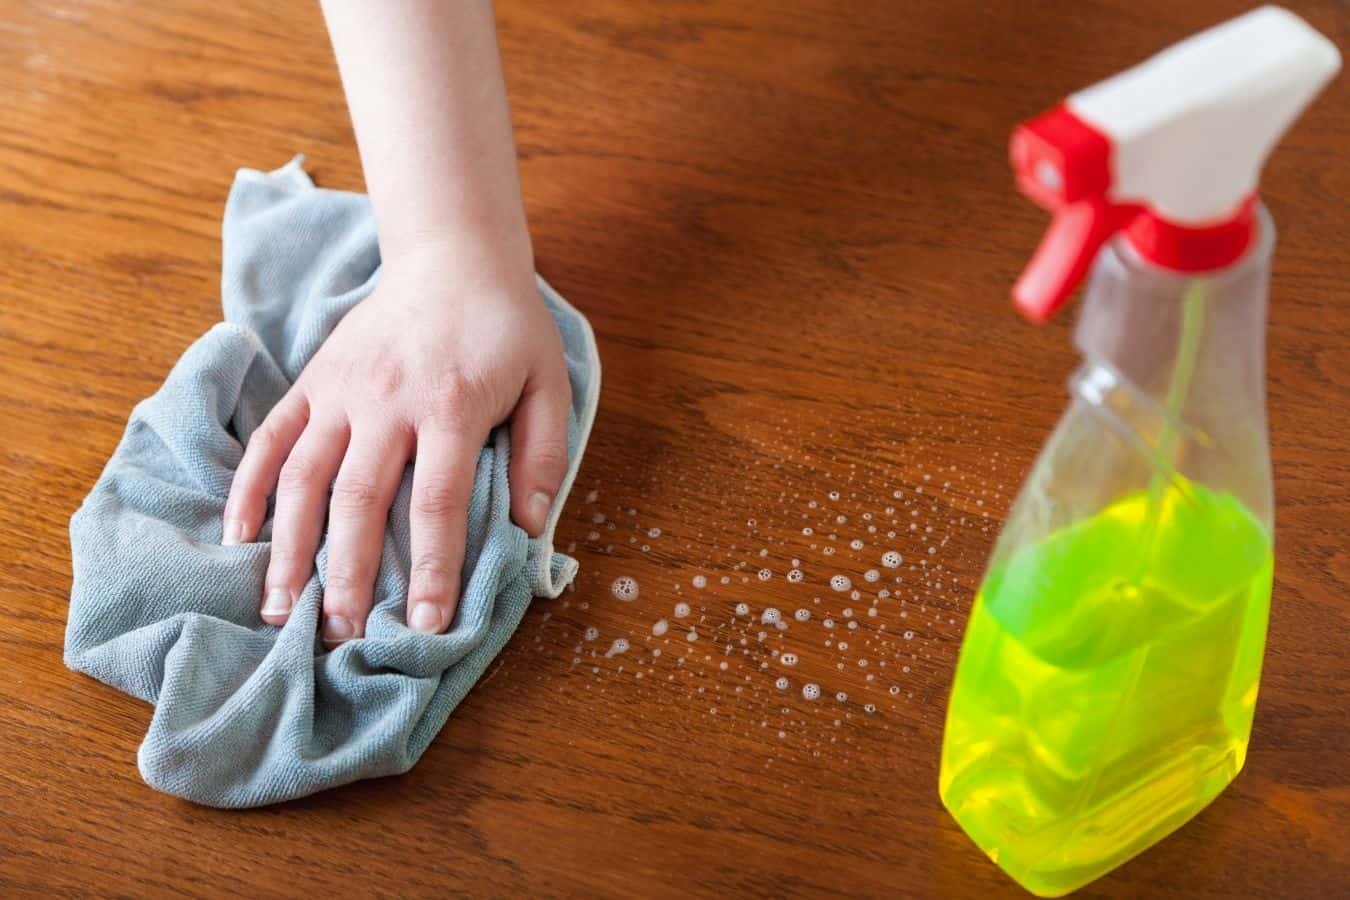
Soap and Water: Seriously, it’s the OG. For a recent spill, grab a soft cloth, dampen it with warm water, and add a drop or two of mild dish soap. Gently wipe the affected area. Don't scrub aggressively, as this can sometimes spread the dye or damage the wood’s finish. You’re aiming for a gentle lift, not a wrestling match. Wipe away any soap residue with a clean, damp cloth, and then dry thoroughly with a soft, dry towel. Easy peasy, right?
Baking Soda Paste: This is a bit more of a scrub, but still pretty gentle. Mix baking soda with just enough water to create a paste – think the consistency of toothpaste. Apply this paste to the stained area and let it sit for a few minutes. Then, using a soft cloth or a very soft-bristled toothbrush (like one you’d use for delicate cleaning), gently rub the paste into the stain. The mild abrasiveness of the baking soda helps to lift the pigment without being too harsh. Rinse the area with a damp cloth and dry it well.
It’s like giving your wood a gentle facial, a little exfoliation to reveal its natural beauty again. And the best part? Baking soda is super cheap and readily available. It’s a win-win situation!
Stepping It Up: For When the Dye is a Bit Stubborn
If the gentle methods haven’t quite done the trick, it’s time to bring out some slightly more potent, but still safe, household heroes. These are for those stains that have decided to dig their heels in a little.
Rubbing Alcohol (Isopropyl Alcohol): Now, be a little cautious with this one. Always test it on an inconspicuous area of the wood first to ensure it doesn’t damage the finish or bleach the wood itself. If it’s safe, dampen a cotton ball or a soft cloth with rubbing alcohol. Gently dab or rub the stain. The alcohol acts as a solvent, helping to break down the dye. Work in small sections and don't let the alcohol sit on the wood for too long. Wipe away any residue with a damp cloth and dry immediately. It’s like a gentle chemical nudge to get that dye moving.

Think of rubbing alcohol as the friendly but firm neighbor who comes over to help. It gets the job done without being overly aggressive.
Toothpaste (Non-Gel): Yes, you read that right! Regular, white, non-gel toothpaste can work wonders. It contains mild abrasives that can help lift stains. Apply a small amount of toothpaste directly onto the stain. Using a soft cloth or your finger, gently rub the toothpaste into the stain in a circular motion. Let it sit for a few minutes, then wipe it clean with a damp cloth and dry. This is particularly effective on lighter wood finishes. It’s like a mini polishing session for your wood!
Who would have thought that the stuff you use to keep your smile bright could also bring back the shine to your wood? It’s a testament to the multipurpose magic of everyday items.
The “Advanced” Level: For the Truly Determined Stains
If, after trying the above, you’re still looking at a colorful reminder of your hair-dyeing adventure, it might be time for something a little stronger. Again, always test first on a hidden spot! We’re talking about the wood’s finish here, so we want to be respectful of its delicate nature.
Nail Polish Remover (Acetone-Free): This is where you need to be especially careful. Acetone can strip finishes and damage wood. Opt for an acetone-free nail polish remover. Dampen a cotton swab or the corner of a soft cloth with the remover. Gently dab at the stain, working from the outside in to avoid spreading it. You’re looking for the dye to transfer onto the swab. As soon as the stain starts to lift, stop. Wipe the area with a clean, damp cloth to remove any residue, and then dry immediately. This is for emergencies only, like a superhero swooping in for the rescue.

Commercial Wood Stain Removers: If all else fails, there are specific products designed to remove stains from wood. These can be very effective, but they often require more caution and precise application. Always read and follow the manufacturer’s instructions to the letter. You might need to ventilate the area well, wear gloves, and protect surrounding surfaces. These are like the highly specialized tools in a mechanic's toolkit – very effective, but you need to know what you’re doing.
Important Considerations (Don’t Skip This Part!)
Before you go full DIY warrior, there are a few crucial things to keep in mind. This isn't just about getting the dye off; it's about doing it without causing more damage. Think of it like performing surgery – precision and care are key!
* Identify Your Wood Finish: Is it sealed? Varnished? Oiled? Painted? The type of finish will greatly affect how you should approach stain removal. Painted wood might be more forgiving to some methods, while a delicate veneer might require extreme caution. If you’re unsure, err on the side of caution.
* Test, Test, Test! I can’t stress this enough. Always, always, always test any cleaning solution on an inconspicuous area of the wood first. This could be the underside of a table, the back of a drawer, or a corner that’s not usually visible. Let it sit for the same amount of time you plan to let it sit on the stain. This simple step can save you a whole lot of heartache and costly repairs.
* Gentle is the Way to Go: Unless you’re dealing with a deeply ingrained stain on a very resilient finish, start with the gentlest methods. You can always escalate if needed, but you can’t un-damage wood.
* Work Quickly: The sooner you address the spill, the easier it will be to remove. Don't let it sit and soak in like a bad guest.
* Wipe, Don’t Scrub: Unless you’re using a gentle paste like baking soda, focus on dabbing and wiping rather than aggressive scrubbing. You want to lift the dye, not gouge the wood.
* Dry Thoroughly: After cleaning, make sure to dry the wood completely with a soft, clean towel. Excess moisture can also damage wood.
* Consider the Color of the Dye: Lighter dyes are generally easier to remove than darker, more potent shades. Red, for example, can be particularly tenacious. If you've got a vibrant red stain, be prepared for a bit more persistence.
So, there you have it! A relaxed, curious, and hopefully helpful guide to getting hair dye off your wood. It’s all about a little bit of knowledge, a dash of patience, and a whole lot of gentle persistence. Go forth, brave DIYer, and reclaim your wood!