How To Get Gum Off Of Clothes
:strip_icc()/how-to-get-gum-out-of-clothes-03-5664414-5f9586343bed4ba39668e5d1e5caaea5.jpg)
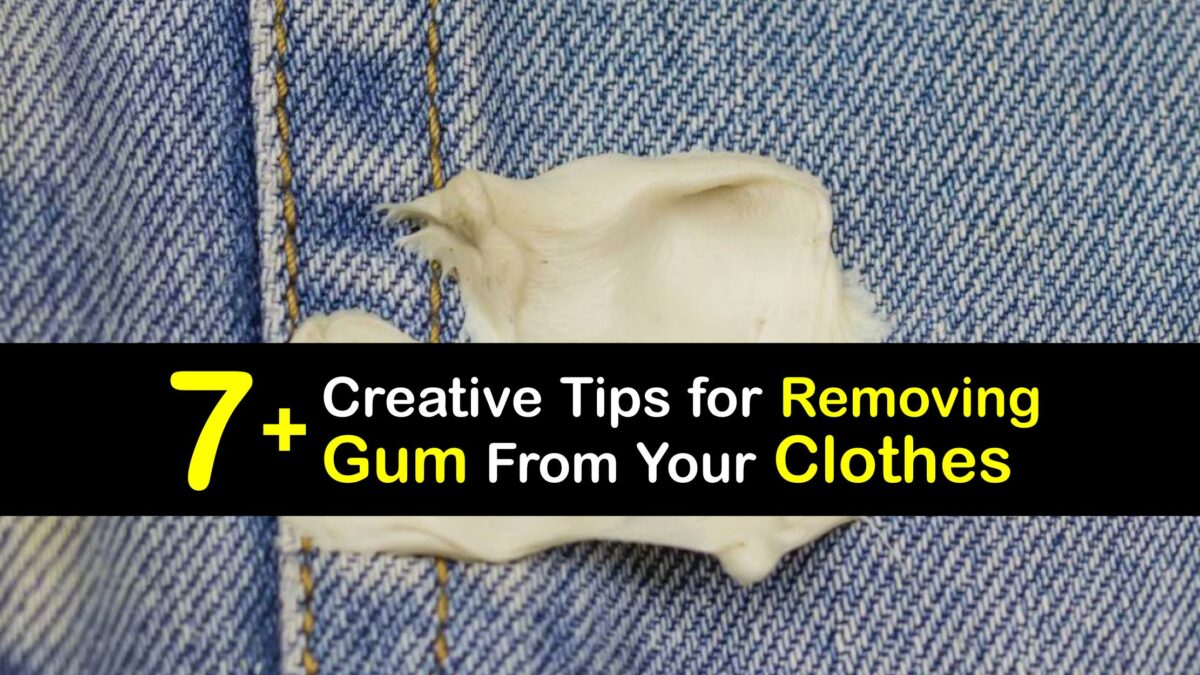
Oh, the sheer, unadulterated joy of discovering a sticky, pink blob of chewing gum adhered to your favorite pair of jeans. I remember it like it was yesterday. I was at a summer fair, enjoying a ridiculously oversized candy floss and, of course, a wad of bubblegum. Distracted by a particularly enthusiastic juggler, I somehow managed to transfer my minty companion from my mouth to the back pocket of my beloved denim. The horror! The sticky, stretchy horror!
Fast forward a few days, and that gum had become a fused, hardened entity, a permanent fixture of my otherwise stylish attire. I tried picking at it, you know, the gentle coaxing method. Nope. Then I escalated to scraping with a credit card. Zilch. It felt like I was trying to remove a barnacle from a ship's hull. Sound familiar? If you’ve ever faced this sticky predicament, then welcome, friend. You've landed in the right place. Because today, we're going to wage war on stubborn gum, and emerge victorious, with our clothes gloriously gum-free.
Let's be honest, nobody wants gum on their clothes. It’s the unwelcome guest that overstays its welcome and leaves a sticky residue. But hey, life happens! Kids are magnets for gum, and sometimes, despite our best efforts, it just finds a way. So, before you resign yourself to turning that perfectly good shirt into a makeshift cleaning rag, let's explore some ingenious (and dare I say, surprisingly easy) ways to banish that bothersome blob.
Must Read
The Cold Shoulder: Freezing It Out
This is often the go-to method, and for good reason. It's simple, effective, and doesn't involve any harsh chemicals. Think of it as giving the gum a really, really bad hair day. The extreme cold makes the gum brittle, so it loses its sticky grip. Genius, right?
Method 1: The Freezer Adventure
This is the classic. Grab the offending garment and stuff it into a plastic bag. Make sure the gum isn't directly touching the bag itself, if possible, or at least that it's not stuck to the sides too much. You don't want to transfer the problem!
Then, shove that bag into your freezer. Now, here's the crucial part: patience. You're going to want to leave it in there for at least a couple of hours. The longer, the better, especially if it's a thick blob of gum. Think of it as a deep freeze for your fabric's woes.
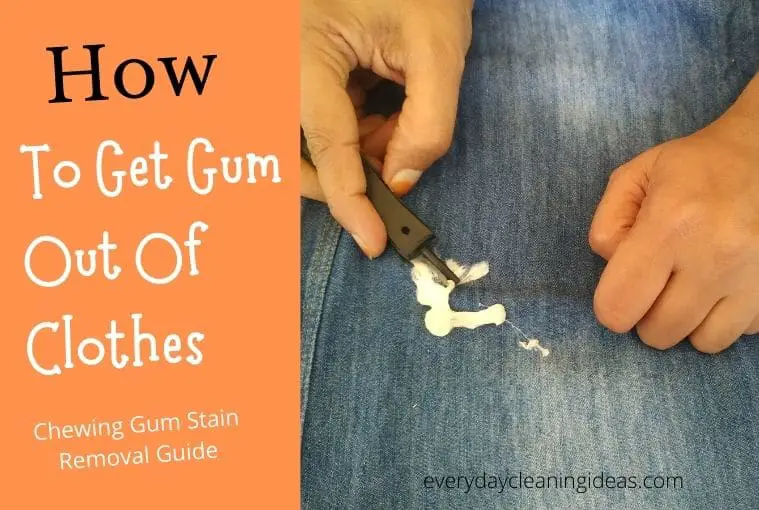
Once it's thoroughly frozen, take the garment out. The gum should be hard and rigid. Gently scrape it off. A dull knife, a plastic spatula, or even the edge of a credit card works wonders here. It should flake away quite easily. If there are any stubborn bits left, you might need to repeat the freezing process or move on to another technique.
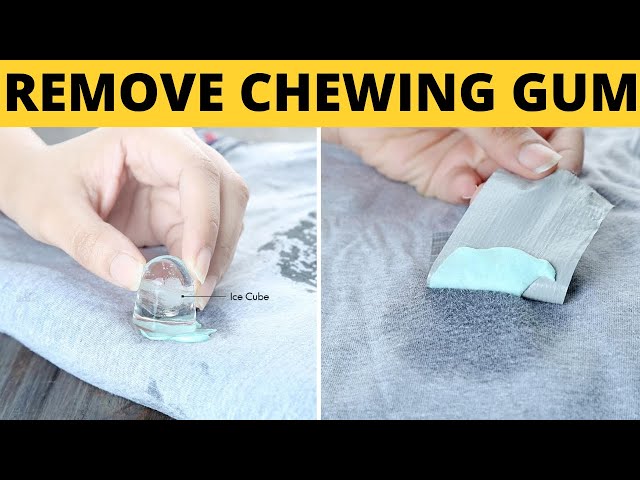
Method 2: The Ice Cube Intervention
No space in the freezer? Or maybe the gum is in a really awkward spot that won't fit easily? No worries! You can use ice cubes. Grab a few ice cubes and hold them directly on the gum. Keep applying pressure and moving the ice around so the gum gets thoroughly chilled.
This method is a bit more hands-on and might take a little longer than the freezer bag trick, but it's great for targeted treatment. As the gum hardens, use your scraping tool to remove it. You might need to keep replacing the ice cubes as they melt, so be prepared for a bit of a chilly battle.
Pro Tip: If you're dealing with a really old, deeply embedded gum stain, you might want to combine this with a bit of gentle washing afterwards to get rid of any residual stickiness or faint marks. But first, the scraping! Always scrape when it's frozen and brittle.
The Heat is On: Melting Away the Problem (Carefully!)
While freezing is usually the safest bet, sometimes a bit of heat can work wonders. This method is all about melting the gum just enough to lift it, without actually melting it into your fabric. So, proceed with caution here, and always test on an inconspicuous area first. We don't want to accidentally create a bigger mess!
Method 1: The Hair Dryer Technique
This is surprisingly effective and quite popular. Grab your trusty hair dryer and set it to a medium heat setting. You don't want it blasting on high, as that could potentially damage delicate fabrics or spread the gum.
Hold the hair dryer a few inches away from the gum and gently warm it up. Keep moving the dryer around to avoid overheating one spot. As the gum starts to soften and become pliable, use a paper towel or a cloth to carefully lift it away. You'll be dabbing and lifting, dabbing and lifting. It’s like a delicate dance with your garment.
Keep replacing the paper towel as it absorbs the melted gum. Once you've removed as much as you can, you might still have a slight residue. We'll tackle that later.
Method 2: The Ironing Board Maneuver
This one requires a bit more finesse. You'll need your ironing board, an iron (set to a medium-low heat, no steam!), and a piece of cardboard or brown paper bag.
Place the cardboard or paper bag on your ironing board. Then, lay the gum-covered part of your garment face down onto the cardboard. The idea is that the gum will stick to the cardboard as it melts, not to your iron or your fabric directly.
Now, gently iron the back of the fabric where the gum is. Apply light pressure. The heat from the iron will soften the gum, and as it melts, it should transfer onto the cardboard. Keep moving the fabric to a clean section of the cardboard as needed.
Important Note:* For synthetic fabrics like polyester or nylon, be *extremely careful with heat. They can melt easily. Always err on the side of caution with lower heat settings and shorter ironing times. If in doubt, stick to the freezing methods.
The Solvent Squad: Dissolving the Sticky Situation
Sometimes, freezing and heating just aren't enough. For those particularly stubborn, deeply embedded gum situations, you might need to call in the big guns: solvents. Now, before you go reaching for the industrial-strength stuff, let's talk about safe and effective household items that can do the trick.
Method 1: The Peanut Butter Powerhouse
Yes, you read that right. Peanut butter. The oils in peanut butter can break down the gum's stickiness. It sounds bizarre, but it works! It’s also a relatively safe option for most fabrics. Just make sure it's creamy peanut butter for easier application.
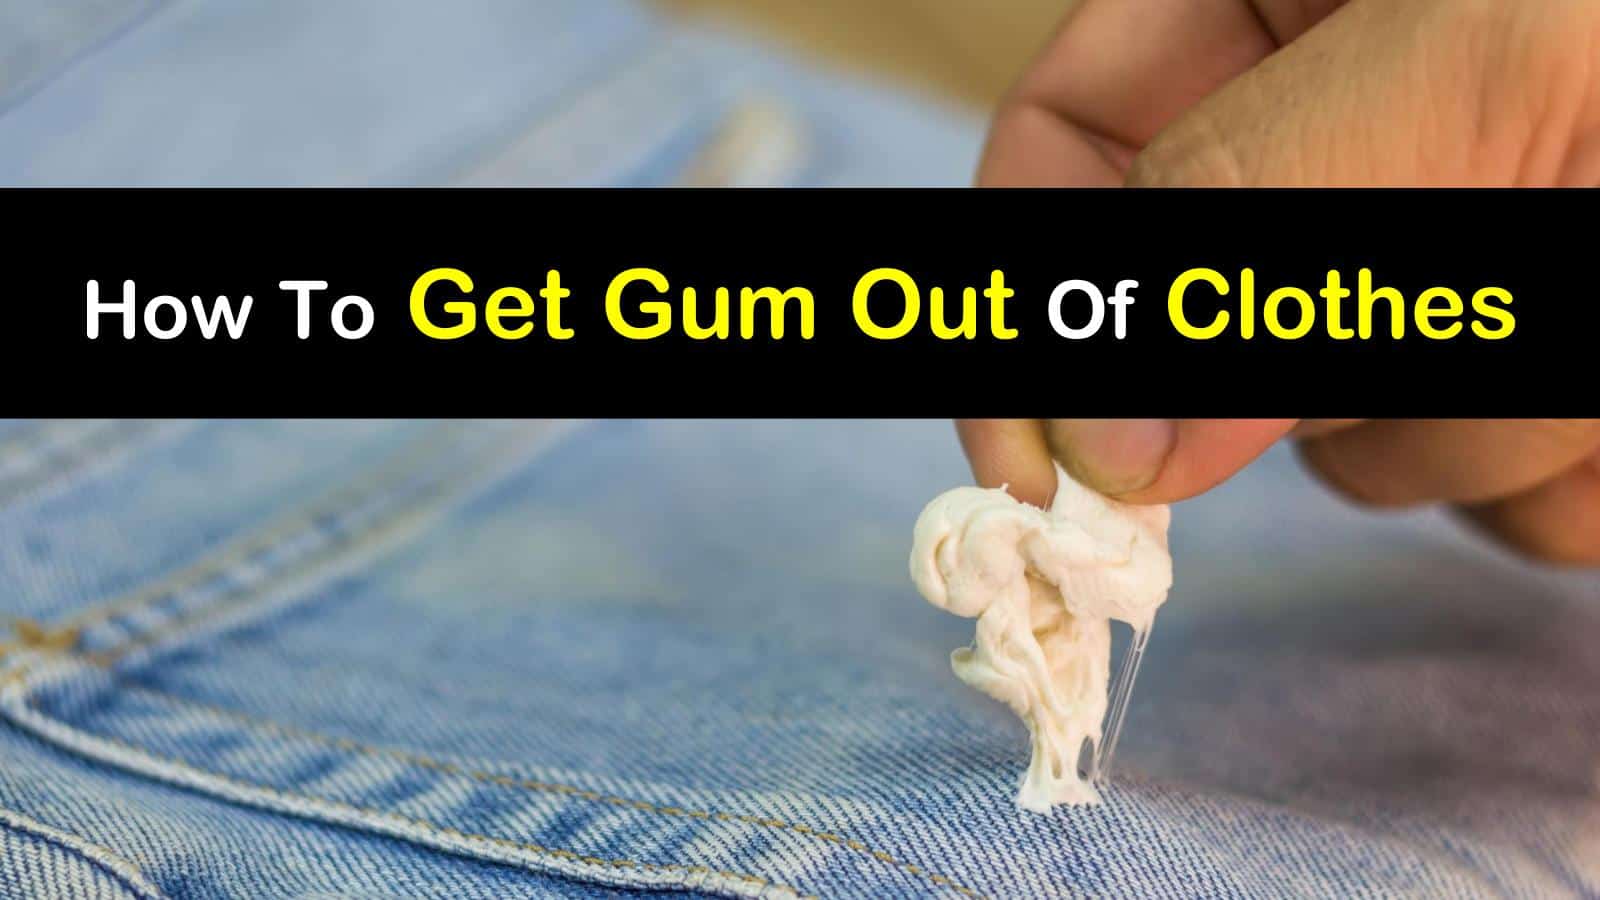
Apply a generous dollop of peanut butter directly onto the gum. Really work it in there, making sure it covers the entire blob. Let it sit for about 5-10 minutes. You'll feel the texture change as the oils start to work their magic.
Then, use a cloth or a soft brush to gently rub and scrape away the gum and peanut butter mixture. You might need to add more peanut butter if it's a large or stubborn patch. Once most of the gum is gone, you'll likely have a greasy stain from the peanut butter. Don't panic! We'll deal with that in the washing phase.
Method 2: The Vinegar Vanisher
White vinegar is another household hero. Its mild acidity can help dissolve the gum. It's particularly good for breaking down the sticky residue left behind. Again, test on an inconspicuous area first, especially on delicate or brightly colored fabrics.
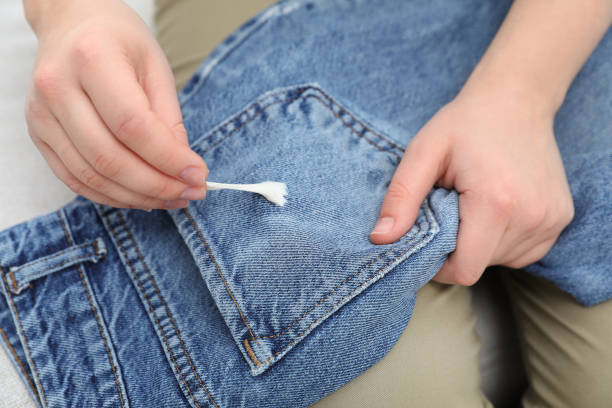
Warm up some white vinegar (don't boil it, just slightly warm). You can do this in a small bowl or in the microwave. Then, dip a cloth or an old toothbrush into the warm vinegar and gently dab and rub at the gum. Work from the outside edges of the gum inwards.
As the gum starts to loosen, use your scraper to lift it away. You might need to repeat the process a few times for tough spots. The vinegar smell will dissipate once the garment is washed.
Method 3: Rubbing Alcohol Rescue
Rubbing alcohol (isopropyl alcohol) is a powerful solvent that can effectively break down sticky substances. It evaporates quickly, which is a plus. However, it can sometimes affect dyes, so definitely patch test this one! It’s best for white or colorfast items.
Dab rubbing alcohol onto a cotton ball or cloth. Then, gently rub the gum. You should see the gum starting to dissolve and lift away. Use a clean part of the cloth or a fresh cotton ball as you go to avoid spreading the dissolved gum.
Keep working at it until the gum is gone. You might want to rinse the area with water afterwards to remove any alcohol residue.
Method 4: WD-40 Wonder (Use with Extreme Caution!)
Okay, this is a bit of a more "extreme" option, and I'm only mentioning it because it can work. WD-40 is a lubricant and can break down sticky residues. HOWEVER, it’s an oil-based product, and it will leave an oil stain. So, if you choose this route, be prepared to deal with that stain immediately afterwards.
Spray a small amount of WD-40 directly onto the gum. Let it sit for a minute or two. Then, scrape the gum away. The WD-40 should help it slide off more easily.
Crucially, you MUST pretreat the oil stain immediately with a good grease-fighting dish soap or a laundry stain remover before washing. Otherwise, you've just traded one problem for another!
The Final Polish: Washing Away the Remnants
So, you've successfully (hopefully!) scraped, melted, or dissolved the majority of the gum. Congratulations! But there might still be a faint mark or a sticky residue left behind. Don't fret, this is where the washing machine comes to the rescue.
Pretreat any remaining marks. If you used peanut butter, you'll likely have a greasy spot. Apply a good quality dish soap (known for cutting grease) or a dedicated laundry stain remover to the spot and gently rub it in. Let it sit for at least 10-15 minutes, or even longer for tougher stains.
If you used vinegar or rubbing alcohol, a simple rinse with water might be enough, but a quick pretreat of any lingering marks never hurts.

Wash the garment as usual. Check the care label on your clothing to determine the best water temperature and cycle. For most gum-related issues, a regular wash should do the trick.
Inspect before drying! This is a SUPER important step. Once the washing cycle is complete, take the garment out and carefully inspect the area where the gum was. If there’s still any trace of it, DO NOT PUT IT IN THE DRYER. The heat from the dryer will set the stain, making it incredibly difficult, if not impossible, to remove.
If you see any remnants, repeat the relevant gum removal method (freezing is usually best for re-treating) and then wash it again. Patience is key here!
Once you're absolutely certain the gum is gone and there are no lingering marks, you can dry your garment as usual.
Bonus Wisdom: Prevention is Better Than Cure!
Now that you're armed with these excellent gum-busting techniques, let's talk a little about how to avoid the sticky situation in the first place. While it’s not always possible to prevent, a little awareness can go a long way.
Teach the kids (and yourself!) about responsible gum disposal. Those little foil wrappers are there for a reason! Teach them to wrap it up and throw it in the bin, not stick it under tables or on seats.
Be mindful of where you’re sitting or leaning, especially at outdoor events or on public transport. A quick visual scan can save you a world of trouble.
Consider chewing gum alternatives for situations where you're likely to be more distracted, like crowded events or when wrangling small children. Maybe a mint or a hard candy instead?
And finally, if you're going to chew gum in a precarious situation, keep a small packet of tissues or a wrapper handy. A quick wrap and stash can prevent a sticky disaster.
So there you have it! A comprehensive guide to tackling that pesky chewing gum problem. From freezing fury to solvent solutions, you're now equipped to win the war against sticky invaders. Remember, stay calm, choose your method wisely, and always, always inspect before you dry. Happy de-gumming!