How To Get A Rusted Screw Out
Ah, the dreaded rusted screw. We’ve all been there, haven’t we? It’s like the universe decided to play a prank on you, specifically targeting that one vital piece of hardware holding your dreams (or at least your shelf) together. You’re humming along, feeling pretty handy, maybe even channeling your inner Bob Vila, and then BAM! You meet the immovable object of oxidized metal. It’s the furniture equivalent of a stubborn toddler refusing to budge, or trying to explain the internet to your grandma. Utterly frustrating, and frankly, a little bit embarrassing when you’re left wrestling with a tiny piece of metal.
This isn’t a high-stakes engineering problem, mind you. This is everyday life. You’re trying to fix that wobbly chair that’s been giving you the side-eye for months, or maybe you’re finally tackling that dusty old toolbox to find that one elusive wrench. Whatever it is, that rust-caked screw is standing between you and victory. It’s mocking you with its reddish-brown defiance, whispering sweet nothings like, “You’ll never get me out, you mere mortal!”
First things first, don't panic. Seriously. Take a deep breath. Remember that time you accidentally used salt instead of sugar in your coffee? This is way less disastrous. We’re going to approach this with a little bit of patience, a dash of ingenuity, and maybe a tiny bit of brute force. Think of it as a friendly negotiation with a very stubborn piece of metal. We’re not going to win by yelling, but by being clever.
Must Read
The Opening Salvo: Assess the Situation
Before we go full Hulk smash, let’s take a moment to survey the battlefield. What kind of screw are we dealing with? Is it a Philips head, looking all cross-eyed? A flathead, like a tiny, angry road? Or something more exotic, like a Torx, which always looks like it’s judging your life choices?
The condition of the screw head is also crucial. Is it rounded out, looking like a worn-out penny? Or is it still relatively intact, just stubbornly fused to its surroundings? Knowing your enemy is half the battle. It’s like knowing your cat is plotting to knock something off the counter – you can at least brace yourself.
And what are we trying to extract this rusty fiend from? Is it soft wood, where it’s dug in like a tick? Or is it hard metal, where it’s practically welded in place? The material will affect how much force you can apply without causing more damage. We’re aiming for “out,” not “further broken.”
The Gentle Persuasion: Lubrication is Your Friend
This is where the magic starts. If the screw is being difficult, it’s probably because it’s friends with the rust, and they’re having a little party together. We need to politely break up that party. The best way to do this is with a little bit of liquid courage… for the screw, that is.
Enter the star of our show: penetrating oil. This stuff is like a tiny, metal-loving superhero in a can. WD-40 is the most common, and for good reason. It’s like the Swiss Army knife of lubricants. You spray it on, and it works its way into all those tiny nooks and crannies where the rust has decided to set up camp.
Now, don't just give it a quick squirt and expect miracles. You need to let it work its magic. Think of it as giving the screw a little spa treatment. Apply the oil liberally, let it sit for at least 15-30 minutes. For really stubborn cases, you might even let it soak overnight. You’re basically telling the rust, “Hey, buddy, your lease is up, and this oil is your eviction notice.”
While you’re waiting, you can do something else productive. Maybe make a cup of tea, ponder the meaning of life, or, you know, actually fix another, non-rusted screw. It’s all about managing your frustration levels. Patience, grasshopper.
Tap, Tap, Tap: The Persuasive Pounding
Sometimes, the oil just needs a little… encouragement. After it’s had its soaking time, gently tap the head of the screw with the handle of your screwdriver or a small hammer. Don't go crazy here. We’re not trying to redecorate the furniture with hammer marks. Just a few firm taps. This can help break the rust bond and allow the penetrating oil to seep in even further.
Think of it like this: You’ve got a friend who’s been stuck in their ways for ages. A little nudge, a gentle shake, and suddenly they’re ready to see things from a new perspective. That’s what you’re doing for the screw. You're giving it a wake-up call, saying, “Come on, buddy, time to move on!”
The Grip Game: Choosing the Right Tool
This is where many DIY dreams go to die. Using the wrong screwdriver is like trying to eat soup with a fork – it’s just not going to end well. You’ll strip the head, making your life exponentially harder. We've all seen those screw heads that look like they've been attacked by a tiny, angry badger. That’s the result of the wrong tool.
![How to Remove Rusted Bolts [Simple & Effective Methods] | CRC](https://www.crcindustries.com/media/amasty/blog/how-to-remove-rusted-bolts.webp)
For a Philips head, make sure your screwdriver has a tip that perfectly fits the cross shape. If it wobbles or feels loose, put it back. You want a snug fit, like a well-tailored suit for your screw. For flatheads, the width and thickness of the blade should match the slot. For Torx, well, you just need the right Torx bit. No improvising here, folks.
If the screw head is a little damaged, you might need to employ a different strategy. A rubber band can be your secret weapon. Place a wide rubber band over the screw head, then press your screwdriver into it and try to turn. The rubber can fill in the stripped gaps and provide extra grip. It’s like giving your screwdriver a grippy little glove.
Another trick is to use a dollar bill or even a piece of thin cloth. Fold it up a few times, lay it over the screw head, and then drive your screwdriver in. Again, it’s all about creating that extra friction and fill. It’s the DIY equivalent of a handshake that’s just a little bit too firm.
Escalation: When Gentle Persuasion Fails
So, you’ve oiled it, you’ve tapped it, you’ve used the right screwdriver, and it’s still being a stubborn mule. It’s time to bring out the big guns. But “big guns” in this context doesn’t mean a sledgehammer. It means slightly more specialized tools.
Pliers can be a lifesaver, especially if the screw head is raised enough to get a good grip. Locking pliers (like Vise-Grips) are even better. Clamp them down on the head of the screw as tightly as you can, and then try to twist. You’re essentially turning the screw by its head, bypassing the damaged slots. It’s like grabbing a particularly annoying pimple and… well, you get the idea.

If the screw is really, truly stuck, and the head is damaged, you might need to resort to a screw extractor. These are specialized bits that you drill a small pilot hole into the screw head, and then the extractor bit, which has a reverse thread, bites into the hole and unscrews the stubborn fastener. It’s like a tiny, metal parasite that’s programmed to remove its own kind. They’re relatively inexpensive and can save you a lot of grief.
Heat It Up (Carefully!)
This is a bit of an advanced maneuver, and you need to be careful with it, especially if you’re working with wood or anything flammable. But sometimes, a little bit of heat can work wonders. You can use a heat gun or even the tip of a soldering iron. The idea is to heat the metal of the screw, causing it to expand slightly. When it cools down, it contracts, which can break the rust bond.
Apply the heat for a short period, then immediately try to turn the screw with your screwdriver. Be cautious! You don’t want to scorch your furniture or start a small fire. This is best for metal-on-metal situations where flammability isn't a major concern. Think of it as giving the screw a brief, but intense, sauna session. It’s supposed to loosen up, not become charcoal.
The Last Resort: When All Else Fails
Okay, you’ve tried everything. The screw is still firmly in place, laughing in the face of your efforts. It’s time for the nuclear option. This usually involves destructive methods, so make sure you’re prepared to replace the screw (and possibly the surrounding material).
This is where the rotary tool (like a Dremel) with a cutting disc comes in. You can carefully cut a new, deeper slot into the screw head. This essentially turns a damaged Philips or Torx head into a flathead that you can then tackle with a larger screwdriver. It’s a bit like performing surgery on the screw, and you need a steady hand. Precision is key here.
Alternatively, if the head is completely mangled and you can't get a grip, you might have to resort to drilling the screw out entirely. This involves drilling a hole straight down through the center of the screw, effectively destroying it. You’ll start with a small drill bit and gradually work your way up to a size that’s slightly smaller than the screw's shaft. Once you’ve drilled through, you can often pull out the remaining pieces of the screw.
This is the equivalent of calling in the demolition crew. It’s messy, it’s noisy, and you’re definitely going to need a new screw. But hey, sometimes you have to break a few eggs (or screws) to make an omelet (or a functional piece of furniture).
Prevention is Better Than Cure
Now that you’ve (hopefully) conquered the rusted screw, let’s talk about how to avoid this drama in the future. A little bit of preventative maintenance goes a long way.
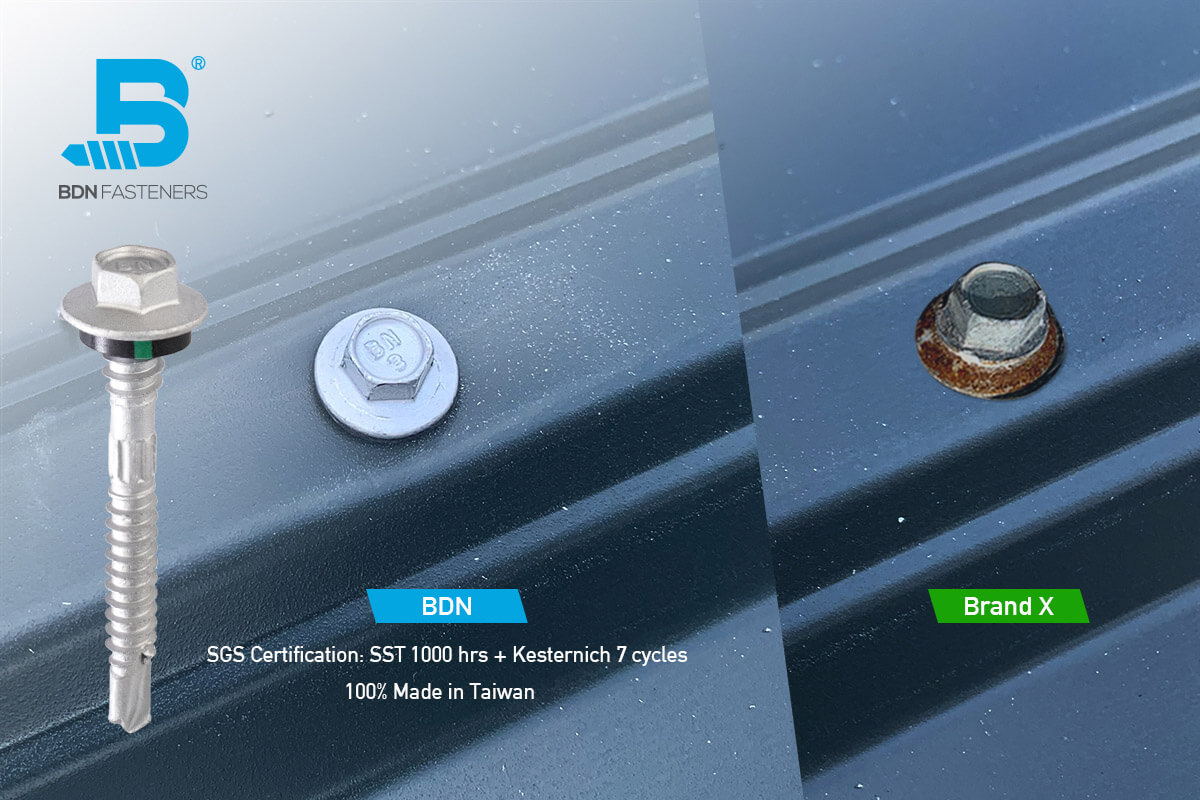
When you’re putting in new screws, especially in damp environments or if you’re working with untreated wood, consider using stainless steel or coated screws. They’re much less prone to rust. A dab of grease or anti-seize compound on the threads before screwing them in can also help. It’s like putting on sunscreen for your metal fasteners – it protects them from the elements.
And for those screws you’ve successfully removed? Give them a quick clean and a light coat of oil before storing them. They’ll be much happier, and so will you when you need them again.
So, the next time you encounter a rusted screw, don’t throw your tools across the room in despair. Remember these tips. Approach it with a bit of humor, a lot of patience, and the right approach. You’ve got this. You are the master of your own DIY destiny, one stubborn screw at a time.