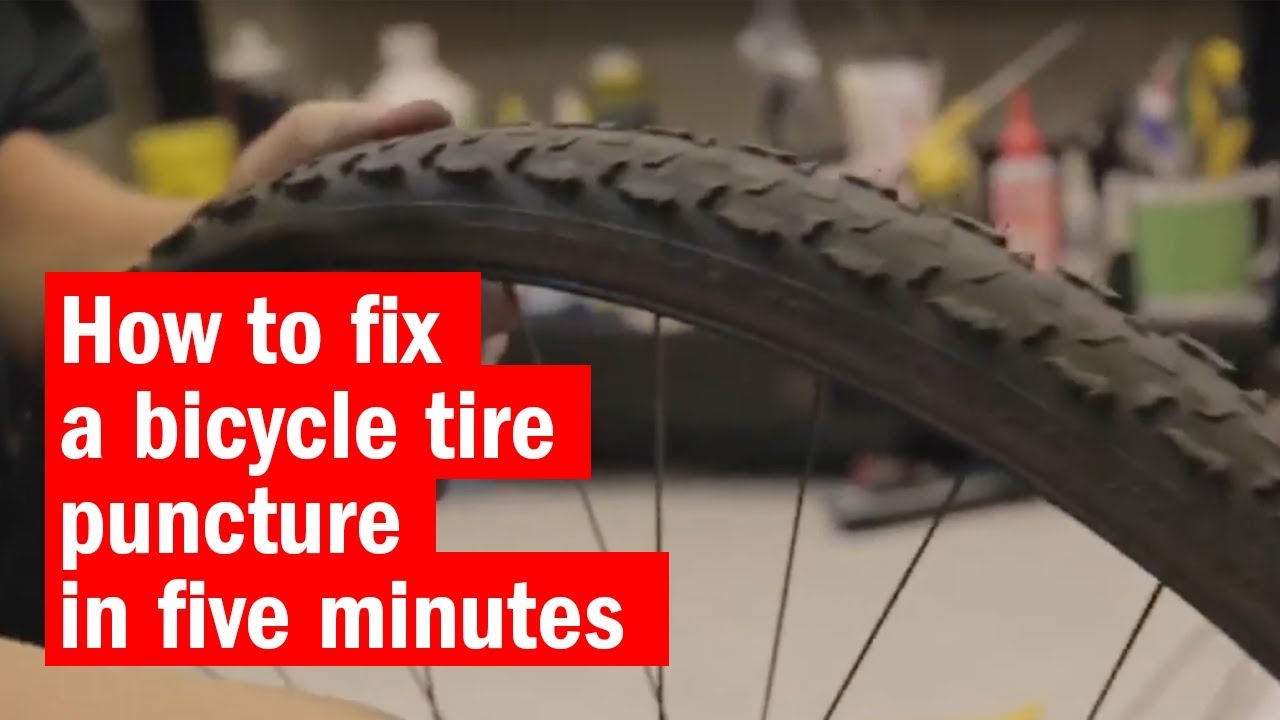
How To Fix A Tyre Puncture Bike
So, you're out for a lovely bike ride. The sun is shining. Birds are singing. Then, BAM! A flat tyre. Suddenly, your cheerful journey turns into a slightly less cheerful wrestling match with a deflated piece of rubber. Don't despair, my fellow cyclists! We're about to embark on a grand adventure. It's the adventure of fixing a puncture, a skill that separates the truly committed from those who sadly chain their steeds to a nearby lamppost in defeat.
Now, I know what you're thinking. "Fixing a puncture? That sounds complicated!" And, to be fair, it can feel that way the first few times. But I've got an almost unpopular opinion: it's not as bad as it seems. In fact, with a little patience and a dash of humour, it can be downright… satisfying. Like finding a lost sock in the laundry, but way more useful.
The Great Tyre Escape
First things first, you need to get that troublesome wheel off your bike. This is where things can get a little greasy. And a little awkward. Don't be surprised if you end up looking like you've auditioned for a grease monkey role. It's all part of the charm, really.
Must Read
You'll likely need to release the brakes. Some bikes have a little lever. Others make you feel like you need a degree in engineering to figure it out. Just wiggle things. If it looks like it might snap, maybe try wiggling a bit less vigorously. We're aiming for wheel removal, not a full bike deconstruction.
Then there are the nuts holding the wheel on. Or maybe you have those fancy quick-release levers. If it's the levers, just flick them open. If it's nuts, you'll need a spanner. Or a wrench, if you're feeling fancy. A good old-fashioned spanner usually does the trick. Just turn them counter-clockwise. It’s like unscrewing a stubborn jar lid, but with more metal.
Once those are loose, you should be able to gently pull the wheel free. If it’s the back wheel, you might have to fiddle with the chain a bit. Just ease it off the gears. It’s like guiding a very reluctant spaghetti strand.
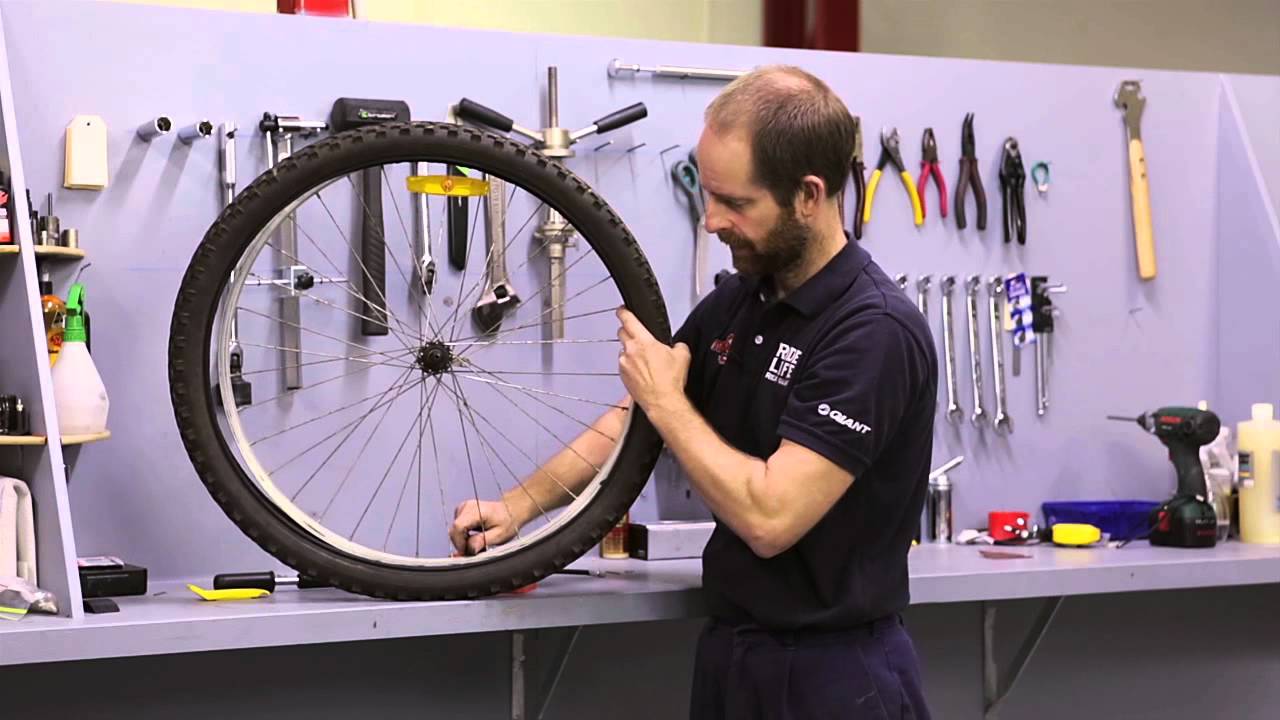
Tire Removal: The Rubber Roll-Out
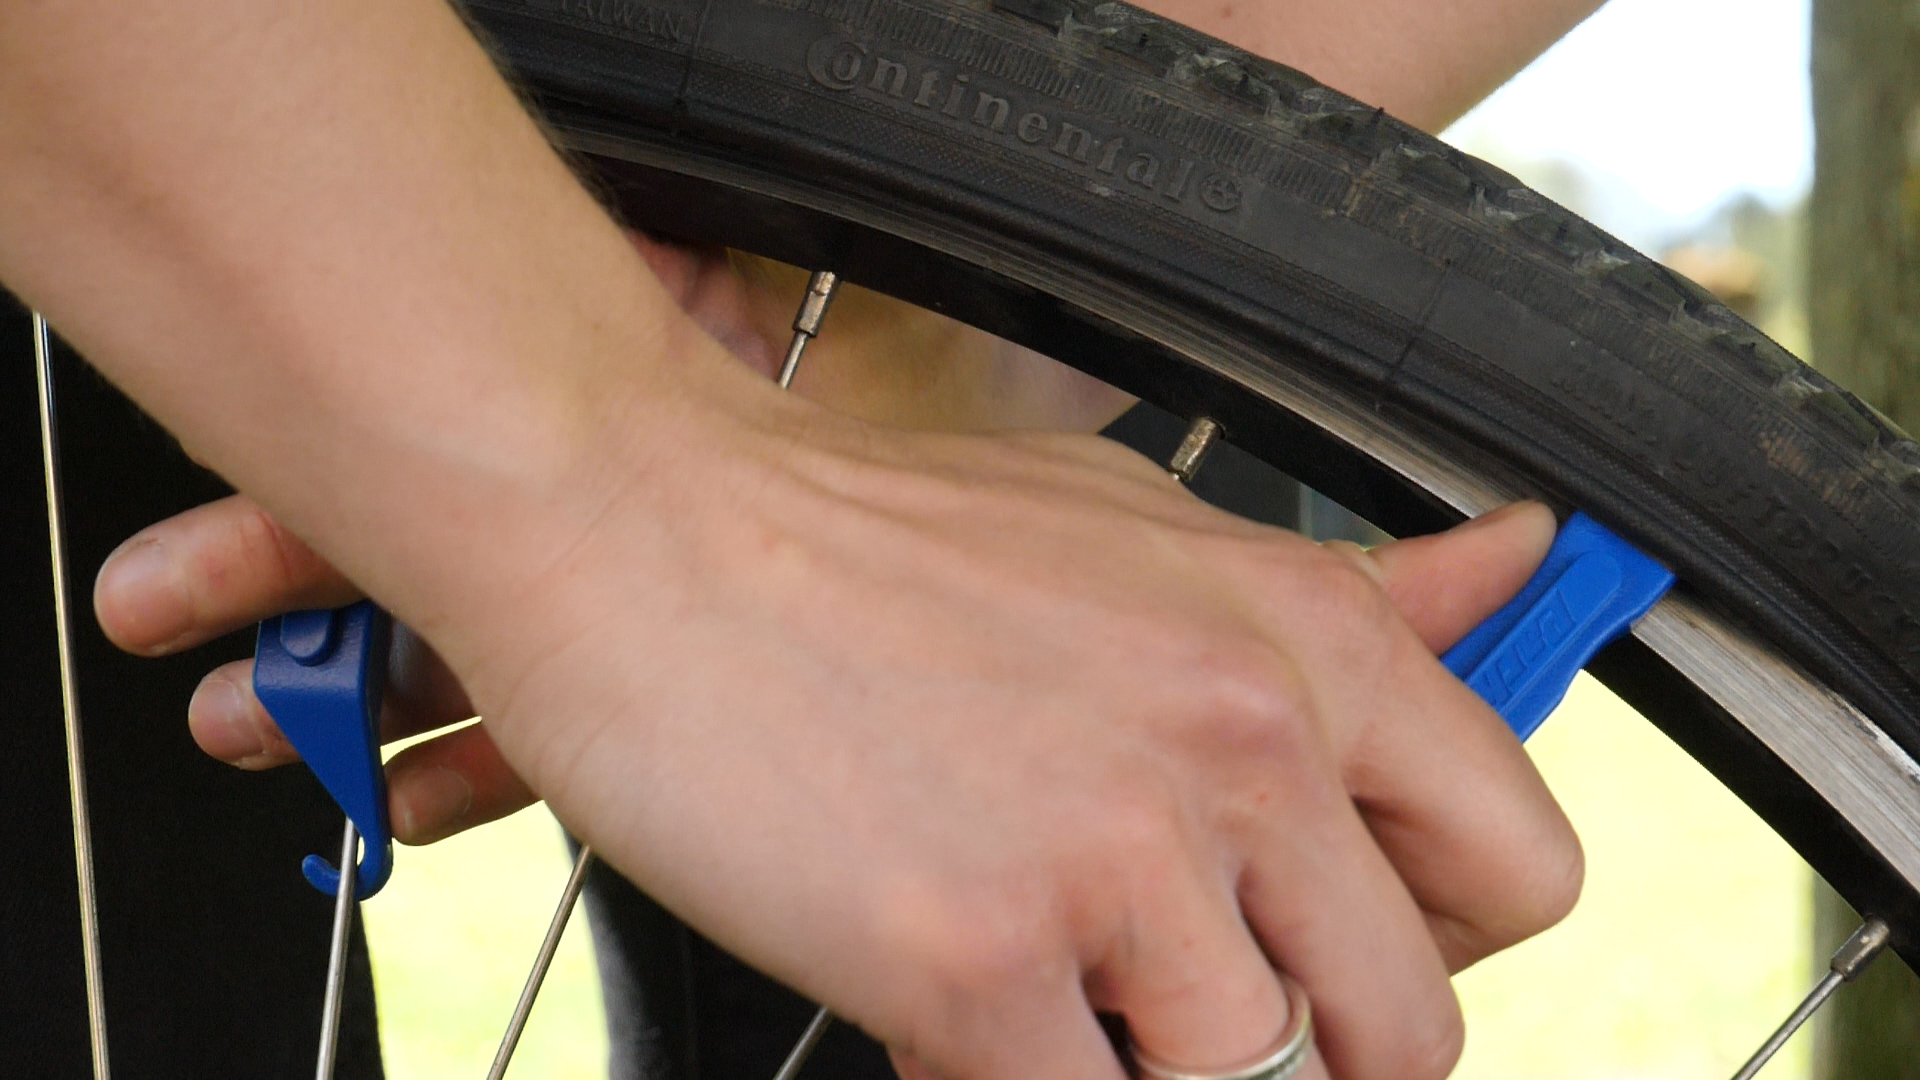
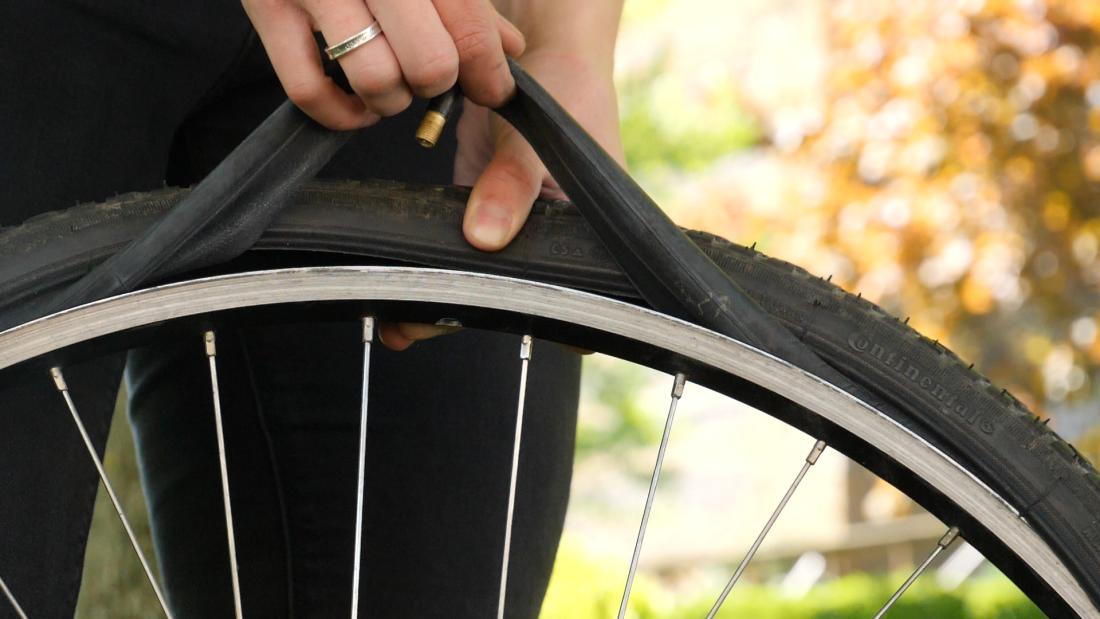
Now that your wheel is free, it’s time to get the tyre off. This is where those special tools called tyre levers come in handy. They look a bit like chunky plastic spoons, and they are your best friends in this situation. Don't try to use butter knives. They’ll bend, and you’ll feel silly. We’ve all been there, so no judgment.
You want to slide one of these levers under the edge of the tyre. There’s a little lip on the rim that the tyre sits on. Get the lever under that lip. Then, just pry it up and over the rim. You might need to hook the other end of the lever onto a spoke to keep it in place.
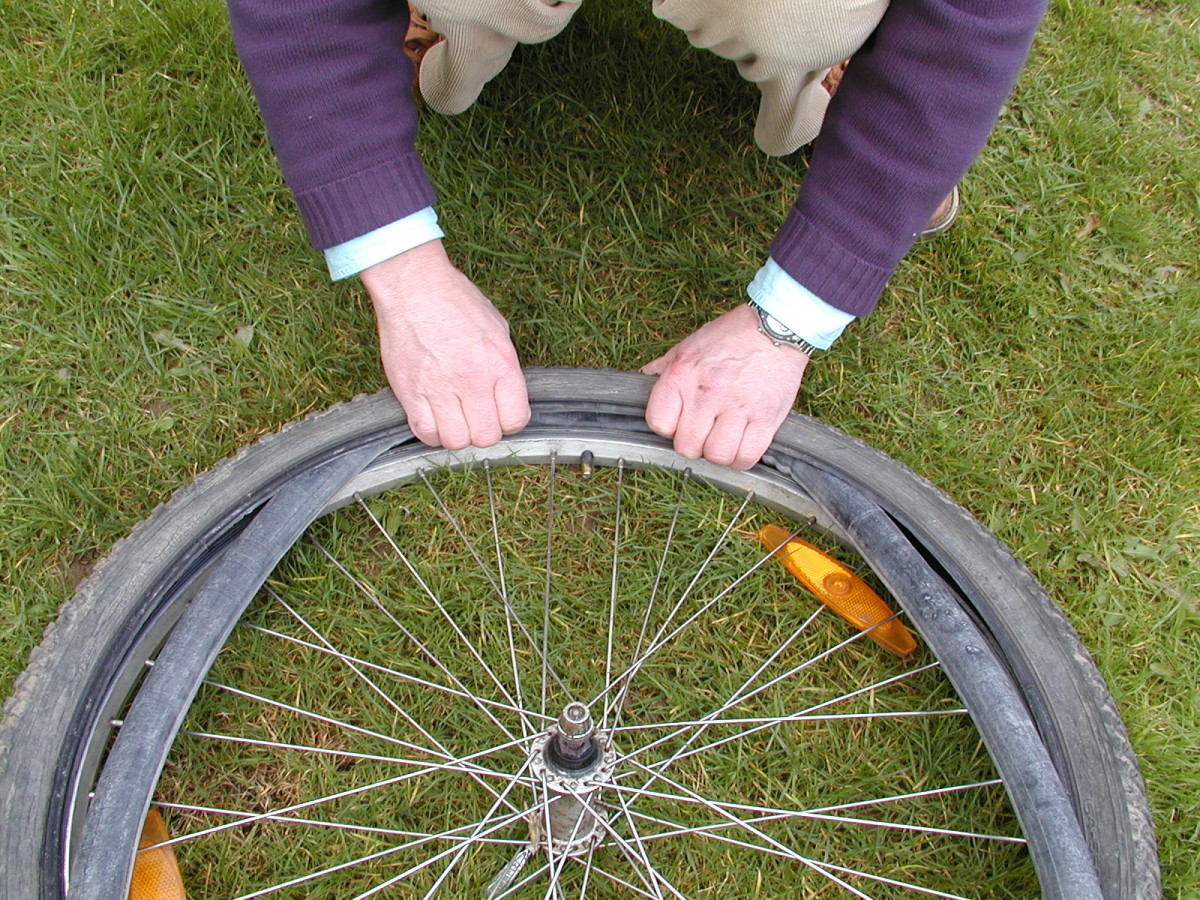
Now, get a second tyre lever a little further down. Hook it under the tyre and lever it over the rim too. Keep going around. It’s like undressing a very stubborn piece of clothing. Eventually, one side of the tyre will pop off the rim. Success!
Once one side is off, the rest usually comes pretty easily. You can often just pull the rest of the tyre off with your hands. It might still feel a bit tight, but it should yield to your persistent efforts. Imagine you’re peeling a giant, slightly sticky orange.
The Inner Tube Interrogation
With the tyre half off, you can now carefully pull out the inner tube. This is the squishy bit that holds all the air. Be gentle. It's been through a lot with you, after all.
Now, you need to find that dastardly hole. This is the moment of truth. You might have a pretty good idea of where it is if you heard a hiss. If not, well, it's treasure hunt time. The best way to find a tiny hole is to pump a little air into the inner tube. Just a few breaths, nothing too crazy.
Then, listen. Hold the tube up to your ear. Can you hear a faint hiss? If not, get it close to your lips. You might feel a tiny puff of air. Still no luck? This is where the unpopular opinion kicks in again. Submerge sections of the tube in water. If you have a puddle nearby, or a water bottle, this can work wonders. Watch for tiny bubbles. They are the tiny screams of the escaped air, betraying the location of the puncture.
Found it? Excellent! Now, let's talk about what caused it. This is crucial. Was it a tiny shard of glass? A sharp thorn? A rogue bit of metal? Whatever it was, it’s lurking in your tyre. You need to find it. Run your fingers carefully along the inside of the tyre. Feel for anything sharp. If you miss it, the new tube will just get punctured again. It's like a cruel joke played by the universe.
Patching Up the Problem (or Not!)
Okay, you’ve found the hole. Now what? You have two main options. You can patch it, or you can replace it. Most puncture repair kits come with little sticky patches and some glue. You clean the area around the hole, apply the glue, wait for it to get tacky, and then stick the patch on. Press down firmly. It's like giving the inner tube a very precise sticking plaster.
Or, and here’s another unpopular opinion, if you have a spare inner tube, just swap it out. Honestly, for most people, especially when you're out on the road, replacing the whole tube is quicker and more reliable. Patches can sometimes be a bit… temperamental. They’re like that friend who promises to be on time but always arrives fashionably late.
If you’re patching, make sure the area is really clean. And dry. And that you’ve found that nasty bit of debris in the tyre. Seriously, this is the most important part. You don't want a repeat performance of your flat tyre woes.
Reassembly: The Grand Finale
So, you’ve either patched your tube or got a shiny new one. Time to put it all back together. First, put a little bit of air into the new (or patched) inner tube. Just enough to give it some shape. This makes it easier to get it back inside the tyre without pinching it.
Tuck the valve stem through the hole in the rim. Then, carefully feed the rest of the tube inside the tyre. Make sure it’s not twisted. It should sit nice and evenly.
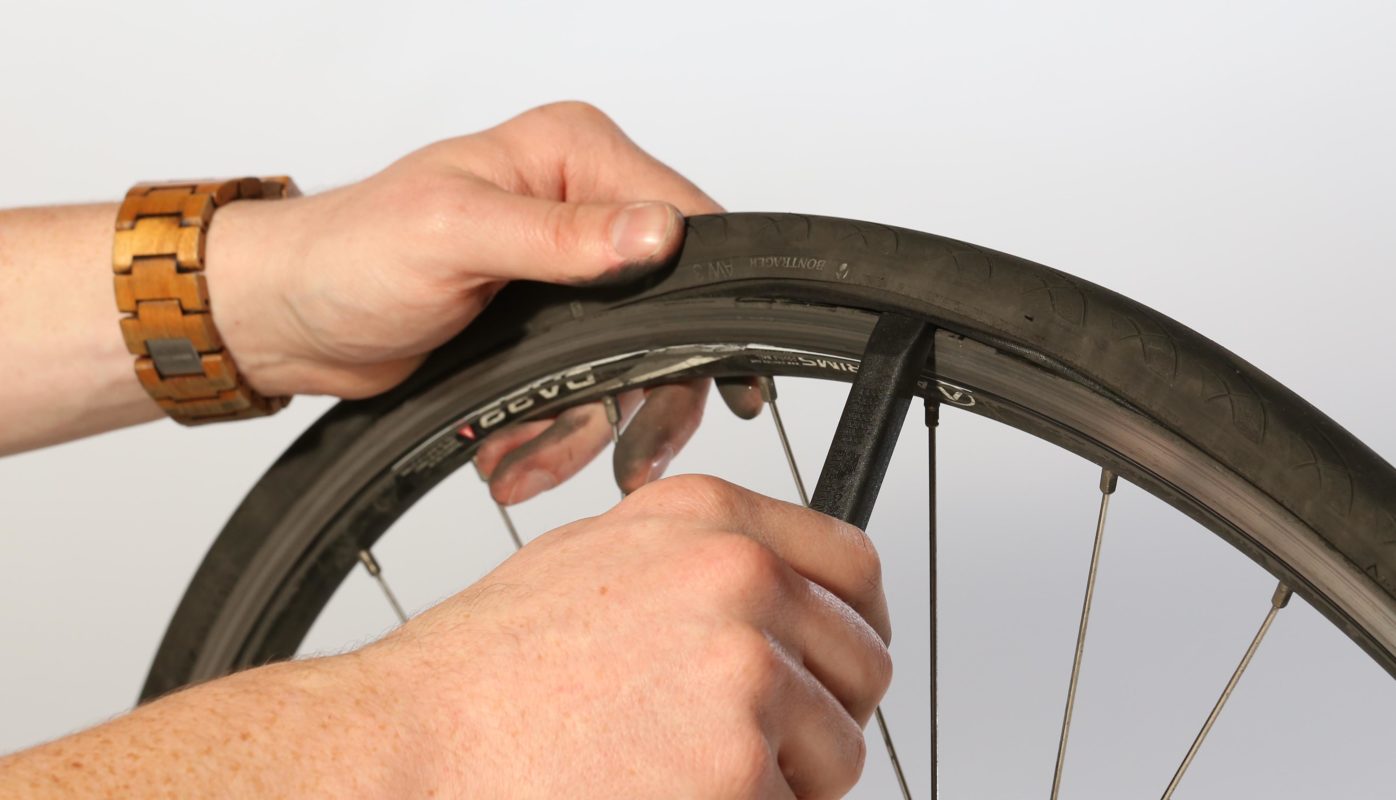
Now, it's time to get the tyre back onto the rim. Start at the valve. Work your way around, pushing the edge of the tyre back over the rim. You can use your hands for most of it. It might feel a bit tight, especially towards the end. This is where your tyre levers can come in handy again, but be careful not to pinch the inner tube with them.
Work slowly and deliberately. You want the tyre to sit evenly on both sides of the rim. If it looks a bit wonky, push it around until it looks right. Think of it as giving your tyre a good massage.
The Final Inflate
Almost there! You’ve done the hard work. Now you need to inflate your tyre. Use your pump. If you have a track pump, that’s great. If you have one of those tiny hand pumps, well, get ready for a workout. It’s like doing a hundred bicep curls, but with more air. Breathe in, pump, breathe out, pump.
Pump it up to the recommended pressure. You can usually find this printed on the side of your tyre. Don't over or under-inflate. Just aim for that sweet spot. You'll feel the tyre become firm and ready for action.
Spin the wheel to make sure the tyre is sitting evenly. If it looks good, you're done! Reattach your wheel to the bike, tighten those nuts or levers, re-engage your brakes, and you're ready to roll. You’ve conquered the puncture! You are a bike-fixing superhero. Now go enjoy that ride. You've earned it.