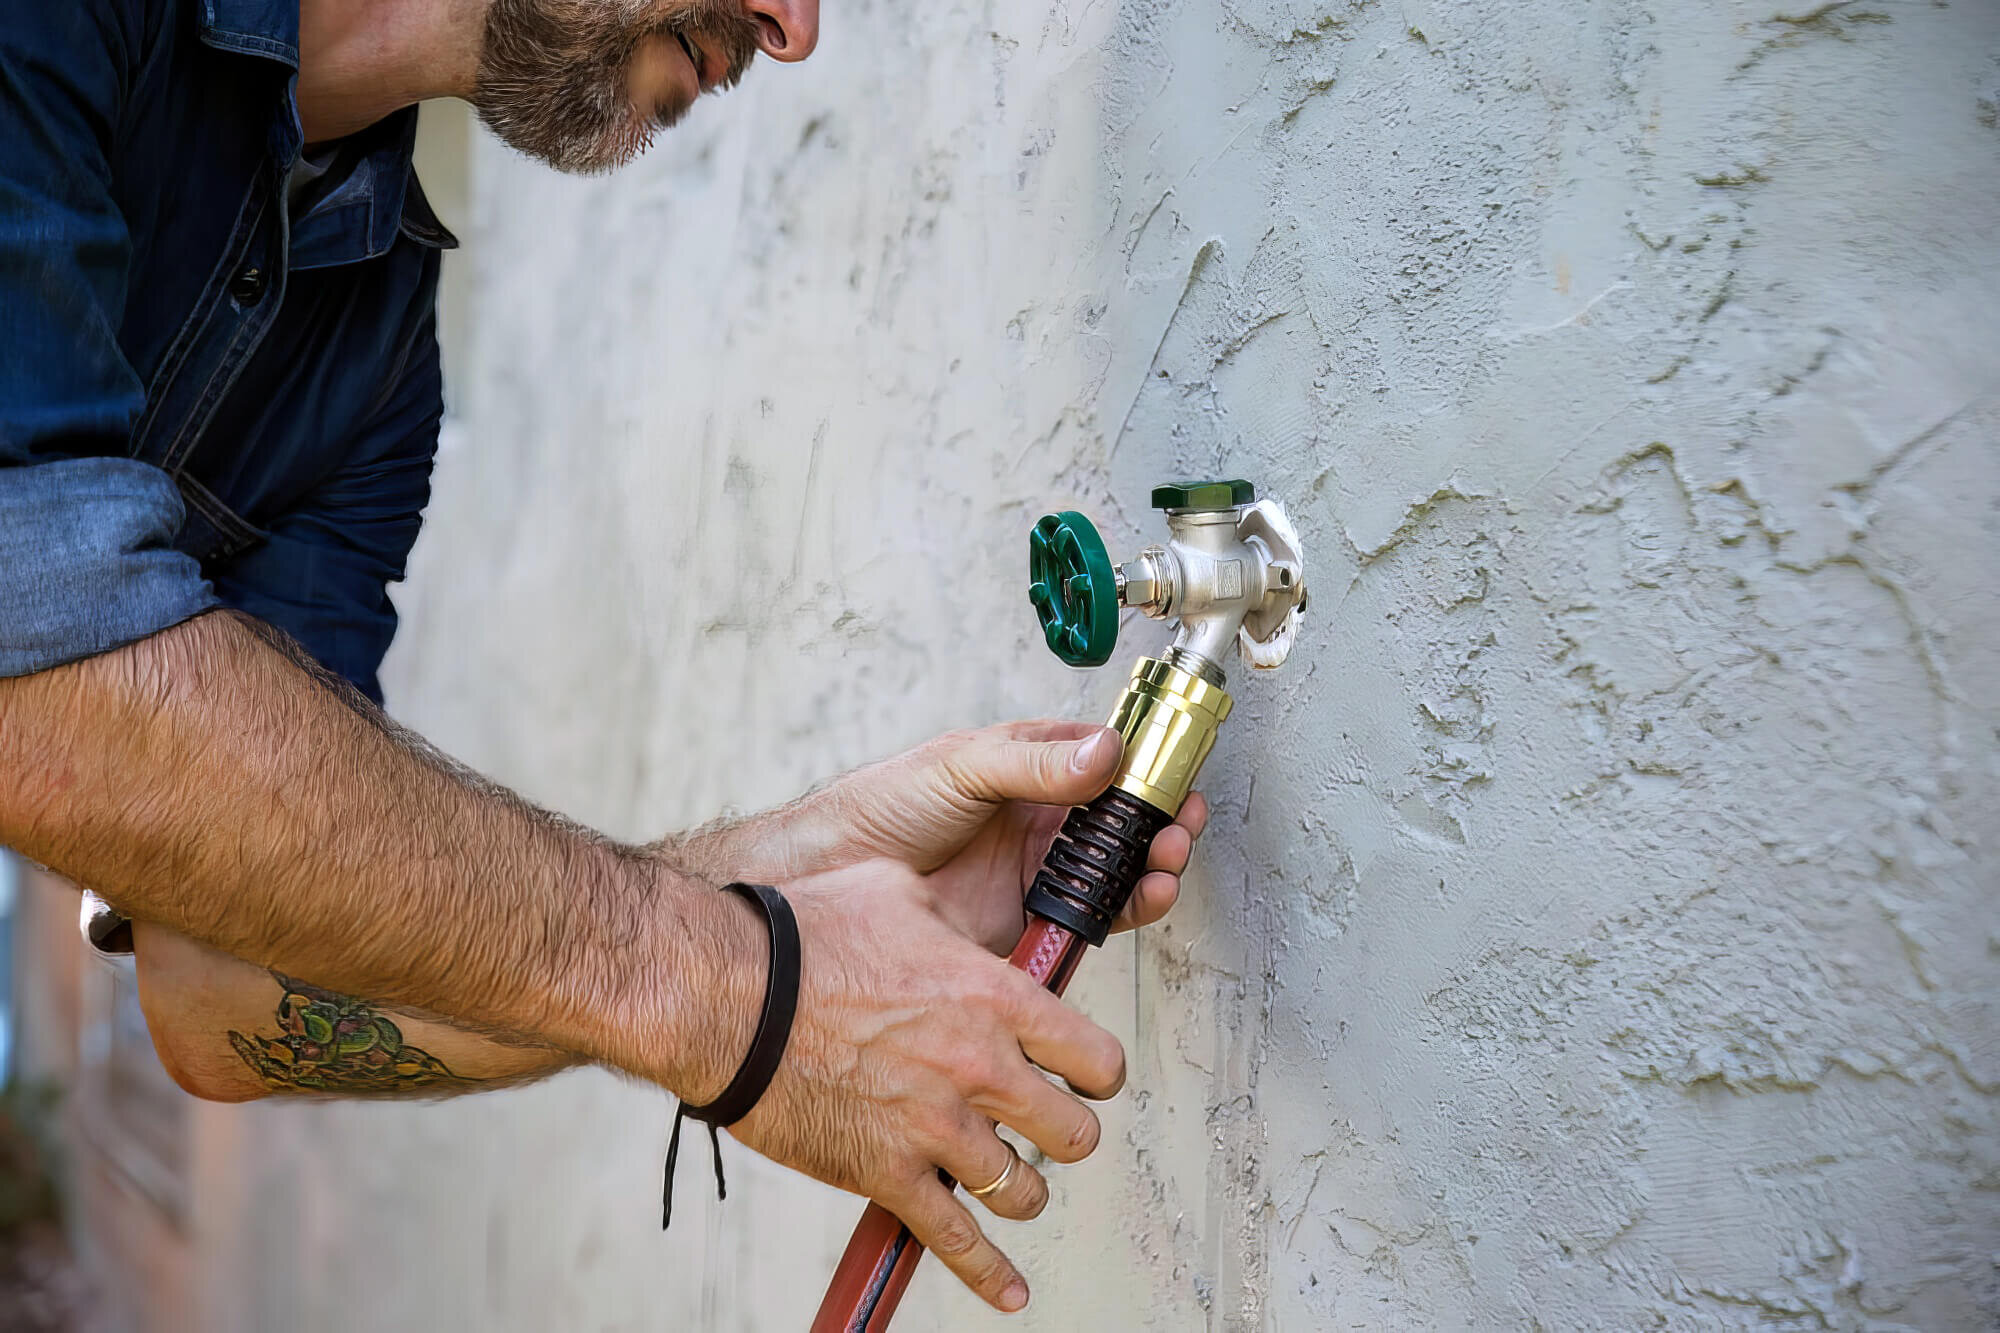
How To Fix A Leaking Garden Tap

Drip, drip, drip. Hear that? It's the sound of your garden tap staging a tiny, watery rebellion. Annoying, right? But also… kind of fascinating. Think of it as a mini-mystery. A plumbing puzzle waiting for your brilliant mind to solve.
Who knew fixing a leaky tap could be an adventure? It’s not just about stopping the annoying drip. It’s about becoming a DIY hero. A garden guardian. A maestro of marital harmony (no more nagging spouse about that persistent plink!).
Seriously though, a leaky tap is like a tiny, constant water bill. And who likes paying extra for… nothing? Plus, imagine all the tiny thirsty bugs that are probably having a party at your tap’s expense. We can’t have that, can we?
Must Read
The Plot Thickens: Why Does It Leak?
So, what’s the deal? Why is your tap so dramatic? Usually, it’s down to a few naughty culprits. The most common troublemaker? The humble washer. That little rubber ring inside the tap. It’s the unsung hero, working tirelessly to keep the water in its place. But even heroes get tired. Or, you know, brittle and cracked.
Another possibility is a worn-out valve seat. Think of this as the tap’s comfy chair. When it gets roughed up, the water finds it hard to settle down. Or maybe, just maybe, your tap is just getting old. Like a vintage car, it might need a bit of TLC to keep running smoothly.
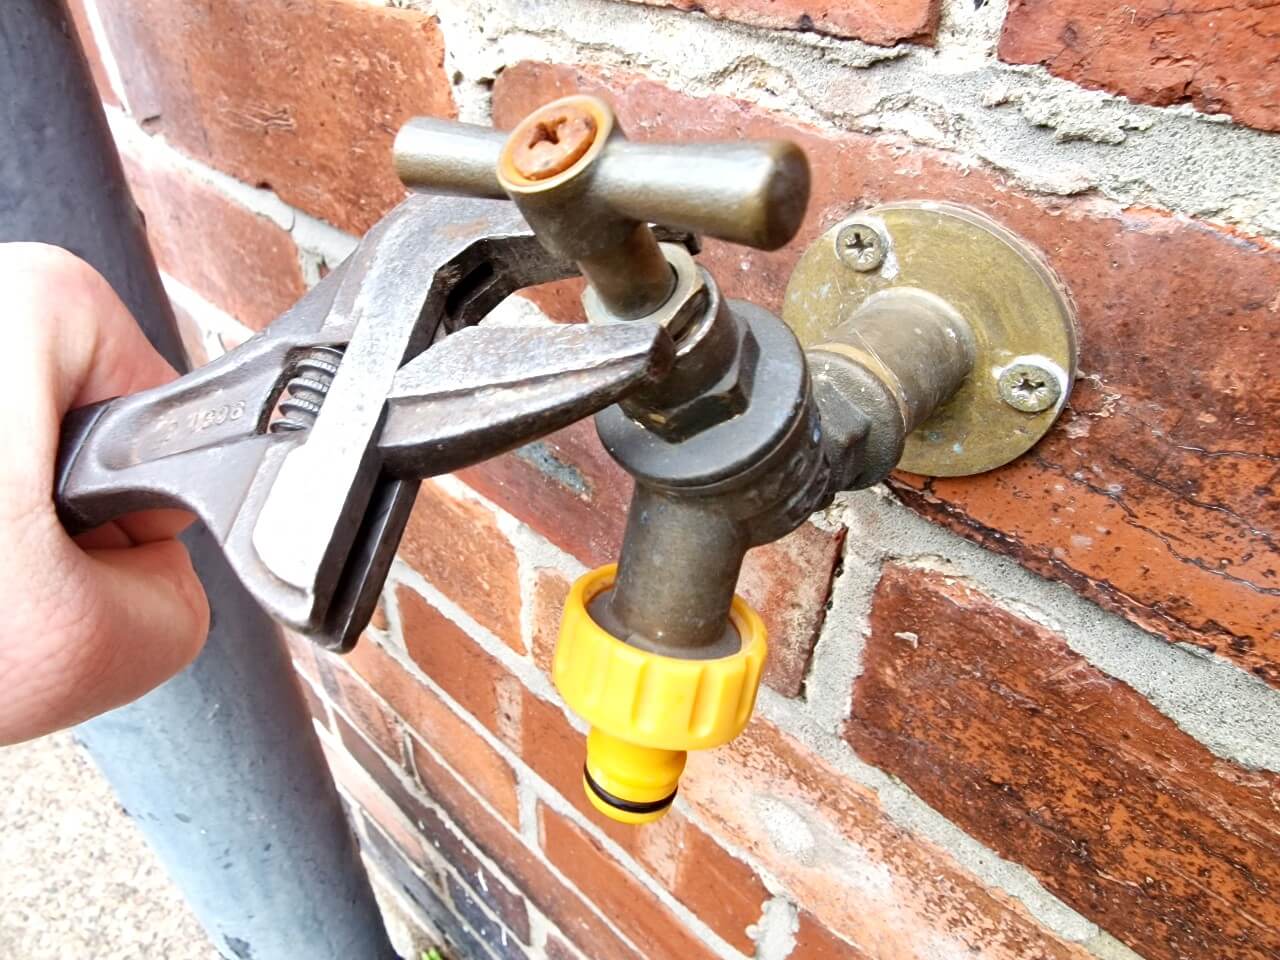
Operation Tap Rescue: What You’ll Need
Alright, ready to roll up your sleeves? Don't worry, you don't need a cape. Just a few handy tools. A spanner (or two!), some pliers, maybe a screwdriver. And of course, the star of the show: a replacement washer or two. You can pick these up at any hardware store. They’re tiny and look like little rubber donuts. Cute, right?

Think of it like getting ready for a miniature surgical procedure. You're the surgeon. The tap is the patient. And the washer is the vital organ you're replacing. Dramatic? Yes. Accurate? Pretty much.
Step 1: Turn Off The Water! The MOST Important Step.
This is not the time to be a daredevil. Seriously. Before you even think about touching a wrench, you must turn off the water supply. Look for a shut-off valve. It’s usually located near the tap, maybe on the pipe that feeds it. If you can’t find it, then you might need to turn off the main water supply to your house. Don’t panic! It’s usually a lever or a wheel. Just give it a good twist. Imagine you’re closing a secret portal to the land of endless water. Because you are.
This step is so important, it deserves a standing ovation. And a few extra reminders. Seriously, turn off the water. Nobody wants a surprise indoor fountain, especially not when you’re trying to be a DIY legend.
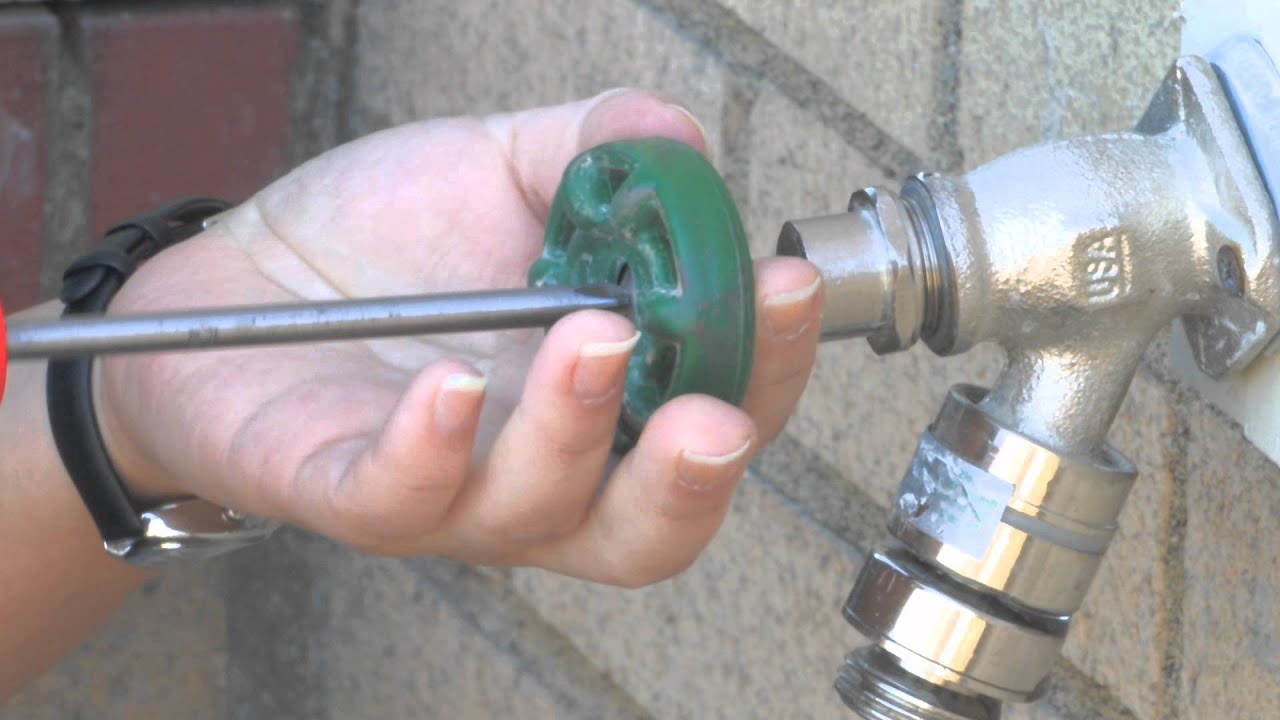
Step 2: Let’s Get This Tap Apart!
Now for the fun part. Carefully remove any decorative caps or handles. They’re usually held in place with a screw. You might need to gently pry them off. Be gentle! We’re fixing, not demolishing.

Once the handle is off, you’ll see a bit more of the tap’s inner workings. It’s like peeling back an onion, layer by layer. You might need to use your spanner to loosen a retaining nut. Again, gentle pressure is key. We’re not wrestling a bear here. We’re coaxing a stubborn tap into submission.
Step 3: The Washer Revelation
Aha! The moment of truth. With the tap’s innards exposed, you should be able to see the culprit: the washer. It’s probably looking a bit sad and worn. Maybe it’s cracked. Maybe it’s just… gone. Poof!
This is where your replacement washer comes in. Carefully remove the old one. You might need your pliers for this. Then, pop in the new one. Make sure it sits snugly. Think of it as giving your tap a fresh, comfortable cushion to sit on.
While you’re in there, it’s also a good time to check the valve seat. If it looks a bit rough, you can sometimes smooth it out with a special tool. But for a simple leak, a new washer is usually all it takes. It's the power of the donut!

Step 4: Reassembly: Putting Humpty Dumpty Back Together Again
Now it’s time to put everything back the way you found it. Reverse the process. Screw everything back together, but don’t overtighten. Again, gentle is best.
Imagine you’re a master Lego builder. You’ve taken it apart, you know how it works, and now you’re putting it back together perfectly. Each piece has its place. It’s a satisfying feeling, building something back up.
Step 5: The Grand Reveal!
Drumroll please… It’s time to turn the water back on! Slowly open up that shut-off valve. Hold your breath. And… drumroll fades… Is it still dripping? If you’ve done it right, the answer should be a resounding NO!
Give the tap a little turn. No drips? Success! You’ve done it! You’ve conquered the leaky tap. You are a legend in your own lunchtime. Go you!
When to Call In The Big Guns
Now, let’s be honest. Sometimes, taps are just… stubborn. If you’ve followed these steps and it’s still weeping, or if you’ve encountered something that looks way too complicated, don’t be afraid to call a professional plumber. They’re the Jedi Masters of plumbing. They’ve seen it all.
It’s not a failure to call for help. It’s wisdom. It’s knowing your limits. And hey, maybe you can peek over their shoulder and learn a thing or two for next time. It’s all part of the fun!
The Fun of the Fix
So, there you have it. Fixing a leaky tap. It’s a small job, but it’s surprisingly satisfying. It’s a little win. A tangible result of your efforts. Plus, think of all the water you're saving! That’s good for the planet. And good for your wallet. It’s a win-win-win situation!
Next time you hear that drip, don’t groan. Smile. Think of it as your friendly reminder that you’ve got the power to fix it. You’ve got the tools. You’ve got the spirit of adventure. You are the master of your tap destiny. Now go forth and conquer those drips!