How To Delete Sd Card On Mac

Hey there, tech wizard (or soon-to-be tech wizard)! So, you’ve got a tiny, mighty SD card, and it’s time for a digital spring cleaning on your trusty Mac. Maybe it’s stuffed with vacation photos that are now safely backed up, or perhaps it’s holding a project you’ve finally conquered. Whatever the reason, you’re wondering, "How do I delete stuff off this little guy on my Mac?" Fear not, my friend, it’s not some arcane ritual requiring a wand and a dragon’s tear. We’re going to make this as easy as pie, or as easy as finding a perfectly ripe avocado, if that’s more your jam.
First things first, let’s get that SD card plugged into your Mac. Most Macs have a little slot that looks suspiciously like it’s begging for a tiny rectangular card. If yours doesn’t, no worries! You can grab a super cheap SD card reader. They’re like little USB keys for your SD cards, and they’re a lifesaver. Just pop your SD card in, then plug the reader into any available USB port. Poof! Your SD card should appear on your desktop, just like any other drive.
Now, before we go on a deleting spree, let’s do a quick sanity check. Are you absolutely, positively sure you want to delete the files on this card? Once they’re gone, they’re usually gone for good. It’s like that one sock that disappears in the laundry – you might find it eventually, but it’s a long shot. So, take a deep breath, do a quick mental inventory of what’s on there. If you’re even a smidge unsure, it’s always better to copy important stuff off to your Mac or an external hard drive first. Better safe than sorry, as my grandma used to say (usually after I’d lost my homework).
Must Read
Alright, assuming you’re ready to unleash your inner digital declutterer, let’s dive in. You'll see the SD card icon pop up, probably with a name like "UNTITLED" or something more descriptive if you named it yourself. Think of it as a little digital filing cabinet. Double-click that icon to open it up. Ta-da! You’re now looking at all the files and folders on your SD card.
The Magic Wand: Finder
Your Mac’s best friend for all things file-related is the Finder. It’s that smiling blue face icon in your Dock. When your SD card is open, the Finder is already doing its thing. You can navigate through the folders, see all your precious (or not-so-precious) files, and get ready for action.
Think of Finder like your digital detective agency. It helps you locate, organize, and yes, even remove evidence… I mean, files. It’s the central hub for all your digital comings and goings.
Option 1: The "Trash Can" Method (Your Go-To Move)
This is the most common and super-duper easy way to delete files. It’s just like deleting anything else on your Mac. Find the file or folder you want to get rid of. You can click on it once to select it. If you want to delete multiple items, you can hold down the Command key (the one with the little swirly symbol) and click on each item you want to select. Or, if they’re all in a row, you can click the first one, hold down the Shift key, and click the last one. Easy peasy, lemon squeezy!
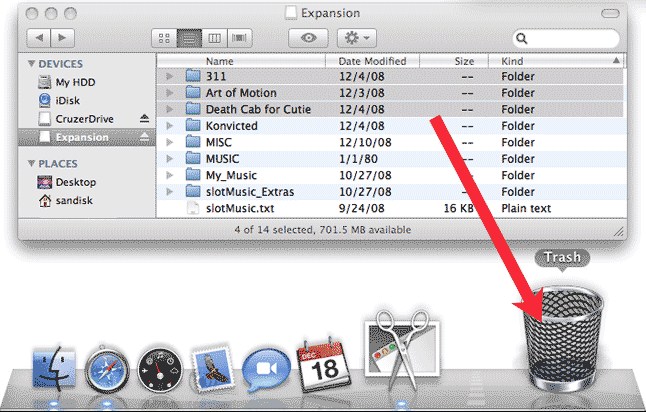
Once you’ve got your target(s) highlighted, you have a few options. The most intuitive one is to simply drag and drop them onto your Trash icon in the Dock. See that little bin in the far right of your Dock? That’s your digital graveyard. Just click and hold on your selected files, drag them over the Trash icon, and let go. Abracadabra! They’re gone from the SD card and chilling in the Trash.
Alternatively, after selecting your files, you can right-click (or Control-click) on them. A handy menu will pop up, and you’ll see an option that says "Move to Trash". Click that, and same result! Your files are on their way to digital oblivion. You can also use the keyboard shortcut: select your files, then press Command + Delete. It's like a secret handshake for deleting things!
Now, here’s a crucial little detail: just because you’ve moved things to the Trash doesn’t mean they’re fully gone from your SD card’s storage just yet. They’re just… relocated. To truly free up that space, you need to empty the Trash. You can do this by right-clicking on the Trash icon in your Dock and selecting "Empty Trash". Your Mac will ask for confirmation, because it's a considerate little fella. Once confirmed, those files are permanently zapped. Unless you have some advanced data recovery software and a very dedicated spirit, they are gone.
Option 2: The "Get Info" Trick (For a Single File)
Sometimes, you might want to delete a single file, and the drag-and-drop feels like a bit too much effort. For this, the "Get Info" panel can be your friend. Select the file you want to delete. Then, go to the File menu at the top of your screen and choose "Get Info", or use the keyboard shortcut Command + I. A window will pop up with all sorts of details about your file. Scroll down, and you might see an option related to deletion, or you can often just delete it from here by clicking the "Move to Trash" button if it's present, or by using the Trash method once you’ve identified the file.
Honestly though, for most single-file deletions, the Trash method is just as quick. This is more of a "good to know" trick if you're feeling particularly inquisitive about your files.
Option 3: Erasing the Entire SD Card (The Nuclear Option!)
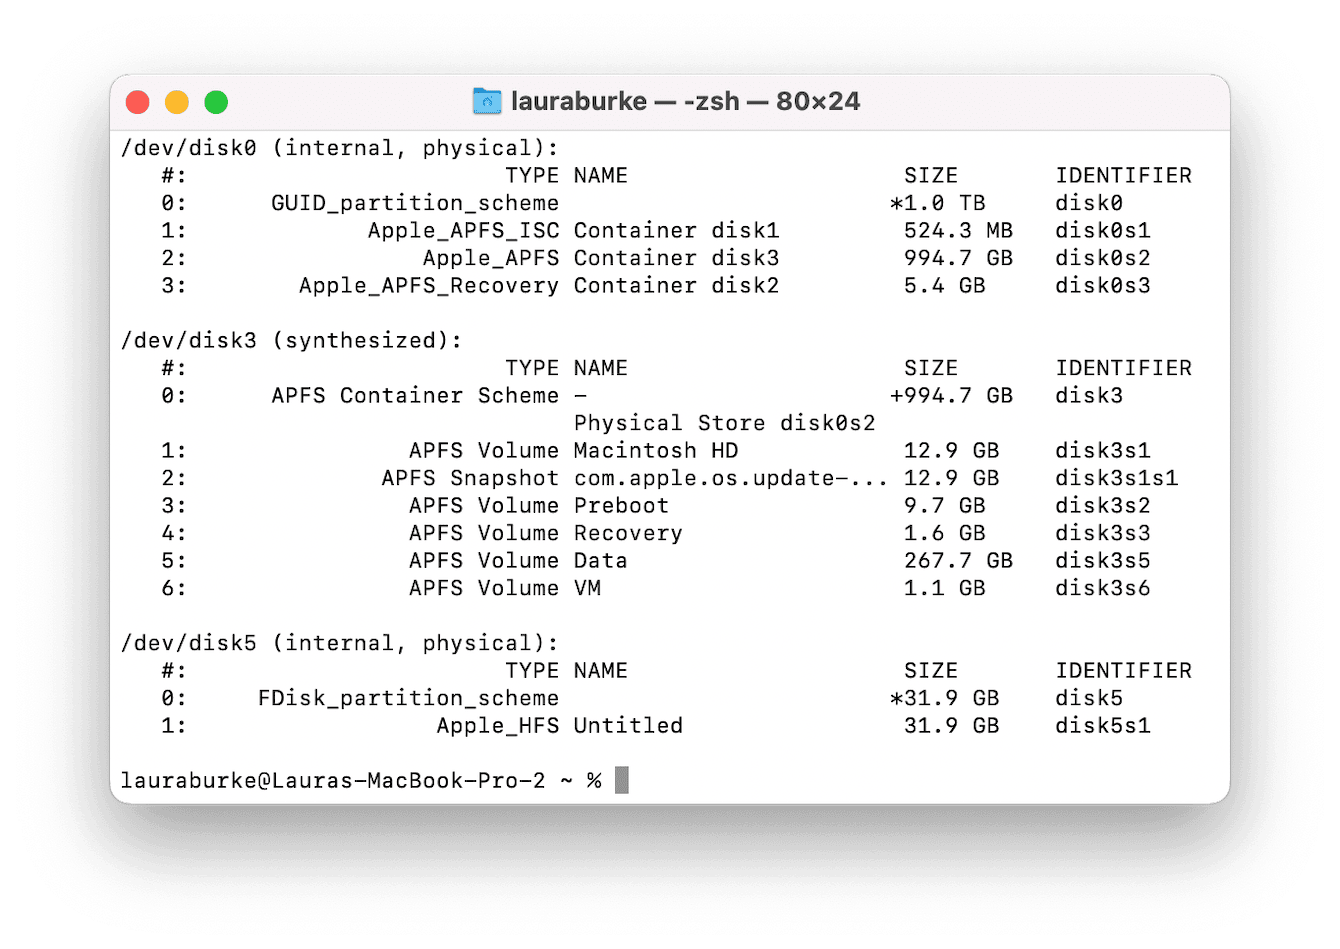
Okay, let’s say you want to wipe the whole SD card clean. Like, everything. This is for when you want to start fresh, or maybe you’re giving the card to someone else and want to make sure it’s completely empty and secure. This is where Disk Utility comes in. It’s a built-in Mac application that sounds intimidating, but it’s actually pretty straightforward.
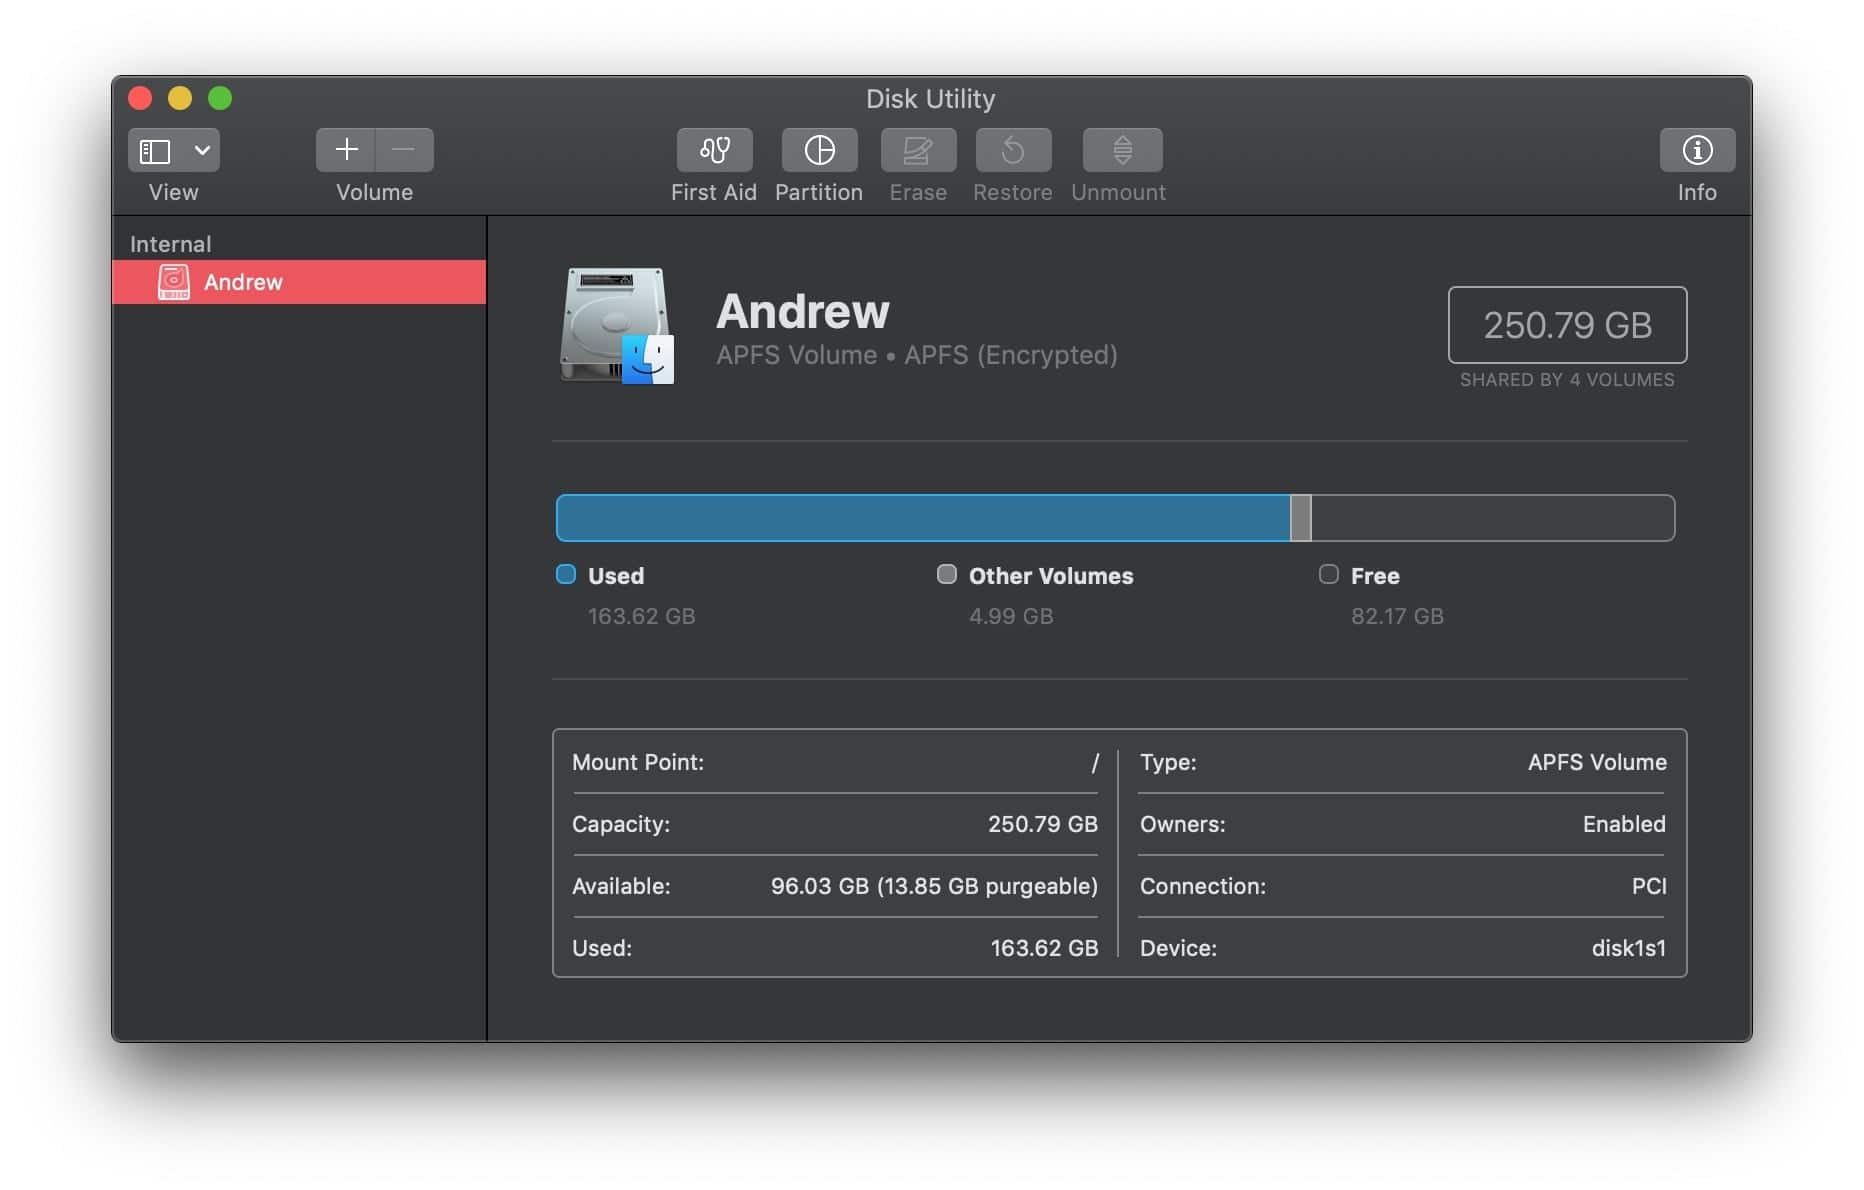
To find Disk Utility, go to your Applications folder, then into the Utilities folder. You’ll see an icon that looks like a hard drive. Double-click it to open. Once Disk Utility is open, you’ll see a list of all the drives connected to your Mac on the left-hand side. Look for your SD card in this list. It might be listed under "External" or "Internal," depending on how it's recognized. Careful here! Make sure you’re selecting your SD card and not your Mac’s internal hard drive. Nobody wants to accidentally erase their entire computer. That would be a… less than fun day.
Once you’ve selected your SD card, you’ll see a few options at the top of the Disk Utility window. You’re looking for the "Erase" button. Click it. A dialog box will pop up asking you to confirm. You’ll also be asked to choose a format and a scheme. For most SD cards used with Macs and other devices, "MS-DOS (FAT)" or "ExFAT" are good choices. If you plan to use it mostly with Macs, "Mac OS Extended (Journaled)" is also an option, but might not be compatible with all devices. Don't overthink it too much; the default options are usually fine.
You can also give your freshly erased SD card a new name here. Think of it as giving it a fresh start! After you’ve chosen your format and name, click the "Erase" button again. Disk Utility will do its magic, and in a minute or two (depending on the size of your card), your SD card will be completely wiped clean. It’s like a digital reset button. Poof! All gone.
A Word of Caution: Erasing the entire card is the most definitive way to delete data. It overwrites the data, making recovery much harder. So, again, triple-check that you’ve selected the correct drive before hitting that erase button. We’re aiming for fun and easy, not panic-inducing data loss!
What About "Safely Remove"?
Now, you might be wondering about that little "Eject" button you see next to your SD card’s name on the desktop or in Finder. This is super important! Before you physically pull that SD card out of your Mac (or your card reader), you must eject it. Think of it like saying goodbye properly. If you just yank it out while your Mac is still "talking" to it, you risk corrupting the data on the card or even damaging it. Nobody wants a grumpy, corrupted SD card.
To eject, you can either drag the SD card icon from your desktop to the Trash icon (which will turn into an Eject symbol), or you can click the little Eject icon next to its name in Finder. Once it’s ejected, you can safely remove the card. It’s a little digital courtesy that goes a long way.
So, to recap our journey into SD card deletion: most of the time, you’ll be using the trusty Finder and the Trash can. For a full reset, Disk Utility’s "Erase" function is your best bet. And always, always remember to eject before you pull that card out.
There you have it! Deleting files from your SD card on a Mac is really no more complicated than tidying up your desk. You’ve learned how to pick and choose individual files, and how to give the whole card a fresh start. You’re practically a digital guru now!
Remember, keeping your digital storage clean and organized not only makes it easier to find what you need, but it also frees up space for all those new memories you’re going to make. So go forth, digital declutterer! May your SD cards be ever organized, and your Mac run smoother than a freshly buttered toast. You’ve got this, and you’re going to feel so good with that tidy digital space. Happy deleting!
![Can't Delete Photos From SD Card on Mac [Reasons and Fixes]](https://toolbox.easeus.com/images/toolbox/ntfs-mac/cant-delete-photos-from-sd-card.png)