Ever stared at a massive document, a veritable literary Everest, and felt a pang of dread knowing you'd have to manually list every single mention of that crucial term? Or perhaps you’ve been on the receiving end of a perfectly good report, only to be frustrated by the lack of a roadmap to find specific information. Well, fear not, brave document wranglers! Because today, we’re diving into the wonderfully satisfying world of creating an index in Microsoft Word. Think of it as giving your document superpowers – the power to be easily navigated and thoroughly understood. It’s not just about being tidy; it's about making your hard work accessible and saving yourself (and others!) a whole lot of time and sanity.
The Magic Behind the Index
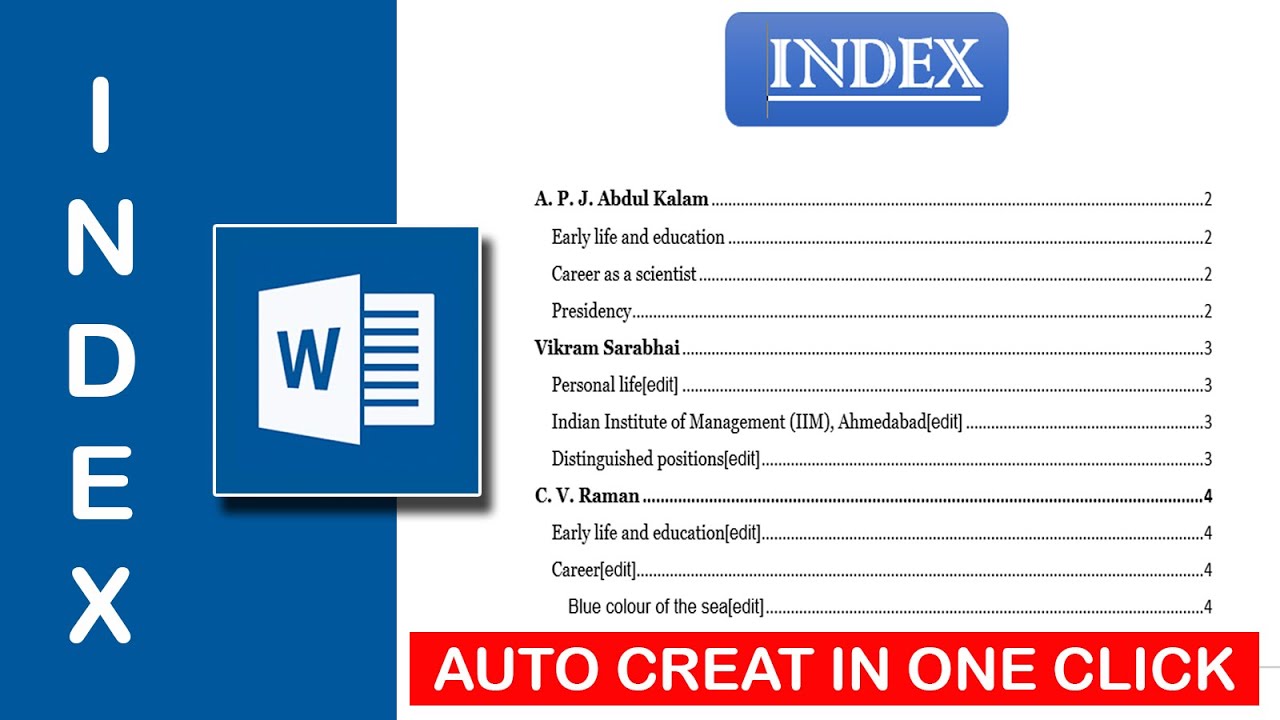
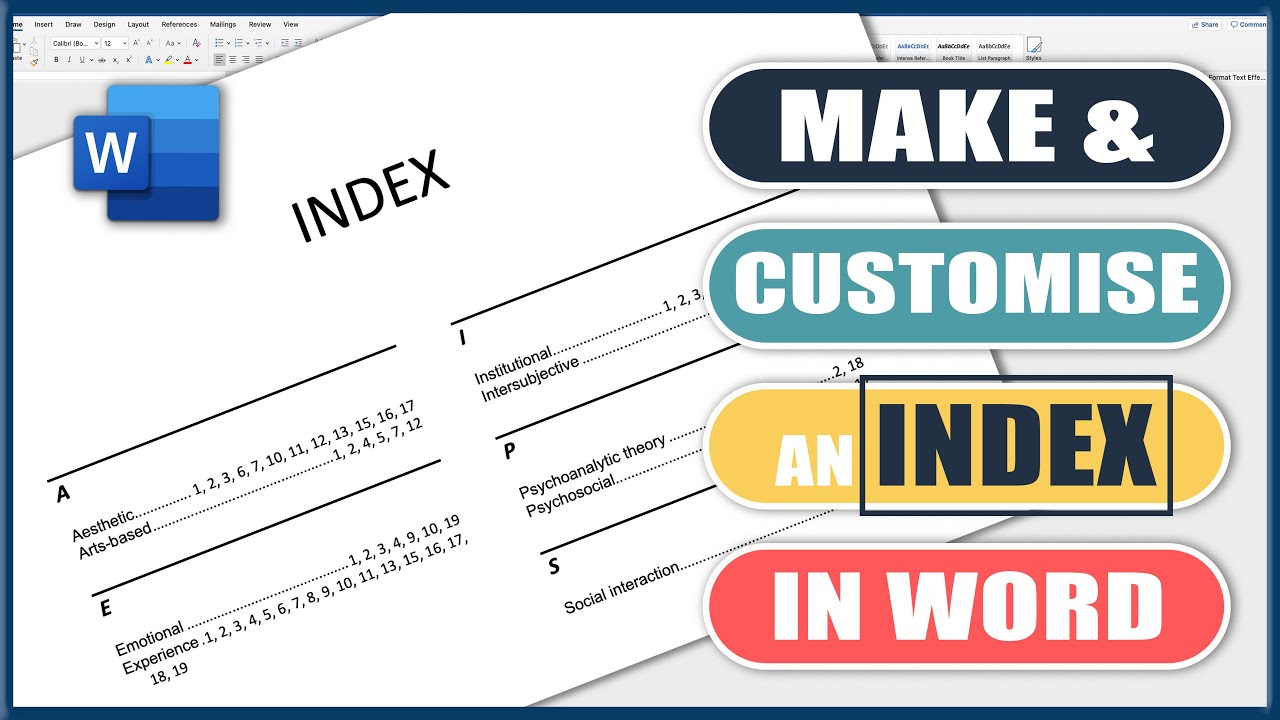
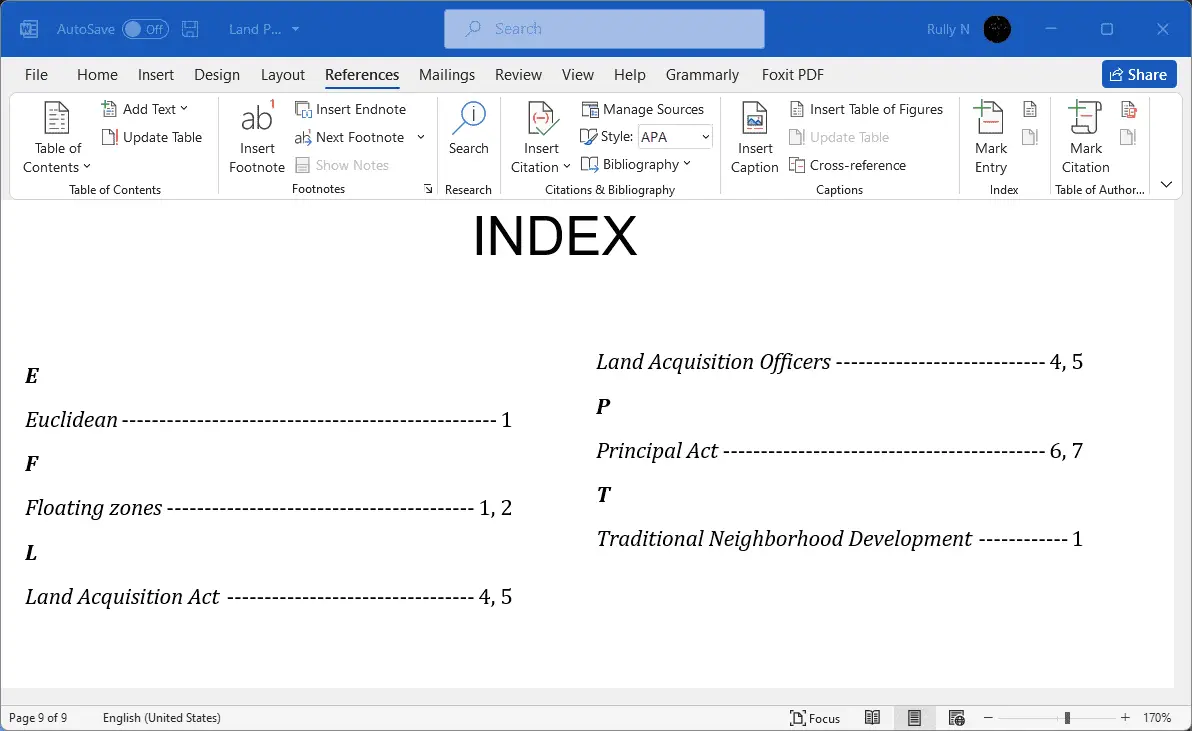
So, what exactly is an index, and why should you care? In simple terms, an index is an alphabetical list of keywords, names, and important concepts found within your document, along with the page numbers where they appear. Imagine a super-powered table of contents, but for individual words and phrases. The purpose is straightforward: to provide a quick and efficient way for readers to locate specific information without having to skim through pages and pages of text. This is especially invaluable for long reports, academic papers, books, manuals, or any document where quick access to specific details is paramount.
The benefits are numerous and, dare we say, pretty exciting. Firstly, it demonstrates a professionalism that’s hard to beat. A well-indexed document shouts, "I've thought of everything, and I want to make this as easy as possible for you to use!" Secondly, it’s a massive time-saver. Instead of endlessly searching, your reader can simply look up a term in the index and jump straight to the relevant page. This is a lifesaver for researchers, students, or anyone who needs to find a specific piece of data quickly. Thirdly, it helps to highlight the most important concepts in your document. By choosing what to include in your index, you’re subtly guiding your reader’s attention to the key takeaways. And finally, let’s be honest, it feels incredibly satisfying to create one. It’s like building a tiny, efficient city within your document, with every important landmark clearly signposted.
Now, before you start picturing yourself wrestling with complex code or arcane symbols, relax! Microsoft Word makes this process surprisingly straightforward. The core idea is to mark the words and phrases you want to appear in your index as you read through your document. Word then uses these markers to automatically compile your index for you. It’s like leaving a trail of breadcrumbs for your readers to follow!
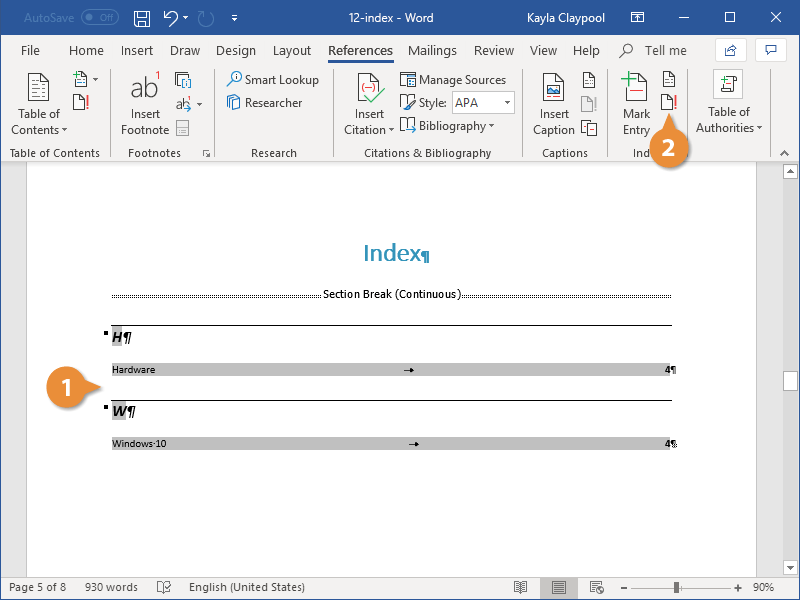
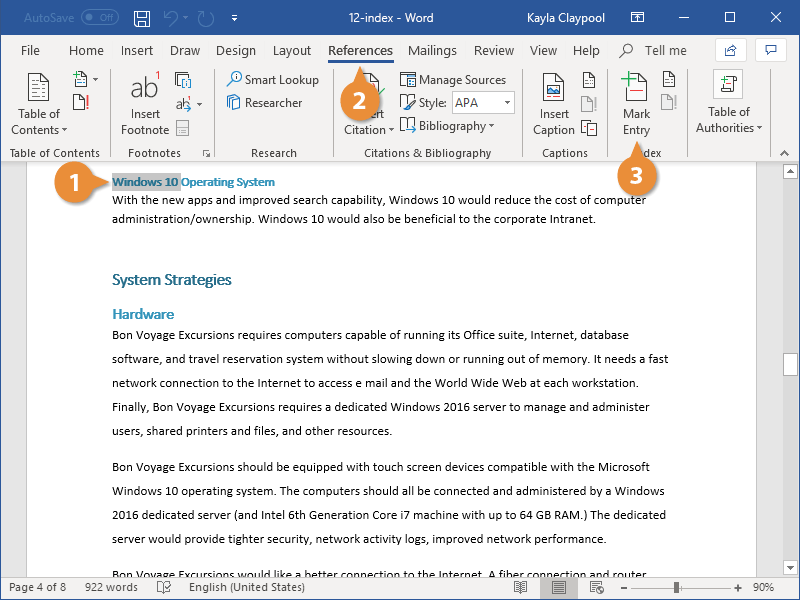
The first step is to identify what you want to include. Think about the main topics, recurring themes, important names, and technical terms. As you read through your document, whenever you encounter one of these, you'll mark it. To do this, simply select the text you want to index. Once it's highlighted, head over to the References tab on the Word ribbon. You’ll see a section called Index. Click on the Mark Entry button. A small dialog box will pop up. Don't be intimidated! The text you selected will already be in the “Main entry” field. You can leave it as is, or you can add sub-entries if you want to organize your index more finely. For instance, if you're indexing a book on gardening, you might have "Roses" as a main entry and "Pruning" and "Pests" as sub-entries under "Roses." For now, let’s stick to the basics.
How to create index in ms word - YouTube
Once you've got your entry looking just right, click the Mark button. You’ll notice something a little strange happening on your screen: a little symbol like this: ¶ (it’s called a pilcrow) might appear, along with the text you just marked, enclosed in curly braces { }. Don’t panic! This is just Word’s way of showing you where you’ve placed an index marker. It won’t appear in your final printed document unless you specifically tell it to. To mark another entry, simply repeat the process: select the text, click Mark Entry, and then Mark.
Pro Tip: You don't have to mark every single instance of a word. If a term appears multiple times on a single page, Word will automatically list that page number once. You can also choose to mark all instances of a word or phrase throughout your entire document by clicking the Mark All button in the Mark Entry dialog box. Use this with caution, as it can sometimes pick up unintended words!
301 Moved Permanently
Continue this process for all the important terms you want to include. It might seem a bit tedious at first, but think of it as an investment. The more thoroughly you mark, the more useful your index will be. As you go, you might find yourself developing a rhythm. Select, click, mark, repeat! It’s almost meditative, in its own unique way.
Bringing It All Together: Generating Your Masterpiece
Once you’ve gone through your entire document and marked all your entries, it’s time for the grand reveal! You need to tell Word where to place your finished index. The best place for an index is usually at the very end of your document, after the main body of text and before any appendices. So, navigate to the end of your document and place your cursor where you want the index to appear. Now, go back to the References tab, and in the Index section, click the Insert Index button.
How To Create An Index In Microsoft Word (Super Easy!) - YouTube
This will open another dialog box, but this one is all about formatting your index. You can choose the appearance, the alignment of page numbers, and whether to use fancy dots (called leader dots) between the entry and the page number. For most general purposes, the default settings are perfectly fine. You can preview how it will look in the little preview window. When you’re happy with your choices, click OK.
And voilà! Your index will magically appear, listing all the terms you marked in alphabetical order, complete with their corresponding page numbers. If you later make changes to your document – add or delete text, which shifts page numbers – don’t forget to update your index! Simply click anywhere within your index and press the F9 key, or right-click on the index and select Update Field. Word will then re-scan your document and adjust the page numbers accordingly. It’s like having a little index assistant that keeps everything up-to-date for you.
So there you have it! You’ve just transformed your document from a potentially daunting read into a user-friendly, easily navigable resource. Creating an index in Word is a fantastic skill to have, and once you get the hang of it, you’ll wonder how you ever managed without it. It’s a small step that makes a huge difference, turning your diligent work into something even more impactful and accessible. Happy indexing!