How To Clean An Alternator

Hey there, car enthusiasts and the just plain curious! Ever find yourself staring at your engine bay, maybe after a particularly adventurous drive or a sudden hmm, that light’s on moment, and wondering about all those bits and bobs? Today, we're going to pull back the curtain on one of the unsung heroes of your car's electrical system: the alternator. Pretty neat, right? It's like the car's own personal power plant, keeping everything juiced up while you're cruising down the road. But have you ever stopped to think, "Can you even clean this thing?" Well, buckle up, because we're diving into the surprisingly chill world of alternator maintenance.
So, why would you even want to clean an alternator? Is it really that grimy? Think of it like this: your car's engine is a busy place. There's oil, grease, dust, and all sorts of road gunk that can find its way into your engine bay. Over time, this can build up on components, and the alternator is no exception. While it's not usually the first thing that comes to mind when you're thinking about a quick wash, a little attention can sometimes go a long way. It’s not about making it sparkle like a new dime, but more about ensuring it’s not suffocated by the automotive equivalent of a dust bunny convention.
The Alternator: Your Car's Tiny, Mighty Dynamo
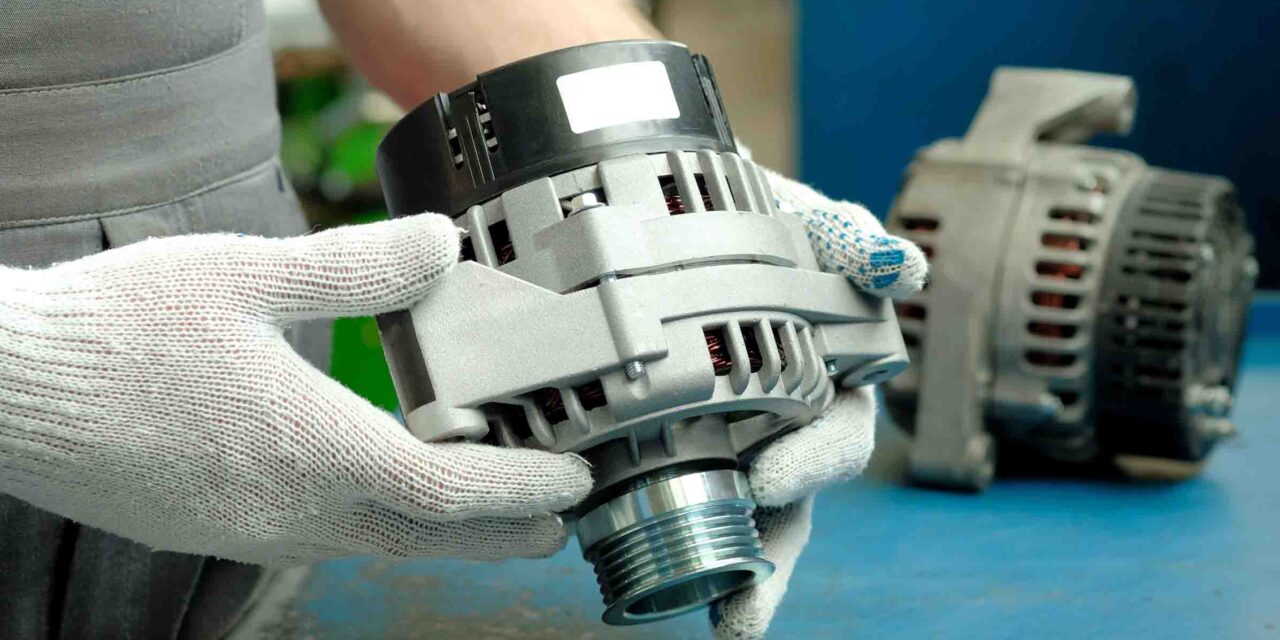
Before we get our hands dirty (or, you know, slightly greasy), let's appreciate this little marvel. The alternator's job is pretty darn crucial. When your engine is running, it spins a pulley connected to the alternator's shaft. Inside, a whole bunch of clever engineering – magnets, coils of wire, and diodes – gets to work. It’s like a miniature, high-speed dance party happening inside, converting mechanical energy from the engine into electrical energy. This electricity then powers your headlights, your radio, your wipers, and, most importantly, recharges your car's battery so you can start it up next time. Without a happy alternator, your battery would just be a very expensive paperweight after a while.
Must Read
Think of your battery as your car's energy reserve, like a canteen of water you carry for a hike. The alternator is the stream you refill it from as you go. If the stream gets clogged with debris, it can't refill your canteen as efficiently, right? Same idea applies here. A dirty alternator might not be able to generate electricity as effectively, potentially leading to a sluggish battery or those dreaded dashboard warning lights.
When Might Cleaning Be a Good Idea?
So, when is it time to consider a little alternator TLC? Generally, it's not something you need to do on a regular maintenance schedule, like an oil change. Most of the time, alternators are pretty robust and sealed up well. However, if you've been working on other engine components and noticed a significant accumulation of grime around the alternator, or if you're experiencing some electrical gremlins that you've ruled out other causes for, a gentle cleaning might be worth a shot. It's kind of like giving an old friend a friendly pat on the back to make sure they're still doing their best.
Another scenario? If your car has seen some serious off-roading or has been exposed to a lot of mud and water, there's a higher chance of gunk finding its way into less-than-ideal places. It’s rare, but not impossible. If your car's been sitting for a long time, sometimes dust and corrosion can build up around electrical connections, including those on the alternator.
Let's Talk Cleaning: Keep it Chill
Now, the big question: how do you actually do it? The key word here is gentle. We're not talking about a high-pressure car wash blast here. In fact, you want to avoid that at all costs. Water, especially under pressure, can get into places it really shouldn't be, like the bearings or the electrical connections, and cause more harm than good. So, let’s ditch the power washer dreams.
First things first: safety is paramount. Always make sure the engine is completely cool. Like, cold cool. Then, disconnect the battery. Seriously, this is non-negotiable. You don't want any accidental sparks or electrical surprises. Locate the negative terminal of your battery and disconnect it. Tuck the cable away so it can't accidentally touch the terminal again.
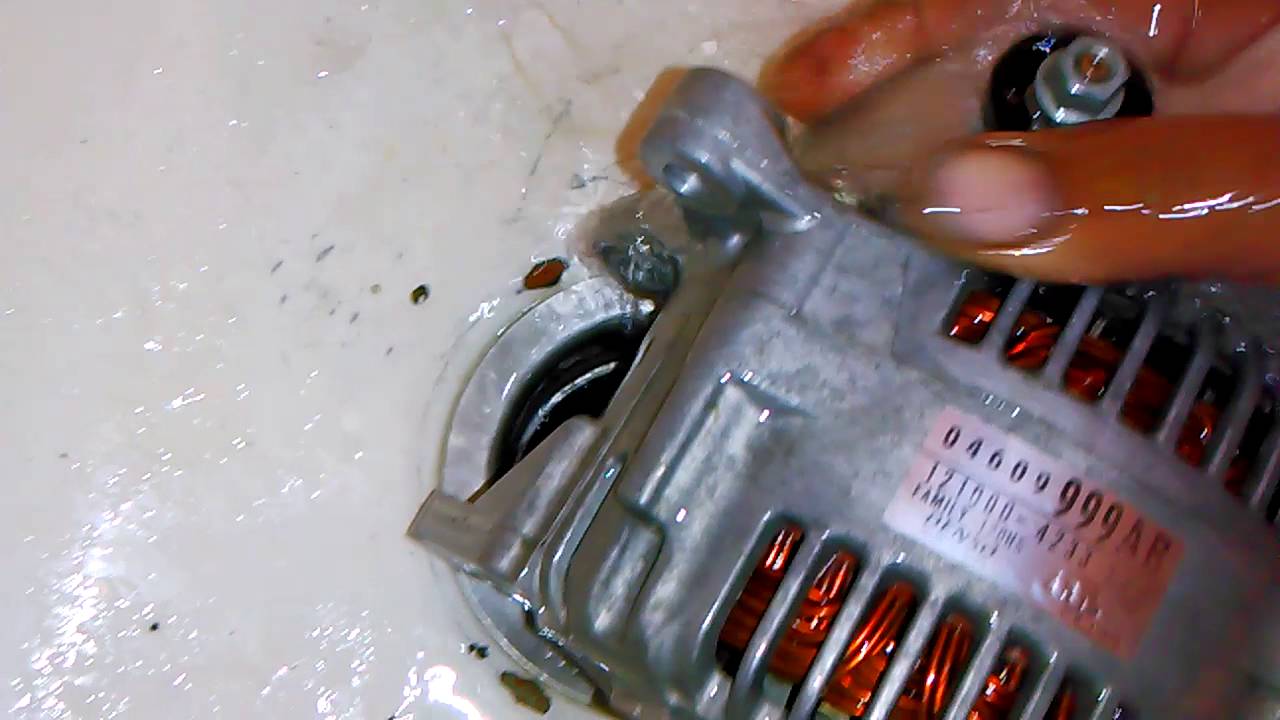
Once the battery is disconnected and the engine is cool, take a good look at the alternator. You'll likely see some dust, maybe some dried-on oil, or even a bit of dried mud. For light dust and grime, a soft brush is your best friend. Think of a paintbrush or a soft detailing brush. You can gently sweep away the loose stuff. This is like dusting your bookshelf – just a gentle removal of accumulated particles.
If you have slightly more stubborn grime, like dried oil or mud, you might need a little something extra. Many people opt for an engine degreaser. However, and this is important, you need to use a mild, automotive-specific degreaser and apply it sparingly. You don't want to drench the alternator. Spray it onto a clean cloth or brush, not directly onto the alternator itself. Then, gently wipe away the grime. Think of it like using a damp cloth to clean a kitchen counter – you wouldn't pour the cleaning solution directly onto your expensive electronics, would you?

What About Those Pulleys and Belts?
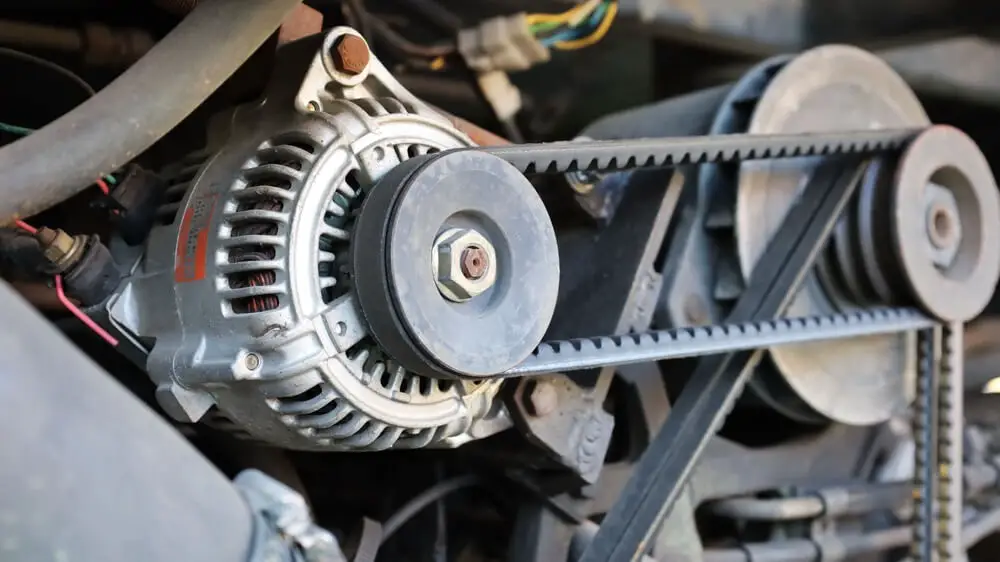
While you're at it, it's a good time to check the serpentine belt (or V-belt, depending on your car) that drives the alternator. Is it cracked? Does it look worn out? Is it nice and snug, or does it seem a bit loose? A worn-out belt can cause all sorts of charging issues, and it's often easier to address this while you're already looking at the alternator. You can clean the belt surface with a bit of that mild degreaser on a cloth too, if it's oily. Just be sure to let it dry completely before reconnecting the battery.
And the pulley itself? It should spin freely. If it's stiff or makes a grinding noise, that could be a sign of bearing issues, which is a different ballgame altogether. But for cleaning purposes, a gentle wipe-down is usually all it needs.
Drying and Reassembly: Patience is Key
After you've done your gentle cleaning, it's crucial to let everything air dry completely. Don't rush this. You can use a clean, dry cloth to wipe away any excess moisture, but gravity and time are your best allies here. Think of it like leaving your dishes to air dry on the rack instead of immediately putting them away wet. This ensures no moisture lingers where it shouldn't.

Once everything looks and feels dry, and you're confident no moisture is hiding in any nooks and crannies, you can go ahead and reconnect the battery. Remember to reconnect the negative terminal last. Then, start your engine and see how things are running. Hopefully, your alternator is feeling a bit more appreciated and ready to keep things powered up.
When to Call in the Pros
Now, it's really important to stress that this is a relatively simple procedure for minor grime. If your alternator is making strange noises, if your car's charging system is consistently giving you trouble, or if you're just not comfortable getting under the hood, don't hesitate to take it to a qualified mechanic. Alternators are complex pieces of machinery, and if there's a serious issue, it's best left to the experts. Sometimes, a good cleaning is just a temporary fix for a deeper problem.
Think of this whole cleaning process as a bit of preventative medicine for your car's electrical heart. It’s not a cure-all, but a little bit of attention to detail can sometimes prevent bigger headaches down the line. So, next time you're feeling a bit curious about what’s under that hood, you might just find that the humble alternator deserves a little bit of your curious, gentle attention. Happy motoring!