How To Change A Bike Inner Tube

We've all been there. You're cruising along, wind in your hair (or helmet, safety first!), maybe humming along to that tune that’s been stuck in your head since Tuesday. The sun is shining, the birds are chirping, and then… thwump-thwump-thwump. That tell-tale, deflated rhythm of a flat tire. Suddenly, your idyllic ride has come to a rather unceremonious halt.
Don't panic. A flat bike tire isn't the end of your adventure; it's just a little plot twist. Think of it as an impromptu pit stop, a chance to commune with your mechanical steed on a more intimate level. And the good news? Changing an inner tube is one of those essential life skills that's surprisingly accessible. It’s like learning to fold a fitted sheet or perfectly poach an egg – once you know how, it’s incredibly satisfying.
Forget those moments of roadside despair, or the guilt of leaving your trusty bike to languish because you “don’t know how.” Today, we’re demystifying the process. Consider this your gentle guide, your friendly nudge towards self-sufficiency. We’ll get you back on the road, feeling like a total bike whisperer.
Must Read
The Great Inner Tube Unveiling: What You'll Need
Before we dive into the nitty-gritty, let’s gather our tools. Think of this as assembling your superhero toolkit for tire-taming. You don’t need a full mechanic’s workshop; a few key items will do the trick.
First up, the new inner tube. Make sure it’s the right size for your wheel. This is usually printed on the sidewall of your tire (e.g., 700c x 25mm, or 26 x 2.1). If you’re unsure, take a photo of your tire to the bike shop – they’re like the wise elders of the cycling world and can guide you. Oh, and consider a spare patch kit too. It’s the backup dancer to your inner tube, ready to save the day if a tiny puncture threatens your ride.
Next, tire levers. These are your best friends for prying that stubborn tire off the rim. They’re usually made of plastic or metal and come in sets of two or three. Plastic ones are generally kinder to your rims, but sometimes a bit of metal grit is needed.
You’ll also need a pump. Whether it's a sleek, portable mini-pump that clips to your frame or a more substantial floor pump you keep at home, it’s your inflation salvation. And finally, a little bit of patience. It’s not a race, and a calm approach will get you further than frustration ever will.
Step One: Wheel Removal – The Grand Uncoupling
Alright, first things first. You need to get the wheel off your bike. If it’s the rear wheel, and you have a geared bike, this is where things can get a tiny bit more involved. You’ll need to shift your gears to the smallest cog at the back. This makes the chain slack and easier to maneuver.
Most bikes have either quick-release levers or bolt-on axles. Quick-release is the easier of the two. You’ll see a lever on one side of the axle. Flip that lever open, and then you might need to unscrew the nut on the other side a few turns. If it’s bolt-on, you’ll need a wrench (usually 15mm) to loosen those nuts. Easy peasy.
Once loosened, gently pull the wheel out of the dropouts. For the rear wheel, you might need to pull the derailleur back slightly to free the chain from the cassette. Don't force it; just a gentle wiggle is usually all it takes. And remember, the front wheel is generally simpler. Just flip the lever and lift it out.

Pro Tip: If you’re at home, you can often do this without removing the wheel, especially for the front. But for a roadside repair, removing it gives you more space to work. Think of it as setting up your little mobile repair station.
A fun fact: The ‘quick-release’ skewer was invented by an American cyclist named Bill Ott in the 1920s, revolutionizing bike maintenance and making roadside repairs far less of a hassle. Before that, it was all nuts and bolts!
Step Two: Tire Removal – The Great Escape
Now that your wheel is free, it’s time to liberate that flat tire. Deflate any remaining air – you can do this by pressing the little pin in the valve stem. If it’s a Presta valve (the skinny one with a little nut on top), unscrew that nut first.
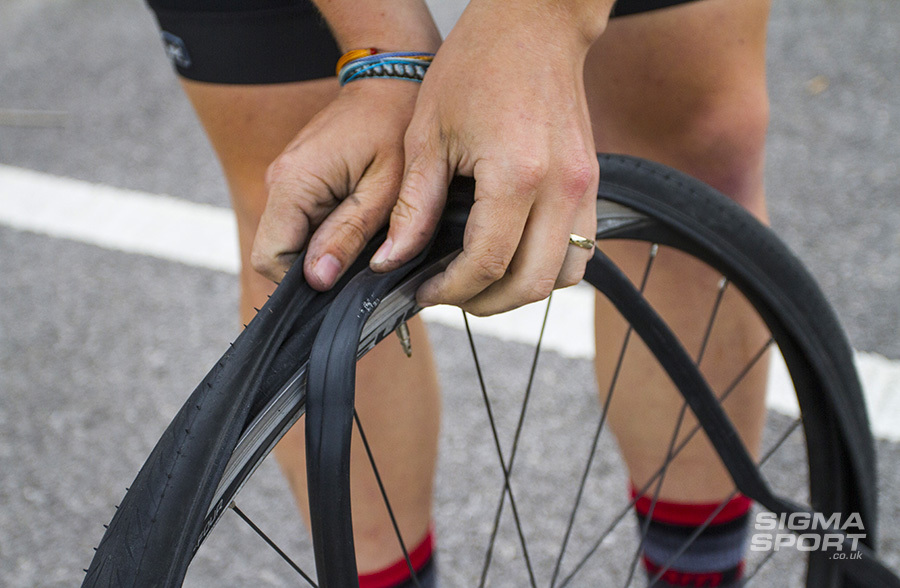
Here's where those tire levers come into play. Start opposite the valve stem. Jam the curved end of a tire lever under the bead of the tire (the edge that sits in the rim). Gently pry it over the edge of the rim. Hook this lever onto a spoke to hold it in place.
Now, take your second tire lever and do the same, but a few inches away. Work your way around the rim, levering the tire bead off. You might find one side comes off more easily than the other. Sometimes, you can even slide a lever around the rim to pop the whole side off. It can be a bit fiddly at first, especially if the tire is old or the rim is tight.
Crucial Tip: Be careful not to pinch the inner tube with the tire levers. This is a common mistake that can lead to a new flat before you’ve even started! Always make sure the tube is well away from where your lever is prying.
Once one side of the tire is off the rim, you can usually pull the old inner tube out. Start at the valve stem and work your way around. It’s like pulling off a stubborn glove.
Step Three: Investigating the Culprit – The Detective Work
Before you shove that shiny new tube in, you must find out what caused the flat in the first place. Otherwise, your new tube will likely go flat too, and that’s just sad.

Carefully run your fingers around the inside of the tire. Feel for any sharp objects – thorns, glass shards, tiny bits of wire. If you find something, remove it. Then, do the same on the outside of the tire.
Also, inspect the rim strip – the tape that covers the spoke holes on the inside of the rim. Make sure it's intact and not damaged. A damaged rim strip can cause punctures too.
Wise Words: If you can’t find the culprit inside the tire, check the rim itself. Sometimes, a sharp spoke end can poke through the rim strip. It's rare, but it happens.
A little bit of bike nerdery: The "bead" of the tire is the part that locks into the rim. It's often made of a stiff material like steel wire or aramid fibers to help it stay seated and airtight.
Step Four: Installing the New Tube – The Gentle Inflation
Now for the moment of truth! Take your new inner tube and inflate it just a tiny bit. Just enough to give it some shape, so it’s not a floppy noodle. This makes it much easier to handle and prevents it from getting twisted.
Feed the valve stem through the hole in the rim. Then, working your way around, gently tuck the tube inside the tire. Make sure it's not kinked or twisted.
Once the tube is in place, start putting the tire bead back onto the rim. You can often do this with your hands. Start at the valve stem and work your way around. As you get closer to the end, it will get tighter.
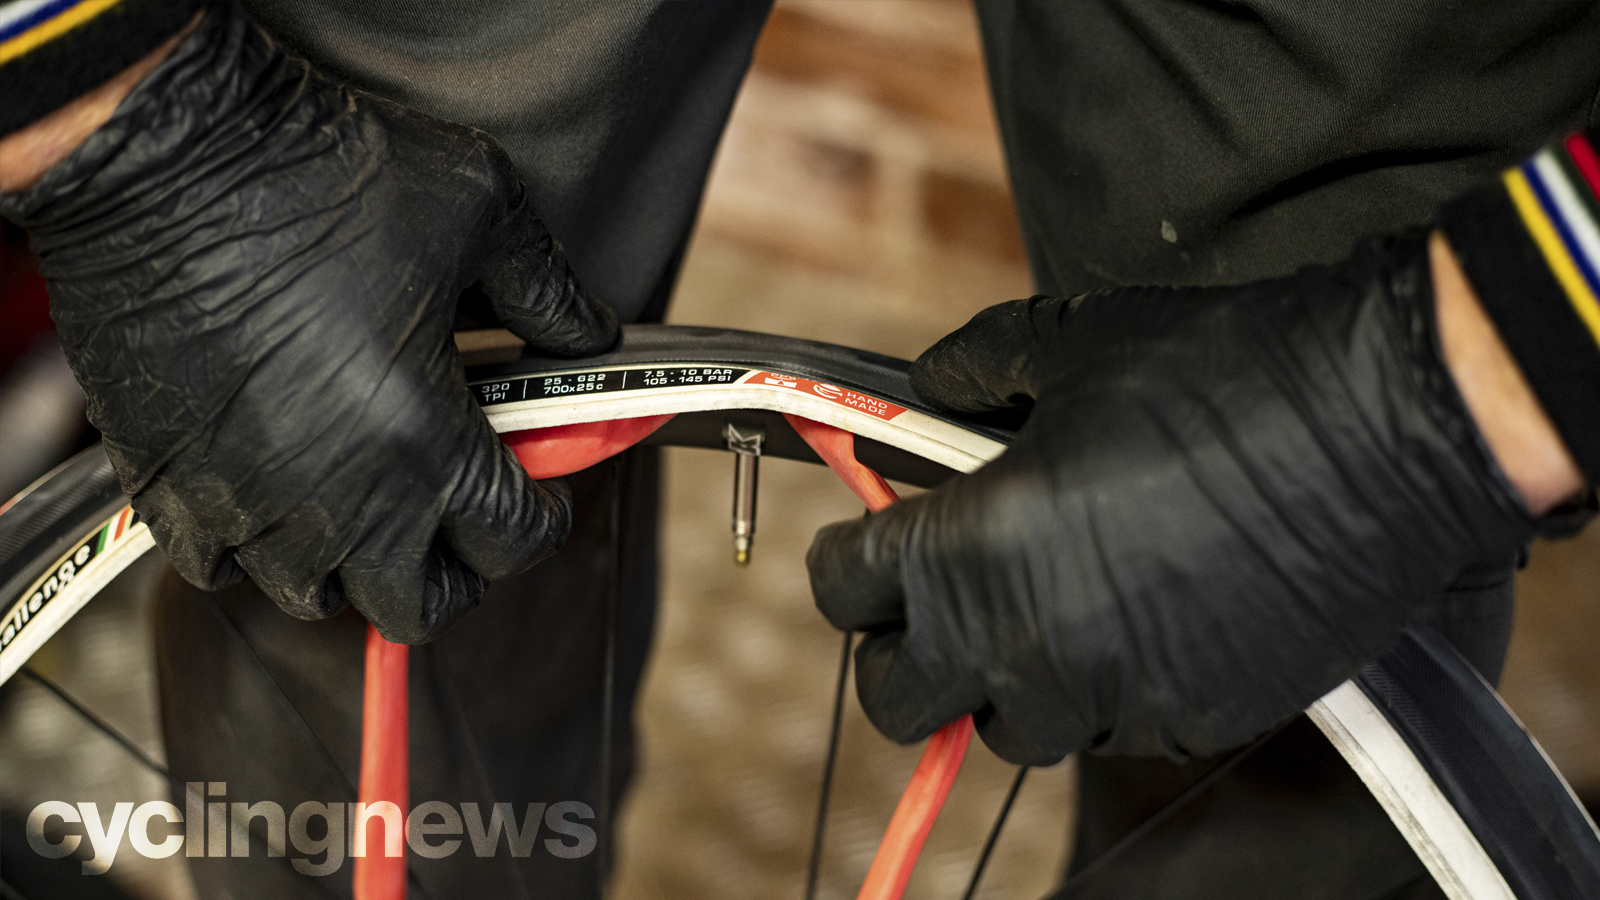
The Golden Rule: When the tire gets tight, try to push the bead into the center channel of the rim. The rim is usually deeper in the center, giving you a bit more slack. This is where your thumbs are your best tools.
If it's really stubborn, you might need to use your tire levers again. But be extremely careful not to pinch the new inner tube between the tire bead and the rim. This is the most common way to create a new flat right out of the gate. Gentle, controlled pressure is key.
Step Five: Inflation – The Breath of Life
With the tire fully seated on the rim, it’s time to inflate. Reattach your pump to the valve stem. If it’s a Presta valve, make sure you’ve unscrewed the little nut on top.
Pump up the tire to the recommended pressure. This is usually printed on the sidewall of your tire. Don’t over-inflate, and definitely don’t under-inflate. The sweet spot provides good grip and a comfortable ride without being too squishy or too hard.
As you pump, keep an eye on the tire. Make sure the bead is evenly seated all the way around the rim on both sides. If you see any bulges or dips, stop pumping, deflate slightly, and try to nudge the tire into place.
A Word to the Wise: Some cyclists like to pump a little, check the seating, pump a bit more, check again. It’s a good habit to get into, especially with tubeless tires, but it’s wise with tubes too.
Fun fact: The invention of the pneumatic (air-filled) tire by John Boyd Dunlop in 1888, initially for his son’s tricycle, was a game-changer for cycling comfort. Before that, tires were solid rubber, making for a rather bumpy ride!
Step Six: Reinstallation – The Grand Reunion
You’re almost there! Now, just pop your wheel back onto the bike. If it’s the rear wheel, ensure the chain is properly seated on the smallest cog and that the axle sits correctly in the dropouts. For both front and rear, make sure the wheel is straight and centered.
If you have quick-release levers, close them firmly. You should feel some resistance. If it’s too loose, tighten the nut slightly. If it’s too tight, loosen it a bit. For bolt-on axles, tighten those nuts securely with your wrench.
Give the wheel a spin. It should turn freely without rubbing against anything. Check that your brakes are still aligned and functioning correctly. A quick squeeze of the brake lever will confirm they’re biting properly.
The Final Flourish: Take a moment to admire your handiwork. You’ve just conquered a flat tire! You are now officially a bike maintenance guru, at least in this one, very important regard.
A little known fact: Bicycle wheels aren't perfectly round; they have to be true, meaning the rim runs evenly without wobbling. This is achieved through spoke tension, a bit like a delicate balancing act.
When to Call for Backup
Look, not every situation is a DIY triumph. If your rim is bent, your tire is shredded beyond recognition, or you're genuinely struggling and feel like you're going to break something, there's no shame in calling for help. Most bike shops are happy to offer advice, and sometimes a quick tow from a friend or a ride-share is the smartest option.
And don’t forget your patch kit! Sometimes, a new tube isn’t necessary. A well-placed patch can save the day (and a few dollars).
The Road Ahead
Changing an inner tube might seem daunting at first, but it’s really just a series of logical steps. It’s a skill that builds confidence, saves you money, and keeps you moving. Think of it like cooking – start with simple recipes, and soon you’ll be whipping up culinary masterpieces.
In the grand scheme of things, a flat tire is a tiny inconvenience. It’s a reminder that even the smoothest journeys can have their bumps. But how we react to those bumps, how we choose to navigate them, that’s where the real adventure lies. So next time you hear that tell-tale thwump-thwump-thwump, don't despair. Embrace it as a chance to connect with your ride, to learn a new trick, and to remind yourself that you’re more capable than you might think. Happy trails!