How To Build Doors For A Shed

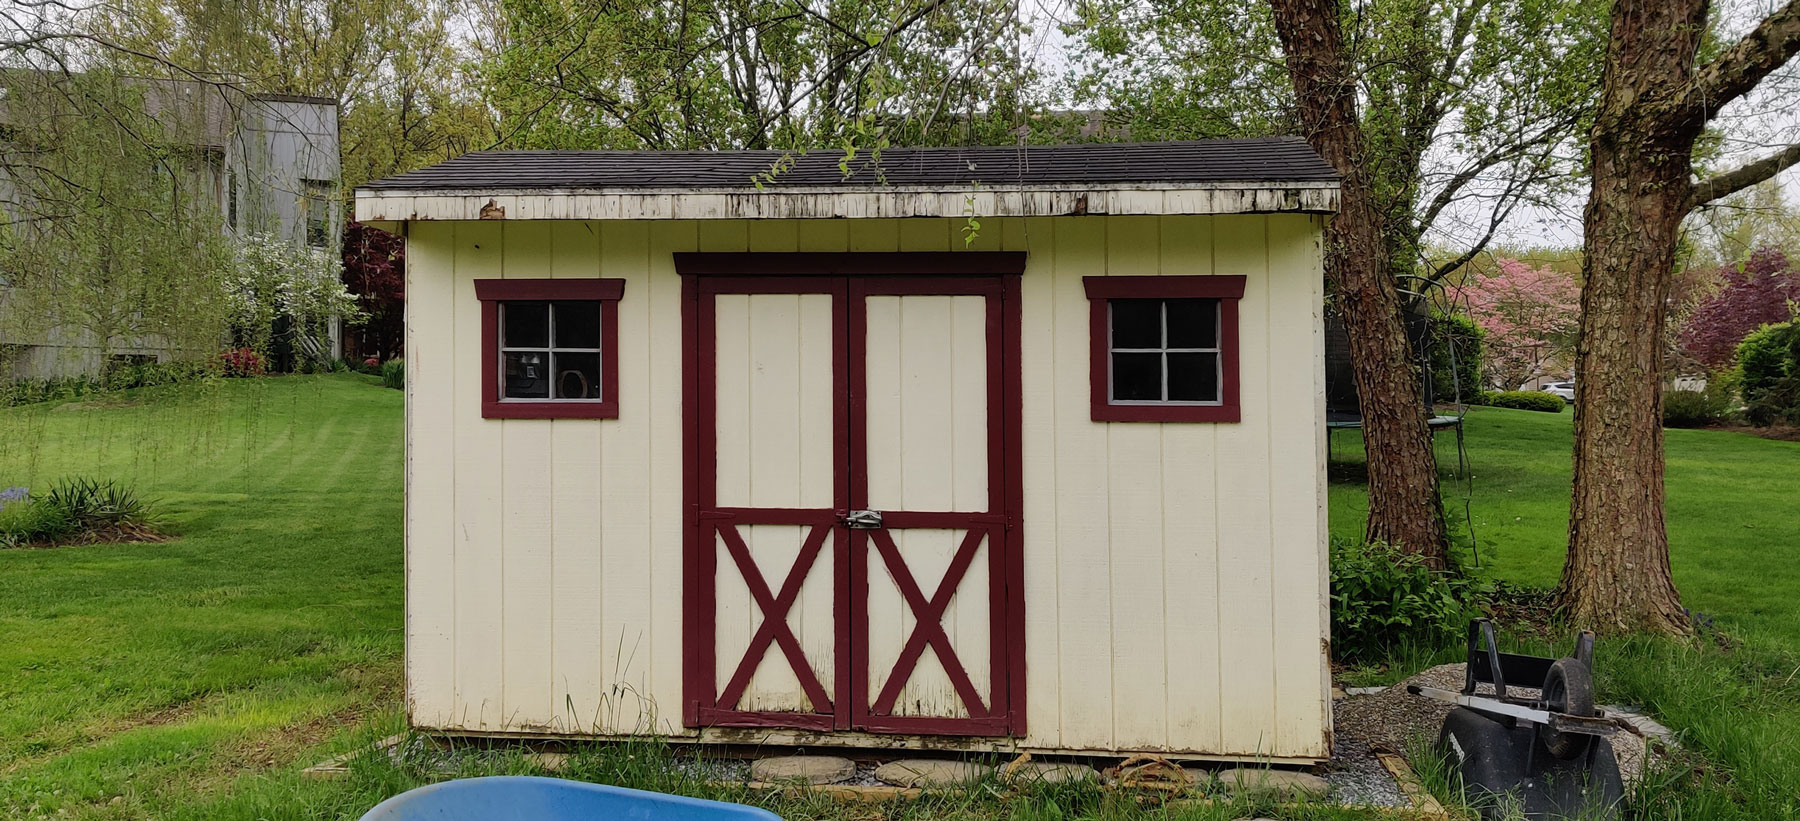
So, you’ve got a shed, huh? That glorious haven for all things gardening, workshop-y, or maybe just a place to stash those mysterious boxes from that one time? Awesome! But wait, does that shed currently have… well, no doors? Or maybe some sad, warped bits of wood masquerading as doors? If so, you've landed in the right spot, my friend. We're about to embark on a little DIY adventure: building doors for your shed. And trust me, it’s way less intimidating than it sounds. Think of it like assembling your favorite LEGO set, but with actual wood and a much more practical outcome.
Why bother building your own shed doors, you ask? Good question! For starters, it’s a fantastic way to save some serious cash. Pre-made shed doors can be surprisingly pricey, and let's be honest, sometimes they’re not exactly the style you’re after. Plus, there’s a certain smug satisfaction, a little chef’s kiss moment, that comes from creating something with your own two hands. It’s like leveling up your home improvement game. You’re not just a shed owner anymore; you’re a shed door owner, and you made them yourself!
Let’s get this party started with the basics. What are we actually going to build? For most sheds, a simple, sturdy, rectangular door is going to do the trick. We’re not aiming for a secret portal to Narnia (though if you manage that, please invite me). We’re aiming for something that opens and closes smoothly, keeps the elements out, and maybe even adds a little character to your shed’s facade. Think of it as giving your shed a brand new smile.
Must Read
First things first: measurements. This is where the magic begins. You need to know the exact size of your shed opening. Grab your trusty tape measure and get precise. Measure the width at the top, middle, and bottom, and the height on both sides. Shed openings can be a little… quirky, so taking multiple measurements is key. You want your doors to fit snugly, like a perfectly tailored suit for your shed.
Once you’ve got those numbers, you can start thinking about the design. For a basic shed door, we’re usually looking at a few key components. There’s the main frame, often made from sturdier lumber like 2x4s, which gives the door its structure. Then, you've got the paneling that fills in the frame. This could be anything from plywood to tongue-and-groove boards, depending on the look and budget you’re going for. And of course, there are hinges and a latch, the unsung heroes that make it all work.
Let’s Talk Materials: What Will You Need?
Alright, let's get down to the nitty-gritty of what you'll need to pick up from your local lumberyard or hardware store. Don't worry, it's not an expedition to the Amazon rainforest.
Lumber: This is your main building block. For the frame, 2x4s are your best bet. They’re strong, readily available, and easy to work with. For the paneling, you have options. Plywood is a super practical and affordable choice. You can get different thicknesses, and it’s pretty weather-resistant. If you want a more rustic or traditional look, consider cedar fence pickets or tongue-and-groove pine boards. They can give your shed doors a real bit of charm.

Screws and Nails: You’ll need these to hold everything together. Deck screws are excellent for framing because they’re strong and corrosion-resistant. For attaching the paneling, shorter wood screws or galvanized nails will work just fine. Think of screws and nails as the glue that holds your project together, but way more exciting.
Hinges: You’ll need a couple of sturdy hinges for each door. The size will depend on the weight of your door. It’s always better to go a little heavier-duty than you think you need; nobody wants a sagging shed door. Look for galvanized or stainless steel hinges to prevent rust.
Latch or Handle: This is how you’ll open and close your door, and also how you’ll secure it. A simple hasp and staple with a padlock is a classic for shed doors. You could also opt for a more decorative latch or a basic gate handle. It’s all about what works for you and the vibe of your shed.
Optional Extras: You might want some wood glue for extra strength on your joints, and perhaps some weather stripping to seal any gaps and keep the critters out. And don't forget about paint or stain to protect your doors and make them look spiffy!
Building the Frame: The Bones of Your Door
Now for the fun part: actually building! Let’s start with the frame. This is what gives your door its shape and strength. Imagine it like building the skeleton for your new wooden friend.

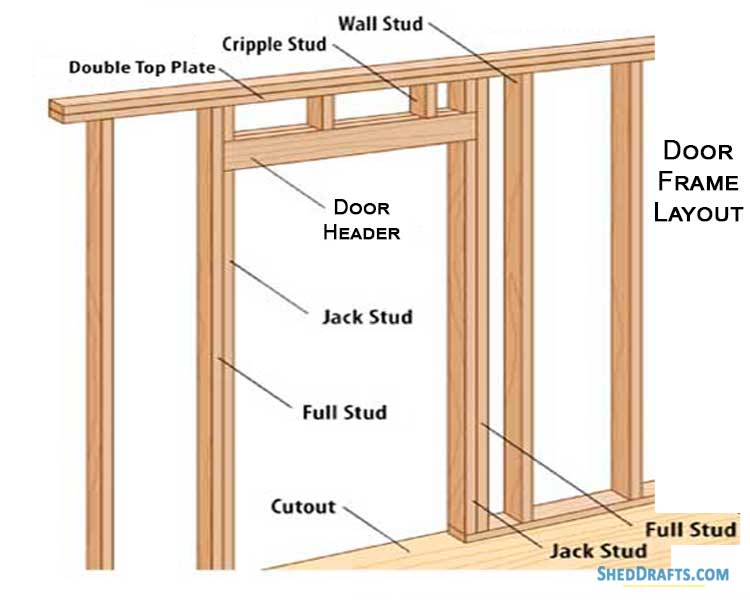
You’ll want to cut your 2x4s to the dimensions you need. Remember those measurements you took? This is where they come in handy. You’ll typically create a rectangular frame, with vertical pieces (called stiles) and horizontal pieces (called rails). For a more robust door, especially if you have a wider opening, you might add a diagonal brace across the back. This is called a Z-brace, and it’s like giving your door a superhero cape for extra stability.
You can join these pieces using screws and a bit of wood glue for good measure. Pre-drilling pilot holes is a good idea to prevent the wood from splitting, especially near the ends of the boards. Think of it as gently guiding the screw into its new home. Make sure your frame is square by checking the diagonals – they should be equal.
Adding the Panel: The Skin and Style
With your frame all built and sturdy, it’s time to add the paneling. This is where your shed door starts to look like, well, a door!
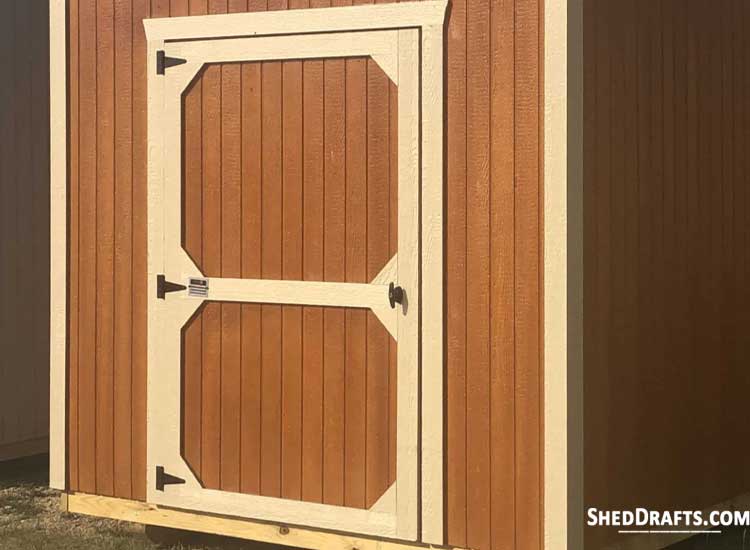
If you’re using plywood, simply cut it to fit the inside dimensions of your frame. You can attach it with screws, spacing them out evenly around the perimeter and in the middle for extra support. If you’re going for that charming, rustic vibe with tongue-and-groove boards, you’ll start at one edge and work your way across, interlocking each board with the previous one. Again, screws or nails are your friends here.
This is where you can really start to see your creation take shape. It’s exciting, right? You're essentially dressing up the sturdy frame you just built.
Attaching the Hardware: The Movable Parts
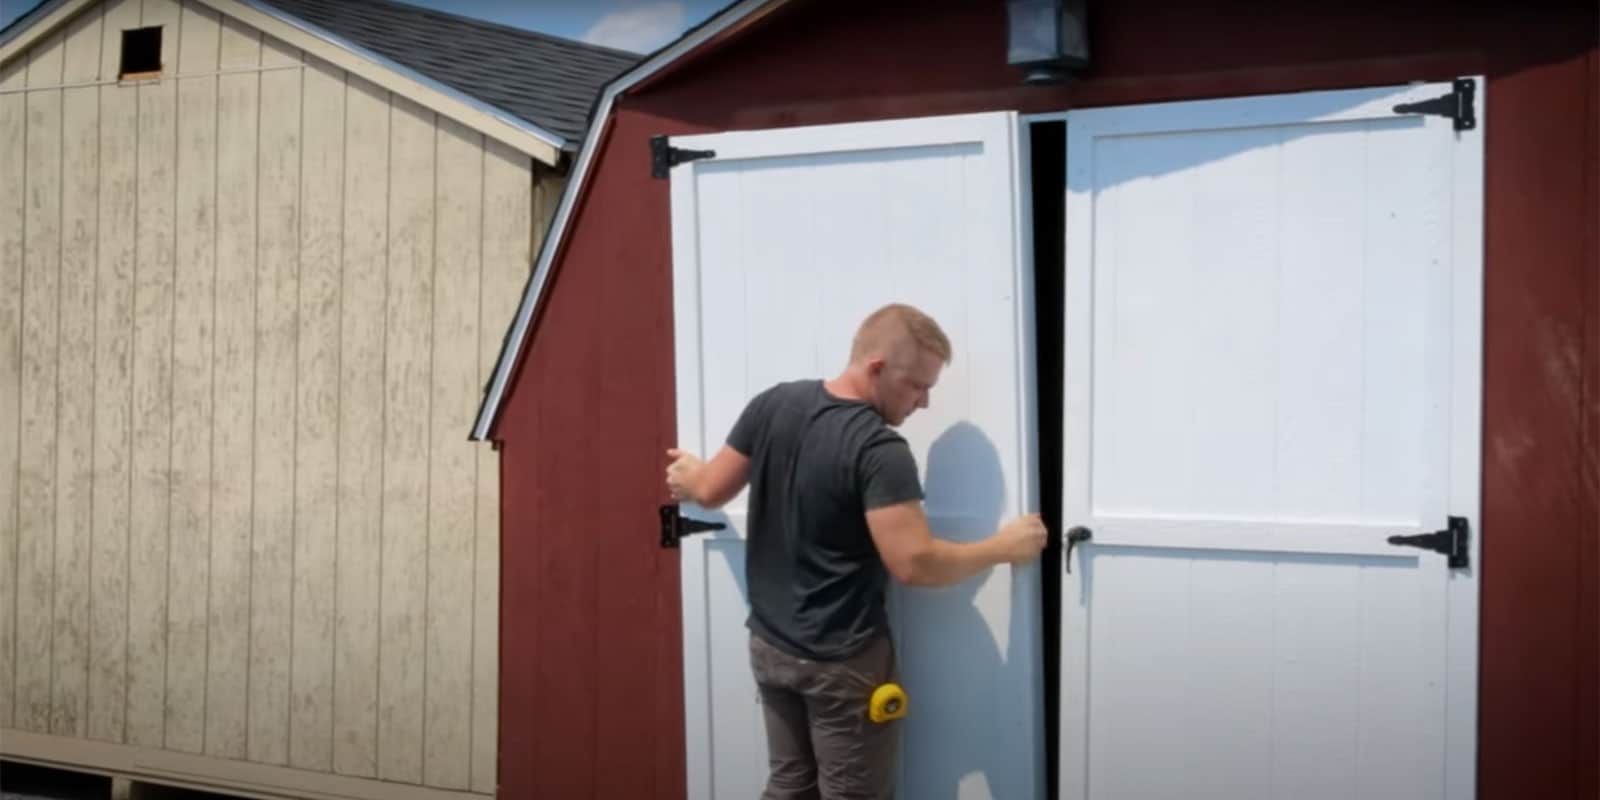
Almost there! The final step before you can admire your handiwork is attaching the hardware. This includes the hinges and the latch.
First, attach the hinges to the back of your door. Mark their positions carefully, ensuring they are evenly spaced and aligned. Then, line up your door with the shed opening and mark where the hinges need to be attached to the shed itself. This can be a bit of a dance, especially if you're working alone, but a helper or some strategically placed shims can make it much easier. Remember, precision here makes all the difference between a smooth swing and a frustrated sigh.
Once the hinges are in place, install your chosen latch mechanism. Make sure it operates smoothly and securely. Test it out! Open and close the door a few times. Does it swing freely? Does it latch properly? If not, don’t panic! A little adjustment here or there is often all it takes.
Finishing Touches: Protection and Polish
You’ve done it! You’ve built shed doors! Give yourself a pat on the back. But before you declare victory, a few finishing touches will make your new doors last longer and look fantastic.
Sanding is a good idea to smooth out any rough edges. Then, consider painting or staining. This isn’t just for looks; it’s crucial for protecting the wood from the elements. A good exterior paint or stain will keep your doors looking great for years to come. Think of it as giving your shed a stylish, protective raincoat.
And there you have it! You’ve successfully built your own shed doors. It’s a rewarding project that adds both functionality and a touch of personal flair to your outdoor space. So go ahead, open those doors, step back, and admire your handiwork. You’ve earned it!