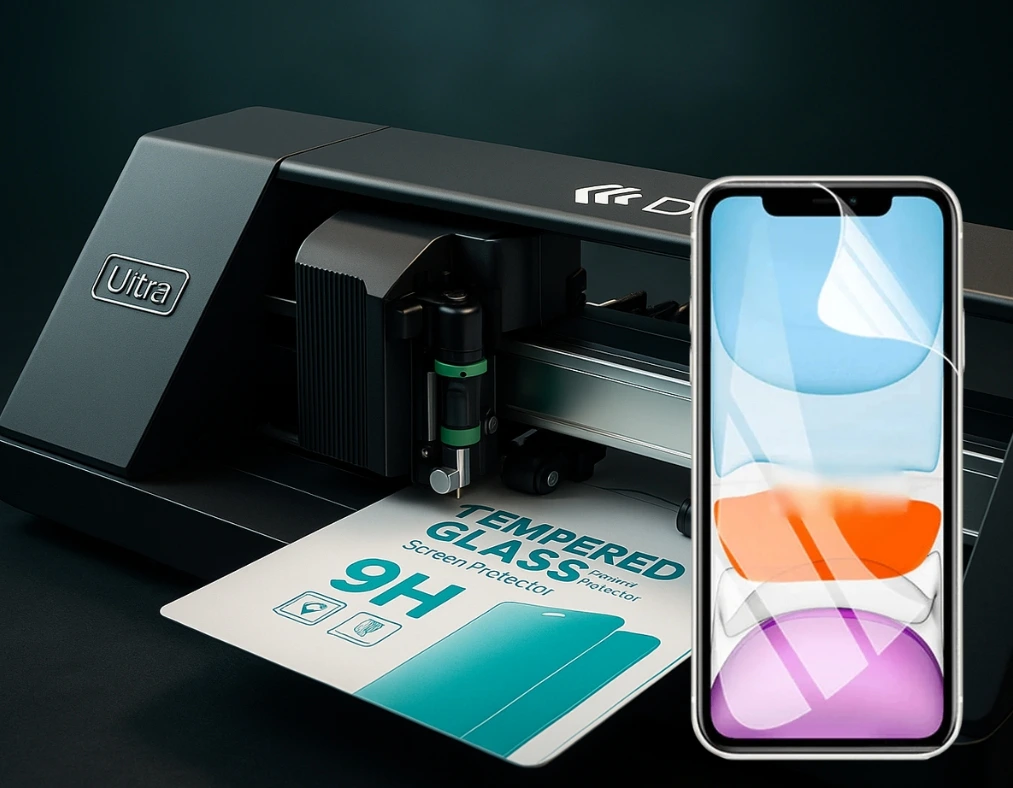
How To Apply Screen Protector Without Bubbles
Okay, so let's talk about the nemesis of every smartphone owner: the dreaded bubble. You know the ones. Those little, infuriating pockets of air trapped under your brand new screen protector, mocking your every tap. It's like your phone's new accessory is constantly reminding you, "You messed up!"
We've all been there, right? You spend a small fortune on a fancy tempered glass protector, meticulously peel off the plastic backing, and… BAM! A giant bubble right smack in the middle. Or maybe a whole squadron of smaller ones, forming a weird, abstract art installation on your screen. It's enough to make you want to throw your phone out the window. (Don't do that, by the way. Let's try this first.)
But fear not, my friends! Because today, we're going to conquer the bubble monster. We're going to achieve screen protector zen. We're going to apply that protector so flawlessly, so perfectly, that even the most discerning eye will be none the wiser. Think of me as your personal screen protector guru. Your bubble-busting bestie. Your… you get the idea.
Must Read
So, grab your favorite beverage – coffee, tea, a suspiciously vibrant energy drink – and let's dive in. This isn't rocket science, but it does require a little bit of patience and a dash of strategic brilliance. And maybe a clean, lint-free cloth. Definitely that.
The Pre-Game Warm-Up: Setting the Stage for Success
Before we even think about peeling that first piece of plastic, we need to set the scene. This is crucial. Think of it like preparing your kitchen before you attempt that elaborate soufflé recipe you saw online. You wouldn't just dive in, would you? Of course not. You'd gather your ingredients, preheat the oven, and probably wipe down the counters. Same energy here.
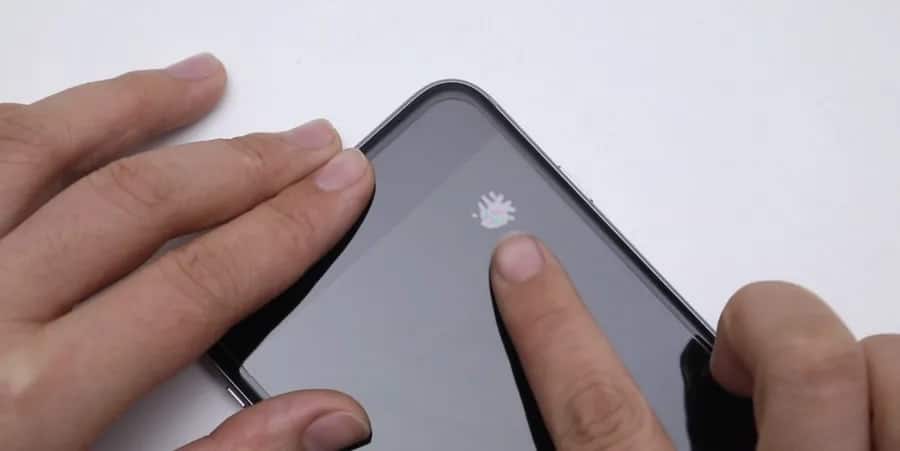
First things first: cleanliness is king. Seriously. Your phone screen is a magnet for dust, fingerprints, and probably a stray crumb or two from that sandwich you inhaled yesterday. You need a pristine surface. I'm talking spotless.
Most screen protector kits come with a little wet wipe and a dry wipe. Use 'em! The wet wipe is your first line of defense against gunk. Wipe down that screen like you're trying to scrub away your deepest regrets. Get into all the corners.
Then comes the dry wipe. This is where the magic really happens. You want to buff that screen until it gleams. Like a mirror. So clean, you can see your hopeful, bubble-free future reflected in it.
Now, the environment. This is often overlooked. Where are you going to do this magical application? The bathroom? Your dusty old desk? Nope. Think clean. The cleanest room in your house. Ideally, a place with minimal airflow.
Why minimal airflow, you ask? Because dust bunnies are the ninjas of the small-particle world. They travel on the slightest breeze, ready to pounce on your freshly exposed adhesive. So, avoid open windows. Turn off ceiling fans. Maybe even hold your breath for a few seconds when you're ready to stick. (Okay, don't actually do that. You'll pass out.)
I like to do mine in the bathroom after a hot shower. Hear me out! The steam helps settle any dust particles in the air. It’s like a little self-contained, dust-free sanctuary. Plus, you get to admire your shiny, bubble-free screen in the mirror afterwards. Win-win!
Another pro tip: gather all your supplies before you start. Your screen protector, the cleaning wipes, maybe a credit card or a squeegee if your kit came with one. Have everything within arm's reach. You don't want to be fumbling around for a tool with the sticky side of your protector exposed to the harsh, dusty realities of the universe. That's a recipe for bubble disaster.
The Great Unveiling: Peeling Back the Layers (Carefully!)
Alright, you've got your pristine screen. You've got your dust-free zone. You're feeling good. Now comes the moment of truth: peeling the backing off the screen protector. This is where many a good intention has gone to die.
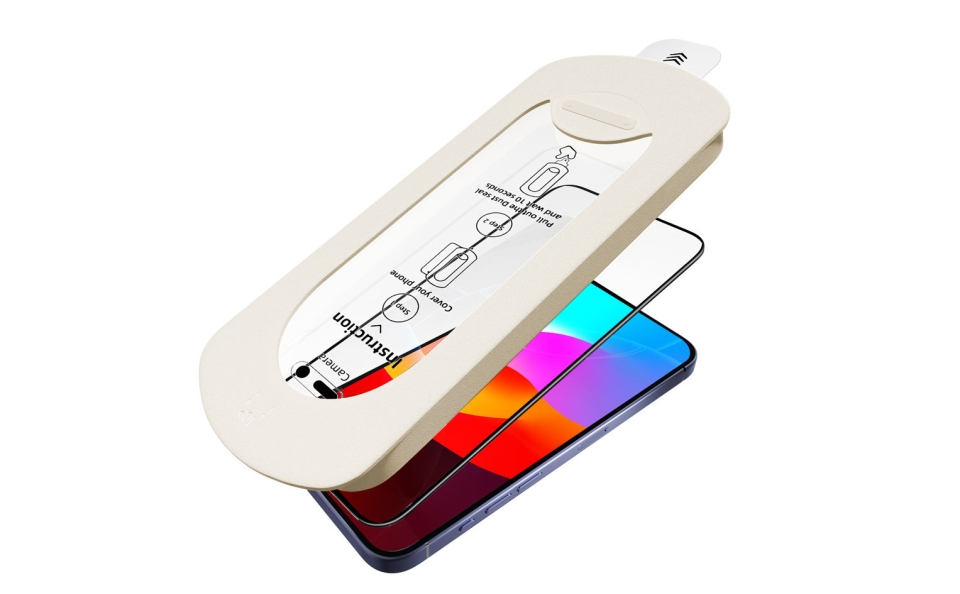
Most screen protectors have a little tab, usually labeled "1" or "Back." Gently lift this tab. Don't rip it off like you're opening a surprise present. We're aiming for finesse, people. Finesse!
As you peel, try to keep the screen protector as parallel to the phone screen as possible. Imagine you're gently lowering a delicate snowflake onto a warm surface. You don't want it to tumble and get all askew, do you? Same principle applies.
Some people like to hover the protector over the phone for a second, lining it up perfectly before making contact. This is a smart move. Hold it steady. Take a deep breath. Visualize that perfect, bubble-free alignment.

If your protector has a front protective film (often labeled "2" or "Front"), don't peel that off yet. We're not ready for that level of commitment. That's the final, triumphant reveal. For now, focus on the adhesive side.
And here's a crucial point: try to only touch the edges of the screen protector with your fingers. The adhesive side is a dust magnet of epic proportions. Every fingerprint you leave behind is a potential bubble waiting to happen. So, be like a surgeon. Or a ninja. Or a very, very careful butterfly.
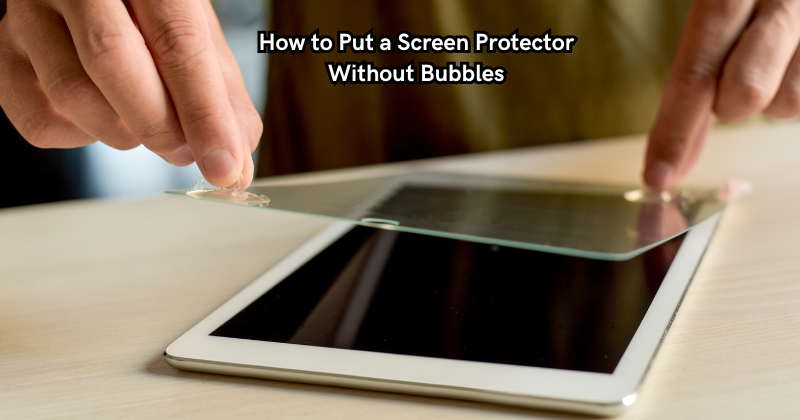
The Moment of Truth: Alignment is Everything
This is where the magic really happens. Or where the chaos really begins, depending on your skill level. Alignment. It's everything.
Take your time. Line up the edges. Most protectors have little cutouts for the speaker, camera, and home button (if your phone still has one – bless its little heart). These are your guides.
Hold the protector above the phone, letting gravity do some of the work. You can use the speaker grille or the top of the phone as a reference point. Slowly, gently, lower it into place.
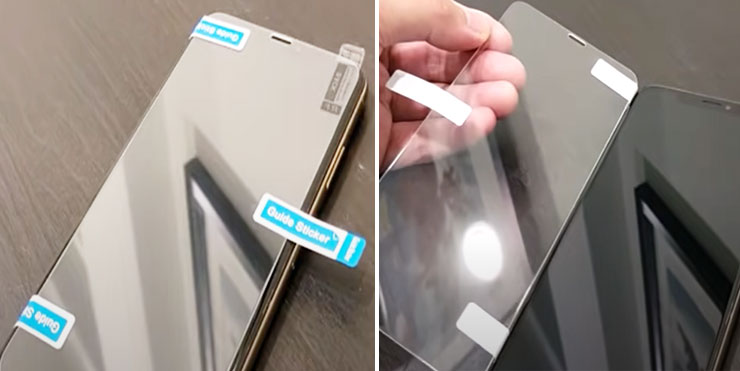
If you're feeling really brave, you can try the "hinge method." This involves using a piece of tape to create a hinge on one side of the screen protector. You then peel back the adhesive backing, and the tape keeps the protector perfectly aligned. When you're ready, you fold the protector down. It's a bit more advanced, but it can be super effective if you're a perfectionist. (I might try this next time, who knows?)

The key here is patience. Don't rush it. If it's not quite right, gently lift it up and try again. Most good quality screen protectors will allow you to reposition them a few times before the adhesive fully sets. Don't be afraid to lift it. It's better to lift and reapply than to live with a crooked protector, right?
Once you're happy with the alignment, then you let it go. Lower it the rest of the way down.
The Bubble Eviction: Taming the Air Traps
So, you've applied it. You've let it settle. And… oh no. There are still a few tiny bubbles. Or maybe one rogue, monstrous bubble staring you down. Don't panic! We're not done yet.
First, identify your bubbles. Are they large and obvious? Or are they tiny, almost imperceptible specks? The approach can be slightly different.
For those small, stubborn bubbles, you can often nudge them towards the edge of the screen using the microfiber cloth. Start from the center and gently push outwards. Think of it like you're herding tiny, fluffy sheep towards the pasture gate. They might resist a little, but with gentle persistence, they'll eventually move.
If you have a larger bubble, try to pinpoint where the air is trapped. Sometimes, you can carefully lift a corner of the screen protector (just a tiny bit!) and then use the cloth to gently guide the air out as you press the protector back down. Be very careful when lifting. You don't want to create more dust or damage the adhesive.
Some people swear by the "credit card method." Using the edge of a credit card (or the squeegee that came with your protector), you can gently push out the air bubbles towards the edges. Again, start from the center and work your way out. This can be surprisingly effective, but be firm but not too firm. You don't want to scratch your screen protector!
Now, what if a bubble just won't budge? Sometimes, especially with tempered glass, those tiny air pockets can be stubborn little critters. If it's a very small bubble, and it's not in your line of sight, you might just have to learn to live with it. It's like that one little wrinkle in your favorite shirt that you can't quite iron out. It's there, but it's not the end of the world.
However, if it's a significant bubble, and it's driving you crazy, your best bet is often to carefully peel the protector off (again, very carefully) and reapply. Sometimes, you can even salvage it if you're quick enough and the dust situation is still under control. It's a gamble, but it might be worth it if that bubble is really getting to you.
The Grand Finale: The Reveal and Beyond
Okay, you've applied it. You've chased away most (hopefully all!) of the bubbles. Now, it's time for the final touch: peeling off that front protective film. This is the moment of triumph!
Gently lift the tab (usually labeled "2" or "Front") and slowly peel it off. You should be greeted with a crystal-clear, perfectly applied screen protector. Admire your handiwork. You did it! You've conquered the bubble beast!
Give the screen another gentle wipe with the microfiber cloth. This will ensure it's smudge-free and looking its absolute best.
And remember, even if you have a tiny, microscopic bubble that you can barely see, it's often better to leave it than to risk damaging the protector or introducing more dust by trying to fix it. Life's too short to obsess over perfection, right? (Although, I do appreciate a perfectly applied screen protector. Can you blame me?)
So there you have it! A step-by-step guide to applying a screen protector without succumbing to the dreaded bubble. It takes a little practice, a little patience, and a whole lot of clean surfaces. But I promise you, the reward of a perfectly protected, bubble-free screen is totally worth it. Now go forth and protect those precious screens, my friends!