How Do You Use A Rivet Tool
So, you've got yourself a rivet tool. Fancy, right? It looks a bit like a science experiment gone rogue, a metal contraption with a trigger that promises to bind things together with surprising permanence. Don't let its slightly intimidating appearance fool you, though. This little gadget is your new best friend for projects that need a bit more oomph than mere glue or tiny screws can provide.
Think of it this way: you're about to perform a minor surgical procedure on your project. Except instead of scalpels, you've got a rivet gun. And instead of delicate tissues, you're dealing with, well, whatever needs a good, solid connection. It’s less "Grey's Anatomy" and more "Bob the Builder's Big Day Out."
The Grand Unveiling: Meeting Your Rivet Tool
First off, let's talk about the star of the show: the rivet tool itself. It usually has a handle, sometimes a trigger, and a little nozzle at the front where the magic happens. It might feel a bit heavy in your hand, like you're holding a miniature, metallic badger. That's perfectly normal. It means it's ready for action!
Must Read
There are a couple of main types you might encounter. There's the manual kind, which requires a good squeeze of your hand to get things moving. Then there's the pneumatic kind, which hums with the power of compressed air. This article, however, is mostly about the manual version, the one you'll likely wrestle with first. Don't worry, it’s a friendly wrestle.
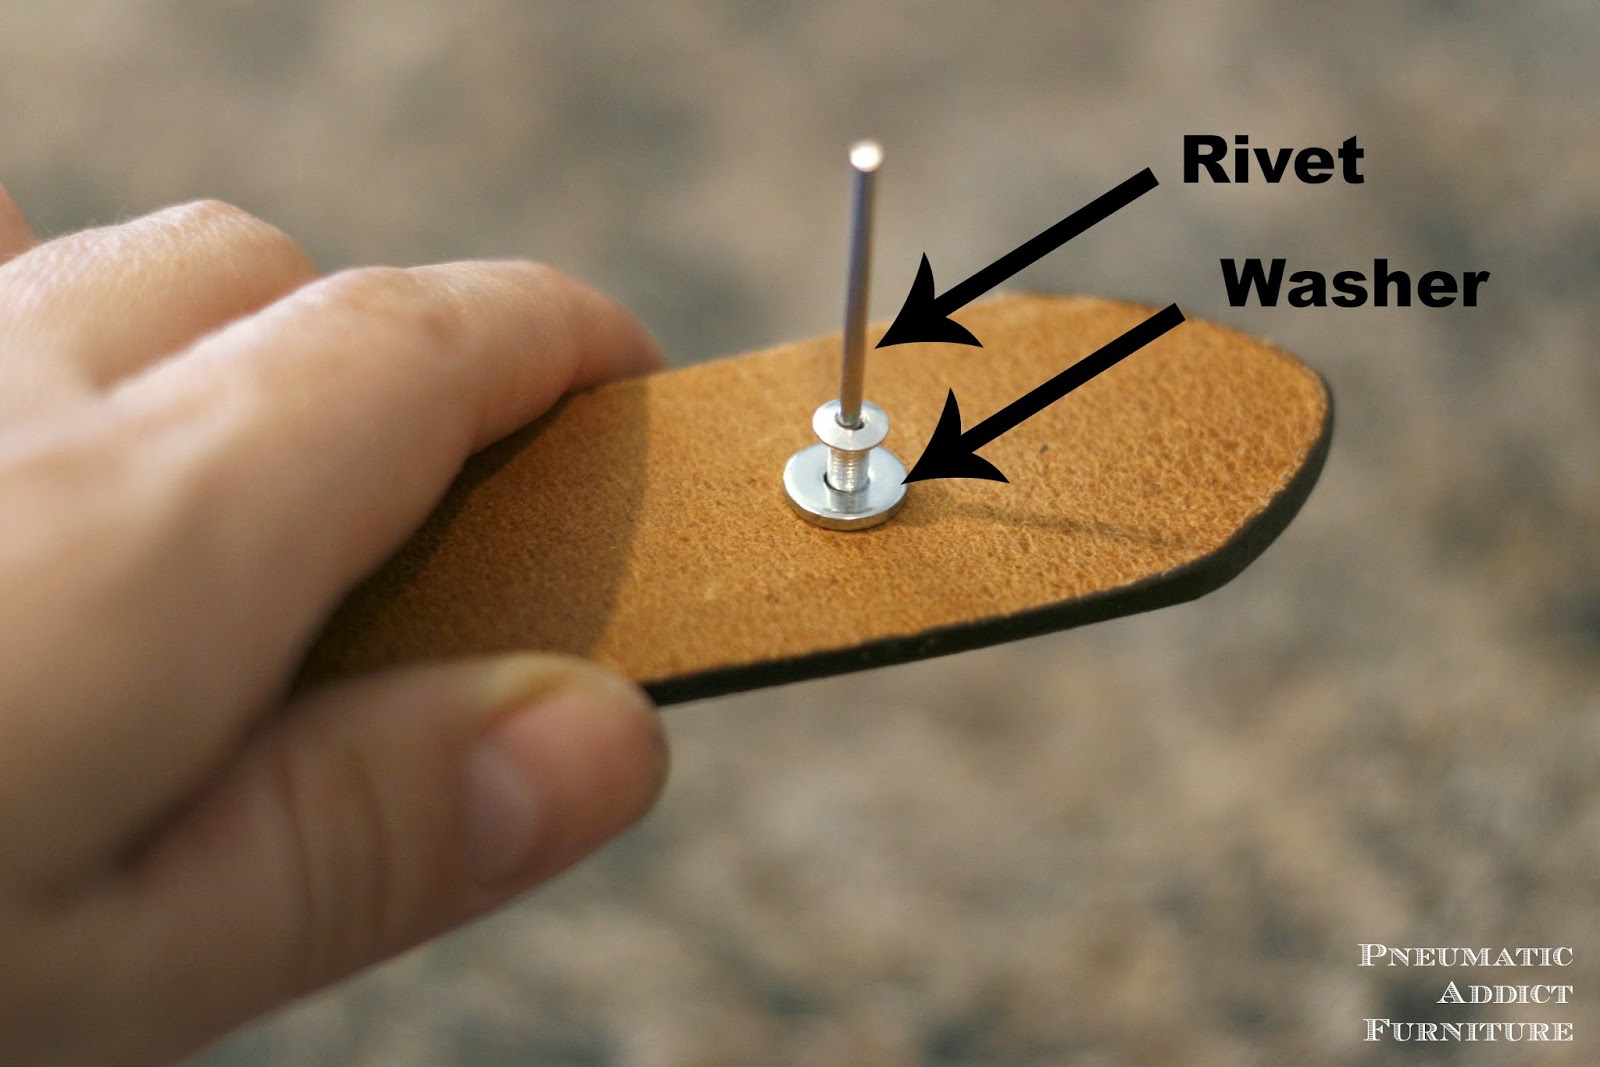
Getting Acquainted with the Rivets
Now, your rivet tool is only as good as the rivets you feed it. These are the little metal soldiers that do all the heavy lifting. They usually come in a pack, looking like tiny metal mushrooms or blunt arrows. They have a head, a shaft, and a mandrel that sticks out of the top.
The mandrel is the key. It's the part that gets pulled through the rivet body, expanding it and squishing it into place. It’s like a tiny, metallic persuasion expert. Without the mandrel, your rivet is just a shiny piece of metal with no real purpose. Think of it as the rivet's secret weapon.
The Pre-Rivet Ritual: Preparation is Key
Before you go all "rivet-happy," there's a little bit of prep work. You need to decide where you want your rivet to go. This isn't a place for spontaneous decisions. Pick a spot where you want two pieces of your project to become one, united in metal matrimony.

Next, you need to make holes. Yes, holes. Your rivet tool doesn't magically create them. You'll need a drill with a drill bit. The drill bit size should match the rivet shaft. Too small, and the rivet won't fit. Too big, and you'll have a wobbly connection. It's a delicate balance, like a tightrope walker with a toolbox.
Once your holes are drilled, you line up your pieces. Make sure they're snug. No gaps, no awkward angles. You want a clean join. Imagine you’re setting up a perfect handshake between two stubborn objects. This is where patience pays off.
Loading Up: The Rivet Insertion
Now for the exciting part. You take a rivet. Just one. Don't go stuffing the whole pack in there; that's a recipe for disaster and a very confused rivet tool. You insert the rivet shaft into the nozzle of your rivet tool.
It should slide in smoothly. If it feels like you're trying to force a giraffe into a Mini Cooper, something is wrong. You might have the wrong size rivet, or it’s not seated properly. Give it a gentle wiggle. If it still resists, take it out and try again. Precision is your friend here.
With the rivet loaded, you position the nozzle over your aligned holes. The head of the rivet should sit flush against the surface of your project. It’s like giving your project a tiny, metallic piercing. You’re the piercer, and the rivet is the jewelry.

The Squeeze Heard 'Round the Workshop
Here comes the moment of truth. You grip the handles of your rivet tool. If it’s a manual one, take a deep breath. You're about to engage in a satisfying act of creation. Squeeze the handles together.
The first squeeze might feel a bit strange. You’re pushing the rivet into the holes. The tool is starting to do its thing. Keep squeezing. You’ll feel some resistance, then a click, or a pop. That’s the sound of progress, my friend.
As you continue to squeeze, the tool pulls the mandrel. This pulls the rivet body, forcing it to expand and grip the material on both sides of the holes. It’s a powerful, albeit noisy, process. Imagine a tiny metal hug being applied with brute force.
The Snap: Rivet Success!
With each squeeze, you’ll feel the mandrel being pulled harder. Eventually, you’ll reach a point where the tension becomes too much. Then, snap! The mandrel breaks off. This is the most satisfying part for many. It’s the audible cue that your rivet has successfully done its job.
You’ll be left with a securely fastened connection. The rivet body is now slightly mushroom-shaped on one side and has a neat, closed end on the other where the mandrel broke. Ta-da! You've just used a rivet tool.

Now, you might notice a little bit of the broken mandrel left inside the tool. Most rivet tools have a mechanism to release this. Sometimes it's a lever, other times you just give the tool a good shake or jiggle. Don't let those little metal bits accumulate. They’re the confetti of your riveting success, and they need to be cleared away.
The Art of Multiple Rivets
Of course, one rivet is rarely enough. For most projects, you'll need several. The process repeats. Load another rivet. Align your pieces. Squeeze. Snap. Clear the debris.
It might feel a bit repetitive after a while, but each rivet adds to the strength and integrity of your project. Think of yourself as a highly skilled, slightly noisy, metal artisan. You’re not just attaching things; you’re forging bonds.
Sometimes, you might find that a rivet doesn't quite set perfectly. Maybe it’s a bit loose, or the head isn't sitting quite right. Don't panic. You can often try another squeeze, or if it's really bad, you might have to drill it out and start again. That's part of the learning curve. It's okay to make mistakes. It's how we learn to master the art of the rivet.
Troubleshooting: When Rivets Go Rogue
What if the mandrel doesn't break? This can happen if your rivet tool isn't set up correctly, or if the rivet is faulty. You might need to adjust the tool or try a different rivet. Always refer to your tool’s manual if you have one. They’re like the secret instruction booklets for your metallic overlords.

Another common issue is when the rivet spins in the hole. This usually means the holes are a bit too large, or the material is too soft. A slightly larger rivet might be needed, or you might need to reinforce the area. It's a bit like trying to tie a knot with slippery string – frustrating but solvable.
And then there's the dreaded "rivet not pulling through." This could be an issue with the tool's internal mechanism, or the rivet mandrel might be jammed. A gentle tap or jiggle can sometimes free it. If all else fails, a good old-fashioned drill can usually get you out of a pickle. Remember, the drill is your friend for both creating holes and, in a pinch, removing mistakes.
Beyond the Basics: The Joy of Riveting
Using a rivet tool is surprisingly satisfying. There’s a tactile feedback, a sense of accomplishment with each successful connection. It transforms flimsy pieces into something solid and dependable.
It's not just for professional builders or mechanics. Home DIYers can find a million uses for it. Fixing that wobbly garden furniture, reinforcing a shed door, even creating some unique art pieces. The possibilities are endless when you have the power of rivets at your fingertips.
So, the next time you see a rivet tool, don't be intimidated. Embrace it. Load it up, squeeze it with confidence, and enjoy the satisfying snap of a job well done. You’re not just assembling things; you’re creating lasting connections, one rivet at a time. And in a world that often feels temporary, there's something truly wonderful about that.

