How Do You Trim A Lemon Tree

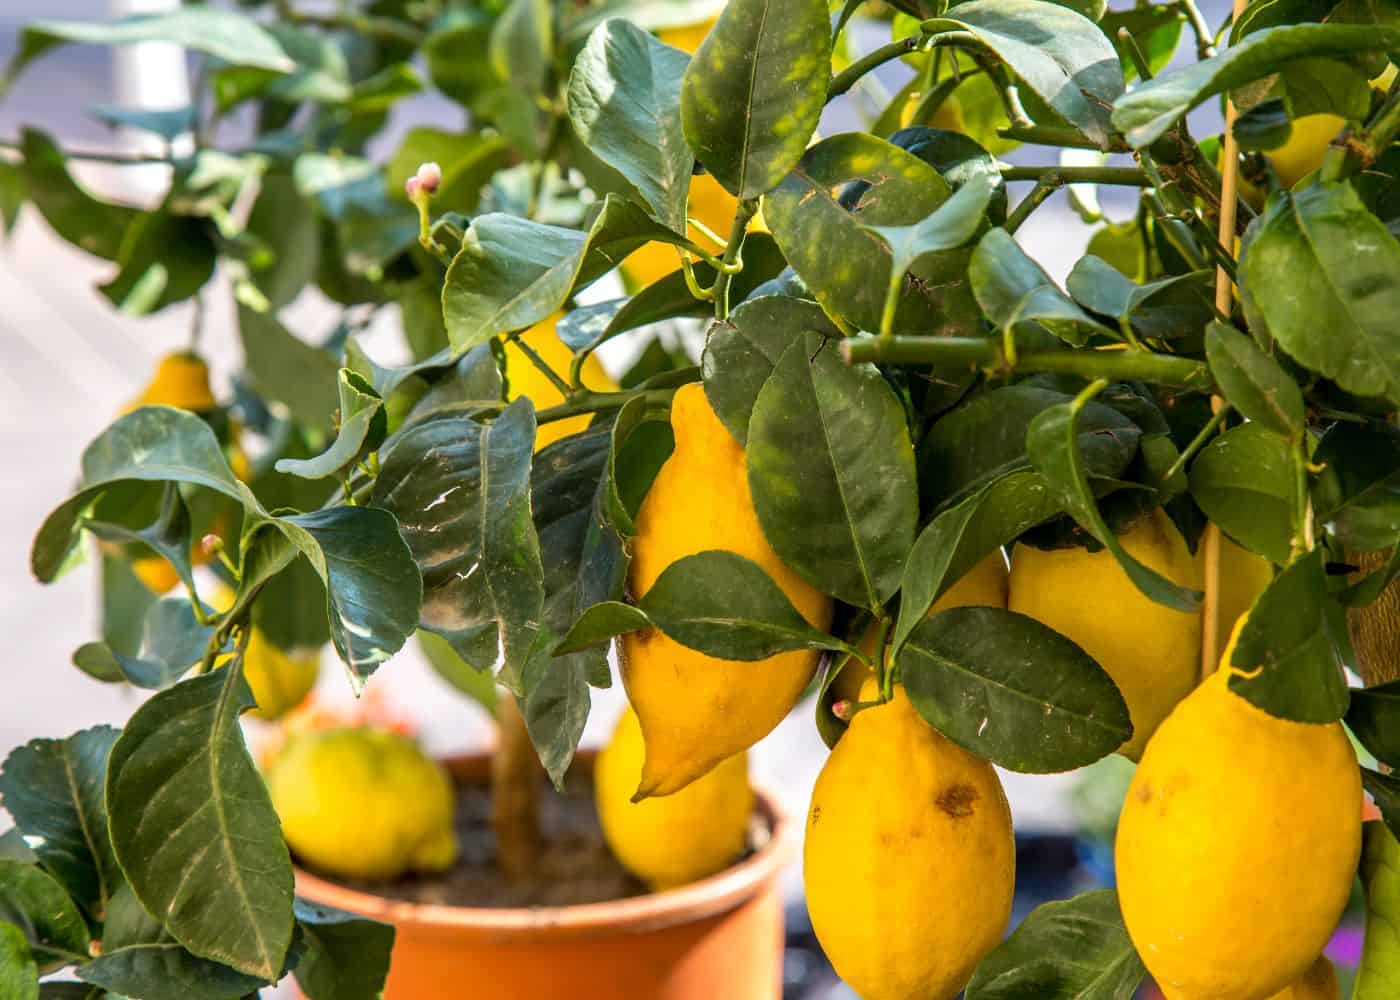
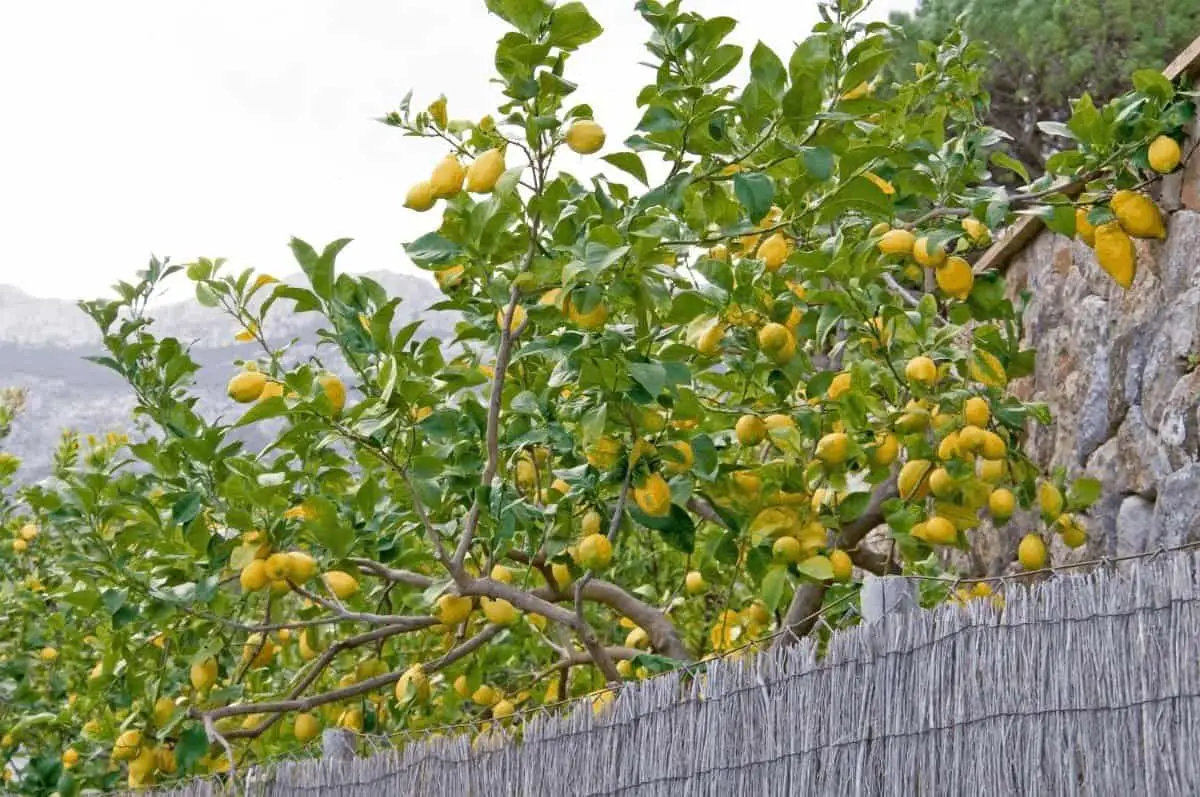
So, you've got a lemon tree. Maybe it's a majestic sentinel in your backyard, or perhaps it's a sassy little potted fella on your balcony, looking all dignified. Whatever its situation, you’ve probably eyed it up, a twinkle in your eye, thinking, "Right, time to make you a proper lemon-producing machine!" But then… the thought of trimming it hits you. It feels like a tiny bit of horticultural surgery, and suddenly you're picturing a scene from a B-movie where a rogue gardener wields secateurs like a samurai sword, accidentally turning your citrus dreams into a prickly disaster. Fear not, my fellow plant pals! Trimming a lemon tree isn't a high-stakes operation; it's more like giving your leafy friend a much-needed haircut, with a sprinkle of sunshine and a whole lot of potential for zesty goodness.
Think of it this way: your lemon tree is like that friend who has a bit too much energy and tends to get a tad… enthusiastic. It’s probably sprouting branches in every direction, some doing very little except hogging the sunlight meant for its more productive brethren. Trimming is basically you saying, "Hey, buddy, let's focus that energy! We've got lemons to make, and we can't have you looking like a startled hedgehog, can we?"
First off, gather your tools. You don't need a chainsaw, unless you're planning on building a lemon-themed log cabin. A good pair of sharp secateurs is your best friend. Think of them as tiny, precise scalpels for plants. If your branches are a bit chunkier, a small, sharp pruning saw might be in order. The key here is sharp. Dull tools are the enemy of a happy tree; they can tear and bruise, giving your tree a whole lot of unnecessary drama. Imagine trying to cut a steak with a butter knife – not pretty. So, invest in decent secateurs, or borrow some from that neighbor who seems suspiciously good at keeping their petunias alive.
Must Read
Now, for the golden rule of lemon tree trimming: Timing is everything. Generally, the best time to give your tree a good prune is after the main harvest. For most folks, this means late spring or early summer. Why then? Because you don't want to go hacking away when it's busy making all those gorgeous little lemons. Think of it as a post-lemon-production pamper session. You wouldn't want your masseuse showing up mid-spa treatment, would you? It's also a good idea to avoid trimming when the tree is stressed, like during a heatwave or a frosty spell. Give it some chill time, and then when it’s feeling robust, that’s when you bring out the shears.
The Art of the Snip: What to Actually Cut
Alright, you've got your sharp weapons, and the sun is shining. Time for the fun part! Or, at least, the slightly less terrifying part. We're aiming for a few key goals with our trimming:

1. Promote Airflow and Sunlight
This is like decluttering your living room. You want to let light and air get into the middle of the tree. If the branches are all tangled up like a bowl of spaghetti, the inner bits are going to get dark, damp, and a bit grumpy. Look for branches that are crossing each other or rubbing. Pick one – usually the weaker or more awkwardly placed one – and snip it off. It’s a tough decision, I know. It’s like choosing your favorite child. But trust me, the tree will thank you.
Also, keep an eye out for branches that are growing straight inwards, towards the center of the tree. These guys are just going to get in the way of everyone else. Give them the boot. Think of it as creating little pathways for sunshine to waltz through. More sunshine equals happier leaves, and happier leaves equal… you guessed it!
2. Remove Dead, Damaged, or Diseased Bits
This is the equivalent of removing that rogue sock that’s somehow ended up in your clean laundry. You know it’s not supposed to be there, and it’s just… off. Look for any branches that are clearly dead (brittle and brown, no leaves), or that have been damaged (snapped, torn, or looking a bit bruised). And if you see anything that looks like it’s got a nasty case of leaf spot or some other botanical ailment, it's best to remove it before it spreads its misery. This is for the tree’s overall health. It’s like a tiny bit of plant first aid.
Surprising Fact Alert! Sometimes, a branch might look perfectly fine on the outside but be rotting from the inside. A good test is to gently bend it. If it snaps cleanly, it’s likely dead. If it bends with a bit of resistance, it’s probably alive and kicking. Don’t go bending your tree into pretzels, though; we’re aiming for precision, not a yoga session.
3. Shape and Control Size
This is where you get to be the artistic director of your lemon empire. If your tree is getting a bit too wild and taking over your patio, you can trim it back to keep it manageable. The key is to make thinning cuts rather than chopping off huge limbs. Imagine you’re sculpting a cloud. You want to shape it, not flatten it. If you need to reduce the height, trim back to a side branch that's growing outwards. This encourages the tree to grow wider rather than taller, creating a more balanced and productive shape.
Playful Exaggeration Time! Seriously, some lemon trees can get so big they start whispering secrets to the neighbor's cat. You don’t want a tree that requires a ladder and a Sherpa to pick your lemons, right? A good trim keeps things accessible and prevents you from having to wear a hard hat every time you venture into the garden.
4. Encourage Fruiting
This might sound counter-intuitive, but a light prune can actually encourage more fruit! By removing some of the weaker growth, you’re essentially telling the tree, "Hey, focus your energy on making those good branches produce!" It’s like telling your teenager to concentrate on their homework instead of their TikTok dance moves. You're redirecting precious resources.
JOKE INTERLUDE: Why did the lemon tree break up with the orange tree? Because it felt like they were just going through the zest of their relationship!
Making the Cut: The Nitty-Gritty
When you're ready to make a cut, here’s the golden rule: cut just outside the branch collar. The branch collar is that slightly swollen bit where the branch meets the trunk or a larger branch. It’s like the tree’s natural healing zone. If you cut too close, you can damage it. If you leave a long stub, it’s an invitation for pests and diseases to move in. So, aim for a clean, flush cut, but don’t flush it too much, if you catch my drift. It’s a delicate balance.

For smaller branches, a simple one-cut method with your secateurs is fine. For thicker branches, you might need a three-cut method to prevent the bark from tearing. This involves making a small cut on the underside a few inches away from the trunk, then a full cut from the top a little further out, and finally, a neat cut to remove the remaining stub just outside the collar. It sounds complicated, but it’s like learning to tie your shoelaces – a bit fiddly at first, but you get the hang of it. Watch a quick video online if you’re unsure; visual learners, this one’s for you!
And remember, don't overdo it! A good rule of thumb is to never remove more than 20-30% of the tree’s canopy in a single pruning session. You’re giving it a haircut, not a full shave. Too much pruning can stress the tree, making it less productive and more susceptible to problems. It's a marathon, not a sprint, folks.
After you've done your trimming, give your tree a good drink of water and maybe a little pat on the back. You've just performed a minor miracle, and your tree, with its newfound tidiness and improved access to sunshine, is going to be so much happier. And who knows? By the time you've got a well-maintained lemon tree, you might just be ready to tackle that overgrown rose bush. But let's not get ahead of ourselves. One citrus success at a time!