How Do You Store A Stool Sample
Alright, let's talk about something we all do, but nobody really wants to talk about. You know, the ol' "number two." We’ve all been there, staring at that little plastic cup that comes with that special medical form, wondering, "Okay, so how exactly do I… collect this treasure?" It’s like a bizarre scavenger hunt, a mission straight out of a spy movie, except the prize isn't a million bucks, it's… well, you get the picture.
First off, breathe easy. This isn't rocket science, even though it might feel like you need a PhD in Bio-Hazard Containment. It’s more like trying to herd particularly stubborn cats into a tiny box. We've all had those moments of intense concentration in the bathroom, haven't we? The kind where you’re hoping for a clean getaway, and then BAM! The delivery arrives. Now comes the slightly less glamorous part: the storage.
The Great Collection Caper
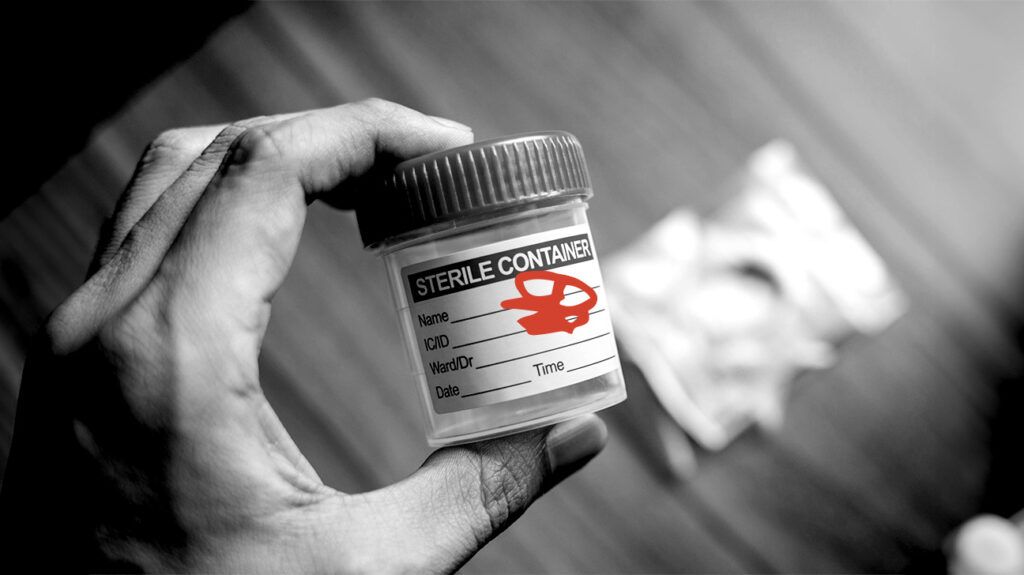
So, you've got your trusty, sterile little container. Think of it as your high-tech, personal, uh, specimen vessel. It’s usually a small, clear plastic thing, sometimes with a little scoop attached. This scoop is your golden ticket, your tiny shovel for a rather significant excavation. The key here is to be respectful of the specimen. You’re not trying to dig for buried treasure, you’re just trying to get a representative sample. Think of it like taking a tiny, perfect scoop out of a very large, very personal cake.
Must Read
Now, the instructions usually say something like, "Collect a sample from several different parts of the stool." This is where things can get a little… creative. It’s like trying to get a good cross-section of a mystery meatloaf. You don't want all the mushy bits, you don't want all the… solid bits. You want a good, well-rounded representation. Imagine you're a food critic, but instead of tasting, you're… well, you’re still collecting.
Sometimes, you might need to use that little wooden stick that comes with it. This is your precision tool. Handle it with care, like you’re performing delicate surgery. You’re aiming for the “goldilocks zone” – not too much, not too little. Just right. And for goodness sake, try to avoid any… unintended guests. This isn't the time for a balancing act with your morning coffee cup or a sudden sneeze that could send your precious cargo flying. We’ve all had those awkward moments where you feel like a circus performer, haven’t we?
The Art of the Transfer
Once you’ve successfully (and hopefully cleanly) gathered your sample, the next step is getting it into the container. This is where the dexterity of a squirrel comes in handy. You’re trying to deposit your findings into the opening without making a mess. It’s like trying to thread a needle while wearing oven mitts, only the needle is the opening of a small plastic cup, and the thread is… you know.

Some of these containers have a little brush on the lid. This is a game-changer, a tiny bristled hero that helps you get that perfect amount. It’s like having a miniature paint brush for your, uh, artistic endeavors. You dab, you swirl, you carefully transfer. The goal is to get enough in there to be useful for the lab folks, but not so much that it’s overflowing like a volcano about to erupt. Nobody wants that.
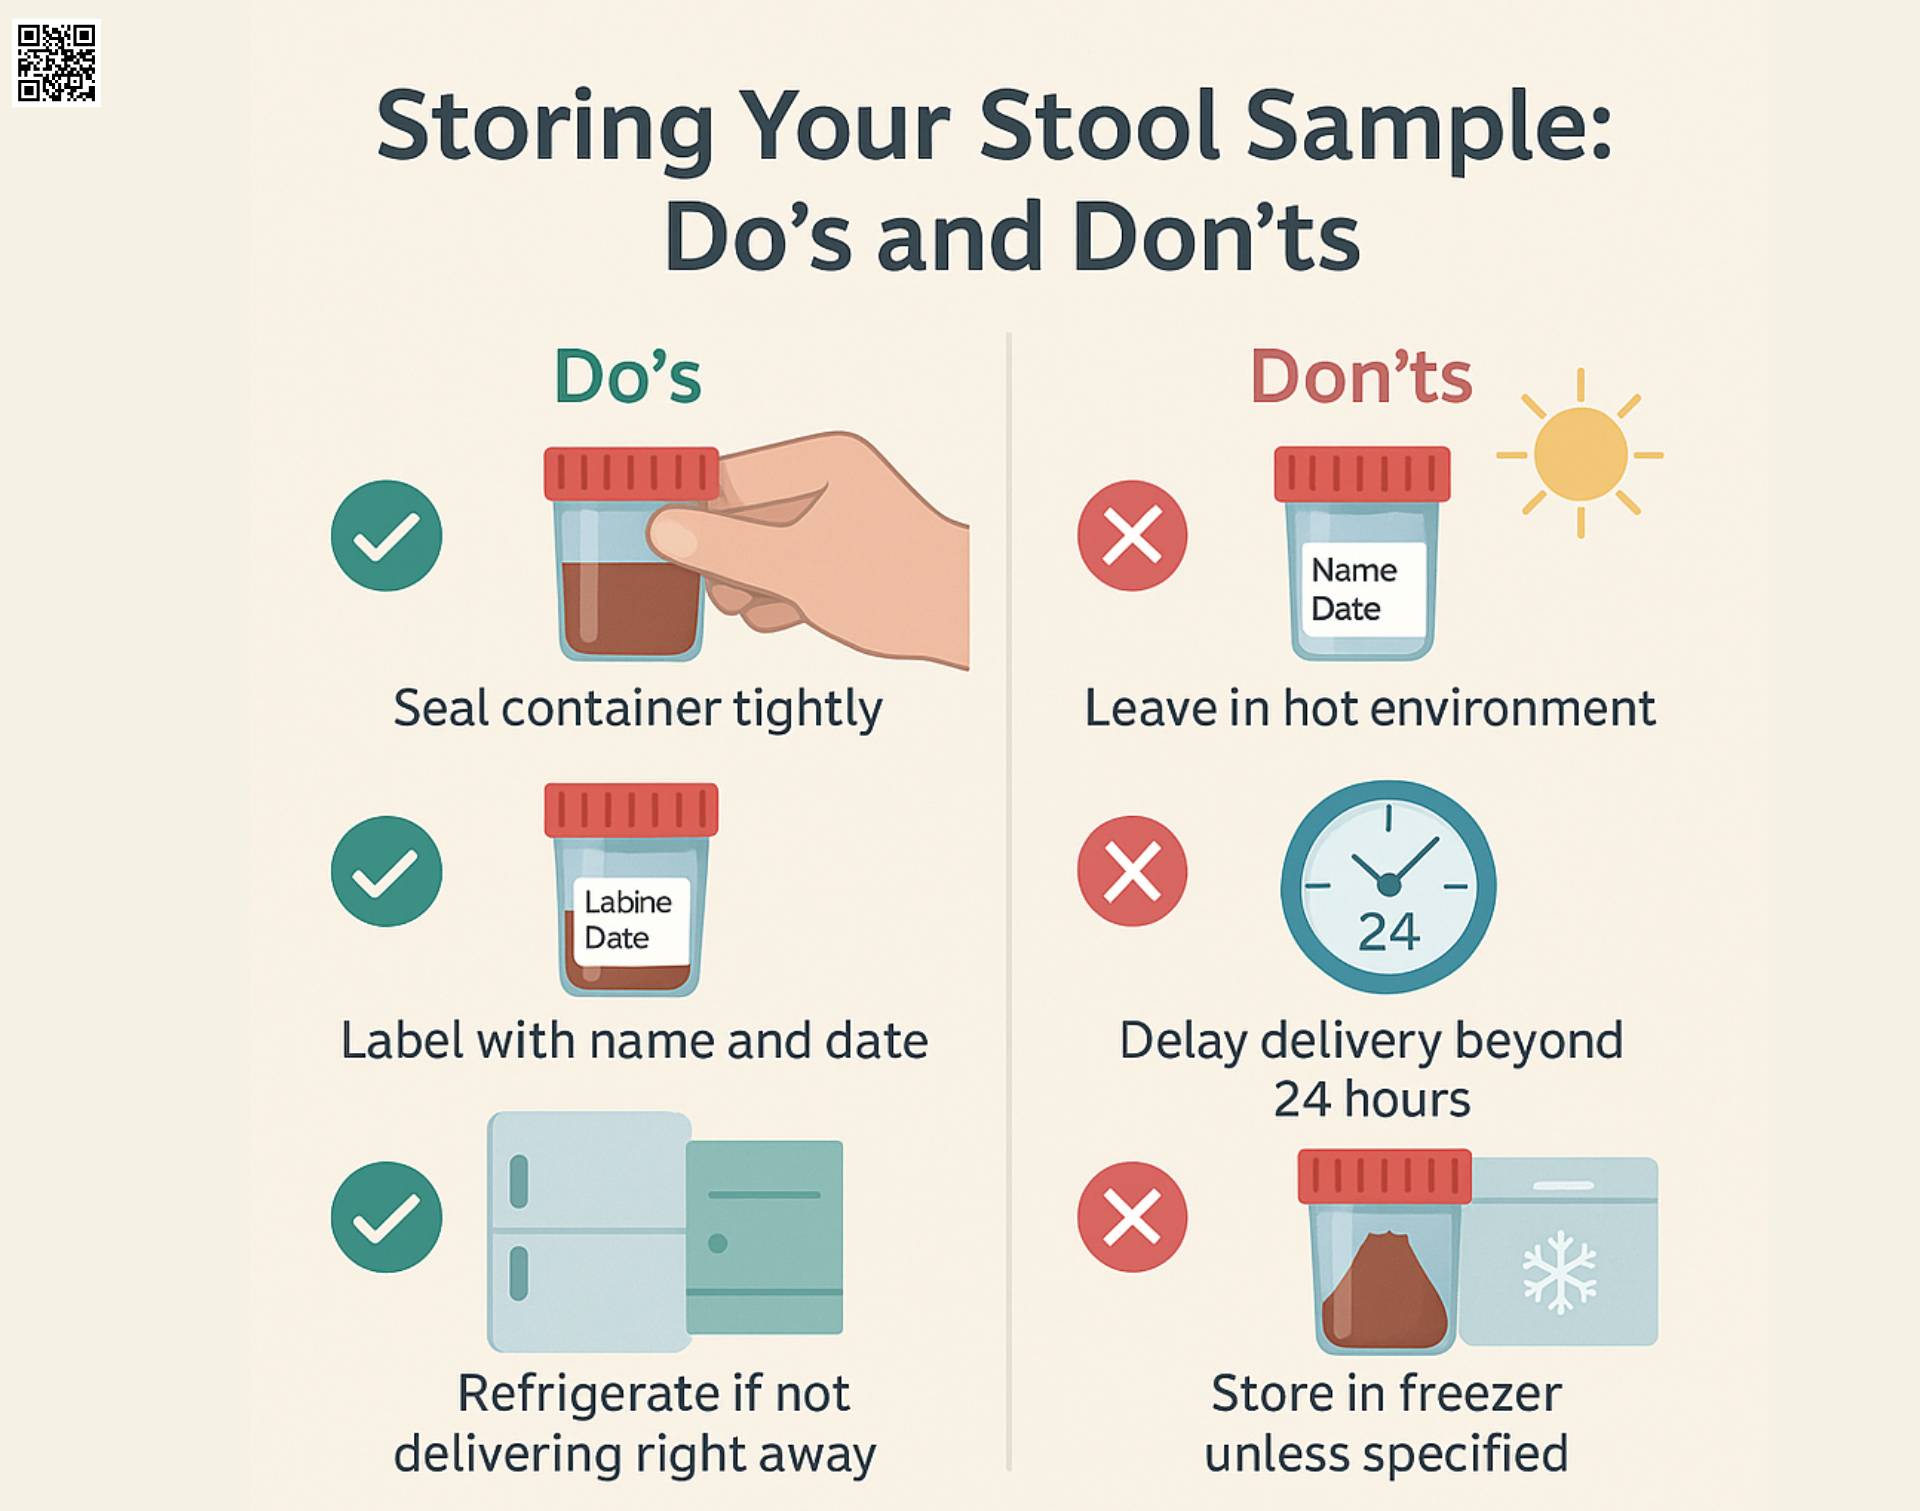
And then there’s the lid. Oh, the lid. You have to screw it on TIGHT. Like, “I-just-won-the-Olympic-weightlifting-competition” tight. You do not want any leakage. This is a one-way ticket, folks. No returns, no exchanges, and definitely no accidental spills in your handbag or the doctor’s office. Imagine the awkwardness. “Oh, is that… mine?” The horror!
To Refrigerate or Not to Refrigerate? That is the Question.
Now, here’s where things can get a little confusing. The instructions will tell you what to do with your precious cargo. Sometimes, it’s straight to the fridge. Think of your refrigerator as a luxurious, chilled vault for your specimen. It’s like putting your most important, albeit unusual, item in a safe deposit box. You wouldn’t leave a valuable diamond on the counter, right? Same principle applies here. Keep it cool, keep it safe.
Other times, you might be told to just leave it at room temperature. This is like letting your sample chill out on the counter, maybe near a nice cup of tea. But here’s the catch: time is of the essence. You can’t just let it sit there for days, marinating like a forgotten piece of cheese. It’s like leaving your ice cream out on a hot day – it’s going to start to… change. And not in a good way.
The general rule of thumb, the unspoken medical wisdom passed down through generations of slightly uncomfortable patients, is that these samples don’t like to be left in the sun or at room temperature for too long. They’re a bit like certain types of fruit – they have a shelf life, and once that’s up, they’re not as useful. So, if you’re collecting it in the morning, and your appointment is later that day, that’s usually fine. But if you’re collecting it on a Friday and your appointment is on a Monday? You might be entering risky territory.
The Fridge: Your New Best Friend (Temporarily)
Let’s be honest, nobody wants to see their… contribution… mingling with the leftovers or the milk carton. It’s a little weird, right? So, how do you make your fridge a welcoming, yet sterile, environment for your sample? The easiest way is to use a dedicated, sealed bag. A Ziploc bag works wonders. It’s like giving your specimen its own little overnight bag, a place where it can travel safely and discreetly.
And here’s a pro-tip from someone who’s been there: label it clearly. Not just "Stool Sample." Get specific. "John Doe - Stool Sample - [Date]." You don’t want your spouse or your kid accidentally grabbing it thinking it’s some kind of experimental dip. The thought alone makes you shudder, doesn’t it? Imagine the confusion, the questions. "Honey, what’s this in the Tupperware?"

Some people get a little… elaborate. They might put it in a small box, a dedicated Tupperware container (clearly marked, of course!), or even an old, clean yogurt pot. Whatever floats your boat, as long as it’s sealed and labeled. Think of it as giving your specimen a little VIP treatment before its grand unveiling at the lab.
The Clock is Ticking: Don't Be a Laggard!
This is probably the most crucial part of stool sample storage: timeliness. The lab needs to analyze it when it’s… fresh. Think of it like delivering a pizza. You don’t want it to arrive cold and congealed, do you? The same applies to your biological offering. The longer it sits around, the more it can degrade, and the less accurate your test results will be. This is not the time to procrastinate, to put it off until tomorrow. Tomorrow might be too late.
If your doctor’s office or the lab has specific instructions, follow them to the letter. They’re the experts, after all. They know what they’re looking for, and they need the sample in prime condition. So, if they say “within 24 hours,” then aim for within 24 hours. If they say “keep refrigerated,” then your fridge is your best friend. Don’t be a hero and try to wing it.

We’ve all had those moments where we know we should have done something, but we just… didn’t. Life gets in the way. The dog needs walking, the kids need picking up, you’re binge-watching that new show. But with a stool sample, don’t let your busy life sabotage your health. It's a small task, but a vital one.
When in Doubt, Ask!
Look, nobody expects you to be a medical professional. If you’re genuinely scratching your head, wondering if you’ve done it right, or if your storage method is acceptable, just ask. Call your doctor’s office. Call the lab. They’ve heard it all before, trust me. They’re not judging your collection techniques; they’re just there to help you get the best results.
It’s better to ask a silly question and get it right than to guess and potentially have to go through the whole… process… all over again. Imagine the indignity of having to collect another sample because the first one wasn’t stored properly. No, thank you! So, if you’re unsure about whether to refrigerate, how long it’s good for, or what kind of container is best, pick up the phone. It’s the smart, and frankly, the less embarrassing thing to do.
So, there you have it. Storing a stool sample. It’s not the most glamorous task, but it’s a necessary one. With a little care, a bit of common sense, and maybe a good sense of humor, you can conquer the collection caper and ensure your sample is ready for its close-up at the lab. Now, go forth and be brave… and hopefully, the next time you encounter one of these little cups, it'll be for a much more celebratory reason!

