How Do You Screenshare On A Mac

Ever found yourself staring at your Mac screen, wishing you could just… show someone else what you’re seeing? Maybe you’re trying to explain a tricky bit of software, or perhaps you just want to show off that hilarious cat video you found. Whatever the reason, the idea of screensharing feels a little like digital telepathy, doesn't it? And the good news is, it’s totally doable on your Mac. No wizards or secret spells required, just a few simple steps.
So, how do you actually go about it? Let’s dive in. Think of it like this: you’re basically giving someone a temporary window into your digital world. Pretty neat, huh?
The Built-In Magic: Screen Sharing on macOS
Apple, being Apple, usually likes to keep things convenient. And when it comes to screensharing, they’ve got a built-in feature that’s surprisingly capable. We’re talking about the native macOS Screen Sharing utility.
Must Read
This isn’t some clunky add-on; it’s right there, ready to go. Think of it as the trusty old friend of your Mac, always there when you need it. So, how do we unleash this digital pal?
Your Mac as the Host: Sharing Your Screen
Let’s say you want to show your screen to someone else. This is the most common scenario. You’re in control, you’re the one broadcasting your digital masterpiece.
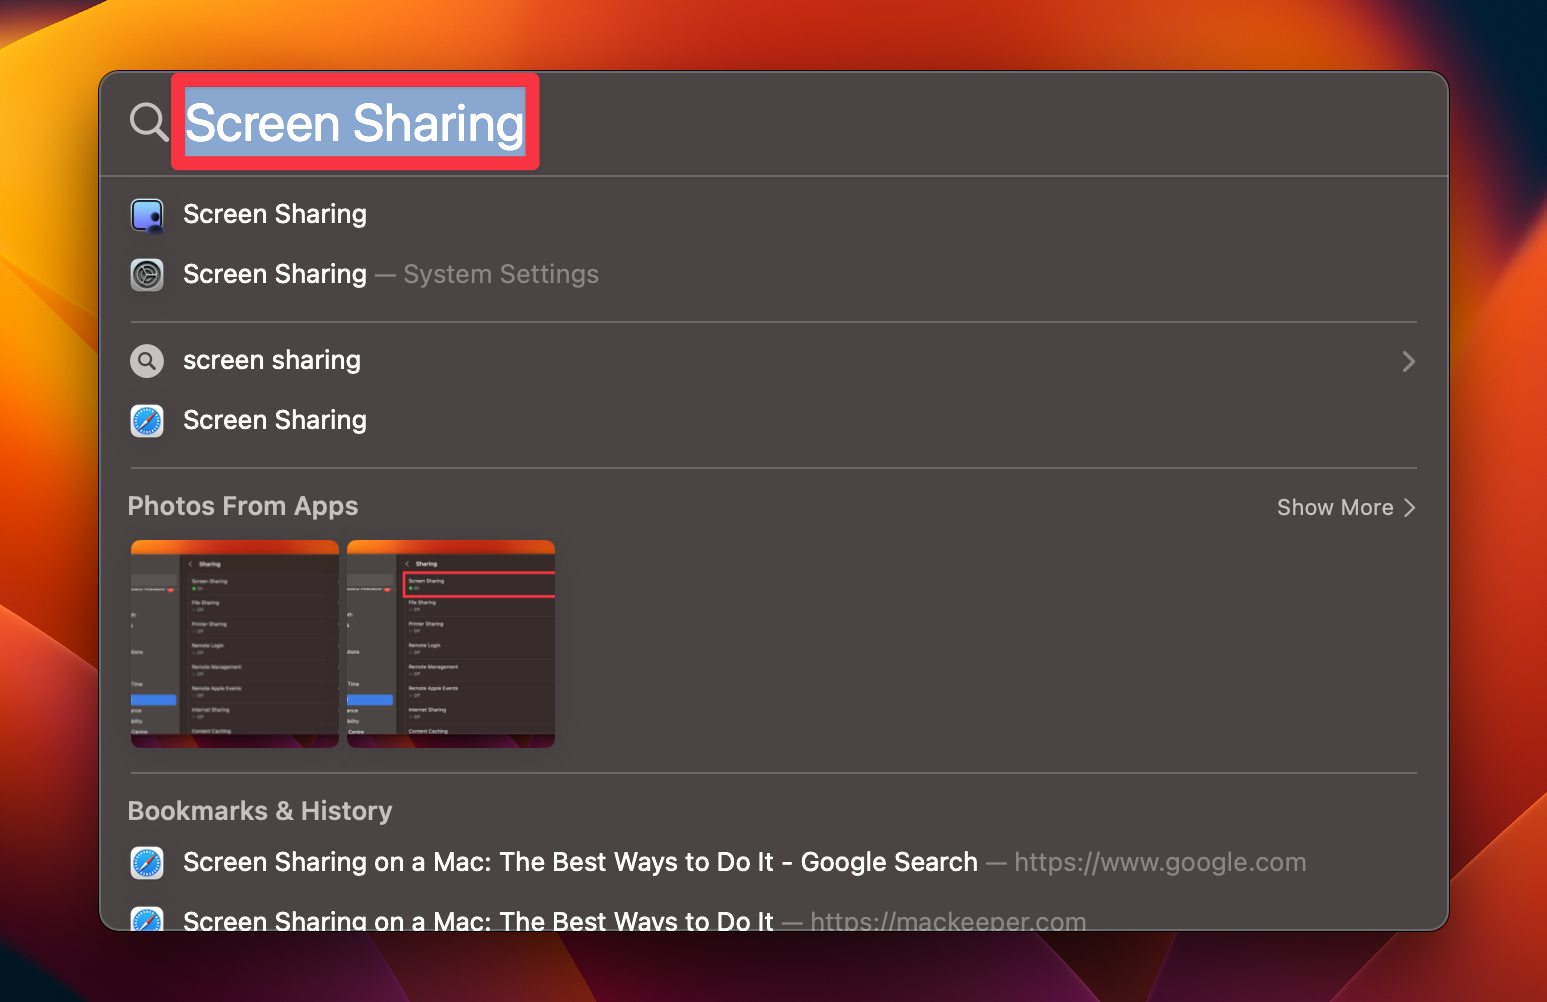
First things first, you need to make sure screen sharing is actually enabled on your Mac. It’s like flicking a switch to turn on the projector. To do this, you’ll want to head to your System Settings (or System Preferences, depending on your macOS version). Then, look for General, and under that, you’ll find Sharing.
In the Sharing settings, you’ll see a list of services. Find Screen Sharing and make sure the toggle is switched to On. Boom! You’ve just opened the door for others to see your glorious digital landscape.
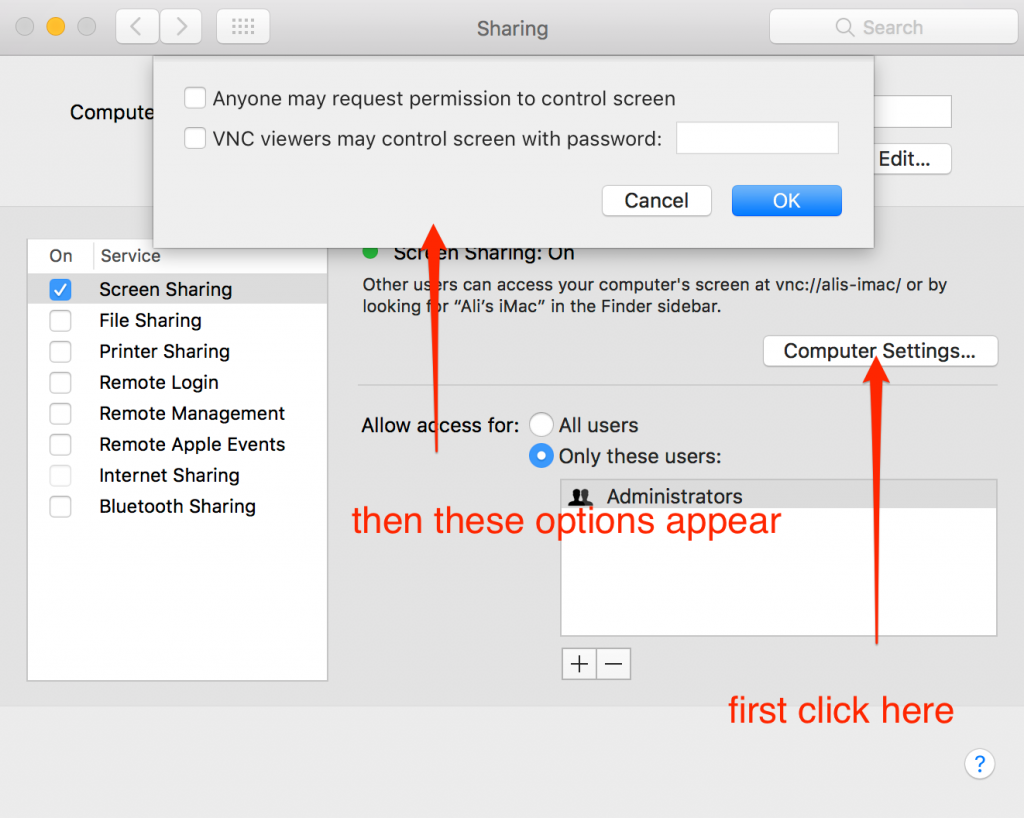
Once it’s enabled, you’ll notice a little bit of information under the Screen Sharing toggle. This is crucial. It’ll tell you how others can connect to your Mac. Often, it’ll be an address like vnc://your-mac-name.local or something similar. This is like giving someone your house address so they can visit.
Now, to invite someone, you have a couple of options. You can directly tell them that VNC address. Or, even easier, you can click the little ‘i’ icon next to Screen Sharing in the Sharing settings. This opens up more options, including an easy way to send an invitation email or message directly from there. It’s like sending a digital postcard saying, "Come see what I'm up to!"
When they connect, they’ll typically be prompted to enter a username and password for your Mac. This is important for security, making sure only authorized people can peek into your digital life. Think of it as a polite knock and a request to enter.
Your Mac as the Guest: Viewing Someone Else's Screen
But what if you’re the one who needs to see someone else’s screen? Maybe your friend is stuck on a game, or your grandma needs help with her email. In this case, you’re the viewer, the digital detective looking into another Mac’s world.
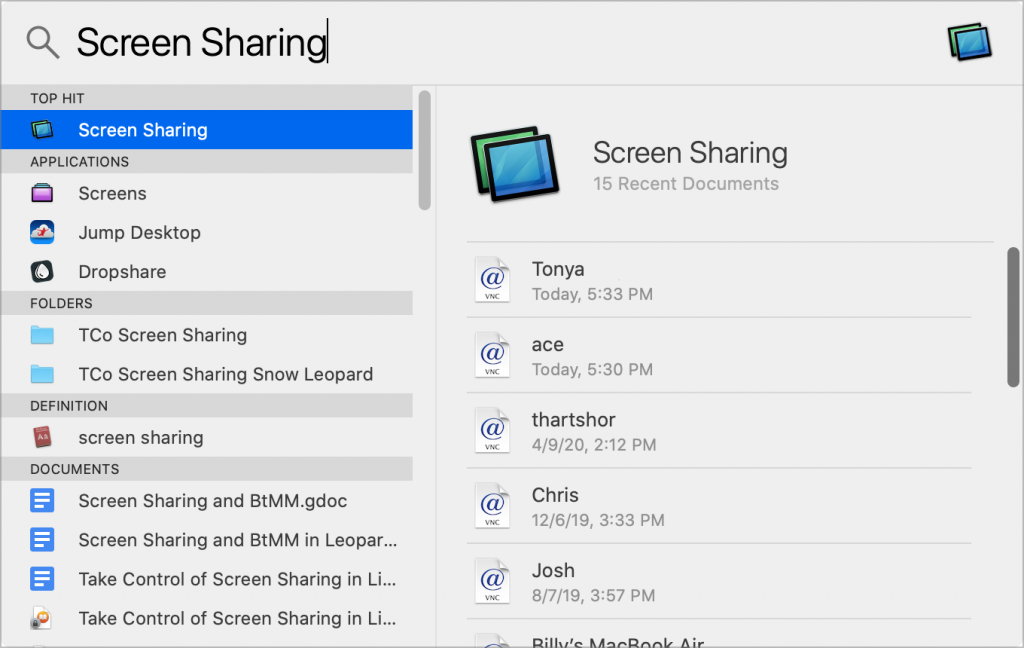
If someone has enabled Screen Sharing on their Mac (like we just discussed!), they’ll have given you an address, probably that VNC address. So, how do you use that?
Open your Finder. On the left-hand sidebar, you’ll see a section for Network. If their Mac is on the same local network as yours, you might even see their computer listed there! If you do, you can just double-click it. It’s like spotting their house from your own window.
If you don’t see them on the network, or they’re not on the same network, you’ll need to use the VNC address they gave you. Go to your Finder again, then click on Go in the menu bar at the top. From the dropdown, select Connect to Server…. A little window will pop up. In the "Server Address" field, type in that VNC address (it’ll start with vnc://). Then click Connect.
Just like when you’re sharing, you’ll likely be asked for a username and password for their Mac. Enter those, and voilà! You’ll see their screen appear in a new window on your Mac. It’s like having a magical portal open to their desktop.
Beyond the Built-in: Other Cool Ways to Screenshare
While the built-in Screen Sharing is fantastic, it’s not the only game in town. Sometimes, you need features that go a bit further, or maybe you’re working with people who aren’t on Macs. That’s where third-party apps come in, and they’re pretty awesome.
Video Conferencing Apps with Screenshare Features
This is probably the most common way many people experience screensharing these days. Think of apps like Zoom, Google Meet, Microsoft Teams, or even Skype. These are already set up for talking face-to-face (or rather, screen-to-screen!), so adding screensharing is a natural extension.
Using these is usually super intuitive. During a call, you’ll see a button that says something like “Share Screen” or “Present”. Click that, and you’ll typically get a few options: share your entire screen, or just a specific application window. This is like choosing to show them the whole room, or just a single picture on the wall.
The beauty of these apps is that they’re often cross-platform. So, if you’re on a Mac and your friend is on a Windows PC, or even a smartphone, you can still screenshare with them. It breaks down those digital barriers!
Dedicated Remote Access Software
For when you need more robust control, or want to access your Mac from anywhere, there are dedicated remote access tools. Apps like AnyDesk or TeamViewer are designed for this. They’re like having a remote control for your computer, no matter where you are.
These tools are fantastic for remote IT support, or for accessing files on your home computer while you’re out and about. They often have features like file transfer, remote control, and chat, all rolled into one. It’s the full-service digital chauffeur for your Mac.
Why Bother? The Coolness Factor of Screensharing
Okay, so we know how to do it. But why is it so cool? Think about it:
- Effortless Explanations: Trying to explain a complex process over the phone can be like trying to describe a color to someone who’s never seen it. Screensharing makes it crystal clear. It’s like drawing a picture instead of just talking about it.
- Collaborative Power: Working on a project with others? Screensharing lets everyone see what’s happening in real-time, fostering a sense of togetherness and allowing for instant feedback. It’s like a virtual whiteboard for all your ideas.
- Learning Made Easy: Stuck on a tutorial? Want to see how a pro does something? Having someone’s screen shared is the ultimate learning tool. It’s like having a mentor looking over your shoulder, but without the awkwardness.
- Troubleshooting Triumph: When something goes wrong with your computer, trying to explain the error message can be a nightmare. With screensharing, someone else can see exactly what you’re seeing, making problem-solving a breeze. It's like having a digital doctor diagnose your computer's ailment.
- Just for Fun!: Sharing funny memes, playing cooperative games, or just showing off your latest digital creation – screensharing isn't just for work or help. It’s a fun way to connect and share experiences.
So there you have it. Screensharing on your Mac is accessible, versatile, and frankly, pretty darn cool. Whether you’re using Apple’s built-in tools or a handy third-party app, you’re unlocking a powerful way to connect, collaborate, and communicate in the digital age. Now go forth and share your screen with the world (or just your best friend)!