How Do You Iron A Dress Shirt
I remember the first time I had to iron a dress shirt. It was for my cousin’s wedding, and I was supposed to be the best man. Picture this: a sweaty, slightly panicky teenager, staring down at a crumpled piece of fabric that looked more like a deflated parachute than something a dignified human being would wear. My mum, bless her patient soul, had a good laugh and then proceeded to show me. It felt like learning a secret handshake, a rite of passage into the slightly more adult world of looking presentable. Fast forward a few years, and while I'm not exactly a professional valet now, I can confidently say I won't set off any smoke alarms while ironing. So, if you've ever found yourself in a similar predicament, or just want to up your shirt-ironing game, stick around. We’re about to demystify this seemingly arcane art.
Honestly, who decided that these crisp, perfectly pressed shirts were the benchmark for professionalism and style? I mean, they look great, no argument there. But the sheer amount of effort it takes to maintain that pristine look can be… well, a bit much, right? It's like having a high-maintenance pet that demands constant attention. But fear not, fellow fabric wranglers! It doesn't have to be a Herculean task. With a few tips and tricks, you can conquer those wrinkles and emerge victorious.
Let’s be real, the dreaded ironing board. It's either a clunky behemoth that takes up half the room, or a flimsy little thing that wobbles precariously every time you press down. But it’s our battlefield, and a good ironing board makes a surprising difference. Ideally, you want a sturdy one with a decent amount of surface area. And don’t forget the cover! A worn-out, scorched cover can do more harm than good. If yours looks like it’s been through a war zone, it might be time for a replacement. Think of it as giving your iron a nice, smooth runway.
Must Read
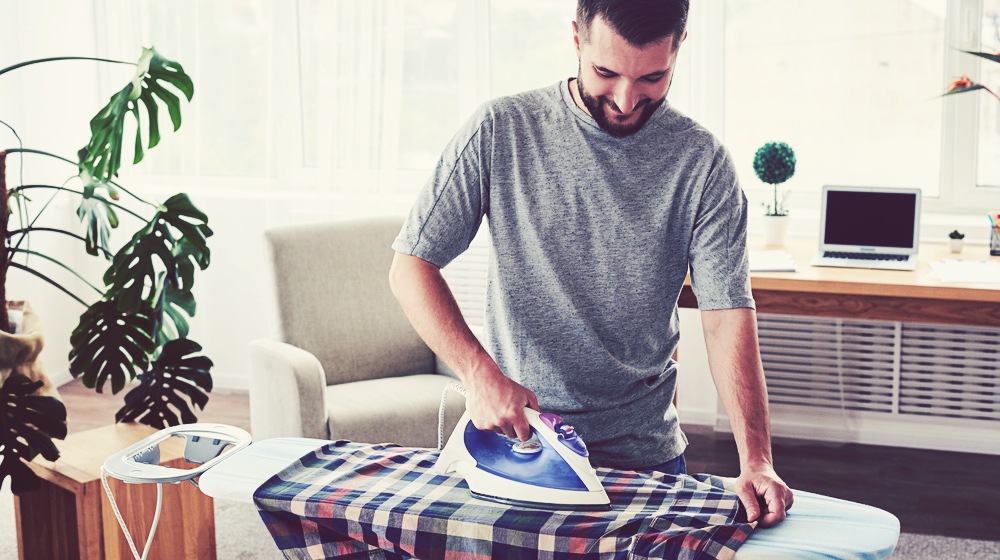
Now, the star of the show: the iron itself. There are fancy steam irons with all sorts of bells and whistles, and then there are the trusty old workhorses. For dress shirts, a good steam iron is your best friend. The steam helps to relax the fabric fibers, making those stubborn creases melt away like ice cream on a summer day. Make sure it’s clean, too. Nobody wants mysterious brown splotches on their pristine white shirt. A quick wipe with a damp cloth should do the trick. And for goodness sake, check the water reservoir if yours has one. Running out of steam mid-iron is just… tragic.
Before we even touch that iron, let’s talk about the shirt itself. Not all fabrics are created equal, and neither are their ironing needs. Cotton is the most common culprit for wrinkles, and it generally likes a good bit of heat and steam. Linen? Oh boy, linen loves heat and steam. It’s a thirsty fabric when it comes to moisture. Polyester blends, on the other hand, can be a bit more sensitive. Too much heat, and you risk melting the synthetic fibers into a shiny, unhappy mess. So, always check the care label. It’s like the shirt’s instruction manual, and it’s there for a reason! It will tell you the recommended temperature settings.
Speaking of temperature, this is where things can get a little… toasty. You don’t want to scorch your shirt, but you also don’t want to be just gently warming it up. For most cotton and cotton-blend shirts, a medium-high heat setting is a good starting point. If you’re unsure, start low and go slow. You can always increase the heat if needed. It’s much harder to un-melt a shirt than it is to press out a wrinkle.

Now, let’s get down to business. The most efficient way to iron a dress shirt is to work in a specific order. This way, you avoid re-wrinkling areas you’ve already perfected. I find it best to start with the smaller, more fiddly bits and then move to the larger panels.
The collar is your first target. Lay it flat on the ironing board, underside up. Start from the tips and iron towards the middle. Then, flip it over and do the same for the top side. Getting the collar crisp makes a huge difference to the overall look of the shirt. It’s like the frame around a picture, you know? A neat collar instantly makes you look more put-together.
Next up, the cuffs. Unbutton them and lay them flat. Again, start with the inside, then do the outside. Pay attention to the edges and the placket (that little strip of fabric where the buttons are). You want them smooth and sharp. If you’re feeling particularly ambitious, you can even iron the pleats on the cuffs if they have them, but honestly, for everyday wear, just getting them flat is usually enough. Don't stress yourself out!
Then comes the sleeves. This is where opinions can differ. Some people like a sharp crease down the sleeve, while others prefer a more casual, no-crease look. For a classic dress shirt, a subtle crease is often preferred. Lay the sleeve flat, making sure the top and bottom edges are aligned. You can iron it open, or fold it along the seam to create that crease. If you want a crease, make sure you’re ironing over the seam. If you want to avoid a crease, try to iron the sleeve so it's slightly puffed out, rather than perfectly flat. A little trick here: you can tuck the sleeve inside the body of the shirt to help keep it from shifting around while you iron.
Now for the main event: the body of the shirt. Start with the placket – the part with the buttonholes. Lay it flat and iron carefully around the buttons. Be gentle! You don't want to melt them. Then, move to the front panel. Iron from the bottom up towards the shoulder. Repeat for the other front panel. Next, tackle the back. Lay the shirt so the back is flat on the board, and iron from the bottom upwards.
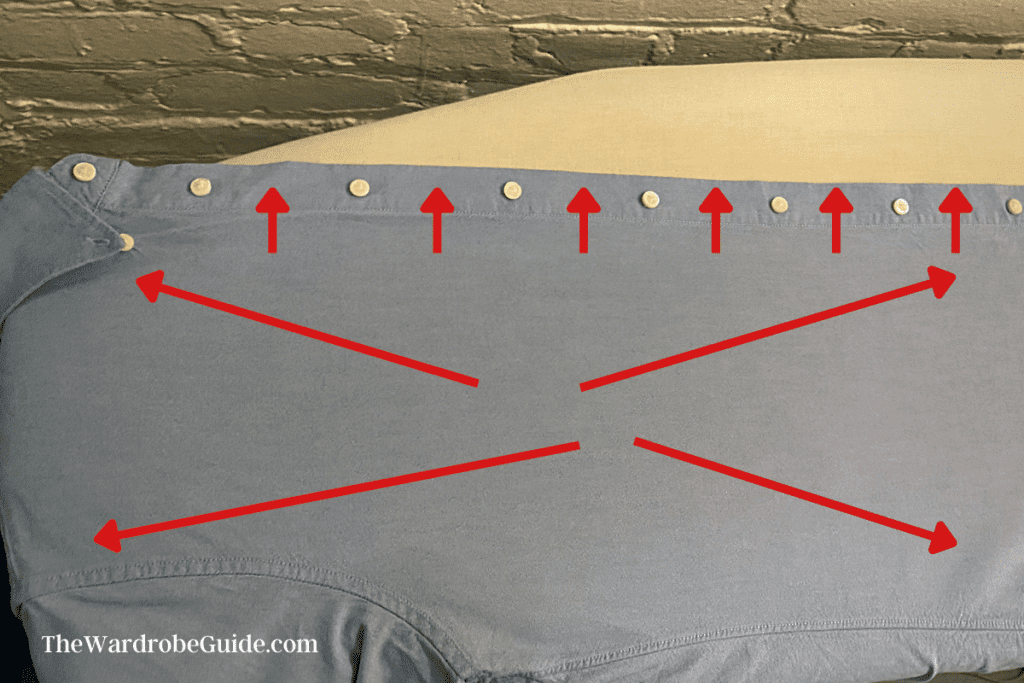
What about the yoke – that double-layered section at the shoulders? It can be a bit tricky. You might need to drape it over the end of the ironing board and iron it in sections. Don’t be afraid to maneuver the shirt around. It’s all about finding the best angle.
One of the biggest mistakes people make is ironing over wrinkles. You need to stretch the fabric taut as you iron. This helps to pull out those creases. Think of it as coaxing the fabric into submission, not beating it into submission. And always iron in one direction, usually from the collar down to the hem. This helps prevent new wrinkles from forming.

What if you have really stubborn wrinkles? Don’t despair! A good blast of steam can work wonders. If your iron has a steam function, use it liberally. If not, you can always lightly mist the fabric with water from a spray bottle before ironing. Just be careful not to over-saturate it, as that can lead to water spots.
And then there are those pesky little details. The area around the collar stand can be a pain. You might have to maneuver the shirt around the pointy end of your ironing board to get it just right. It’s a bit like trying to iron a boomerang. Patience is key here.
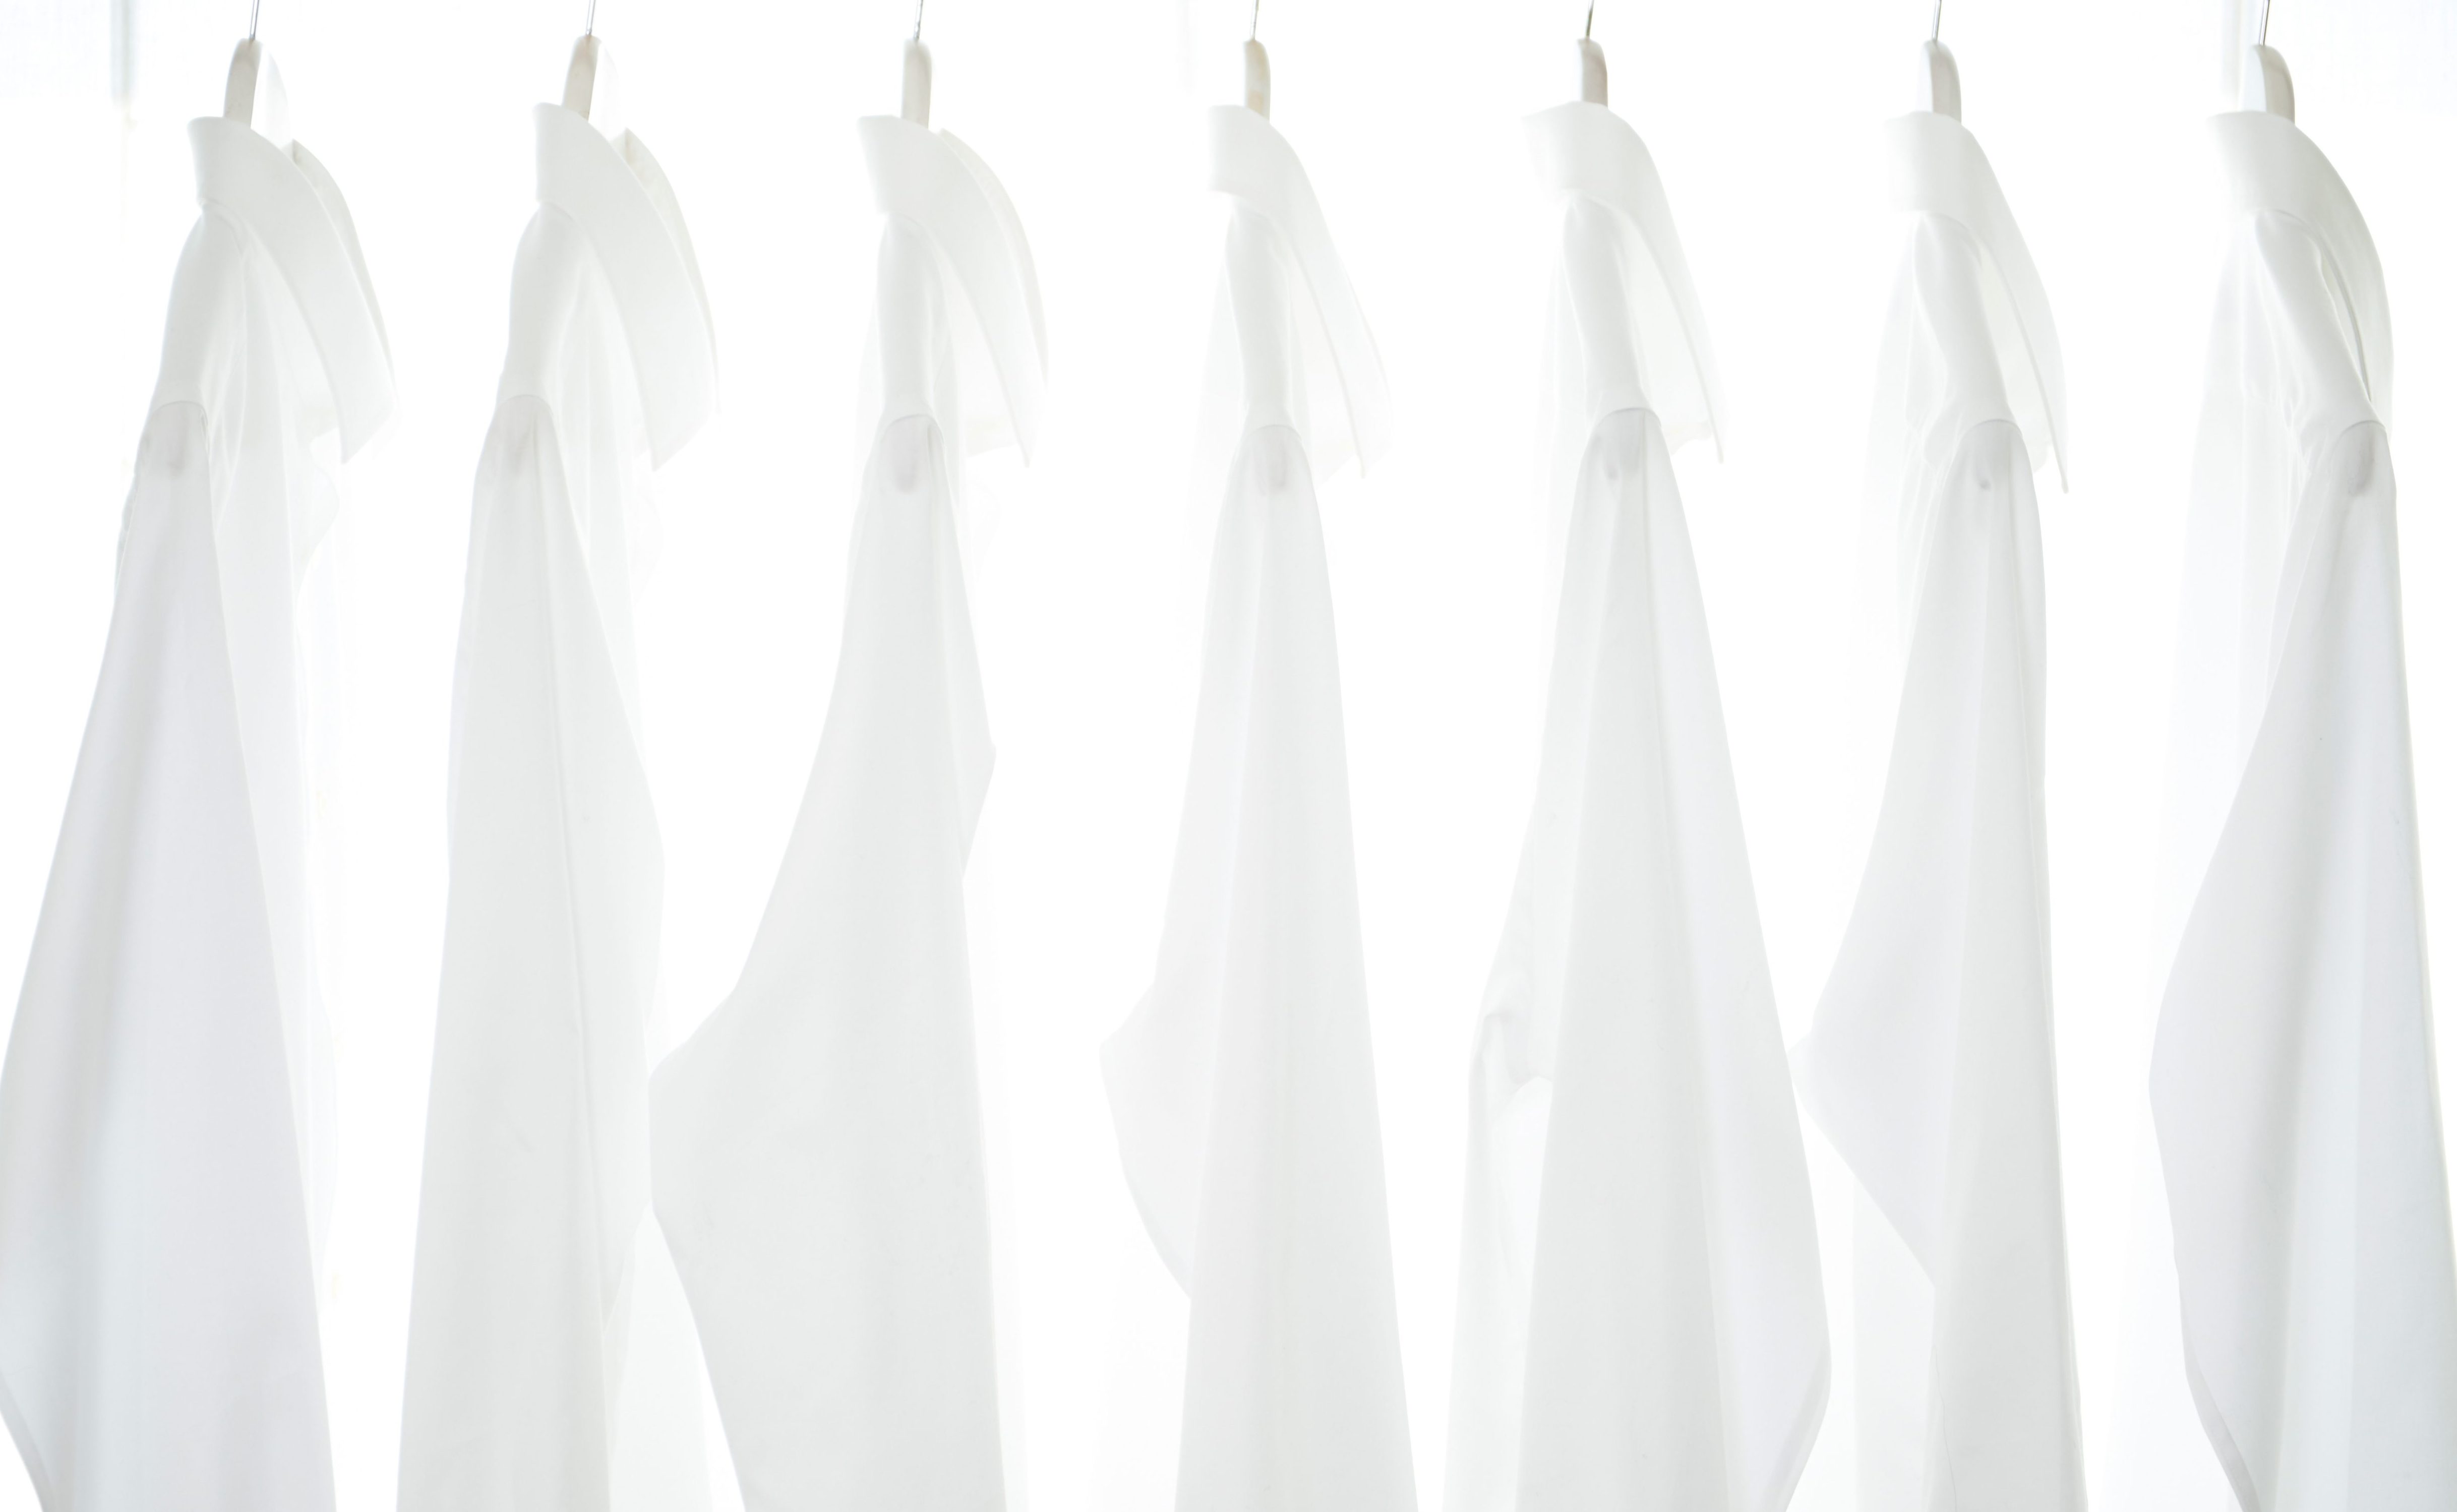
Once you’re done ironing, the job isn’t quite finished. The worst thing you can do is shove a perfectly ironed shirt into a drawer or hang it up haphazardly. Hang it up immediately on a good quality hanger. A wire hanger can actually put creases back into your shirt! Opt for a sturdy plastic or wooden hanger that supports the shoulders. Make sure the buttons are fastened, at least the top one, to help maintain the shape. This is especially important for collars.
If you’re really pressed for time and can’t iron, there are a couple of tricks up my sleeve. Some people swear by hanging a shirt in the bathroom while you take a hot shower. The steam can help to relax some of the lighter wrinkles. It’s not a perfect solution, but it can work in a pinch. Another option is a handheld steamer. They’re great for quick touch-ups and are less fuss than a full ironing setup. I’ve got one, and it’s saved me on more than one occasion when I’ve forgotten to iron my shirt the night before. Life saver!
It’s also worth mentioning that some fabrics are more wrinkle-resistant than others. If you’re constantly battling wrinkles, consider investing in shirts made from higher-quality cotton, or look for “wrinkle-free” or “non-iron” fabrics. They’re not magic, but they do require significantly less effort. Although, I’ve found that even “non-iron” shirts benefit from a quick steam or a light press to look their absolute best. It’s like saying you’re “low maintenance” but still appreciate a little pampering.
A good set of ironing tools can make a world of difference. Beyond the iron and ironing board, consider a spray bottle for water and perhaps a pressing cloth. A pressing cloth is a piece of cotton fabric that you lay over your garment to protect it from the direct heat of the iron, especially useful for delicate fabrics or dark colors that can develop a shine. It’s a bit more advanced, but it’s worth exploring if you get serious about your pressing.
And a final word of encouragement: don’t get discouraged if your first few attempts aren’t magazine-perfect. Ironing is a skill that gets better with practice. The more you do it, the more you’ll develop a feel for the fabric and the heat. You’ll learn where the wrinkles like to hide and how to coax them out. So, embrace the process, maybe even find a little zen in the rhythmic motion of the iron. Before you know it, you’ll be a shirt-ironing ninja, ready to face the world in impeccably pressed attire. And who knows, maybe you’ll even start to enjoy it. Nah, probably not. But you’ll definitely look good!
So, there you have it. It’s not rocket science, it’s just a bit of heat, steam, and strategic maneuvering. Give it a go, and let me know how you get on. Happy ironing!