How Do You Format A Usb On Mac

Ah, the trusty USB drive! That little pocket-sized hero that carries our important documents, our embarrassing vacation photos, and maybe even that embarrassing karaoke rendition of "Bohemian Rhapsody" we swore we'd delete. It’s like a tiny, portable filing cabinet, except way cooler and less prone to dusty, forgotten corners. And when it’s time to give your USB a fresh start, a little digital spring cleaning if you will, you might find yourself on a Mac, wondering, "How does this magic happen?" Fear not, for the journey of formatting a USB on a Mac is less about arcane spells and more about a gentle, guiding hand.
Imagine your USB drive as a loyal puppy. Sometimes, it gets a little… enthusiastic. It might start barking at files it shouldn’t, or perhaps it’s just gotten a bit overwhelmed with all the chew toys (data) it’s been given. Formatting is like giving that puppy a good bath and a nice, short haircut. It washes away the old messes and makes it ready for new adventures. And on a Mac, this process is wonderfully straightforward, like teaching your puppy a new, simple trick.
The star of our show today is a humble application tucked away within your Mac, a true unsung hero of digital tidiness: Disk Utility. It's like the librarian of your digital world, meticulously organizing and, when necessary, tidying up your storage devices. You won't find it splashed across billboards, but it’s there, ready to serve. Think of it as the quiet, wise elder who knows exactly what needs to be done when things get a bit jumbled.
Must Read
So, you’ve got your USB drive, a loyal companion, perhaps a bit… full. You plug it into your Mac, and it happily chirps its arrival, like a little digital bird landing on your desk. Now, we need to find our trusty Disk Utility. The easiest way to summon it is by giving your Mac a little nudge with its search superpower: Spotlight. Just hit that Command key and the Spacebar together, and a little search bar will appear, ready to listen to your commands. Type in "Disk Utility," and voilà! It’ll pop right up, eager to assist.
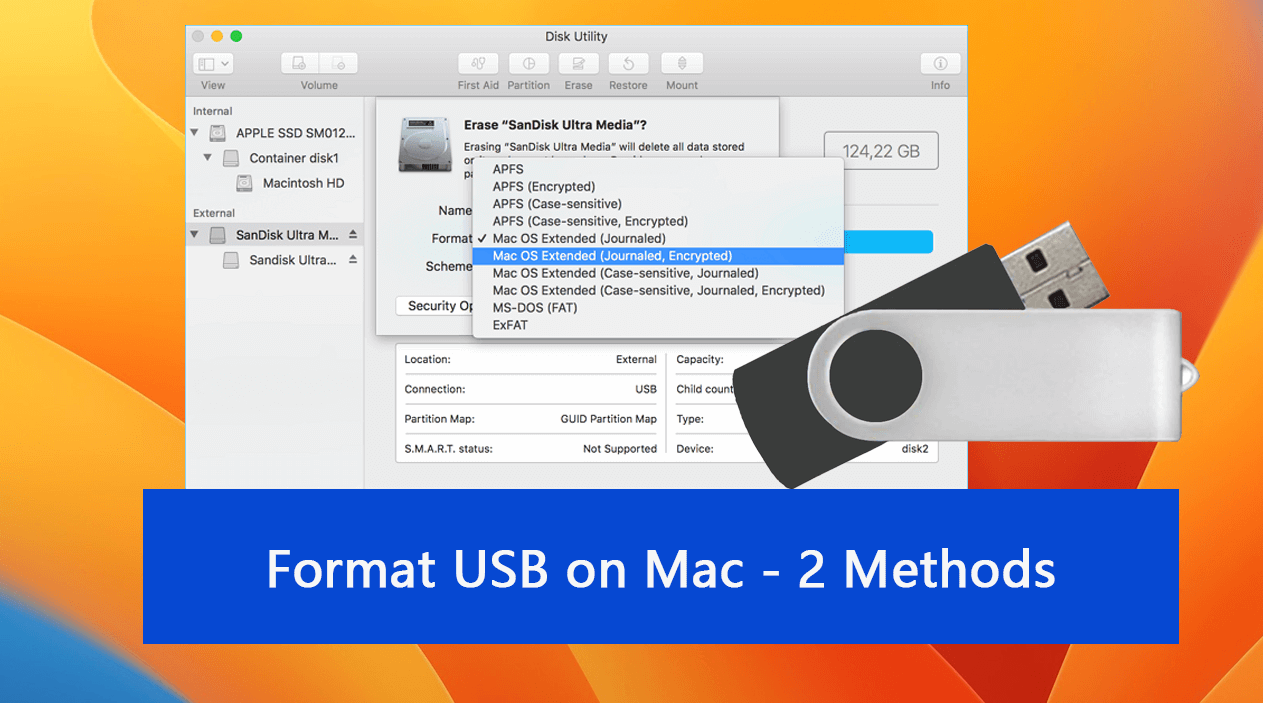
Once Disk Utility opens, it might look a little intimidating at first, like a control panel for a spaceship. But don't worry, we're only steering a tiny, friendly craft. On the left-hand side, you’ll see a list of all the storage devices connected to your Mac. Your USB drive will be there, probably looking a bit unassuming amidst the more powerful siblings. It might even have a name that’s a bit like its manufacturer’s code, something like "SanDisk Cruzer Blade Media" or "Kingston DataTraveler." It's a bit like meeting a new friend and only knowing their surname – we'll get to the first name later!
Now, this is where the magic truly begins, and it’s surprisingly simple. You'll want to select your USB drive from that list. Think of it as pointing at the specific puppy you want to give that bath. Once it’s highlighted, look for a button that says “Erase.” This is the big button, the one that signifies a fresh start. It’s not a sinister button, mind you; it’s the button of renewal. Clicking it is like saying, "Okay, buddy, let’s clean the slate!"
When you click “Erase,” a small window will pop up, offering you a few choices. These are like choosing the scent of your puppy’s shampoo – subtle but important for a happy outcome. The most important choice here is the “Format” option. This tells your Mac how to organize the data on your USB. For most general purposes, you’ll want to choose something like “MS-DOS (FAT)” or “ExFAT.” Think of these as universal languages that most computers, even those running Windows, can understand. It's like teaching your puppy to speak a common tongue so it can make friends with everyone.

There’s also a “Scheme” option, usually defaulting to “GUID Partition Map.” This is like deciding on the underlying organizational structure for your puppy’s toy box. For most modern Macs and USBs, the default is usually the best choice. You're not reinventing the wheel; you're just ensuring the wheel is round and ready to roll.
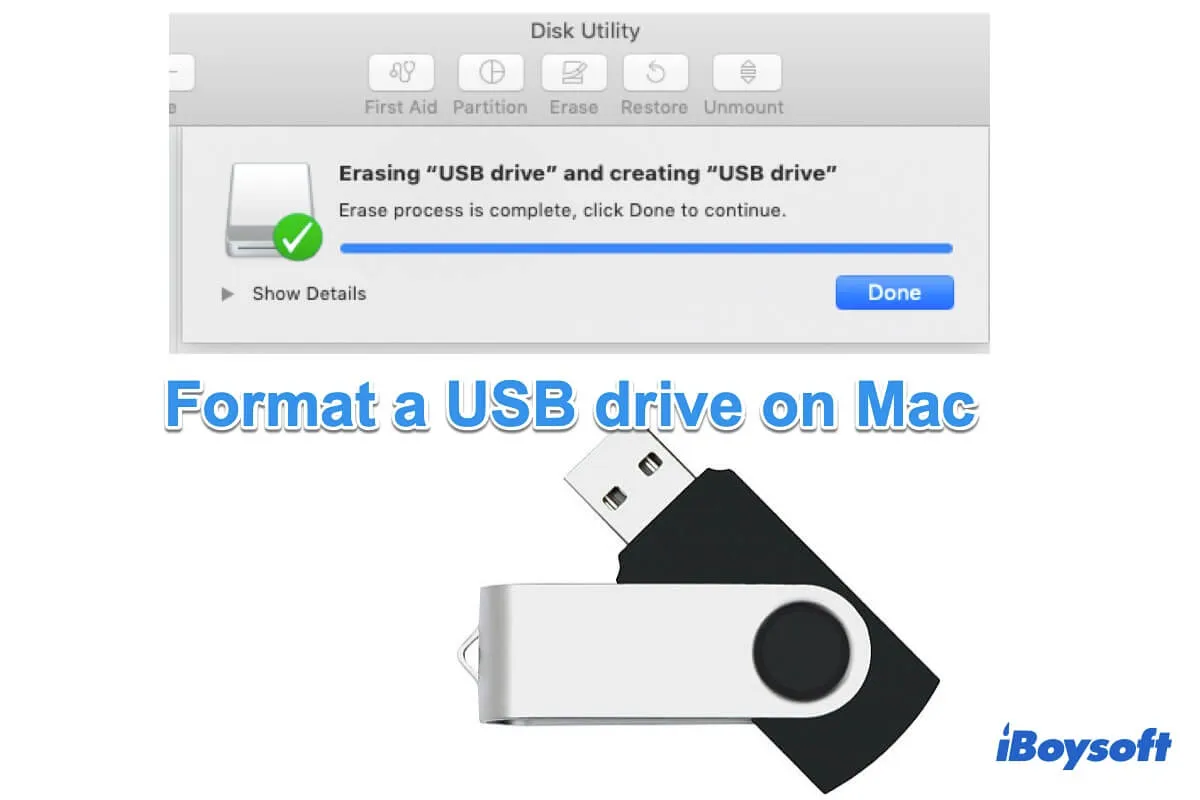
Once you’ve made your selections, you’ll see a big, friendly button that says “Erase” again. Give it a good click, and your Mac will get to work. It’s like watching your puppy get a gentle bath and towel dry. There might be a little progress bar, a visual cue that something important is happening. This is the part where you can take a moment to appreciate the simplicity of it all. You're not performing complex surgery; you're just giving your digital companion a much-needed refresh.

And then, as quickly as it began, it’s over. Your USB drive is now clean, organized, and ready for action. It's like your puppy, now clean and fluffy, is wagging its tail, eager for you to throw its favorite ball. You might even have a chance to give it a proper name this time, a name that reflects its personality or its purpose. Maybe it’s "Travel Tunes," "Work Essentials," or even "Emergency Cat Memes." The possibilities are as endless as the data it can now hold.
So, the next time you need to format a USB on your Mac, don't approach it with trepidation. Instead, see it as a simple act of care, a little digital pampering for a device that serves you so well. It’s a chance to appreciate the quiet efficiency of your Mac and the humble usefulness of your USB drive. It’s a small act, but in its own way, it’s a heartwarming reminder of how our technology can be both powerful and surprisingly gentle.