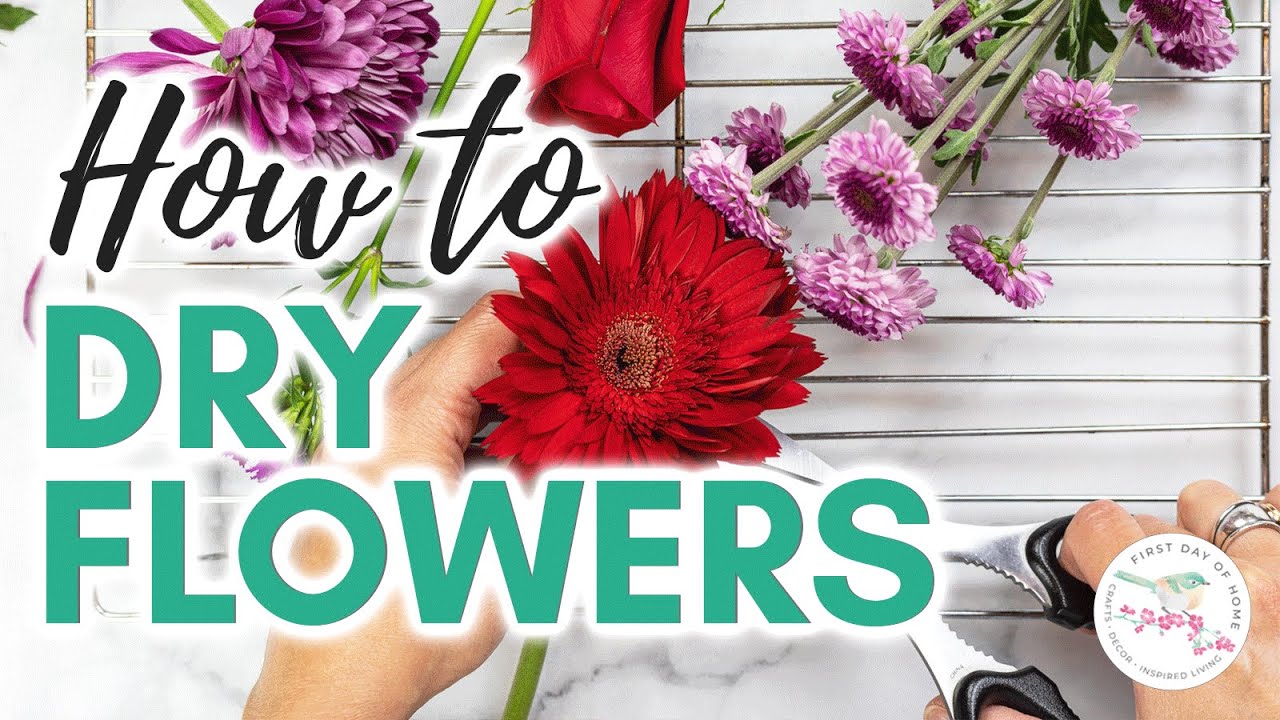
How Do You Dry Flowers At Home
So, you’ve got a bouquet that’s seen better days, but you’re not ready to admit defeat. Or maybe you just stumbled upon some absolutely gorgeous wildflowers on a hike and thought, "These beauties deserve to live forever... or at least on my bookshelf!" Whatever your floral fancy, the good news is you don't need a fancy degree in botany or a secret handshake with Mother Nature to dry flowers at home. It’s easier than you think, and honestly, way more rewarding than watching those perfectly good petals slowly transform into sad, wilted confetti.
Let's face it, we’ve all been there. You get a stunning arrangement, you meticulously change the water, you maybe even hum a little tune to them (don't lie, I see you). Then, BAM! Within days, your vibrant crimson roses are looking like they've just argued with a lawnmower. It's heartbreaking! But fear not, my fellow flower enthusiasts, because we're about to embark on a journey into the magical world of flower preservation. Think of it as giving your floral friends a spa treatment that lasts… well, a very, very long time.
The Great Flower Rescue: Why Bother Drying?
Why would anyone want to dry flowers, you ask? Well, for starters, they look amazing. Dried flowers have this whole vintage, bohemian, "I woke up like this, and I'm still fabulous" vibe. They’re perfect for wreaths, potpourri, framing in shadow boxes, or just propping up in a vase to remind yourself of that glorious time you had flowers that weren't actively trying to compost themselves. Plus, it’s a fantastic way to remember a special occasion – your wedding bouquet, your grandma’s prize-winning dahlias, the wildflowers from that epic road trip. They’re tiny time capsules, people!
Must Read
And let's be honest, sometimes you just want to feel like a DIY wizard. Channeling your inner Martha Stewart, but without the whole prison sentence thing. It's a satisfying project, and the end result is something you made with your own two hands. Take that, mass-produced decor!
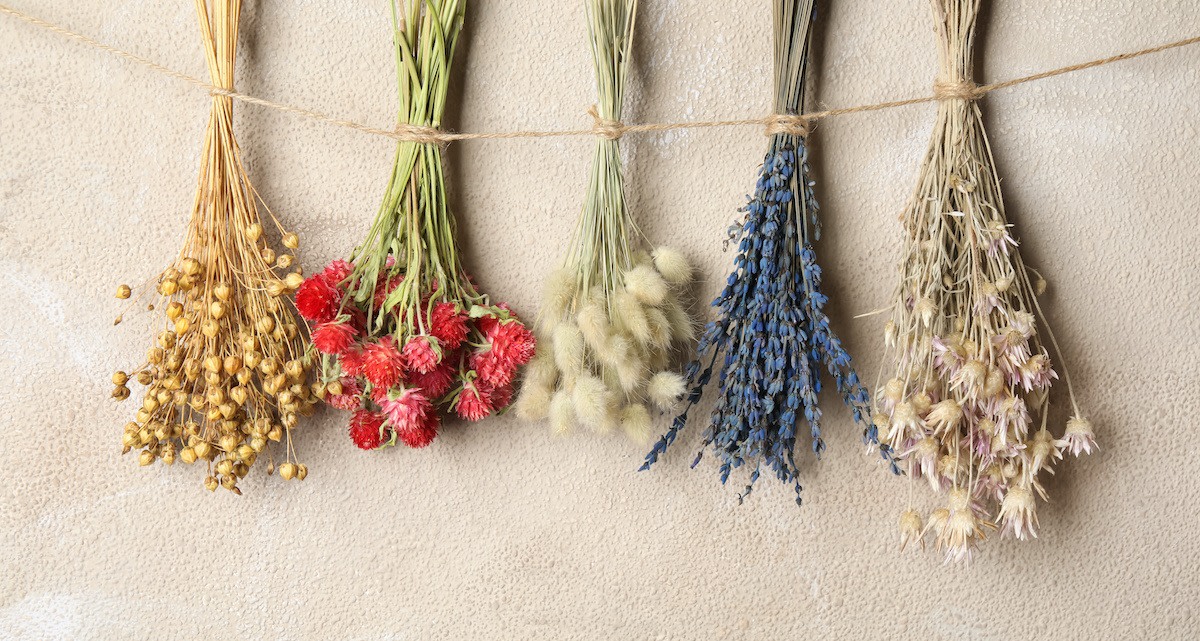
Method 1: The Hangover Cure (AKA Air Drying)
This is the OG, the classic, the "set it and forget it" of flower drying. It’s so simple, even your cat could probably do it. Probably. Don't test that theory, though. You'll need a few things:
- Flowers, obviously. Make sure they're almost dry. If they're still dripping with dew, you're setting yourself up for moldy disaster. Think of it as their pre-drying skincare routine.
- A dark, dry, well-ventilated space. A closet, an attic, a spare bathroom you never use – these are your new best friends. Light is the enemy of color preservation, and humidity is the arch-nemesis of successful drying. We want dry, not damp and disastrous.
- String or rubber bands. To tie your floral friends together in their pre-drying huddle.
- Scissors. For the inevitable trimming.
First things first, trim the stems. Get rid of any extra leaves that might be hanging around, as they can trap moisture and encourage rot. Think of it as a floral haircut – clean and concise.
Now, gather your flowers into small bunches. We're talking about 5-10 stems per bunch, depending on the flower’s fluffiness. If you go too big, the air won't circulate properly, and you'll end up with a mushy mess instead of a magnificent specimen. It’s like trying to get a group hug when everyone’s wearing a puffer jacket – awkward and ineffective.
Next, secure the stems with your rubber band or string. Make it snug, but not so tight that you're cutting off circulation. We're drying, not performing floral surgery.
Now, for the magic! Hang your bunches upside down. This is crucial! Hanging them upside down helps the stems stay straight and prevents the blooms from drooping like a teenager forced to do chores. Find your chosen dark, dry, well-ventilated spot and hang them up. You can use hooks, nails, or even a sturdy clothes hanger.
And then… you wait. This is the hardest part, I know. But resist the urge to poke and prod! It can take anywhere from two to four weeks for your flowers to be fully dry. You'll know they're ready when the petals feel papery and crisp to the touch, and they snap rather than bend. If they still feel a bit pliable, give them a bit more time. Patience, grasshopper!
Once they’re dry, you can carefully remove them from their hangers and admire your handiwork. A word of caution: dried flowers are delicate. Treat them like your grandmother's antique china – with respect and a healthy dose of caution.
Method 2: The Speedy Gonzales (AKA Using Silica Gel)
If you’re impatient (and who isn’t, when it comes to pretty things?), or if you’re working with delicate flowers that might crumble with air drying, silica gel is your new best friend. It’s those little packets you find in shoe boxes that say "DO NOT EAT." Well, this time, you want to use it!

Silica gel is like a super-absorbent sponge for moisture, but for flowers. It works much faster than air drying, often completing the job in just a few days. You'll need:
- Flowers. Again, not soaking wet.
- Silica gel. You can find this at craft stores or online. It usually comes in a granular form.
- An airtight container. A plastic tub with a lid works perfectly.
- A spoon or scoop. For the silica gel.
First, pour a layer of silica gel into your container. You want enough to cover the bottom by about an inch. Think of it as building a cozy silica bed for your flowers.
Now, place your flowers on top of the silica gel bed, making sure they aren't touching each other. We want individual drying experiences, not a floral mosh pit.
Next, gently pour more silica gel over the flowers, making sure to cover them completely. Be thorough! You want every petal and crevice to be in direct contact with the silica gel. Use your spoon to gently push the gel into the nooks and crannies. This is where the magic happens – the silica gel will draw out all the moisture, preserving the flower’s shape and color.
Seal the container tightly and place it in a safe spot. Now, the waiting game begins again, but this time it's a much shorter one. Depending on the type and size of your flowers, this can take anywhere from 2 to 7 days. Some really delicate blooms might need a bit longer.

Once you think they're dry, carefully pour out the silica gel to reveal your perfectly preserved flowers. You can even reuse silica gel! Just spread it out on a baking sheet and bake it in a low oven for a couple of hours to dry it out again. It’s like a floral resurrection machine!
Be warned: silica gel can be a bit messy. So, it’s probably best to do this on a surface that’s easy to clean. Your kitchen counter might not be the best choice unless you're aiming for a very avant-garde home decor trend.
Method 3: The Microwave Miracle (For the Truly Impatient)
Okay, okay, I know. Microwaves and flowers? It sounds like a recipe for floral fireworks. But hear me out! This is the speediest method of all, and with a bit of care, you can get some surprisingly good results. It’s like giving your flowers a quick tanning session, but instead of bronze skin, you get preserved petals.
For this method, you'll need:
- Flowers. Again, not a water balloon.
- Silica gel. Yes, it’s back!
- An oven-safe, microwave-safe container.
- A microwave. The appliance you usually use to reheat last night's pizza.
The process is similar to the silica gel method, but with a crucial cooking step. Place a layer of silica gel in your container, add your flowers, and cover them completely with more silica gel.

Now, this is where things get exciting. Microwave on a low setting (usually defrost or 50% power) for short bursts. We're talking 1-minute intervals. After each burst, carefully check the flowers. They should start to feel drier. Continue microwaving in short intervals until they are completely dry and crisp. This can take anywhere from 3 to 10 minutes total, depending on your microwave and the flowers.
Important Note: This method requires constant supervision. Flowers can scorch easily in the microwave, and nobody wants a burnt bouquet. Think of it like walking a very fine line between perfection and a floral inferno. If you smell smoke, stop immediately! Seriously, set a timer and stay with it like a hawk guarding its nest.
Once dry, let them cool completely in the silica gel before attempting to remove them. This is another crucial step to avoid breakage. Patience, my friend, is a virtue, even in the microwave!
A Few More Floral Wisdom Bombs
No matter which method you choose, here are a few pro tips to ensure your dried flower endeavors are a roaring success:
- Choose your flowers wisely. Some flowers dry better than others. Think sturdy blooms with low moisture content like roses, lavender, hydrangeas, strawflowers, and statice. Delicate, papery flowers like poppies or lilies might be trickier.
- Harvest at the right time. The best time to pick flowers for drying is on a dry morning, after the dew has evaporated, but before the heat of the day. You want them to be at their peak, not wilting from the heat.
- Experiment! Don't be afraid to try different flowers and methods. What works for one might not work for another. It's all part of the fun of discovery.
- Handle with care. Once dried, flowers are brittle. Think of them as tiny, beautiful shards of glass.
- Preserve the color. Keep your dried flowers out of direct sunlight to prevent them from fading. Think of it as giving them a stylish, dimly lit apartment.
So there you have it! You’re now officially armed with the knowledge to transform wilting wonders into everlasting adornments. Go forth and dry, my friends! May your petals be perfect and your stems stay strong. And who knows, you might just become the "coolest person at the café who also happens to dry flowers." It’s a niche, but hey, it’s a pretty fabulous one!

