How Do You Drill Out A Screw
So, picture this: it was a Saturday morning, the kind where the sun is doing its best impression of a kindly old grandparent, all warm and inviting. I’d decided to finally tackle that squeaky hinge on my kitchen cabinet. You know, the one that announces your every snack raid to the entire household? Yeah, that one. I’d bought a fancy new hinge, all shiny and promising silence. All I needed was to swap out the old, rusty one. Simple, right? Famous last words.
Turns out, one of the screws holding the old hinge in place had decided it was going to be a permanent resident. Like, really permanent. I’d tried my trusty screwdriver, its familiar heft in my hand, but nope. The head was so stripped, it just spun around like a tiny, infuriating disco ball. Panic, a little bit, started to bubble. My Saturday morning project was turning into a DIY disaster movie.
This is where the dark art of drilling out a screw enters the picture. It’s not something you want to do, mind you. It’s more of a last resort, a surgical strike when all other methods have failed and you’re staring at a stripped-out screw head that’s mocking your very existence.
Must Read
When Your Screwdriver Just Isn't Enough
We’ve all been there, haven’t we? You’re trying to fix something, upgrade something, or just generally be productive, and BAM! A stripped screw. It’s like the universe's way of testing your patience. You try turning it left (tighten), then right (loosen), then left again with a grimace. Maybe you grip it with a pair of pliers, hoping to get some traction. Sometimes, bless their little hearts, those methods work. But when they don’t? Oh, my friends, when they don’t, you’re in for a bit of a journey.
Drilling out a screw isn't about brute force, though it might feel like it. It’s more about precision and understanding what you’re doing. Think of it as a controlled demolition of a very small, very stubborn structure.
The Tools of the (Controlled) Trade
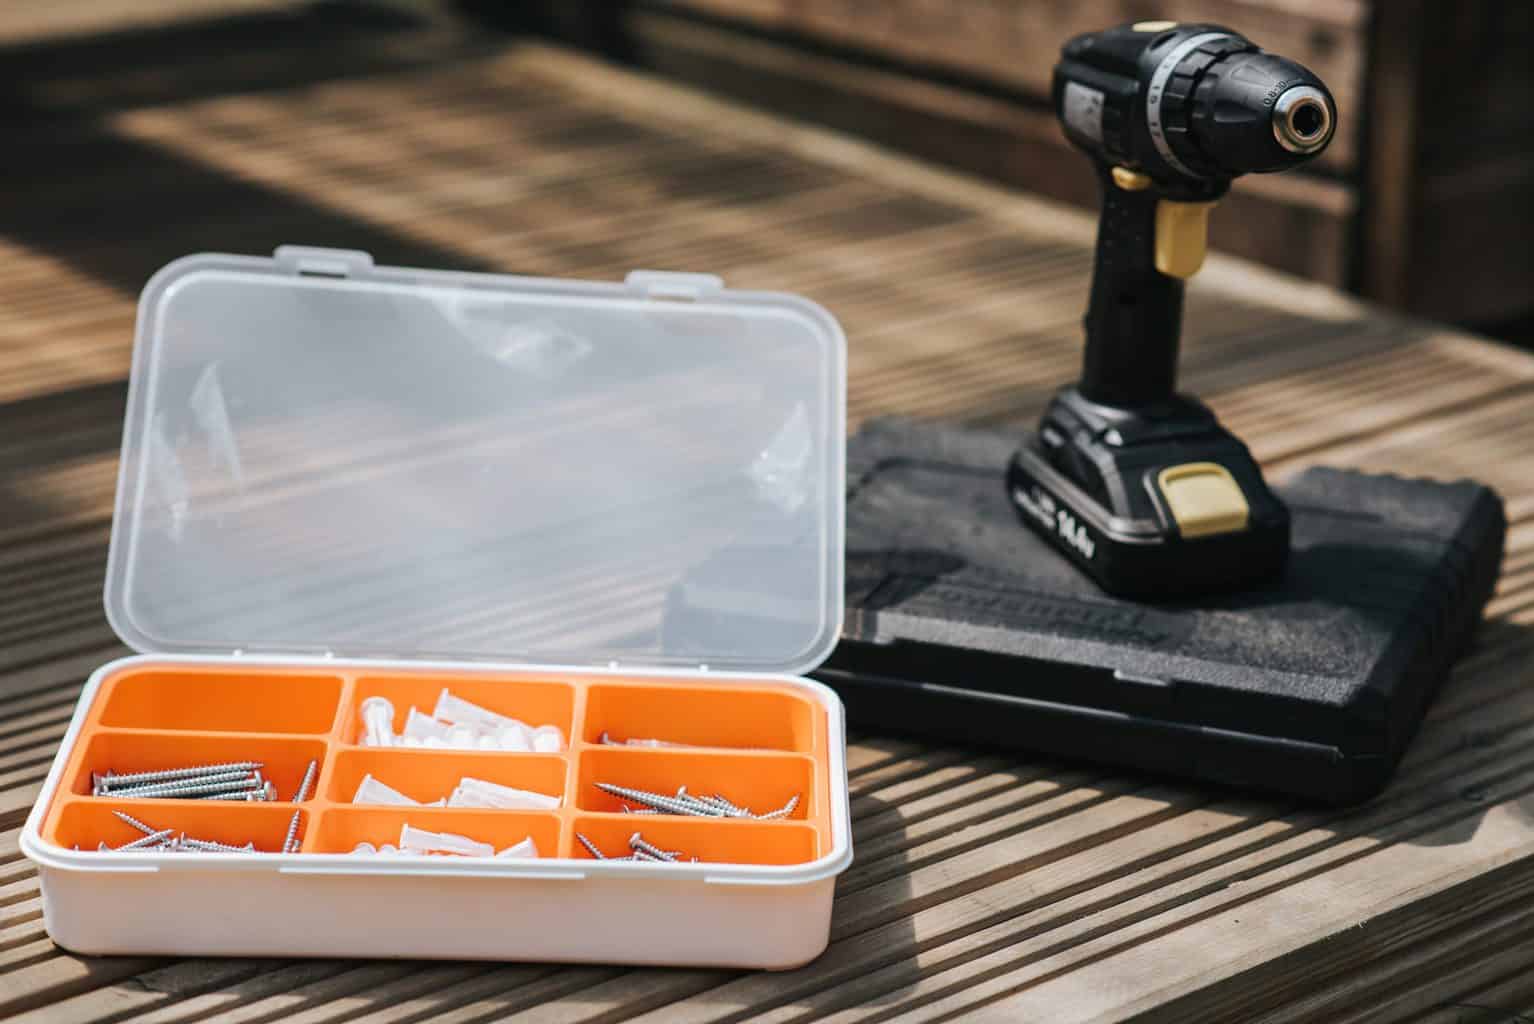
Before you even think about grabbing a drill, you need to have the right gear. Don’t skimp on this part! Trying to make do with the wrong tools is a surefire way to turn a solvable problem into a much bigger, much more expensive mess.
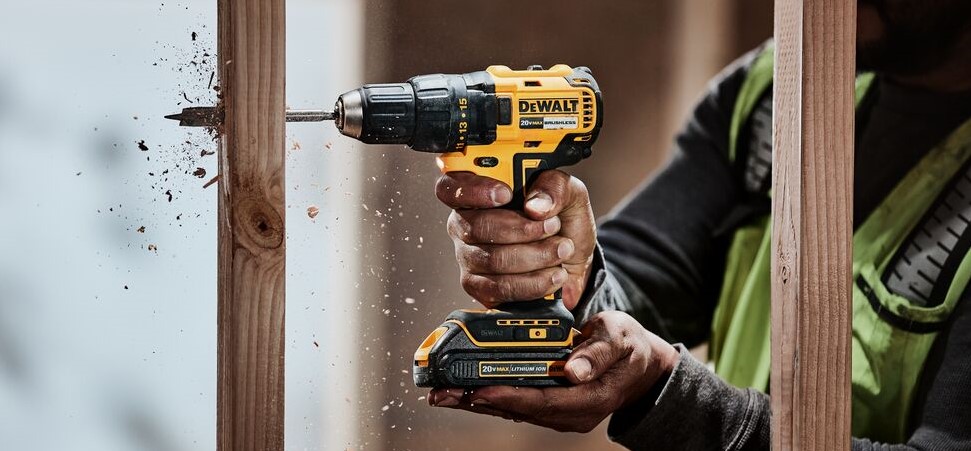
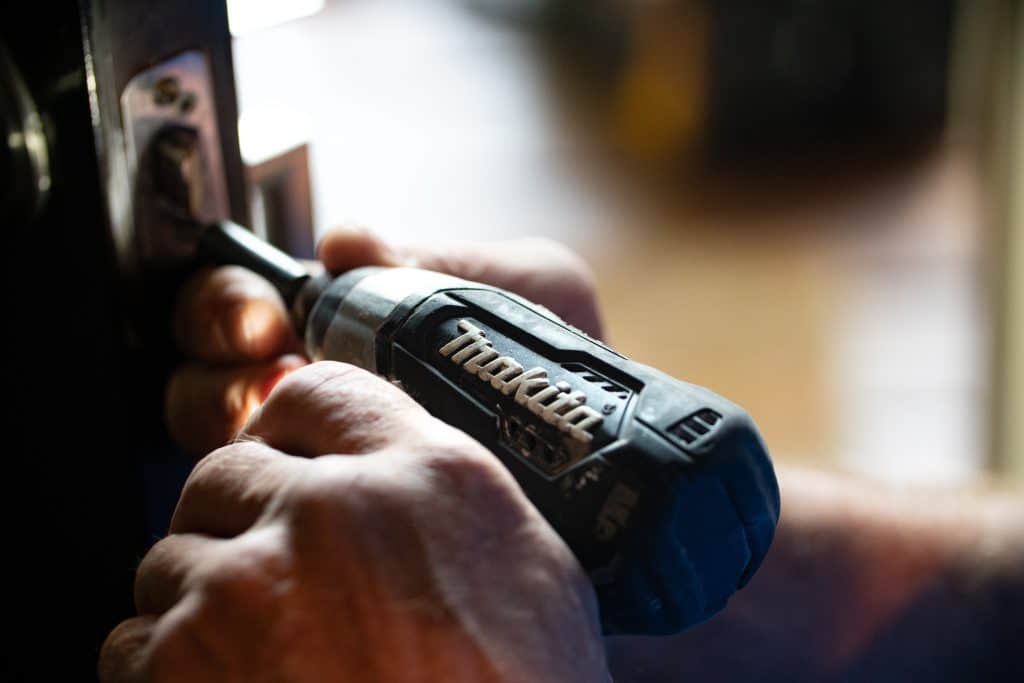
First up, you’ll need a drill. A cordless drill is usually your best friend here, giving you freedom of movement. If you only have a corded one, make sure you’ve got an extension cord long enough to reach without tripping over yourself. Safety first, always!
Then come the drill bits. This is where things get a little bit technical, but don’t worry, I’ll break it down. You’ll want a set of metal drill bits, also known as HSS (High-Speed Steel) bits. They’re designed to cut through metal, which is exactly what you’re dealing with when you’re drilling out a screw.
You’ll also need a center punch. This little guy is crucial for starting your drill hole exactly where you want it. Without it, your drill bit is going to wander all over the place, and that’s a recipe for disaster. Trust me, I’ve learned this the hard way.

And, of course, safety glasses. I cannot stress this enough. When you're drilling, especially metal, you’re going to get flying debris. Tiny shards of metal can do some serious damage to your eyes. So, wear them. Every. Single. Time. Your eyeballs will thank you.
Finally, a screw extractor set can be a lifesaver. More on that later, but it’s worth having a decent one.
The Step-by-Step (and Slightly Nerve-Wracking) Process
Okay, deep breaths. You’ve got your tools. You’ve mentally prepared yourself for battle with a stubborn piece of metal. Now, let’s do this.
Step 1: Assess the Situation (and Try One Last Time)
Before you go all Rambo on it, take a good look at that screw. Is the head completely gone? Or is there still a little bit of a lip you can grip with pliers? Sometimes, just a little bit of extra torque from some needle-nose pliers can do the trick. It’s always worth one last, desperate attempt.
If, like my hinge screw, it’s a lost cause, then it’s time to move on. No shame in admitting defeat to a tiny metal adversary.
Step 2: Center Punching – The Foundation of Success
This is where the center punch comes in. You want to make a small indentation right in the exact center of the screw head. This indentation will act as a guide for your drill bit, preventing it from skating off and damaging the surrounding material. Imagine you’re drawing a tiny bullseye on your target.
Place the tip of the center punch on the center of the screw head. Give it a firm tap with a hammer. You don’t need to go crazy, just enough to create a distinct dimple. It’s like giving your drill bit a little handshake to say, "This is where we're going, buddy."
Step 3: Choosing Your Drill Bit – The Delicate Dance
Now, the crucial part: choosing the right drill bit. You don’t want to go in with a bit that’s too big, or you’ll just obliterate the screw and possibly damage what it’s screwed into. You also don’t want to go in with a bit that’s too small, because it won’t be effective.
Start with a small metal drill bit. We’re talking something in the range of 1/16th or 3/32nd of an inch. The goal here is to create a pilot hole. This pilot hole will help you drill deeper and straighter.
It’s also a good idea to have a screw extractor bit that corresponds with the size of the screw you’re trying to remove. These bits have a reverse thread, meaning they’re designed to bite into the metal as you drill. We’ll get to those in a moment.
Step 4: Drilling – Slow and Steady Wins the Race (Usually)
Set your drill to reverse. This is super important. You want the drill to spin counter-clockwise to unscrew the bolt. If you’re not careful, you can accidentally tighten the screw further or, worse, break your drill bit.
Apply steady, gentle pressure to the drill. Let the drill bit do the work. Don’t force it. If you’re feeling a lot of resistance, slow down. You might need to occasionally pull the drill bit out to clear away any metal shavings. A little bit of cutting fluid or oil can also help lubricate the bit and reduce friction, making the drilling process smoother and keeping your bit from overheating.

You’re essentially trying to drill into the head of the screw, creating a hole that goes all the way through it. The depth of the hole depends on what you’re trying to achieve. If you’re using a screw extractor, you’ll need to drill deep enough for the extractor to grab onto.
Step 5: The Screw Extractor – The Cavalry Arrives
Once you’ve drilled your pilot hole (or a slightly larger hole if you’re using a specific screw extractor that requires it), it’s time to bring in the screw extractor. These are often sold in sets, with different sizes to match common screw sizes.
Most screw extractors have two ends. One end is for drilling a pilot hole (sometimes it’s a separate bit, sometimes it’s integrated). The other end is the extractor itself. It has a reverse spiral thread. You’ll insert the extractor end into the hole you’ve drilled.
Now, here’s the magic (or the frustration, depending on your luck): set your drill to reverse again, and very slowly start drilling. The reverse threads of the extractor should start to bite into the metal of the screw. As you continue to drill in reverse, the extractor should begin to unscrew the damaged screw. You’re essentially letting the extractor do the heavy lifting of grabbing and turning the screw.
Be patient! This can take a few tries. If the extractor starts to slip, you might need to reposition it or drill a slightly deeper pilot hole. Sometimes, a little tap with a hammer on the extractor while it’s in place can help it seat better.
Step 6: The Satisfying (Hopefully) Moment of Removal
If all goes well, you’ll feel the screw start to turn. Keep drilling in reverse, and eventually, the stubborn screw will be out! Victory! You’ve conquered the stripped screw beast!
It’s a feeling of immense satisfaction, let me tell you. Especially after you’ve spent what felt like an eternity wrestling with it. You might even want to do a little victory dance. I won’t judge.
When Things Go Wrong (Because They Sometimes Do)
Let’s be real, DIY isn’t always a smooth ride. Sometimes, despite your best efforts, things can go pear-shaped. Here are a few common pitfalls and what to do about them:
The Drill Bit Snaps
This is a real bummer. If your drill bit snaps off inside the screw, you’ve just made the problem significantly worse. You now have a broken drill bit embedded in a stubborn screw. Your best bet here might be to try and use a grinding bit on a Dremel tool to try and carefully grind away the broken bit and the screw head. Or, if it's really bad, you might need to call in a professional.
You Drill Too Far
Oops. If you drill too deep and go through the material the screw is holding, you’ll need to figure out a way to repair that damage. This could involve filling the hole with wood filler, epoxy, or even a dowel, depending on the material.
The Screw Won't Budge
Even with an extractor, sometimes the screw just refuses to cooperate. This might mean the extractor isn't grabbing well enough, or the screw is incredibly seized. You might need to try a larger screw extractor, or, in extreme cases, resort to cutting a new slot in the screw head with a Dremel cutting wheel so you can try a flathead screwdriver again.
A Few Extra Tips for the Brave DIYer
Here are a few little nuggets of wisdom I’ve picked up along the way that might save you some heartache:
- Work slowly and patiently. Seriously, this is the most important tip. Rushing will only lead to mistakes.
- Use good quality tools. Cheap drill bits can be brittle and dull quickly, making your life much harder.
- Keep your drill bit cool. Overheating can dull the bit and make it less effective. A bit of cutting fluid helps.
- Wear your safety glasses! I’m saying it again because it’s that important.
- If you’re unsure, stop. It’s better to pause and research or ask for help than to make a mistake you can’t fix.
- Consider a left-handed drill bit. These bits spin counter-clockwise. Sometimes, just drilling with a left-handed bit in reverse will be enough to grab and unscrew the damaged screw without needing a dedicated extractor. It’s worth trying if you have one.
Drilling out a screw is a skill that, thankfully, you don’t need to use every day. But when you do need it, knowing how to do it can save you a lot of frustration and potentially a lot of money. So, next time you encounter that infuriating stripped screw, take a deep breath, gather your tools, and remember: you’ve got this. And who knows, you might even find a little bit of satisfaction in conquering that stubborn metal fiend. Just don’t forget those safety glasses!