How Do You Clean A Cricut Mat
Okay, so you’ve been whipping up some seriously cool stuff with your Cricut. Maybe it’s a cute t-shirt, some fancy personalized mugs, or even a whole party’s worth of decorations. You’re feeling like a crafting wizard, right? Totally get it. But then… you look at your mat. Uh oh. It’s starting to look like a glitter bomb exploded in slow motion, or maybe a paper confetti explosion. Sticky? Not so much anymore. Yeah, we’ve all been there, staring at a mat that’s seen better days. Don’t worry, friend, cleaning your Cricut mat is way easier than you think. Let’s spill the tea, shall we?
First things first, let’s acknowledge the elephant in the room. Our beloved Cricut mats are a bit… sensitive. They're designed to be sticky, like a super-powered flypaper for your crafting projects. And that stickiness? It's what keeps your paper, vinyl, or fabric perfectly in place while your Cricut does its magic. But with that stickiness comes a buildup of all the things. Lint, paper scraps, vinyl dust, glitter (oh, the glitter!), and even tiny bits of adhesive from your projects. It’s like a graveyard for tiny craft debris. And when it gets too crowded, well, things start to slide. Not ideal for those intricate cuts, is it?
So, what do we do when our trusty mat starts acting more like a slippery slide than a secure surface? Do we just toss it and buy a new one? Gasp! Absolutely not! That’s like throwing away a perfectly good pair of shoes just because they’ve got a little dirt on them. We’re going to give this mat a little TLC. Think of it as a spa day for your crafting companion. A much-needed refresh to bring back that glorious grip. And trust me, your Cricut will thank you for it. Your projects will be happier, and you'll be a happier crafter. It’s a win-win-win situation.
Must Read
The Pre-Clean Prep: What You Need
Before we dive into the actual cleaning, let’s gather our supplies. You don’t need anything super fancy or expensive. In fact, you probably already have most of this stuff in your craft stash or your kitchen. So, no need to run out and buy a whole new arsenal of cleaning products. We’re all about being resourceful here, right?
First up, you’ll need a spatula or a scraper tool. This is your trusty sidekick for gently lifting off any larger bits of debris. Think of it as your mat’s personal masseuse, carefully dislodging any stubborn clinging bits. Be gentle, though! We don’t want to scratch or damage the mat’s surface. Think soft, smooth movements. No aggressive scraping, okay?
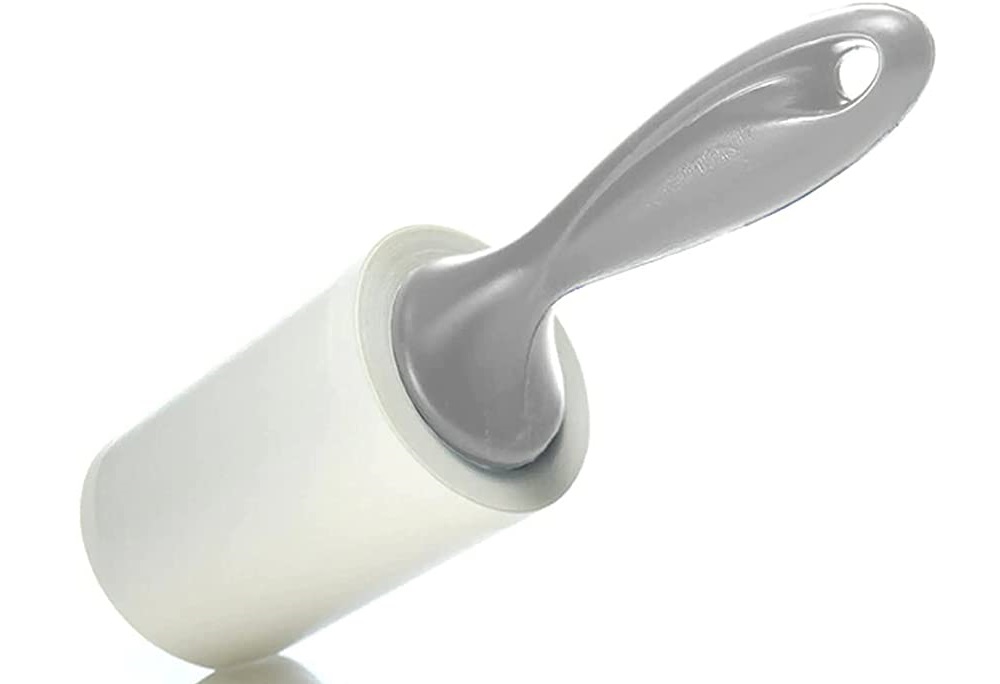
Next, you’ll want some kind of lint roller. You know, the sticky kind that you use to de-fluff your clothes? That’s perfect! This is going to be your go-to for picking up all those annoying little lint particles and stray fibers that love to attach themselves to our mats. It’s like a tiny, portable vacuum cleaner for your mat. So satisfying when you see all that gunk come away!
Then, we’re going to need some baby wipes. Yep, good old baby wipes! They’re gentle and perfect for removing light residue. Unscented ones are generally best, just in case your project material is particularly sensitive to fragrances, though honestly, it’s unlikely to be a major issue for the mat itself. Just make sure they’re damp, not soaking wet. We’re aiming for a gentle wipe-down, not a bath.
Finally, for a deeper clean, you might want some mild dish soap and a soft sponge or cloth. Again, think gentle! We’re not trying to scrub a cast-iron skillet here. A little bit of soap and water can work wonders for lifting away more stubborn grime. But this is more of an “in case of emergency” or “when things are really gross” step. For regular maintenance, the baby wipes and lint roller are usually enough.
The Gentle Approach: Regular Cleaning
So, you’ve got your supplies? Awesome! Let’s get started with the everyday maintenance that keeps your mat happy. This is the stuff you should be doing fairly regularly, especially if you’re a frequent crafter. Prevention is key, as they say!
First, take your trusty spatula or scraper. Gently run it over the surface of your mat. Don’t dig in! Just a light angle, like you’re trying to persuade the debris to leave. You’ll be amazed at what comes off. Little paper scraps, vinyl shavings, even tiny pieces of dried glue. It’s like excavating a miniature archaeological dig, but way more fun. Scoop up all those bits and pieces and discard them. See? Already looking better!
Next up, the lint roller. This is where the magic really happens for those tiny particles. Just roll it over the entire surface of the mat. You’ll probably need to do this a few times, peeling off the sticky sheets as they fill up. It’s surprisingly therapeutic, watching all that lint and dust disappear. You might find yourself humming a little tune. I know I do!
![How to Clean Your Cricut Mat [Step-by-Step Guide]](https://cdn.diys.com/wp-content/uploads/2021/07/Clean-cricut-Cutting-Mat.jpg)
Now, for those slightly more persistent smudges or residue, bring out the baby wipes. Grab a damp wipe (remember, damp, not dripping!) and gently wipe down the mat’s surface. You’re not trying to scrub it clean, just lift away any light stickiness or marks. Work in one direction if possible, to avoid spreading things around. You might need a couple of wipes, depending on how much residue you’re dealing with. Again, be gentle. We love our mats!
Once you’ve finished wiping, let the mat air dry completely. This is super important! Don’t try to stick anything to it while it’s still damp. It won’t adhere properly, and you’ll just end up with a sticky mess. Find a clean, flat surface, maybe prop it up against something, and let nature do its thing. Patience, my friend, patience.
The Deep Dive: When Things Get Grimy
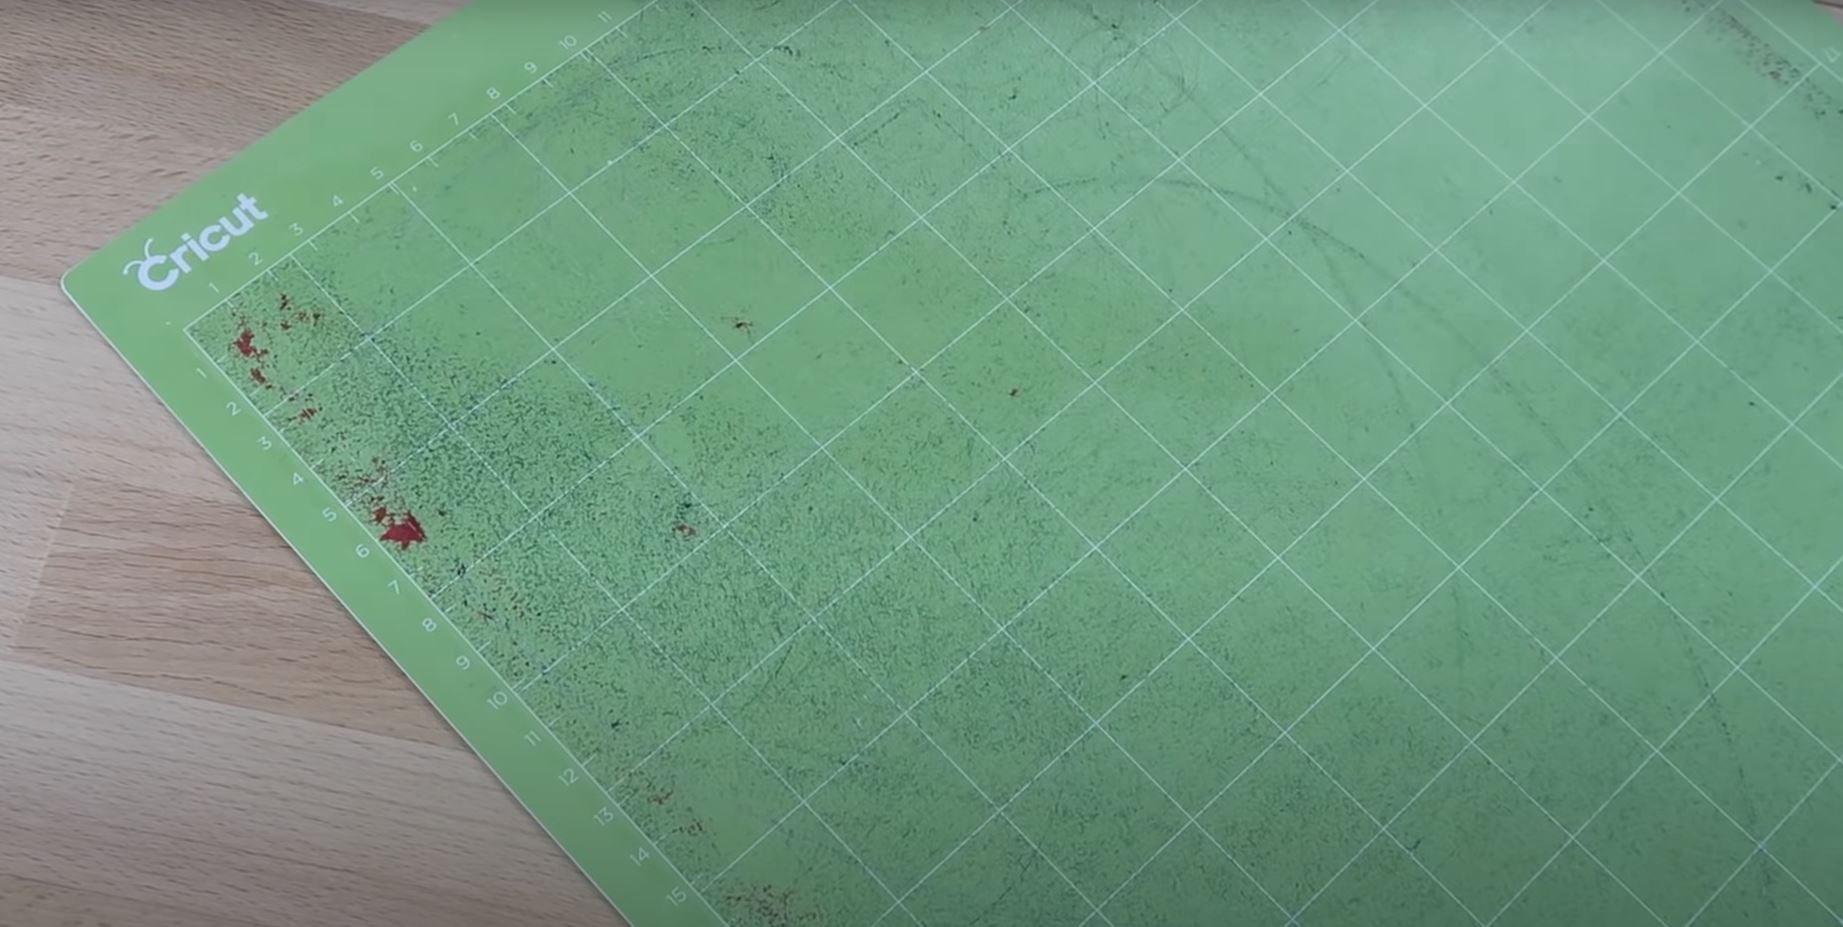
Okay, let’s be real. Sometimes, our mats get really dirty. Maybe you accidentally cut something that bled a little, or you had a particularly messy vinyl project. These are the times when a quick wipe-down just won’t cut it. It’s time for a more thorough cleaning. Don’t panic! It’s still doable.
First, follow the initial steps of removing any loose debris with your spatula and lint roller. Get off as much of the surface gunk as you possibly can. The less you have to scrub later, the better.
Now, for the washing part. You’ll want a basin or sink with some lukewarm water. Add a tiny drop of mild dish soap. Seriously, a tiny drop. You don’t want a ton of suds, as that makes it harder to rinse. Get your soft sponge or cloth a little wet with the soapy water.
![How to Clean Your Cricut Mat [Step-by-Step Guide]](https://cdn.diys.com/wp-content/uploads/2021/07/Clean-cricut-mat-la-totally-awsome-spray.jpg)
Gently, and I mean gently, start to wipe down the surface of the mat. You’re looking to lift away any sticky residue or dried-on bits. Work in small sections. You might need to go over some areas a few times. If you have particularly stubborn spots, you can let a little soapy water sit on them for a minute before gently wiping. But remember, we’re not scrubbing with the force of a thousand suns. We’re coaxing the dirt away.
Once you’ve got the whole mat looking clean, it’s time to rinse. This is crucial! You need to get all that soap residue off. Rinse the mat under cool, running water. You can use your hands or a clean cloth to help remove any lingering soap. Make sure there are absolutely no soapy traces left. Soap residue can actually interfere with the mat’s stickiness, so we want it squeaky clean of soap!
Now comes the most important part of the deep clean: drying. You absolutely, positively, 100% need to let this mat air dry completely. Lay it flat on a clean surface, or prop it up so air can circulate around both sides. This can take a while, sometimes several hours, depending on humidity. Do NOT, I repeat, DO NOT use a hairdryer or any heat source. Heat can warp the mat and ruin its stickiness forever. We are patient crafters, remember? We wait. We let it dry naturally.
Important Dos and Don’ts (Because We Love Our Mats!)
Let’s recap with some quick-fire rules to keep your mat in tip-top shape. Think of these as your mat’s commandments.
![How to Clean Your Cricut Mat [Step-by-Step Guide]](https://cdn.diys.com/wp-content/uploads/2021/07/Clean-cricut-mat-wet-wipes.jpg)
The DOs:
- DO remove large debris with a spatula first. This is your primary defense!
- DO use a lint roller regularly to catch dust and fibers. It’s your best friend for everyday messes.
- DO use damp baby wipes for light cleaning and residue removal. Gentle and effective!
- DO air dry your mat completely after any wet cleaning. Patience is a virtue, especially for your mat.
- DO store your mat with the protective cover on. This shields it from dust and keeps it sticky for longer.
- DO try to use the appropriate mat for your project. Using the wrong mat can lead to frustration and faster wear.
The DON’Ts:
- DON’T use harsh chemicals or abrasive cleaners. They will damage the mat’s surface and stickiness.
- DON’T use rough sponges or scrub brushes. We’re aiming for gentle persuasion, not an aggressive attack.
- DON’T put your mat in the dishwasher. Shudders at the thought. No heat, no harsh detergents.
- DON’T use paper towels for cleaning. They can leave lint behind, which is exactly what we’re trying to avoid!
- DON’T try to force materials onto a dirty mat. Clean it first!
- DON’T leave your mat exposed to excessive dust or pet hair. Keep it covered when not in use.
When is it Time for a New Mat?
Let’s be honest, even with the best cleaning efforts, mats don't last forever. They are consumables, after all. So, how do you know when it’s time to say goodbye to your faithful mat and welcome a new one into your craft room? It's a sad day, but a necessary one.
If you’ve cleaned your mat multiple times, both superficially and with a deeper clean, and it still won’t hold your materials securely, it’s probably time for a replacement. Are your materials sliding around even after you’ve ensured the mat is perfectly dry? That’s a big red flag. If your cuts are getting messed up because things are shifting mid-cut, your mat has officially given up the ghost.
Another sign is if the mat’s surface is permanently damaged. Are there deep gouges, tears, or areas where the stickiness has completely worn away, no matter how much you clean? That’s a pretty good indication that its crafting days are numbered. Think of it as a well-loved teddy bear that’s lost most of its stuffing and has seen better days. It’s still loved, but its primary function might be compromised.
Don't feel bad about replacing a mat! It means you've been busy creating wonderful things. And a fresh, sticky mat will make your future crafting sessions so much more enjoyable. So, when that time comes, embrace it! And then, of course, you’ll need to start the cleaning process all over again with your shiny new mat. It’s a beautiful, sticky cycle!
So there you have it! Cleaning your Cricut mat is not some arcane ritual. It’s a straightforward process that will extend the life of your supplies and ensure your projects turn out perfectly. Give it a try, and you’ll be amazed at how much better your mat performs. Happy crafting, friend!

