Alright, gather 'round, fellow adventurers of the electrical unknown! Today, we're diving headfirst into the thrilling, the terrifying, the shockingly simple world of wiring a PIR sensor. Now, before you start picturing sparks flying and your eyebrows doing a dramatic flamenco, let's just take a deep breath. This isn't building a time machine in your garage; it's more like teaching a very simple, very jumpy robot to notice when you've wandered into its personal space.
First off, what even is a PIR sensor? PIR stands for Passive Infrared. Think of it as your home's new, slightly nosy guardian angel. It doesn't do anything active, hence "passive." It just sits there, passively soaking up heat signatures. And when it detects a change in those heat signatures – like, say, you, with your delightfully warm body, performing your signature interpretive dance to the washing machine – it flips a tiny internal switch. Voila! Motion detected! It's like a sophisticated, heat-seeking motion detector, but without the questionable James Bond villain vibes.
So, why would you want to wire one of these bad boys up? The possibilities are as endless as a toddler's energy supply. We're talking automated lights that turn on when you stumble into the kitchen at 3 AM for a midnight snack (because who needs to fumble for a switch when you're half asleep?). We're talking security systems that can alert you if your cat, Mittens, decides to hold an unauthorized rave in the living room. Or, if you're feeling particularly ambitious, you could rig it up to trigger a rubber chicken to pop out of a box. The world is your oyster, folks, a heat-sensing, motion-detecting oyster!
The Anatomy of a PIR Sensor: More Than Just a Plastic Eye
Before we get our hands dirty, let's get acquainted with our little friend. Most PIR sensors you'll encounter, especially the ones for DIY projects, look like tiny little white or black rectangles with a slightly domed or lensed front. That dome? That's not just for show. It’s actually an array of Fresnel lenses. Think of them as tiny, plastic eyes that focus the infrared radiation onto the actual sensor element inside. It’s like having a hundred tiny magnifying glasses all pointing at the same spot, but for heat!
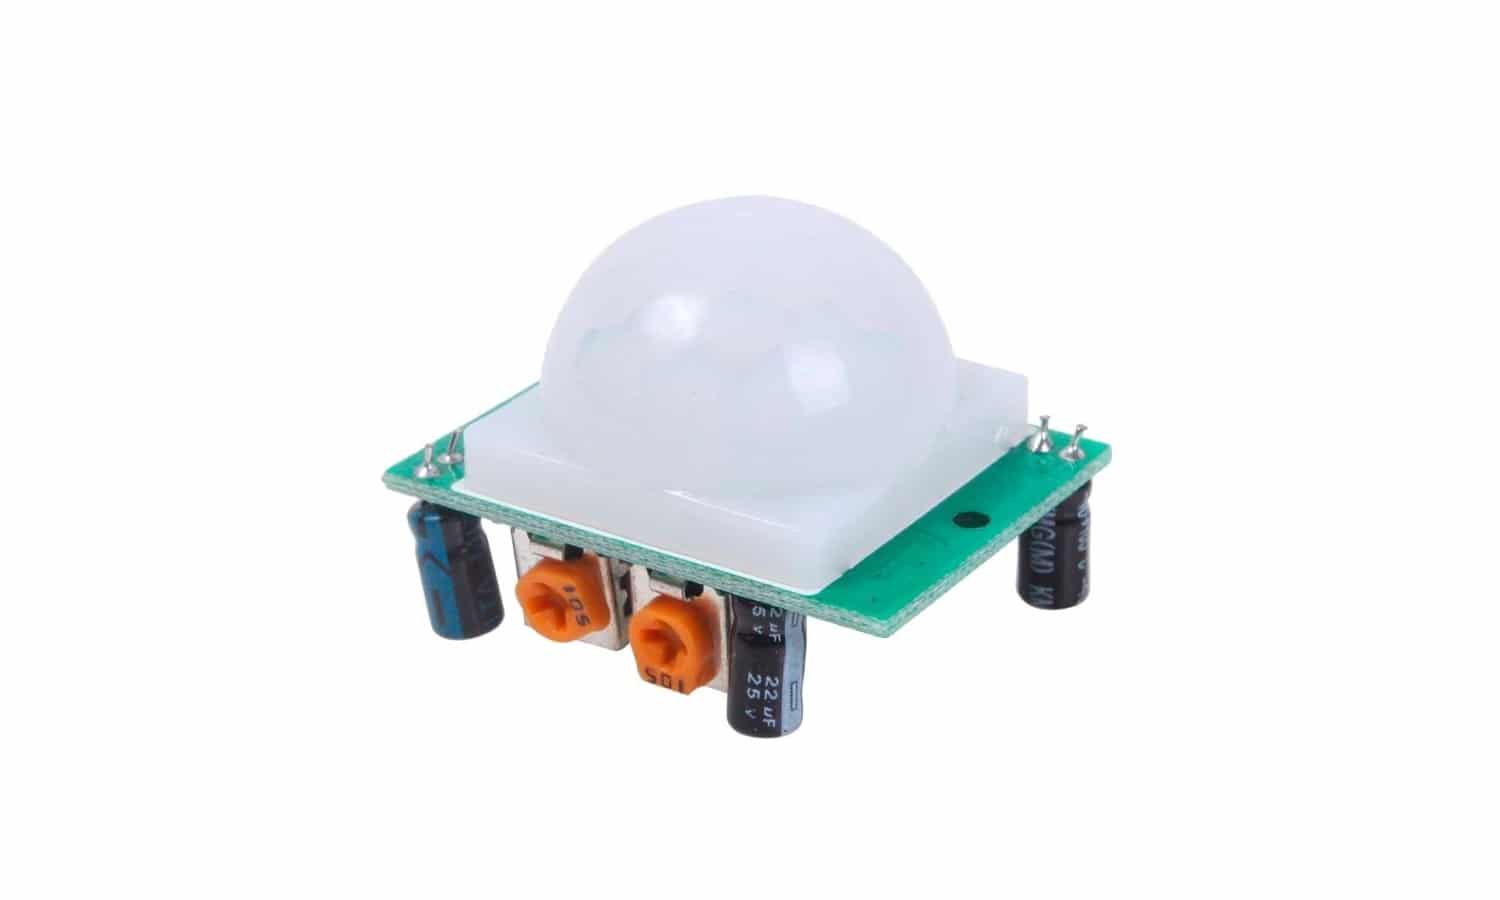
On the back, you'll usually find a few pins or connection points. The most common setup is a three-pin arrangement: Power (VCC), Ground (GND), and Signal (OUT). Sometimes, you might find an extra pin for things like trigger modes or sensitivity adjustments, but let's stick to the basics for now. We don't want to overwhelm our new sensor friend on its first day at the job, do we?
The “Passive” part means it doesn't emit any signals. It’s not like radar, sending out waves and listening for echoes. Nope. It’s just a sensitive little listener. It’s like that friend who always knows when you’re thinking about cake, even without you saying a word. Truly magical, in a scientific sort of way.
4 wire PIR sensor instead of 3 wire PIR sensor for development
The Wiring Tango: A Step-by-Step Mambo
Alright, let's get down to business! You've got your PIR sensor, you've got your microcontroller (like an Arduino, the ultimate playground for budding electronics wizards), and you've got your power source. Think of your microcontroller as the brain, the PIR sensor as the eyes, and the power source as the energy drink that keeps everyone going.
Here’s the golden rule, the mantra you’ll chant before every connection: Match the voltage! Most common PIR sensors run on 5 volts (5V). Your Arduino is also likely running on 5V. If you're using a different sensor or microcontroller, always double-check the datasheet. Trying to feed a 3.3V sensor 5V is like trying to fit a chihuahua into a husky's winter coat – it’s not going to end well for anyone involved.
Let’s break down the connections:
Power (VCC): Connect to your power source. If you're using an Arduino, this will likely be the 5V pin on the Arduino. This gives our little sensor the juice it needs to wake up and smell the heat. It’s like giving it a shot of espresso.Understanding the Pin Diagram of a Passive Infrared (PIR) Sensor
Ground (GND): Connect to Ground. Again, on your Arduino, this will be one of the GND pins. This is crucial. Think of it as the common drain for all the electrical signals. No ground, no flow. It’s like trying to have a conversation without anyone listening – pointless!
Signal (OUT): Connect to a digital input pin on your microcontroller. On an Arduino, any of the digital pins from 2 to 13 will work. These are the pins that can understand a "high" (meaning motion detected, the sensor is shouting!) or "low" (meaning all clear, the sensor is whispering) signal. This is how your brainy microcontroller knows what your little heat-detecting eyes are seeing.
So, in summary: PIR's VCC goes to Arduino's 5V. PIR's GND goes to Arduino's GND. PIR's OUT goes to any digital input pin on the Arduino. Easy peasy, lemon squeezy, right?
Understanding the Pin Diagram of a Passive Infrared (PIR) Sensor
The Magic Beyond the Wires: Code is Your Co-Pilot
Now, just connecting the wires is only half the battle. The other half, the truly mind-bending part for some, is the code. Your microcontroller needs instructions! It needs to know what to do when the PIR sensor screams, "ALERT! HUMAN DETECTED!"
For an Arduino, this usually involves a simple sketch. You'll tell it to read the state of the digital pin connected to the PIR sensor's output. If that pin reads HIGH, you tell it to do something cool. Like turn on an LED! Or print "Someone's here!" to the serial monitor. Or, for the truly daring, activate that rubber chicken mechanism.
Here’s a super simplified idea of what that code might look like (don't worry if you don't code, this is just to paint a picture):
const int pirPin = 7; // Assuming you connected the PIR OUT to digital pin 7
int pirState = LOW; // We'll start by assuming no motion

void setup() {
  pinMode(pirPin, INPUT); // Tell the Arduino this pin is an input
  Serial.begin(9600);    // Start communication to see messages
}

void loop() {
  pirState = digitalRead(pirPin); // Read the PIR sensor's state

  if (pirState == HIGH) { // If motion is detected (sensor is shouting HIGH)
    Serial.println("Motion detected!"); // Print a message
    // Now, you would add your code here to turn on a light, etc.
    delay(1000); // Wait a bit before checking again, to avoid spamming
  } else {
    // If no motion, you could add code here to turn off lights, etc.
  }
}PIR Sensor Wire Diagram: Complete Wiring Guide for Motion Detection
See? It’s not so scary. It’s just telling your little electronic buddy what to pay attention to and what to do when it notices something.
Troubleshooting Tips: When Your Sensor is Being a Grump
What if it doesn’t work? Don't panic! The world of electronics is full of little gremlins. The most common culprits are:
Loose connections: Did you jiggle those wires enough? Are they firmly seated? A tiny bit of play can break the circuit. Think of it as a loose handshake; not a reliable connection.
Incorrect voltage: Are you sure you’re powering it correctly? Double-check, triple-check. This is the number one killer of beginner projects.
Bad sensor: Hey, it happens. Sometimes you get a dud. If all else fails, try a different sensor.
Code errors: Is your code uploaded correctly? Are the pin numbers right? A misplaced comma can cause a cascade of electronic despair.
Remember, every seasoned electronics tinkerer has a graveyard of failed projects and burnt components. It's part of the journey! It builds character. And probably a very healthy respect for power supplies.
So there you have it! Wiring a PIR sensor. It’s not rocket science, though it can be a component in a very impressive rocket-launching robot if you’re feeling ambitious. Go forth, experiment, and may your motion detection be ever reliable and your midnight snack runs always illuminated!