How Do I Test A Power Supply

Ever felt that little spark of excitement when a computer whirs to life? Or maybe you've experienced the frustration of a device that just won't cooperate, leaving you staring at a blank screen? The unsung hero behind all this electronic magic, and sometimes the culprit behind the gremlins, is the humble power supply unit (PSU). Think of it as the heart of your electronic kingdom, pumping the lifeblood of electricity to all its subjects. Testing this crucial component might sound like a job for seasoned tech wizards, but guess what? It's actually a surprisingly accessible and incredibly useful skill for anyone who tinkers with electronics, builds their own PCs, or just wants to understand what’s going on under the hood.
Why is learning to test a power supply so much fun and useful? Well, for starters, it’s like gaining a superpower in the world of tech troubleshooting. Imagine this: your gaming rig suddenly starts acting up, or your brand-new 3D printer refuses to turn on. Instead of immediately shelling out for a new expensive component, you can confidently diagnose if the PSU is the troublemaker. This not only saves you money but also gives you a fantastic sense of accomplishment. It’s a practical skill that demystifies the inner workings of your gadgets, making you a more informed and capable user.
The benefits of knowing how to test a power supply are plentiful. Firstly, it’s a crucial step in diagnosing hardware failures. A failing PSU can cause a cascade of problems, from random shutdowns and instability to data corruption, and even damage to other components. By testing it early, you can prevent further damage and get your system back up and running faster. Secondly, it’s essential for preventative maintenance. Regularly checking your PSU’s health can catch issues before they become critical failures, saving you from unexpected downtime and costly repairs. For those building their own computers, choosing and testing a PSU is paramount to ensure all your carefully selected components receive stable and sufficient power. A good PSU not only powers your system but also protects it.
Must Read
Now, let’s talk about how you can embark on this electrifying journey. There are a few popular ways to test a power supply, each with its own level of complexity and accuracy. The simplest, and perhaps most iconic, method involves the "paperclip test". Don’t worry, no actual paperclips are needed for the best results, though the name stuck! The core idea is to trick the PSU into thinking it’s connected to a motherboard, so it powers on. You’ll typically use a jumper or a specially designed PSU tester for this. This method is great for a quick check to see if the PSU spins up its fan and receives power, but it doesn’t tell you about the quality or stability of the power it's delivering.
A more comprehensive approach involves using a dedicated PSU tester. These nifty gadgets plug directly into the PSU’s various connectors (like the 24-pin ATX connector, SATA power, and Molex connectors) and will tell you if the voltages on each rail are within acceptable ranges. They often have little screens or LED lights that indicate success or failure for each voltage. This is a fantastic tool for anyone who frequently works with computers, as it provides a clear "pass" or "fail" indication for the PSU's output. You’ll see readings for the crucial +3.3V, +5V, +12V, -12V, and +5VSB rails. If any of these are out of spec, you know your PSU is likely the problem.
![How to Test Power Supply | Easy Step-by-Step Guide [2024]](https://10scopes.com/wp-content/uploads/2021/10/How-to-Test-Power-Supply.jpg)
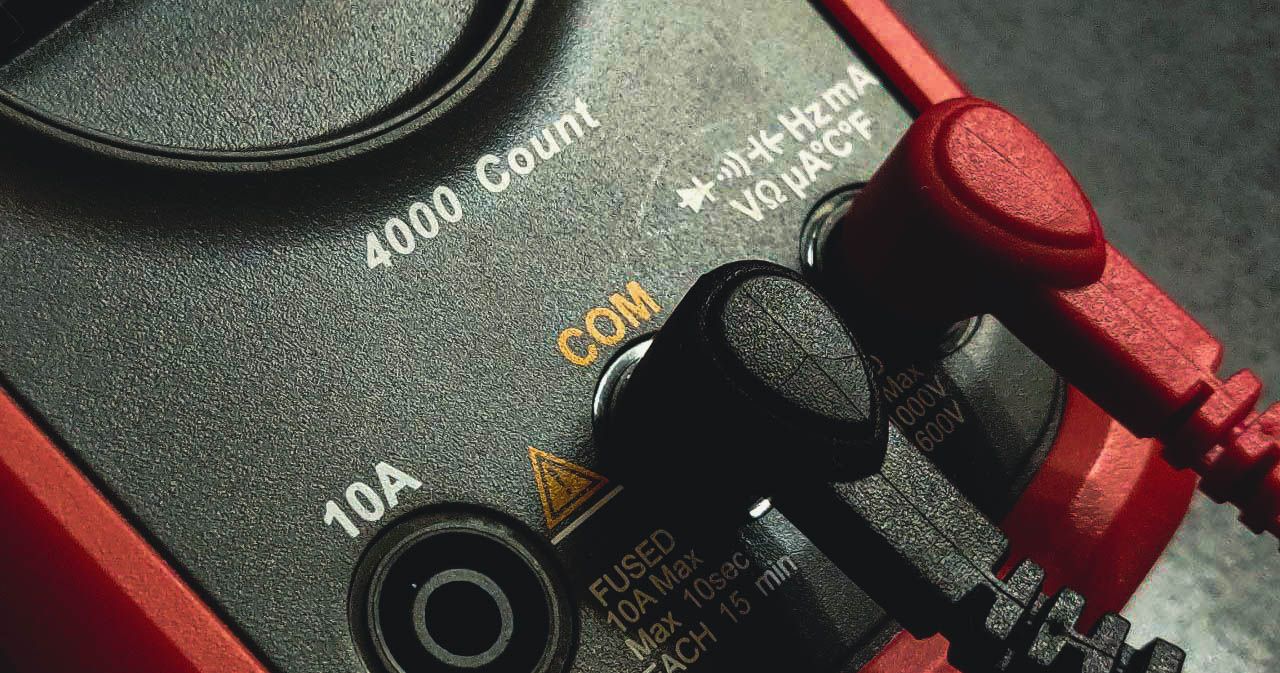
For the truly dedicated enthusiast or professional, a multimeter offers the most granular control and insight. This requires a bit more understanding of electronics, as you’ll be manually probing the pins of the PSU connectors. However, it’s incredibly rewarding because you get to see the precise voltage values. You’ll need to know which pins correspond to which voltage on the connectors. For example, on the 24-pin ATX connector, several pins carry the +12V rail, others the +5V, and so on. By connecting the multimeter probes to the correct pins and a ground pin, you can measure the exact voltage output. This is especially useful for diagnosing intermittent issues where a PSU might be unstable under load.
Remember, safety is always paramount when dealing with electronics. Always ensure the PSU is unplugged from the wall before making any connections. When testing with a PSU tester or multimeter, avoid touching any exposed metal parts unnecessarily. If you’re unsure about any step, it’s always best to consult the manual for your specific PSU or tester, or seek advice from a more experienced individual. The world of power supplies might seem daunting at first, but with a little curiosity and the right tools, you can become a power supply testing pro in no time!
:max_bytes(150000):strip_icc()/GettyImages-975744026-06ec2924e4944507a1824f77bc0977c0.jpg)

/innoo-tech-power-supply-tester-lcd-56a6f9d15f9b58b7d0e5cc1f.jpg)