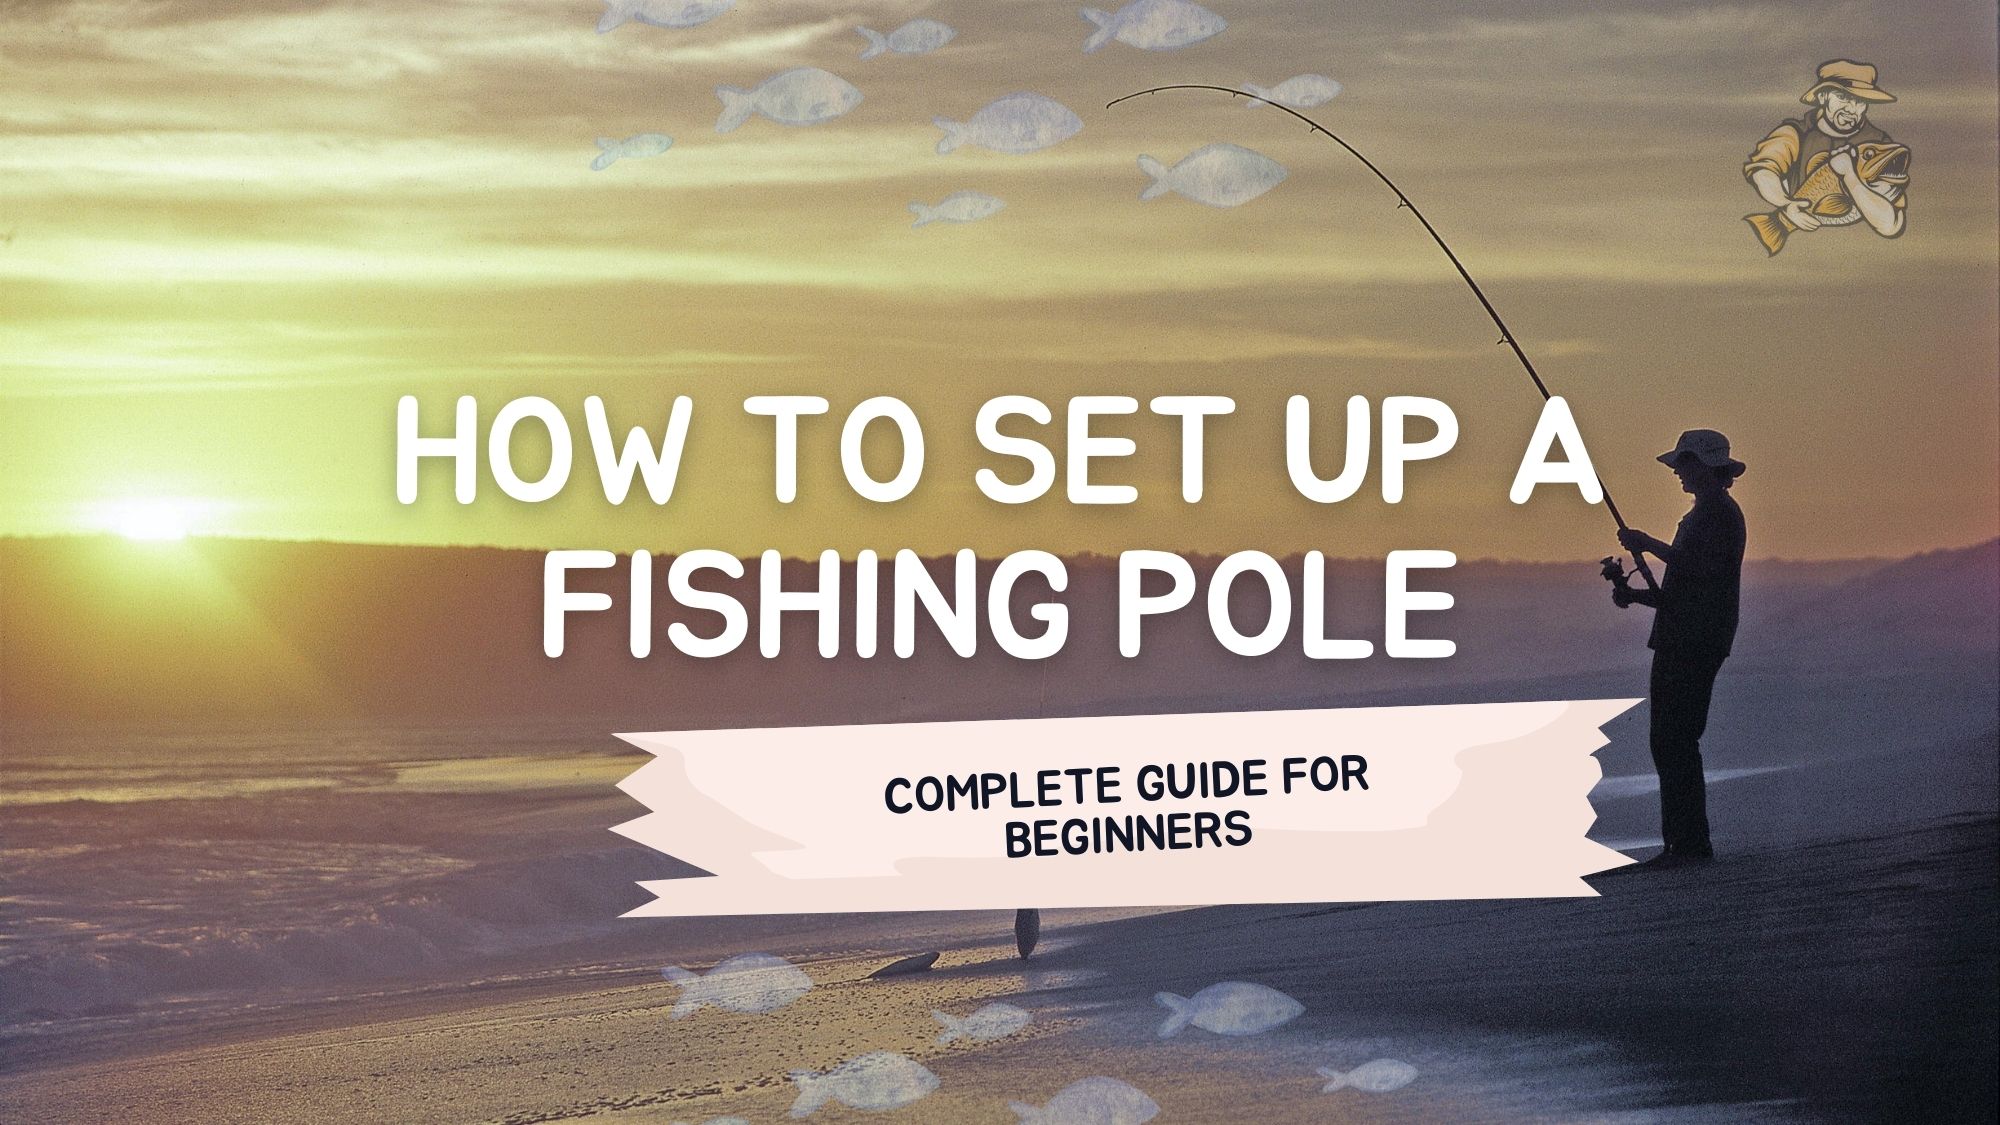
How Do I Set Up A Fishing Pole

So, you've decided to dip your toes into the wonderfully wet world of fishing. Congratulations! You've acquired a shiny new rod, a reel that probably looks more complicated than your smartphone, and a tackle box full of mysterious trinkets. Now comes the moment of truth: turning that collection of gear into a functional fishing pole. It's like assembling IKEA furniture, but with more potential for getting tangled.
Don't worry, it's not rocket science. Unless you're fishing for actual rockets, then maybe it is. But for the everyday quest for a wriggling friend, it's surprisingly straightforward. We’re going to breeze through this. Think of it as a friendly nudge, not a stern lecture.
The Reel Deal
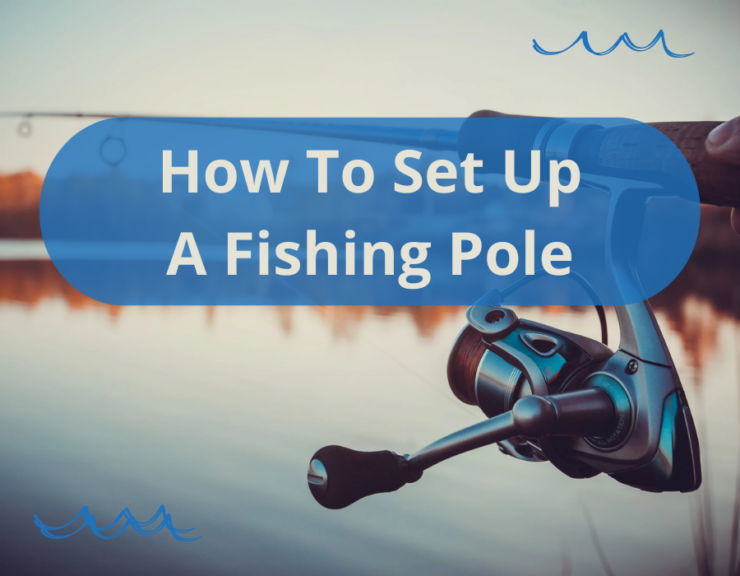
First things first, let's get acquainted with the reel. This is the part that spins. A lot. It holds your line and lets you cast it out, and hopefully, reel it back in with a fish attached. It’s the unsung hero, the workhorse, the… well, you get the idea.
Must Read
Most beginner setups have a spinning reel. They’re generally pretty forgiving. You’ll find a handle on one side. This is your primary weapon for bringing in the catch. Don't overthink it. If it spins, it's probably doing its job.
Attaching the Reel
Your fishing pole, or rod, has a special spot for this reel. It's usually near the bottom, a little clamp-like affair. Open it up. Slide the reel into place. Then, close the clamp. It should feel snug. If it rattles around like a loose tooth, give it another tweak. You want it secure, not just loosely attached by the power of positive thinking.
This is where some people start to sweat. I understand. It feels like a critical step. But it's really just like putting a lid on a jar. A very important, fish-catching jar lid.

The Line Has Been Drawn
Now for the fishing line. This is the magical string that connects you to the fish. It comes on a spool, often looking like a tiny roll of thread for giants. You’ll thread this through a series of little rings on your rod. These are called guides. Think of them as tiny traffic circles for your line.
Start at the end of the rod closest to the handle. Find the largest guide. Then work your way up the rod, feeding the line through each guide. It’s a bit like a conveyor belt. Just keep it going. Don't let it loop or kink. We want smooth sailing here.
Spooling the Reel
This is where things can get a little… adventurous. You need to get the line from the spool onto your reel. There are various techniques, some involving a helper holding the spool, others involving tying the spool to something. My personal, slightly unconventional method? I usually just let the spool roll around on the floor a bit. It adds character.
Feed the end of the line through the small hole near the handle of your reel. Then, close the little bail arm (that’s the wire that flips over). Start turning the handle. The line should start winding onto the spool inside the reel. Don't fill it right to the brim. Leave a little space. We don't want a fish-tangled disaster.
You’re essentially giving your reel a haircut of fishing line. It’s important to keep the tension somewhat consistent. Not too tight, not too loose. Imagine you're gently patting a cat. Firm, but not aggressive.
The Business End: Lures and Hooks
Alright, you've got the line on the reel, the reel on the rod. We're almost there! Now, what do you attach to the end of all that line? This is where the fun begins. You can use lures, which are fake fish or other tempting morsels. Or you can use hooks, which you bait with something real, like a worm. Eww. Just kidding. Mostly.
For a beginner, I highly recommend starting with a simple hook and bobber setup. The bobber is the bright, usually red and white, floaty thing. It tells you when you have a bite. It’s the fishing equivalent of a flashing notification on your phone. Very helpful.

Tying the Knot
This is arguably the most intimidating part for newcomers. Tying a knot that will hold a fish. It sounds serious, and it is, but it's also surprisingly simple once you get the hang of it. The improved clinch knot is your best friend. It's a classic for a reason.
Take the end of your fishing line. Loop it through the eye of your hook (or the swivel, if you're using one). Then, wrap the tag end around the standing line about five or six times. Now, here's the tricky bit. Thread that tag end back through the loop you created near the hook’s eye. Then, bring it back through that larger loop you just made. Pull it tight. Slowly. You’ve done it! You’ve tied a knot!
Don't be discouraged if your first few attempts look more like a bird's nest than a secure knot. That's perfectly normal. My first knots could probably have won awards for abstract art. The key is practice. Every time you tie one, it gets a little easier.

Once your hook is tied on, you can attach your bobber a little way up the line. Don't put it right next to the hook. Give your bait some room to wiggle. You want to entice, not suffocate.
Ready to Rock (and Reel)
And there you have it! You’ve successfully assembled a fishing pole. It might not look magazine-perfect, but it's functional. It's ready for its maiden voyage. Now, all you need is some bait (or a lure) and a body of water. And maybe a sense of adventure.
Remember, fishing is as much about the journey as the catch. It's about the quiet moments, the fresh air, and the sheer joy of watching that bobber dance. Even if you don't catch anything, you’ve still accomplished something pretty cool. You've conquered the mighty fishing pole!
So go forth and fish! And if your knot comes undone on your first cast, just smile, retie, and try again. That's the unwritten rule of fishing: persistence pays off. And maybe a little bit of luck.