How Do I Measure A Bike Frame
Hey there, fellow two-wheeled adventurer! So, you've got a bike, or maybe you're eyeing up a sweet used deal online, and you're wondering, "How on earth do I figure out if this thing is actually going to fit me?" Measuring a bike frame might sound super technical, like something only a bike mechanic with a PhD in geometry would know, but trust me, it's way less intimidating than you think. We're talking about making sure your steed is your trusty companion, not some awkwardly sized beast that makes your knees hit your chin or your back scream in protest after five minutes. So, grab a cuppa, maybe a biscuit (you've earned it just for being curious!), and let's dive into the wonderful world of bike frame measurements. No fancy jargon, just good old common sense and a tape measure!
First things first, why bother? Well, a bike that fits you is like a perfectly tailored suit. It feels right. You're comfortable, you can pedal efficiently, and you're less likely to end up with a grumpy back or achy wrists. Think of it as investing in your cycling happiness. Plus, if you're selling or buying a used bike, knowing the frame size is like having the golden ticket to a smooth transaction. Nobody wants to end up with a bike that’s either a tricycle for a giant or a unicycle for a gnome, right? We're aiming for Goldilocks territory here – just right.
Now, before we get our measuring tape out, let's acknowledge a couple of things. Bike sizing can be a little bit like deciphering ancient hieroglyphs sometimes. Different brands, different styles of bikes (road, mountain, hybrid, etc.) – they all have their own quirky ways of doing things. But don't let that scare you! We're going to focus on the most common and arguably the most important measurements. Think of this as your beginner's guide, your friendly neighborhood bike frame measuring primer. We'll build from the ground up, literally!
Must Read
The Big Kahuna: What Size is This Thing, Anyway?
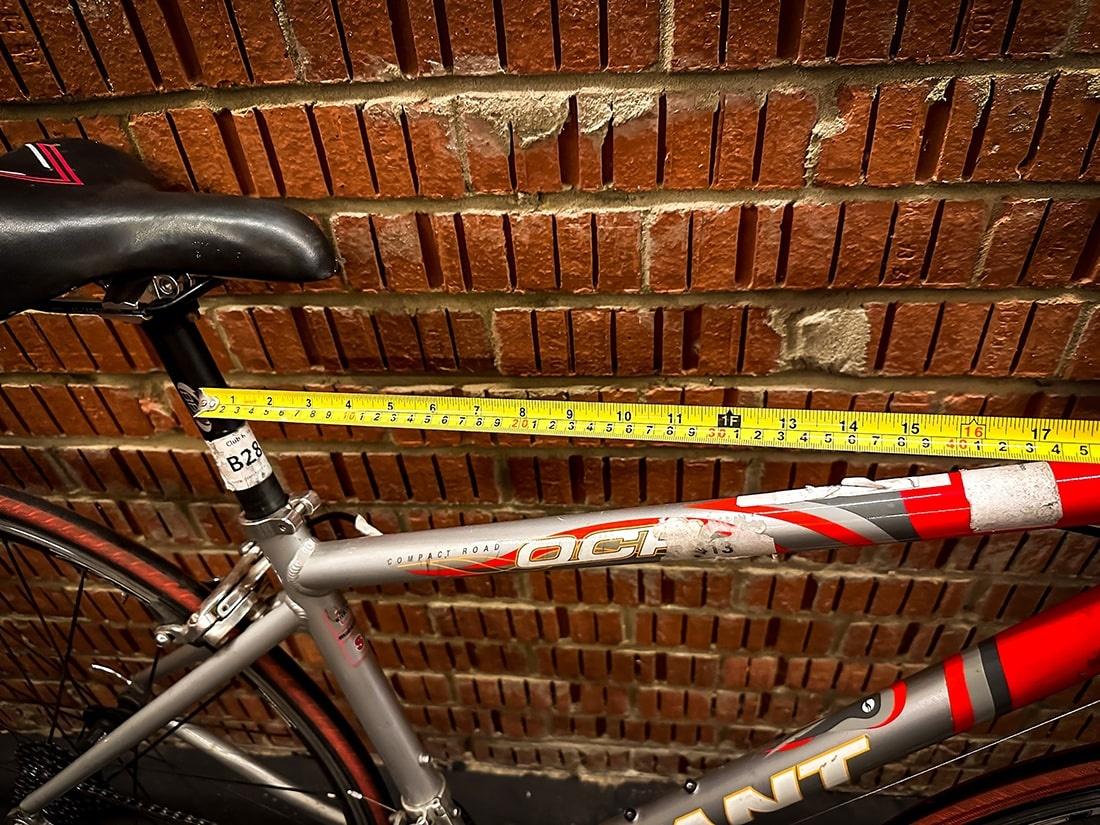
The most common way bike frames are measured, especially for road and hybrid bikes, is by their seat tube length. This is the vertical tube that runs from the bottom bracket (where your pedals attach) up to where your seat post slides in. Imagine a ruler standing straight up from the ground, that’s roughly what you’re picturing.
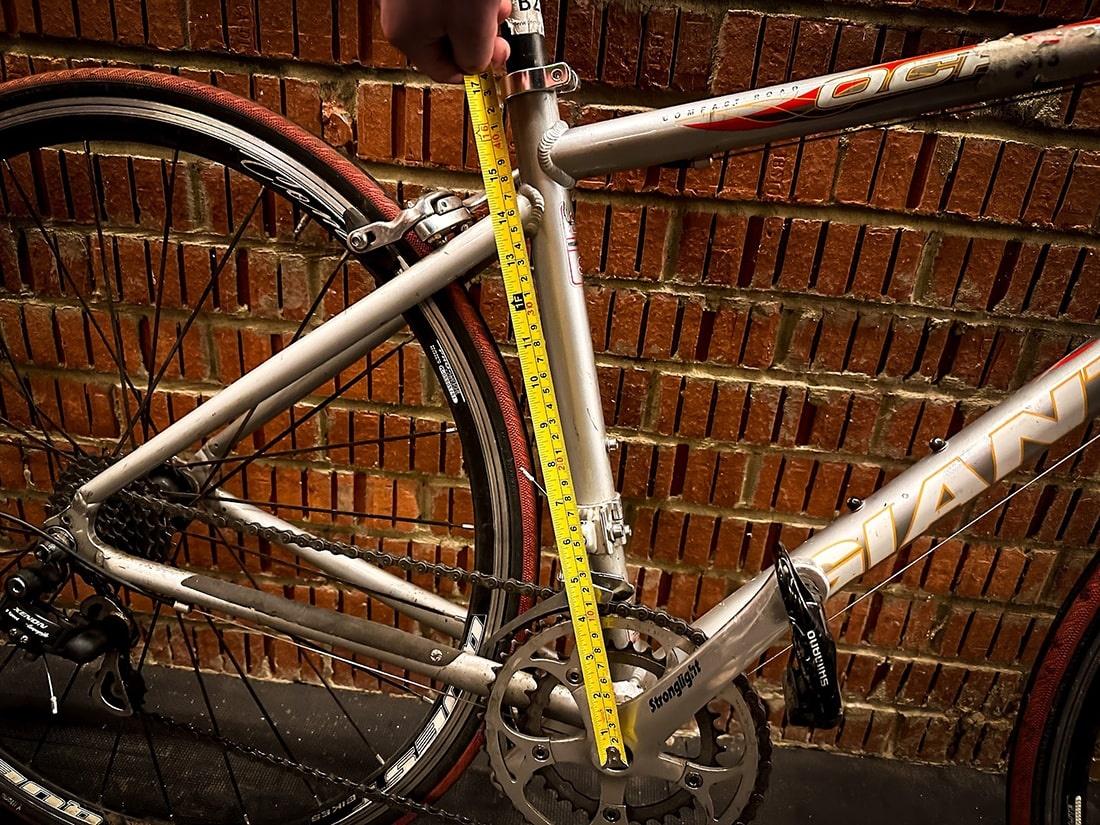
So, how do you get to it? Well, you’ll need a trusty tape measure. A soft one, like a tailor’s tape measure, is ideal because it can bend around the frame. A metal one will work in a pinch, but be careful not to scratch your paintwork – we’re being gentle here!
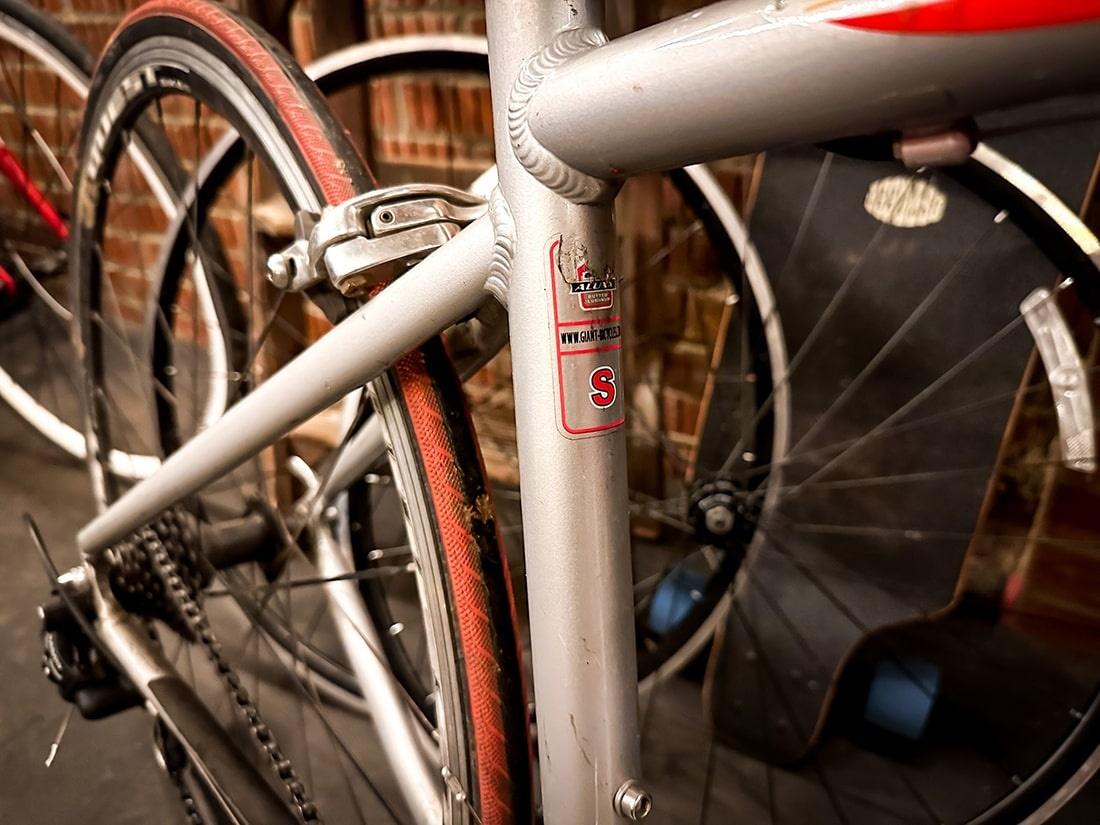
Seat Tube Measurement: The Classic Approach
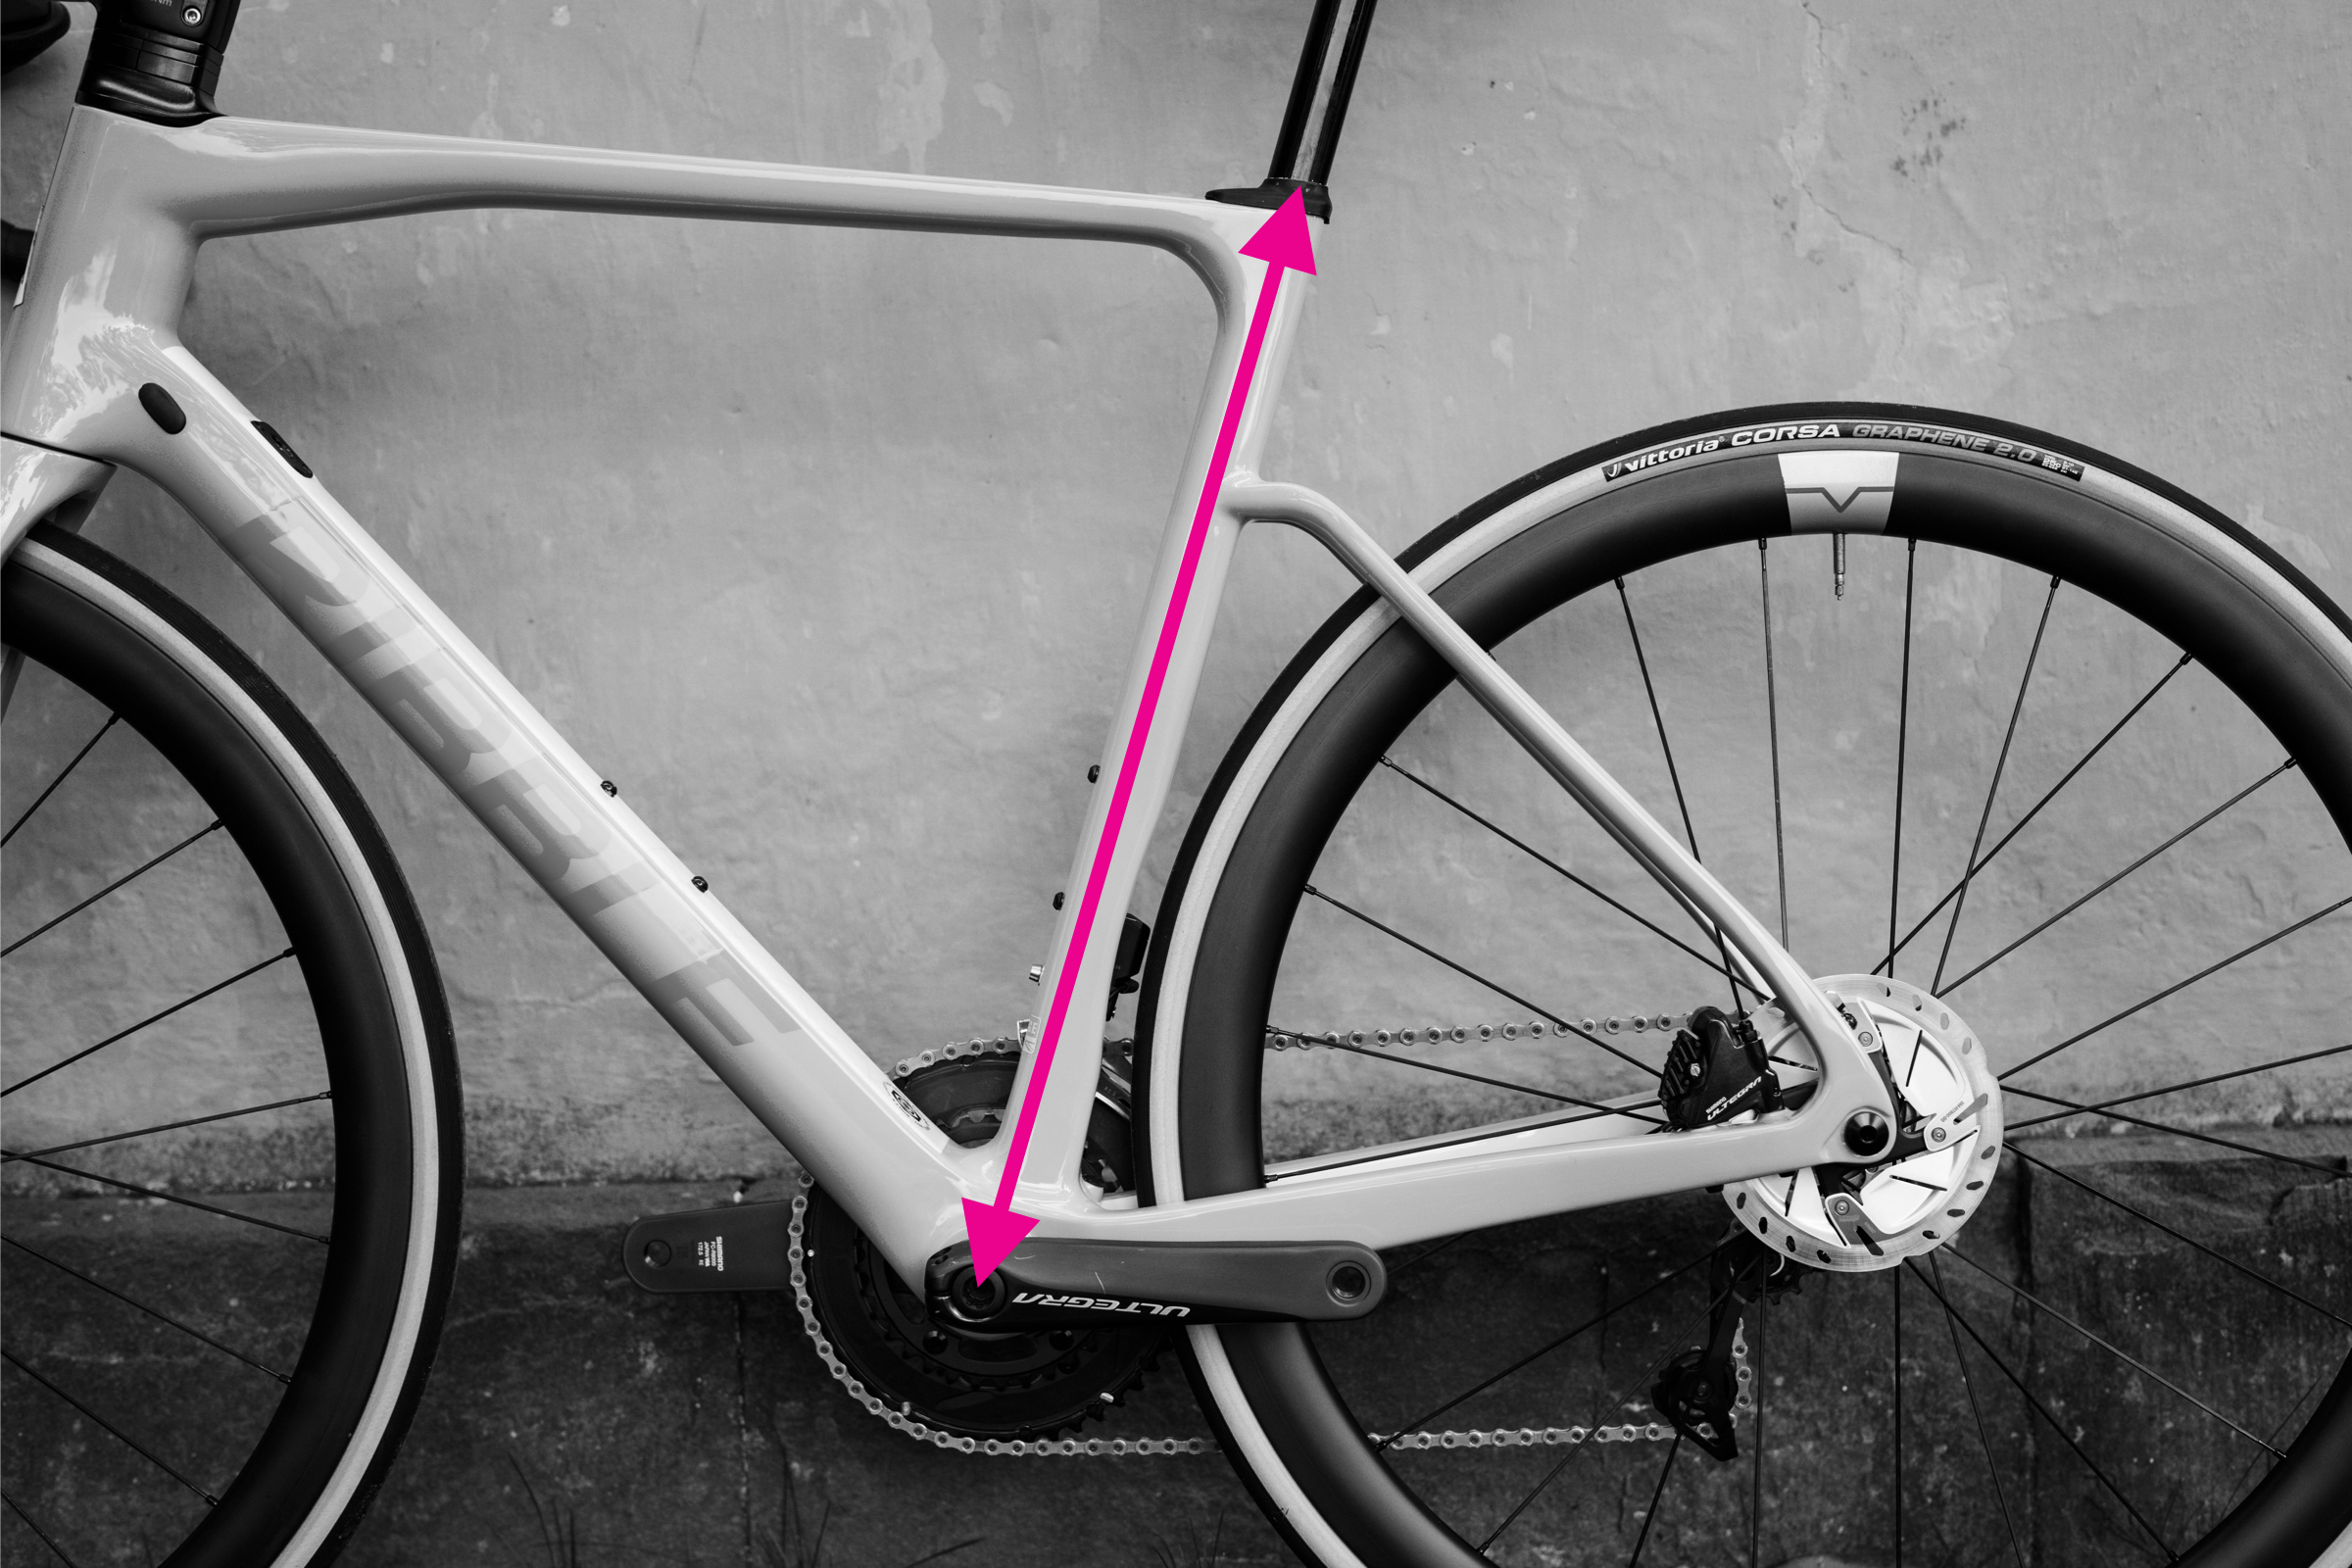
Here’s the deal: you’re going to measure from the center of the bottom bracket (where the crank arms meet the frame) all the way up to the top of the seat tube. This is the part that’s inside the frame, where the seat post starts to go in. It’s not the top of the seat post itself, because that can be adjusted. We’re measuring the frame, the actual metal bones of the bike!
Now, a little caveat here. Sometimes, especially on older bikes or certain frame designs, the seat tube might be angled. In that case, you're often measuring along the centerline of the seat tube. Don’t get bogged down in super precise angles; just aim for a straight shot from the bottom bracket center to where the seat tube officially ends. If you have a friend who’s handy with geometry, now’s their time to shine, but for most of us, a good visual estimate will get you close enough. We’re not aiming for scientific precision here, just a good ballpark figure.
Why the bottom bracket center? Because that’s a fixed point, the heart of the bike’s drivetrain. And why the top of the seat tube? Because that’s where the seat post begins its journey upwards to cradle your posterior. It's a pretty standard reference point that most manufacturers use.
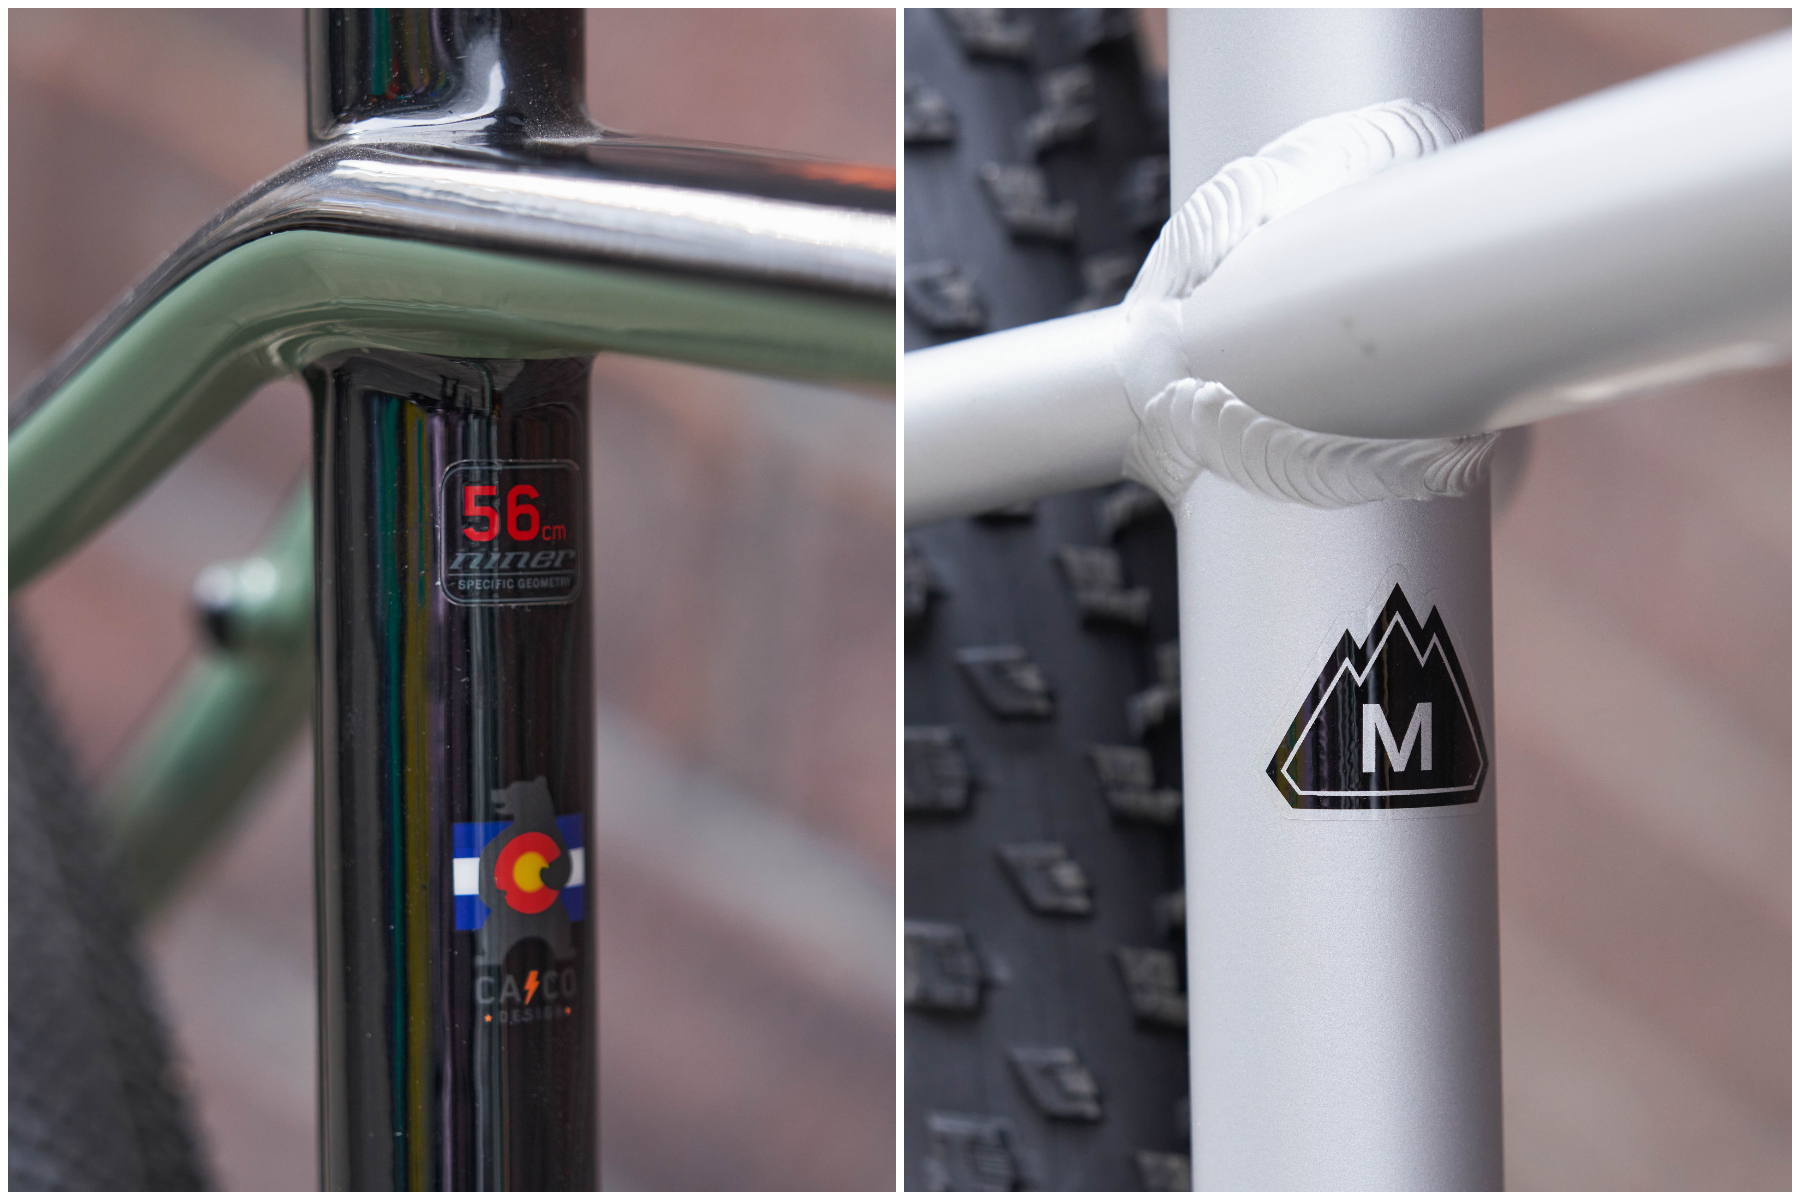
You'll typically see frame sizes listed in centimeters (cm) for road bikes. So, you might get a measurement like 54cm or 56cm. For mountain bikes, you might see inches (in) or even S, M, L, XL. We'll get to that in a bit, but for now, let's stick with the seat tube. Don't worry if your measurement isn't exactly what the manufacturer claims; there can be slight variations in how they measure. The key is to have a number that you can use to compare against other bikes or sizing charts.
But Wait, There's More! The Top Tube Tango
While the seat tube is king, the top tube is another crucial player in the sizing game. This is the bar that runs horizontally (or sometimes with a bit of a slope) from the head tube (where your handlebars attach) to the seat tube. Think of it as the bike’s spine connecting the front and back.
Measuring the top tube is a bit different. You're usually interested in the effective top tube length. This is the horizontal distance from the center of the head tube to the center of the seat tube. Why "effective"? Because on many modern bikes, especially mountain bikes, the top tube isn't perfectly horizontal. It might slope downwards, or have bends. So, we're talking about the imaginary horizontal line that connects those two points.
How do you measure this? You'll need your tape measure again. Start at the center of the head tube (where the front fork goes through) and measure horizontally across to the center of the seat tube. Again, if your top tube is sloped, you’re measuring the length of that imaginary horizontal line, not the actual slope of the tube. You might need to use a level or a straight edge to help visualize this. It's a bit trickier than the seat tube, so don't sweat it if it's not perfectly precise. Just get a good feel for the measurement.
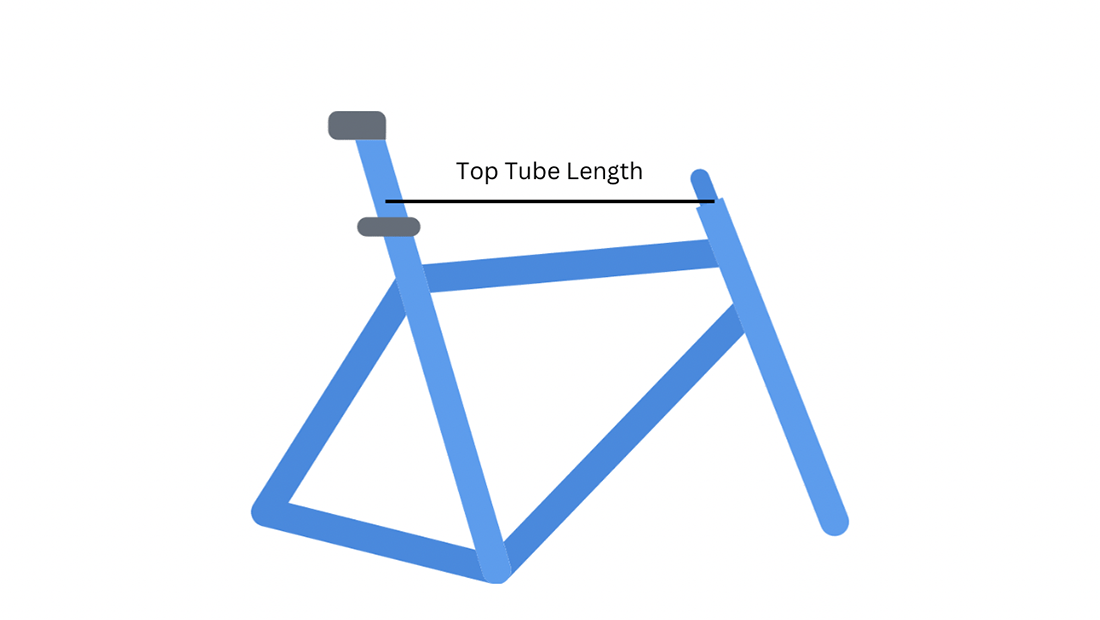
Why is the top tube important? Because it directly affects how stretched out you feel when you’re riding. A longer top tube generally means a more stretched-out riding position, which is great for aerodynamics and speed on road bikes, but might be a bit much for a casual rider. A shorter top tube means you're sitting more upright, which is often more comfortable for cruising around town or on a mountain bike.
So, you've got your seat tube length and your effective top tube length. These two numbers are your dynamic duo when it comes to understanding how a bike will feel to you. They work together to determine your reach and overall riding posture.
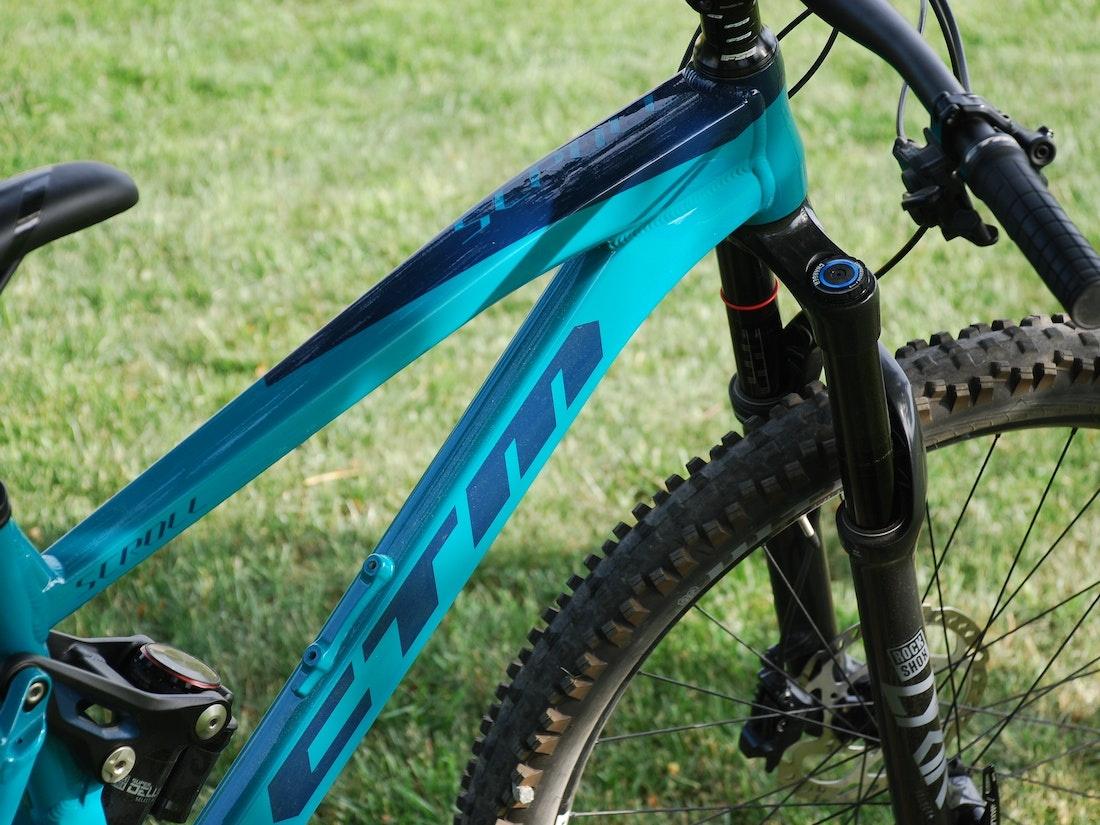
Mountain Bikes and the "S, M, L" Shuffle
Now, if you're looking at a mountain bike, you'll often see sizes like Small, Medium, Large, or Extra Large. This is where things can get a tad confusing because these categories aren't universally standardized. What one brand calls a "Medium" might be another brand's "Large." It's a bit of a guessing game sometimes!
However, these sizes are generally based on seat tube length and sometimes effective top tube length. A "Medium" mountain bike often corresponds to a specific range of seat tube lengths, usually somewhere in the 17-18 inch range (which is roughly 43-46 cm). But, and this is a big "but," it's always, always best to check the manufacturer's sizing chart.
Most bike brands will have a detailed sizing guide on their website. They'll often give you ranges for inseam, height, and sometimes even arm length, and tell you which frame size is recommended for those ranges. This is your secret weapon! Don't just eyeball it and assume "I'm tall, so I need a Large." Dig into those charts!
If you're buying used and there's no sizing chart available, you can still use your seat tube and top tube measurements to compare it to other bikes you know the size of. If you have a bike that fits you well and you know its measurements, you can use that as your benchmark. It's like having a bike size reference point in your brain!
Beyond the Basics: Other Bits and Bobs
While seat tube and top tube are the MVPs, there are a couple of other measurements that can give you a fuller picture, though they’re less commonly used for basic sizing: head tube length and stack and reach.
The head tube length influences how high or low your handlebars will be. A longer head tube generally means a more upright riding position, while a shorter one means you'll be more stretched out and lower. This is particularly important for road bikes where aerodynamics are key.
Stack and reach are the more modern, precise way of sizing bikes, especially for road and gravel bikes. * Stack is the vertical distance from the center of the bottom bracket to the top of the head tube. Think of it as how tall the bike is from the pedals up to the handlebars. * Reach is the horizontal distance from the center of the bottom bracket to the center of the head tube. This tells you how far forward you'll be stretching to reach the handlebars.
These two measurements are fantastic because they give you a really good idea of the bike's geometry and how it will affect your position. They are less intuitive to measure yourself with a tape measure, and are usually found on spec sheets. If you're serious about a particular bike, looking up its stack and reach is a great way to compare it to others.
Putting It All Together: The "Feel" Test
Ultimately, the best way to know if a bike is the right size is to ride it! Measurements are fantastic guides, they're your roadmap, but your body is the ultimate judge. When you’re on the bike, pay attention to a few things:
- Standover Height: Can you stand over the top tube with both feet flat on the ground, with a bit of clearance between you and the tube? This is especially important for safety, particularly on mountain bikes where you might need to dismount quickly.
- Knee Clearance: When the pedal is at its lowest point, do your knees hit the handlebars? If so, the reach might be too short for you.
- Back and Neck Comfort: Are you feeling overly hunched over or stretched out? Does your back feel strained?
- Arm and Wrist Comfort: Are your wrists bent at an awkward angle? Are your arms feeling tingly?
If you can, go to a bike shop and try out different sizes. Even if you're buying used, trying out new bikes at a shop can give you a feel for what you like and what feels right for your body. Don't be afraid to ask the shop staff for advice; they've seen it all and are usually happy to help a fellow cyclist.
Remember, bike sizing isn't an exact science where one number fits all. It's about finding a frame that works with your body. There are ways to fine-tune the fit even if the frame isn't 100% perfect. Things like adjusting your seat height, swapping out your stem for a longer or shorter one, or changing your handlebars can make a big difference. A slightly-too-big frame can sometimes be made to work with a shorter stem, and a slightly-too-small frame might benefit from a longer stem. But, starting with a frame that’s in the right ballpark is always the best approach. You don't want to be playing bike Tetris with all the components just to make it fit.
So, there you have it! Measuring a bike frame isn't some arcane ritual. It's about understanding a few key dimensions – the seat tube, the top tube, and maybe a peek at the manufacturer's sizing chart. Armed with this knowledge, you're well on your way to finding a bike that feels like an extension of yourself, ready to take you on countless adventures. Go forth, measure with confidence, and may your rides be ever comfortable and your cycling journey be filled with smiles!