Ever gazed longingly at a perfectly roasted chicken or a mountain of fluffy mashed potatoes, only to remember the gravy is off-limits? Well, fret no more! Making delicious, gluten-free gravy is not only totally achievable but also surprisingly fun and incredibly rewarding. Think of it as unlocking a secret level in your culinary adventures, where classic comfort food is finally accessible to everyone. It’s a kitchen magic trick that’ll have your taste buds doing a happy dance!
The beauty of gluten-free gravy lies in its inclusivity. For those with celiac disease or gluten sensitivities, it opens up a world of delicious possibilities, transforming meals from mundane to magnificent. But even if you're not strictly avoiding gluten, a well-made gluten-free gravy is simply... delicious! It’s about adding that rich, savory, velvety goodness that ties a dish together, elevating it from good to absolutely unforgettable. Imagine the joy of serving a holiday meal where every single person can enjoy every single component, guilt-free and with sheer delight. That's the power of a great gluten-free gravy.
The Secret Sauce to Silky Smooth Gravy
So, what’s the magic behind achieving that luscious, lump-free texture without the usual flour? It all comes down to the right thickener! Traditional gravy relies on wheat flour to create its signature consistency. Flour, when cooked with liquid, develops gluten which creates that desirable thickening. When we go gluten-free, we need an alternative that can mimic this magic. Luckily, the culinary world offers some fantastic options. The most popular and readily available players in the gluten-free gravy game are cornstarch and arrowroot starch. Both are fantastic at thickening liquids and creating that smooth, glossy finish we all crave.
Cornstarch is a pantry staple for many and is incredibly effective. It creates a slightly more opaque, creamy gravy. When using cornstarch, it's crucial to create a "slurry" first – mixing the cornstarch with a little cold liquid (water or broth) before adding it to your hot pan. This prevents clumps from forming and ensures a silky smooth result. Think of it as giving the cornstarch a gentle introduction to the hot liquid, rather than a shock!
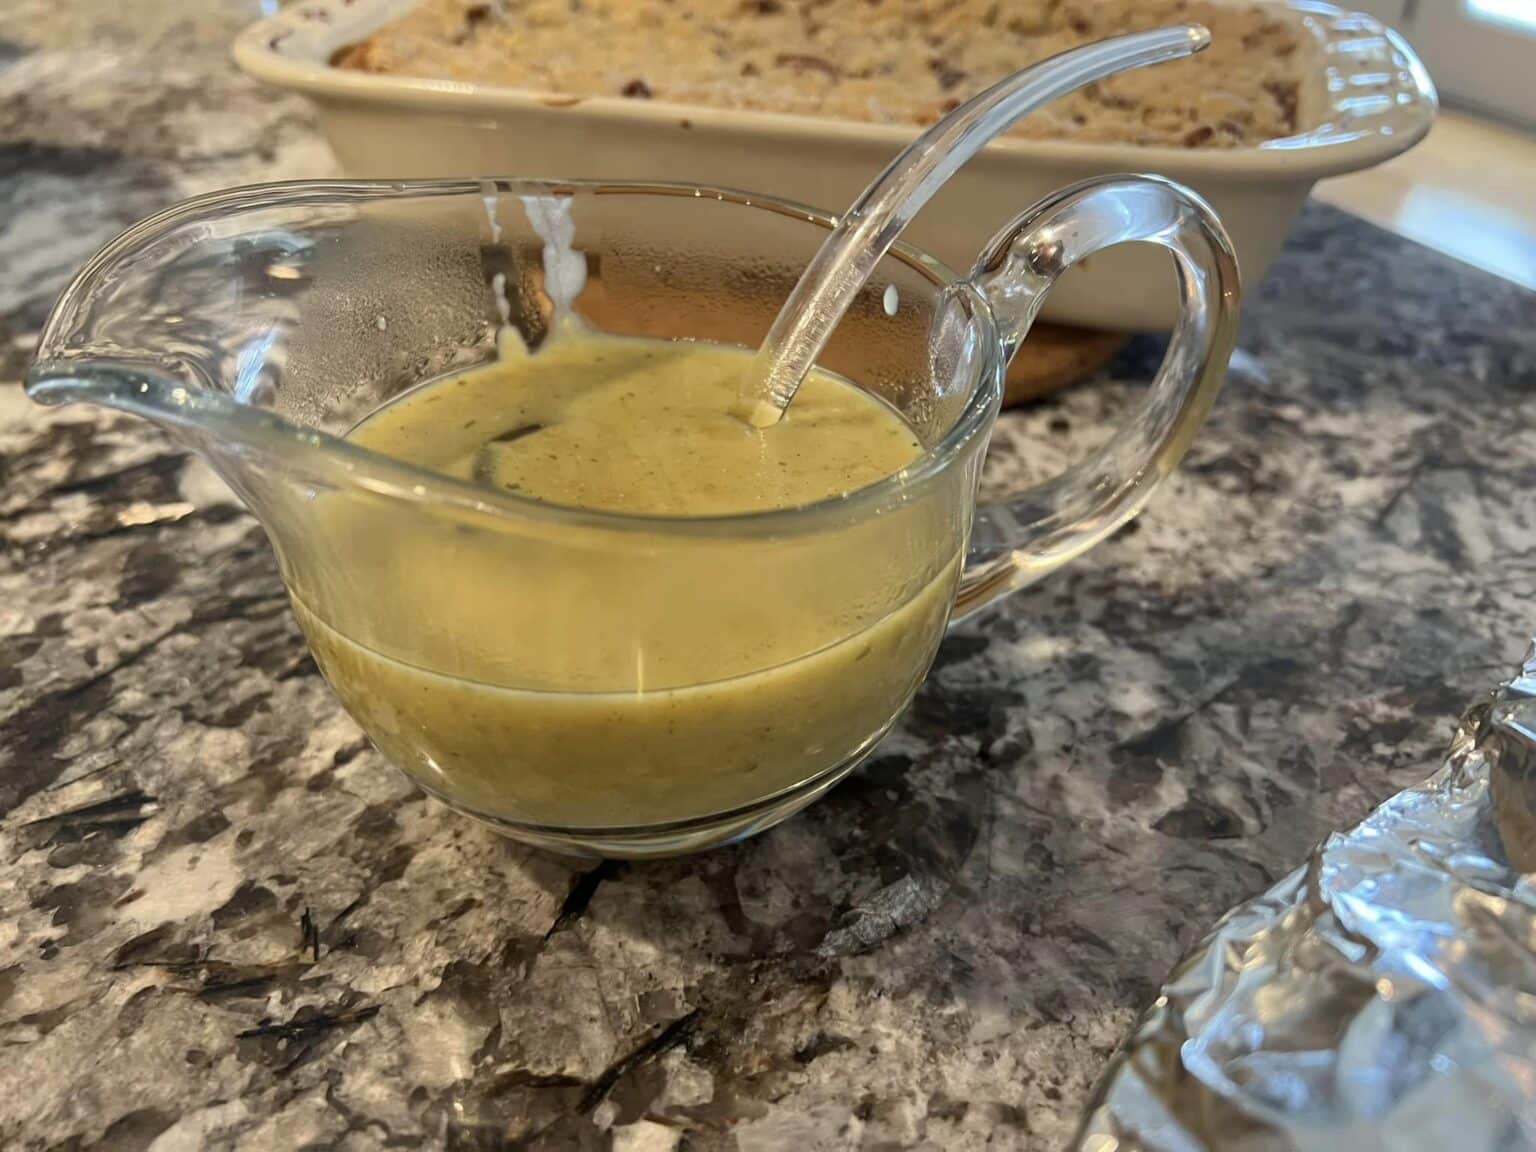
Arrowroot starch, on the other hand, yields a more translucent and glossy gravy. It’s a great option if you're looking for a lighter appearance, perhaps for a lighter-colored broth. Like cornstarch, arrowroot also needs to be made into a slurry with cold liquid before being added to the hot pan. It’s a bit more delicate than cornstarch and can break down if overheated for too long, so a gentle simmer is key.
Easy Gluten Free Brown Gravy From Scratch – No Flour or Drippings
Beyond these two champions, you might also find success with tapioca starch or even a gluten-free all-purpose flour blend. However, cornstarch and arrowroot are generally the most consistent and easiest for beginners. The key is experimentation and finding what works best for your preferred texture and appearance!
Whipping Up a Batch of Gluten-Free Gravy: The Fun Part!
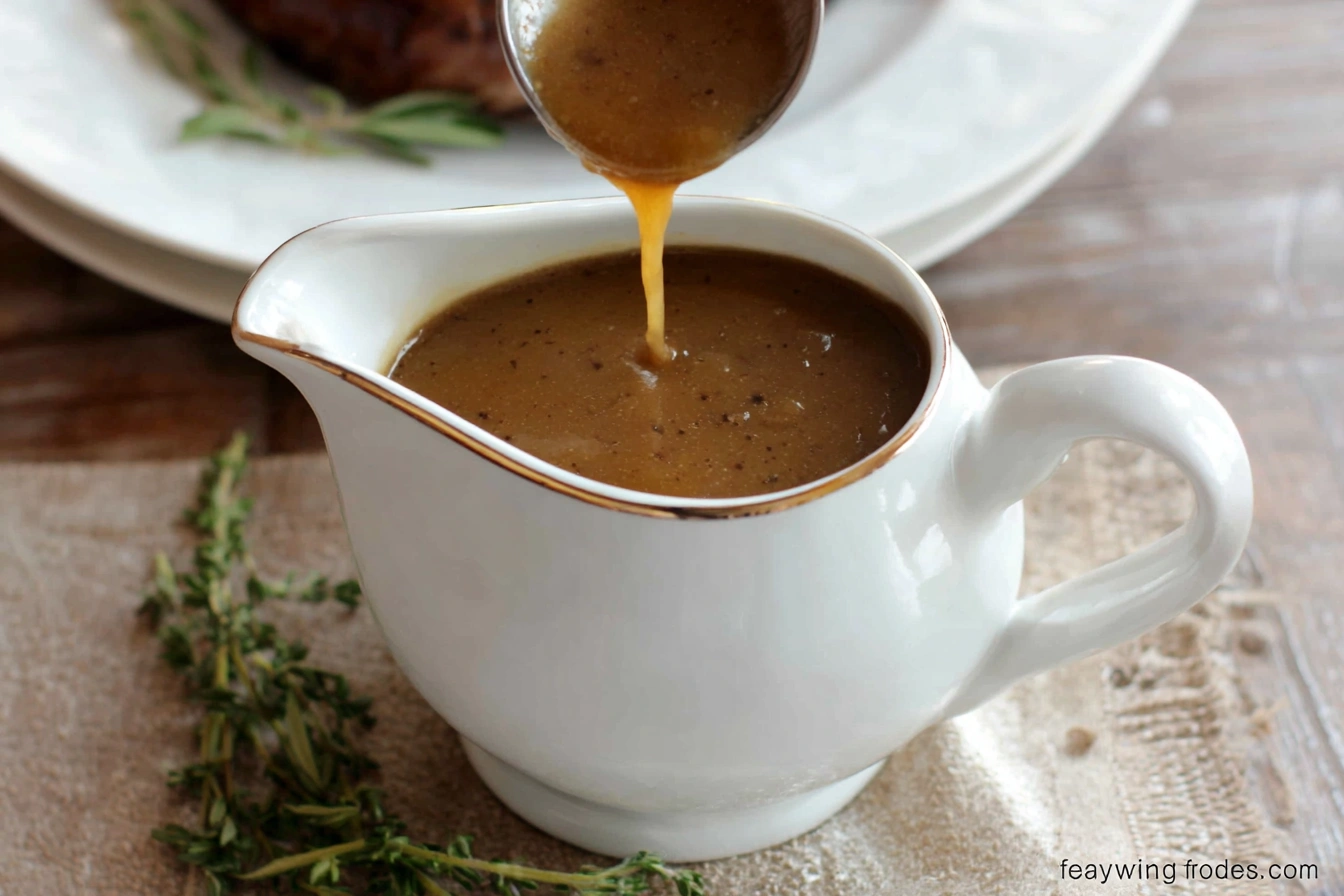
Let’s get down to the delicious details! Making gluten-free gravy is remarkably similar to making its traditional counterpart, with just a few minor tweaks. The foundation of any great gravy, gluten-free or not, is a flavorful liquid. This could be the pan drippings from a roasted meat, a good quality chicken or vegetable broth, or even a combination. Don't underestimate the power of those savory bits left in the roasting pan – they are pure gold for gravy!
Easy Gluten Free Brown Gravy From Scratch – No Flour or Drippings
Here’s a simple, foolproof method to get you started:
Start with Flavor: If you've just roasted a turkey or chicken, pour off most of the fat from the roasting pan, leaving about 1-2 tablespoons. Gently heat the pan on the stovetop over medium heat. Scrape up any browned bits from the bottom of the pan – this is where all the concentrated flavor lives! If you don't have pan drippings, you can start by sautéing some aromatics like minced shallots or garlic in a little oil or butter in your saucepan.
The Gluten-Free Thickener (Your Star Player!): In a small bowl, whisk together your chosen thickener – typically 2-3 tablespoons of cornstarch or arrowroot starch – with about 1/2 cup of cold liquid (water, broth, or even milk). This is your slurry. Ensure there are no lumps!
Build the Base: Gradually whisk in your main liquid, such as 2-3 cups of chicken, turkey, or vegetable broth, into the pan with the drippings or sautéed aromatics. Bring the liquid to a gentle simmer.
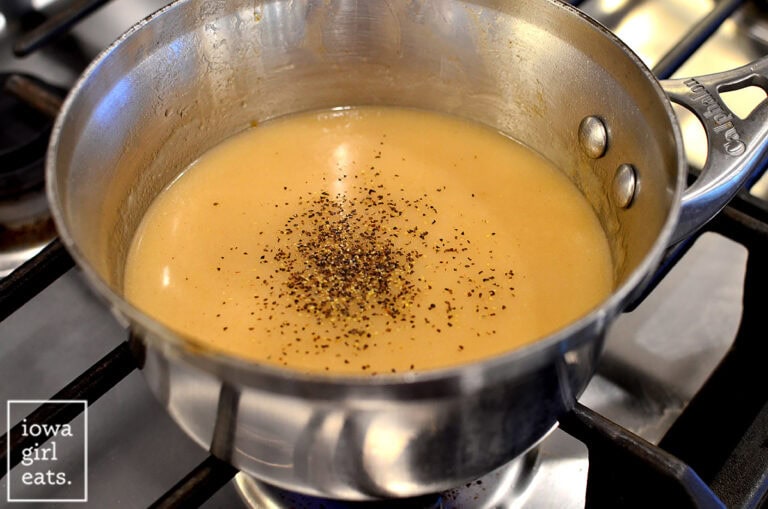
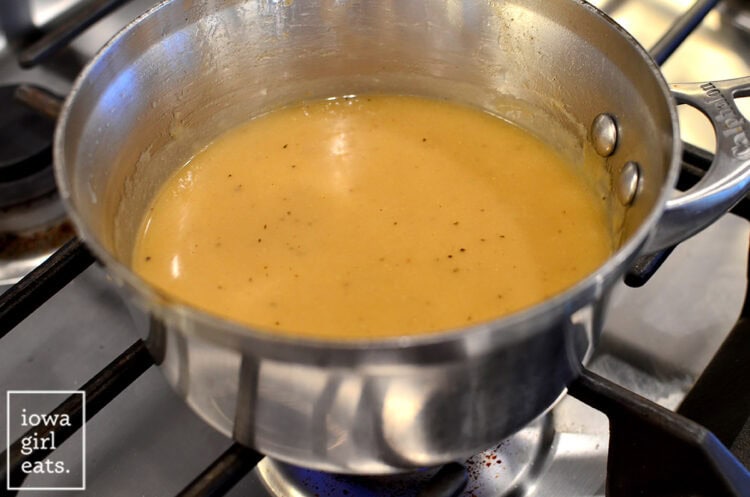
Thicken It Up: Slowly pour the slurry into the simmering liquid while whisking constantly. Continue to whisk and cook over medium-low heat. You'll see the magic happen as the gravy begins to thicken before your eyes! Cook for another 1-2 minutes after it reaches your desired consistency to ensure the thickener is fully cooked and any raw starchy taste is gone.
Season to Perfection: This is where you really make it your own! Taste and season generously with salt and freshly ground black pepper. A pinch of onion powder, a dash of garlic powder, a splash of Worcestershire sauce (check for gluten-free varieties!), or a touch of poultry seasoning can elevate your gravy to gourmet status. Don't be afraid to get creative!
Remember, the key to a fantastic gluten-free gravy is patience and constant whisking, especially when adding the slurry. It’s like giving your gravy a gentle, loving massage to ensure it’s smooth and perfect!
Gluten-Free Gravy - Mama Knows Gluten Free
Tips for Gravy Perfection:
Adjust Thickness: If your gravy is too thick, simply whisk in a little more warm broth or water. If it’s too thin, make another small slurry (1 tablespoon thickener with 2 tablespoons cold liquid) and whisk it in, simmering for a minute longer.
Fat is Flavor: Don't be afraid of a little fat! It carries a lot of flavor and contributes to a richer gravy. Skim off excess fat from your pan drippings, but leave enough for that luxurious mouthfeel.
Flavor Boosters: A splash of dry white wine or sherry added after deglazing the pan can add a wonderful depth of flavor. Simmer it down for a minute before adding your broth.
Herbs and Spices: Fresh herbs like thyme or rosemary, added during the simmering process and then strained out, can infuse your gravy with beautiful aroma.
So, the next time you’re craving that comforting, soul-warming gravy, don’t despair! You now have the knowledge and the tools to create a gluten-free masterpiece. It’s a simple, fun, and incredibly useful skill that will make all your favorite meals even more enjoyable. Happy gravy making!