How Do I Lay Slabs On Soil

Alright, gather ‘round, you magnificent humans who’ve decided your garden needs a bit more… oomph. You know, less mud-splattered wellies and more sophisticated strolling? Today, we’re talking about transforming that somewhat sad patch of dirt into a glorious, slab-laid pathway. Think of it as giving your garden a tiny, much-deserved spa day. And don’t worry, you don’t need a degree in advanced mud-wrestling or a PhD in pebble-philosophy. This is surprisingly doable, and dare I say, even a little bit fun. Mostly.
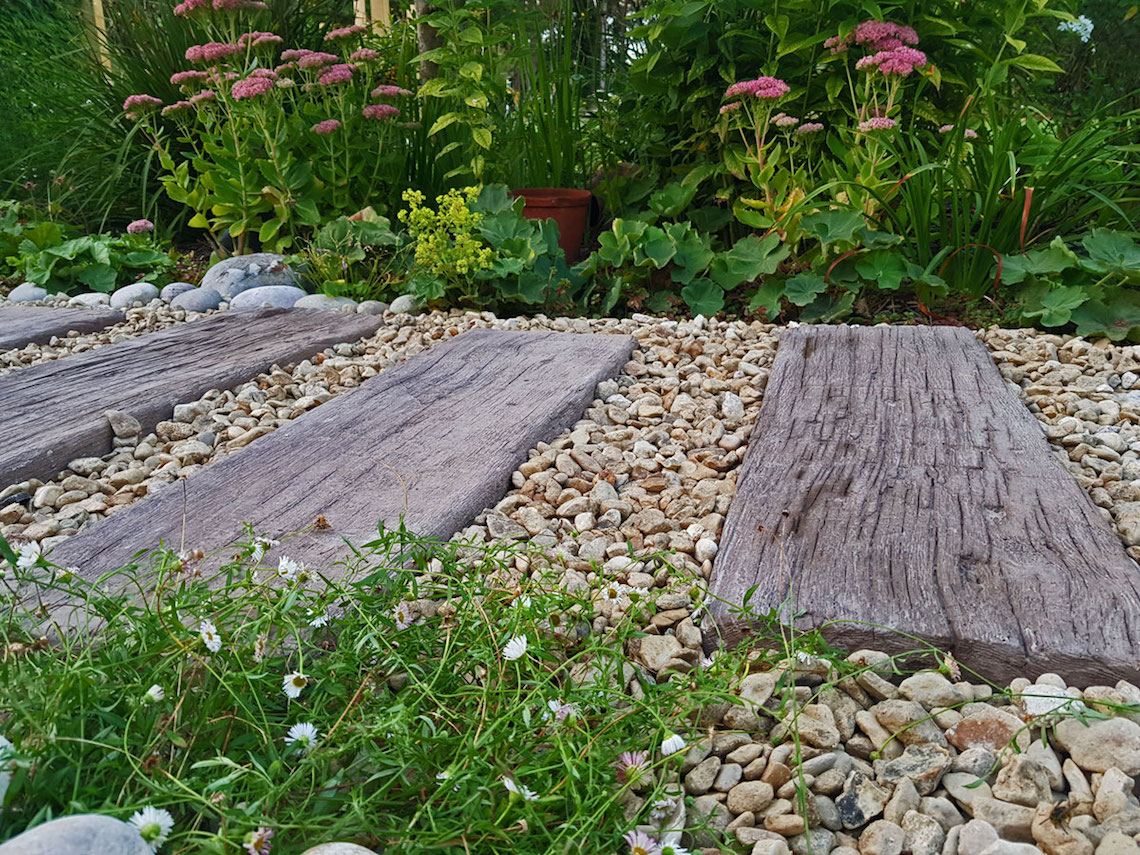
So, you’ve got the vision. A winding path. A patio fit for a royal (or at least a very well-fed cat). But the question looms, as big and unavoidable as a rogue garden gnome: How do I lay slabs on soil?
First things first, let’s address the elephant in the garden shed. This isn’t just about plonking down some nice-looking concrete squares and hoping for the best. Oh no, my friends. Nature, in its infinite wisdom (and sometimes, its infinite desire to trip you up), has a few tricks up its leafy sleeve. Soil, you see, is a bit like a moody teenager. It shifts, it settles, it gets soggy, it gets bone dry. And if you don't give your slabs a proper foundation, they’ll end up doing a dramatic impression of the Leaning Tower of Pisa, but with more weeds.
Must Read
The Great Excavation: Digging for Glory (and a Stable Base)
This is where the real fun begins. Imagine yourself a fearless archaeologist, unearthing ancient treasures. Except instead of Tutankhamun's tomb, you’re excavating… well, dirt. And your treasure will be a stable base for your future masterpiece. You need to dig out a trench, or an area, for your slabs. How deep, you ask? This is where we get a bit nerdy for a second. You’re aiming for about 150mm to 200mm (6-8 inches). Think of it as giving your slabs a nice, deep hug from the earth.
Why so deep, you might wonder? This depth is crucial. It’s not just about creating space for the slabs themselves, but also for the layers that will keep them from becoming wobbly disco platforms. We’re talking about hardcore (which sounds a bit like something a bodybuilder would eat, but it’s just crushed aggregate, don’t worry) and then a layer of sand. This is the bedrock of your slab-laying dreams. And if you’re in a region where the ground freezes solid in winter, you might need to dig a bit deeper still. We don't want our beautiful new patio doing a spectacular ice-skate routine all on its own.
/cdn.vox-cdn.com/uploads/chorus_asset/file/19497463/brick_path_illo.jpg)
Don’t be afraid to get a bit messy here. Grab a spade, put on some music that makes you feel like you’re in a construction montage (anything by Queen will do), and dig! If you hit something unexpectedly hard, like a forgotten child's toy from the Jurassic period, just work around it. Or, you know, strategically incorporate it into your landscaping. A misplaced plastic dinosaur can add a certain je ne sais quoi to a garden path.
The Hearty Foundation: Hardcore and Sand – The Unsung Heroes
Now that you’ve dug your magnificent hole, it’s time to fill it with the good stuff. First up: the hardcore. This is usually a mix of crushed concrete, brick, or stone. You’ll want to spread a layer of this at the bottom of your excavation, about 100mm to 150mm (4-6 inches) deep. The key here is to compact it down. Think of it like making a really, really firm bed for your slabs. You can do this with a plate compactor (if you’re feeling fancy and want to rent one) or, more realistically, by stomping on it with all your might, perhaps while doing a little jig. A sturdy piece of timber can also help you beat it into submission.
Once the hardcore is nicely compacted and as flat as a deflated party balloon, it’s time for the sanding. This is usually a layer of sharp sand, about 25mm to 50mm (1-2 inches) deep. This sand bed is like the comfy mattress on top of your firm base. It provides a smooth, even surface for your slabs to rest on and allows for fine adjustments. You'll want to level this sand meticulously. A spirit level is your best friend here, along with a straight piece of timber (often called a screeding board). Imagine you’re icing a giant, sandy cake. You want it perfectly smooth, without any lumps or bumps.

This sandy layer is also where you’ll determine the slope of your path. Now, this is a surprisingly important detail. You need a slight slope away from any buildings, so rainwater doesn’t decide your patio is the new local swimming pool. A fall of about 1 in 60 is generally recommended. That’s about a 1cm drop for every 60cm of distance. Don’t panic about measuring it with a protractor; a string line with a small measuring stick will do the trick. Your patio will thank you for this later, especially during a torrential downpour.
Slab Strategy: Placing Your Paving Prowess
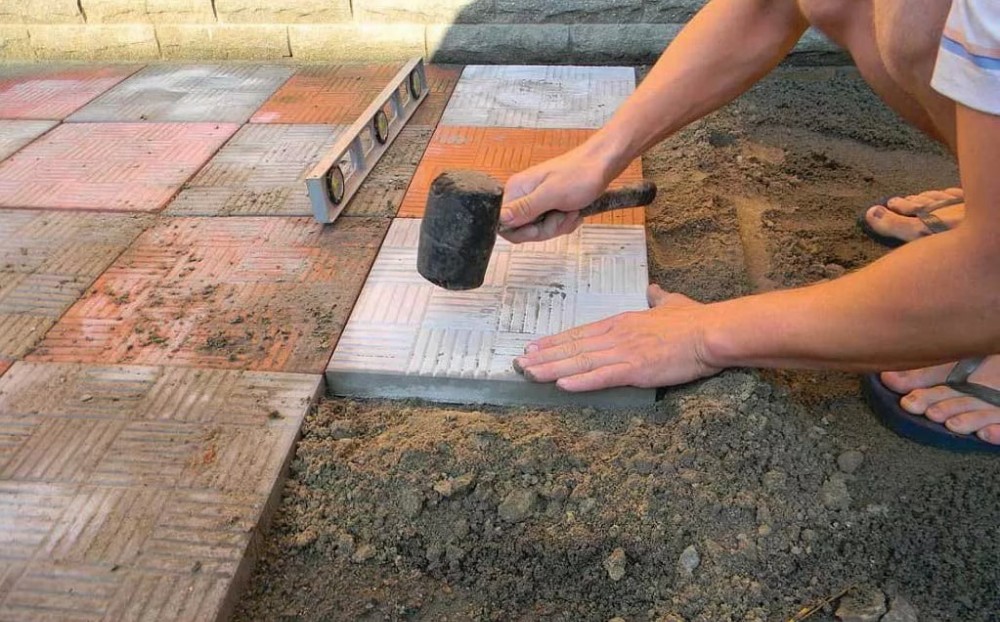
Right, the foundation is laid. The stage is set. Now for the main act: the slabs! Start laying them from one end, usually against a straight edge or string line. Place each slab gently onto the prepared sand bed. Don't just chuck them down like you're playing a game of garden Jenga. Ease them into place.

Here’s a pro tip, gleaned from countless hours of watching DIY shows and probably a few mishaps of my own: work from left to right (or right to left, if you're left-handed and prefer to live dangerously). This way, any offcuts you need will be on the "waste" side of your path. Ingenious, I know. You can almost hear the tiny violins of efficiency playing in the background.
As you lay each slab, gently tap it down with a rubber mallet. This helps it settle into the sand and ensures it’s level with its neighbours. Use your spirit level constantly. If a slab is too high, gently tap it down. If it’s too low, you might need to lift it up, add a tiny bit more sand underneath, and try again. It’s a delicate dance between man and material, a true test of your patience and precision. You might find yourself having conversations with the slabs. "Come on, little fella, just a bit more to the left." They won't answer, but it’s therapeutic.
Keep an eye on your joints. You want them to be reasonably consistent. A small gap between slabs is good – it allows for expansion and prevents cracks. Some people use spacers, like tiny little plastic bricks, to ensure even gaps. Others just eyeball it. I’m more of an eyeballer, which sometimes leads to… interesting patterns. But hey, that’s character!
The Grand Finale: Pointing and Sweeping – The Finishing Touches
Once all your slabs are laid, hammered, and lovingly leveled, it’s time for the grand finale: pointing. This is where you fill the gaps (the joints) between your slabs. The most common method for a DIYer is using dry mix mortar or a special jointing compound. You simply sweep this dry material over the slabs and into the gaps. Then, using a soft brush, gently sweep it in until the gaps are well-filled.
Now, for the slightly nerve-wracking part. You'll need to lightly water the joints. Just a gentle spray, like you’re misting a delicate houseplant. This will activate the compound and help it set. Be careful not to flood the area, or you’ll wash all your hard work away. It’s a bit like trying to get a shy cat to take a bath – gentle encouragement is key.
After the pointing has set (check the product instructions – they usually have a set time), give your new slabs a good sweep. You might see a little bit of the jointing material left on the surface. A stiff brush should sort that out. And voilà! You’ve done it! You’ve conquered the soil, tamed the earth, and laid your very own slabs. You can now proudly walk on your creation, knowing that you’ve built something that’s not only functional but also a testament to your sheer grit and determination. Or at least your ability to follow some surprisingly simple instructions. Go on, put your feet up. You’ve earned it. Just try not to trip on any rogue garden gnomes.