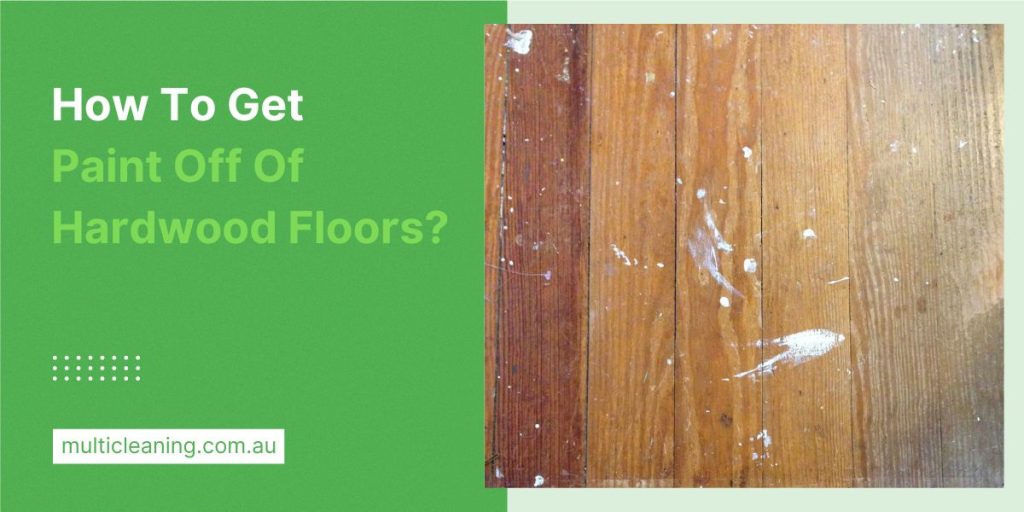
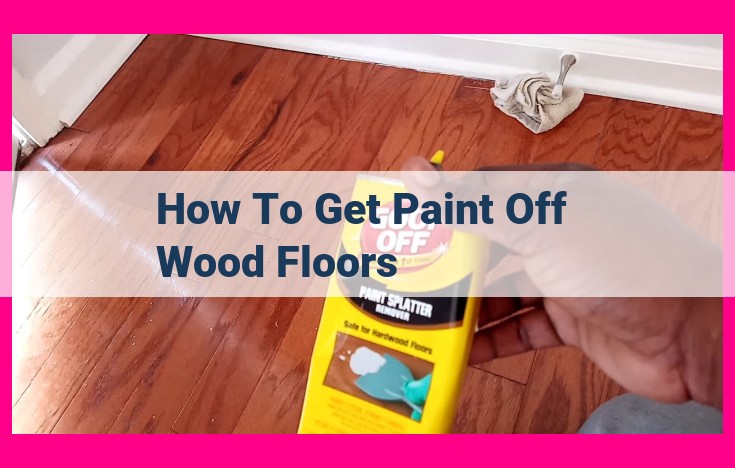
How Do I Get Paint Off Of Wood
So, you’ve got a piece of wood that’s… let’s just say, got a little more personality than you intended? Maybe it’s a thrift store find that looked amazing in the dimly lit store but now, in the harsh light of day, you realize it’s sporting a rather unfortunate paint job. Or perhaps a DIY project went a tad wild, and now your beautiful oak table looks like it had a run-in with a rainbow gone wrong. Whatever the reason, you’re staring at painted wood and wondering, "How do I get this off without turning my project into a sad, splintery mess?" Well, take a deep breath, my friend. It’s totally doable, and honestly, kind of a fun little puzzle to solve.
Think of it like being a detective, but instead of solving crimes, you’re solving the mystery of… well, paint. And the best part? You probably already have most of the tools you need chilling in your garage or under your sink. No need to rush out and buy a whole new arsenal of complicated gadgets. We’re going to tackle this with a bit of know-how and a whole lot of patience. It’s like giving your wood a much-needed spa treatment, shedding its old, unwanted layers to reveal the natural beauty underneath. Pretty cool, right?
The "Gentle Touch" Approach: When Less is More
Before we dive into the heavy artillery, let’s start with the basics. Sometimes, especially with latex or acrylic paints that aren't super old or baked on, a little bit of elbow grease and some common household items can do the trick. It’s like trying to coax a stubborn cat out from under the sofa – a gentle approach can often be surprisingly effective.
Must Read
First up, water. Warm water, specifically. For freshly spilled latex paint, or paint that’s just a light coating, a damp cloth can work wonders. Just keep wiping, wringing out the cloth, and repeating. It’s meditative, really. You’ll be surprised how much paint comes off with just plain old H2O. It’s like magic, but it’s just science. And a good scrub.
If water alone isn't quite cutting it, you can try a little bit of mild soap. Dish soap is your best friend here. Add a few drops to your warm water, dip your cloth in, and get to scrubbing. Think of it as giving your wood a gentle bath. This is especially good for water-based paints. You’re basically trying to dissolve the binder in the paint, and soap helps with that.
What about those stubborn little flecks, though? The ones that cling on like they’re auditioning for a permanent role? For those, you might need a slightly more abrasive tool. But gentle is the keyword here. Forget steel wool, at least for now. Think plastic scraper or an old credit card. You want something firm enough to scrape, but not so hard that it’ll gouddge your wood. Gently work at those stubborn spots. It’s like trying to peel a sticker off a new book – you go slow, you work at the edges. Patience, grasshopper.

When Things Get a Little Stickier: Moving Up the Ladder
Okay, so the gentle touch wasn't quite enough. The paint is still there, mocking you with its unwanted presence. Don’t despair! We’re just moving to slightly more robust, but still relatively harmless, methods. This is where we start to get a little more strategic. Think of it like upgrading your tools in a video game – you’ve got new abilities to deploy!
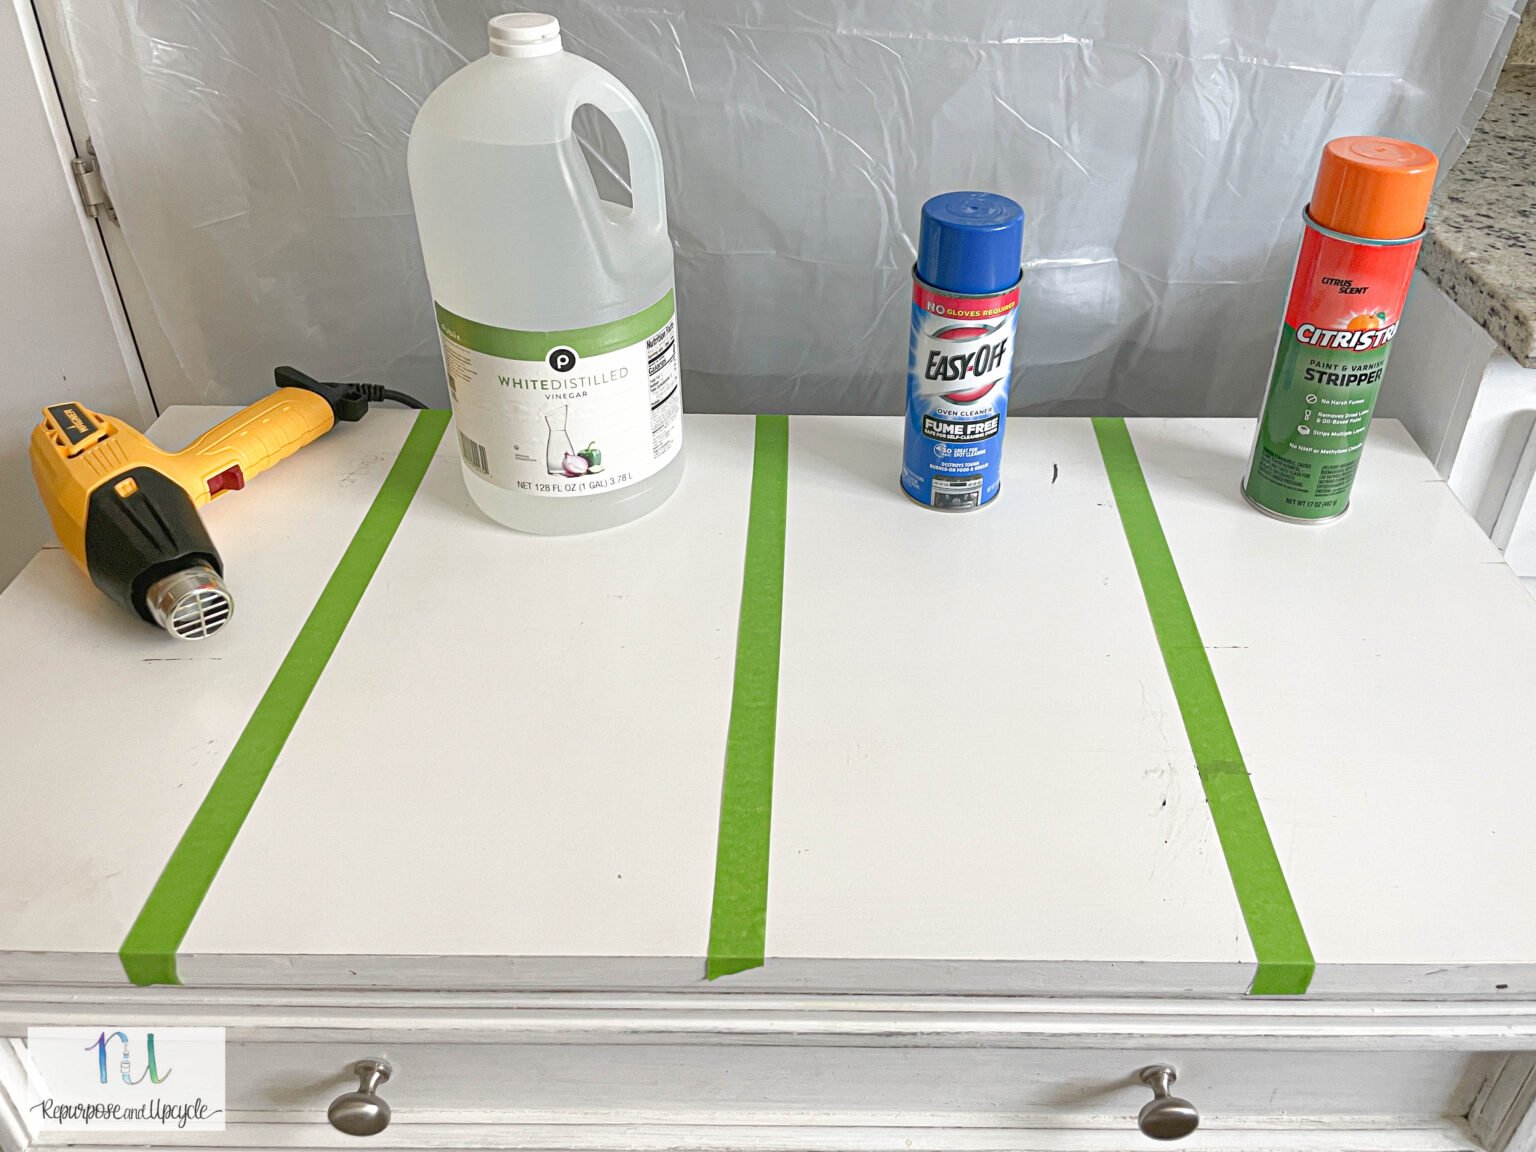
Enter the world of mineral spirits. This is a solvent, and it’s pretty good at breaking down oil-based paints. You’ll want to work in a well-ventilated area for this one, folks. Open those windows! Grab an old rag, dip it in mineral spirits (don’t soak it – just a good dampening), and start wiping. You’ll likely need to do some rubbing. This is where that elbow grease we talked about earlier really comes in handy. You might be surprised how quickly the paint starts to loosen and lift.
After you’ve used mineral spirits, it’s a good idea to go back over the wood with a rag dampened with plain water, and then follow up with a dry cloth. This helps to remove any residual solvent. Think of it as rinsing and drying after that initial deep clean. You’re aiming for a clean slate, not a greasy one.
Another player in this league is rubbing alcohol (isopropyl alcohol). This can be effective on latex and acrylic paints, especially if they’ve been on for a while. Again, good ventilation is key. Dampen a rag with rubbing alcohol and get to work. It evaporates quickly, so you might need to reapply. It’s like a quick, energetic scrub that leaves things fresh and clean.

Now, what if the paint is REALLY stuck on there? Like, it’s practically fused to the wood? This is when we consider the heavy hitters. But don't worry, we're not talking about chainsaws and sledgehammers here. We're talking about specially designed products that are still manageable with a bit of care.
The Big Guns: When You Need Some Serious Muscle
When the paint has been on there for ages, or it’s a particularly tough formulation like enamel or multiple layers of old paint, you might need to bring out the paint strippers. Now, these guys are potent. They mean business. But if you use them correctly, they can be absolute game-changers. It’s like bringing in the cavalry when the situation calls for it.
There are different types of paint strippers. You’ve got your chemical strippers, which are the most common and often the most effective. They come in liquid, gel, or aerosol forms. Gels are often preferred because they cling to vertical surfaces better, preventing drips and allowing the stripper to work its magic for longer.
IMPORTANT SAFETY FIRST! When using chemical paint strippers, you absolutely must wear protective gear. We’re talking about thick rubber gloves (not those flimsy dishwashing ones!), eye protection (goggles are best), and a respirator mask to avoid inhaling fumes. Work in a well-ventilated area – ideally outdoors. Read the manufacturer’s instructions very carefully. Seriously, read them. And then read them again.
Once you’ve got your safety gear on and the area prepped, apply the stripper according to the product’s instructions. Usually, you’ll apply a thick layer and let it sit for a designated amount of time. You’ll see the paint start to bubble and wrinkle. That’s the good stuff happening! It’s like the stripper is giving the paint a really aggressive, yet effective, massage, loosening it all up.
After the paint has softened, you’ll use a putty knife or scraper to gently lift it away. Again, be careful not to dig into the wood. You’re essentially peeling off the softened paint layer. You might need to repeat the process in some areas, especially if there are multiple layers of paint.
Once you’ve removed as much of the paint as you can, you’ll need to clean the wood to remove any residual stripper. Most strippers will recommend a specific cleaning agent, often mineral spirits or denatured alcohol, followed by a good rinse with water. And then, of course, a thorough drying.
There are also more eco-friendly paint strippers available. These often use soy or citrus-based solvents. They might take a bit longer to work and might not be as aggressive on really tough paint, but they’re a great option if you’re concerned about harsh chemicals. They’re like the "green" superheroes of paint removal!
The Final Polish: Preparing for What's Next
So, you’ve successfully wrestled the paint off. Congratulations! You’ve brought your wood back from the brink. But you’re not quite done yet. After all that work, you want to make sure your wood is ready for its next chapter. This usually involves some light sanding.
Even after scraping, there might be some stubborn bits or minor imperfections. A little bit of sandpaper – starting with a coarser grit (like 80 or 100) and then moving to a finer grit (like 150 or 220) – will smooth things out beautifully. Sand in the direction of the wood grain. This is like giving your wood a final, satisfying buff and polish. It’s what takes it from "cleaned up" to "ready for anything."
And there you have it! You’ve successfully tackled painted wood. Whether you’re planning to refinish it with a beautiful stain, a fresh coat of paint, or just leave it with its natural, revealed glory, you’ve done a fantastic job. It’s a little bit of work, sure, but the satisfaction of revealing the hidden potential of your wood? That’s priceless.
:max_bytes(150000):strip_icc()/how-to-clean-paint-off-wood-floors-5181299-08-fd00e444af35410da9764e0afe3d70b3.JPG)
