How Do I Flip A Picture In Word
Hey there, digital adventurers and creative souls! Ever find yourself staring at a picture in your Word document, thinking, "You know, this would just pop a little more if it were facing the other way"? We've all been there. Whether you're crafting a dazzling presentation, putting together a sophisticated report, or even just trying to make your cousin's vacation photo look just right in your family newsletter, the humble act of flipping an image can be a surprisingly powerful tool. And guess what? It’s ridiculously easy. So grab your favorite beverage, settle in, and let’s demystify the art of the picture flip in Microsoft Word.
Think of it like this: you’re an interior decorator for your digital space. Sometimes, a piece of art just needs to be rotated to catch the light perfectly, or maybe it needs to be mirrored to create a sense of balance. Flipping a picture in Word is your digital screwdriver, your virtual palette knife. It's about taking control and making your visuals work for you, not the other way around.
The Flip Side of Fun: Getting Started
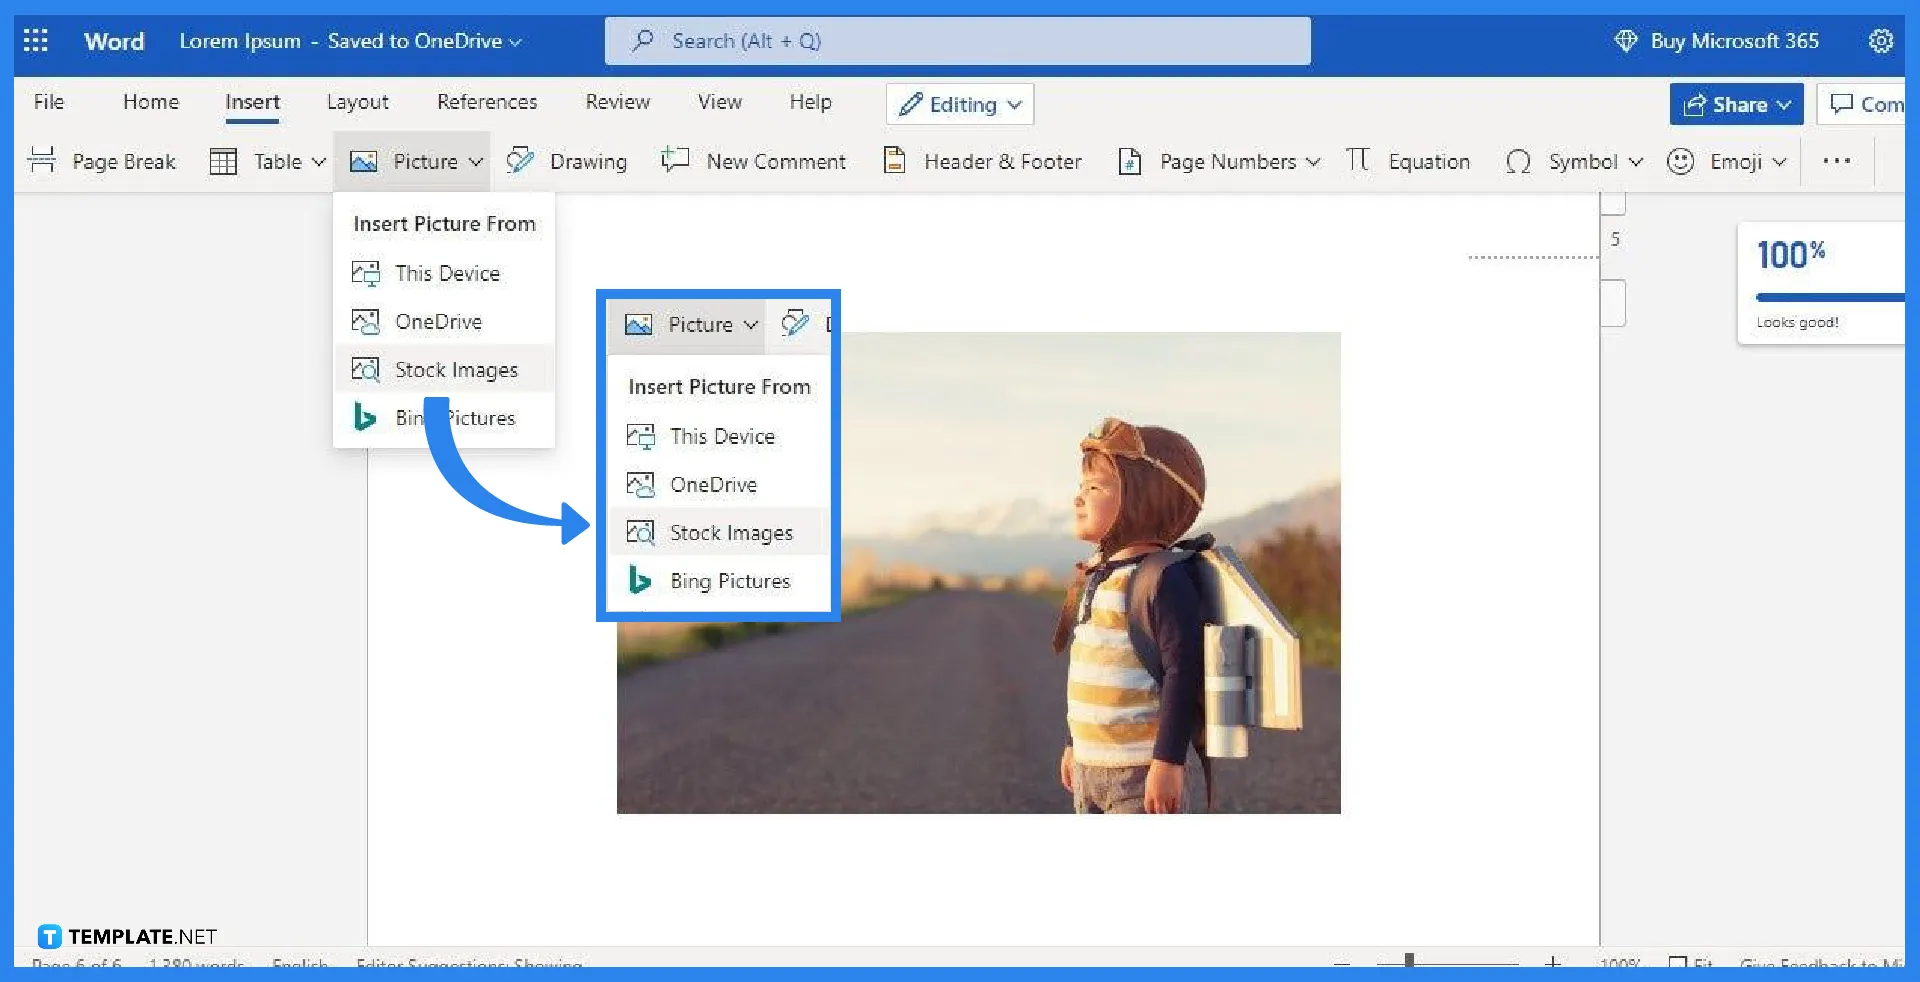
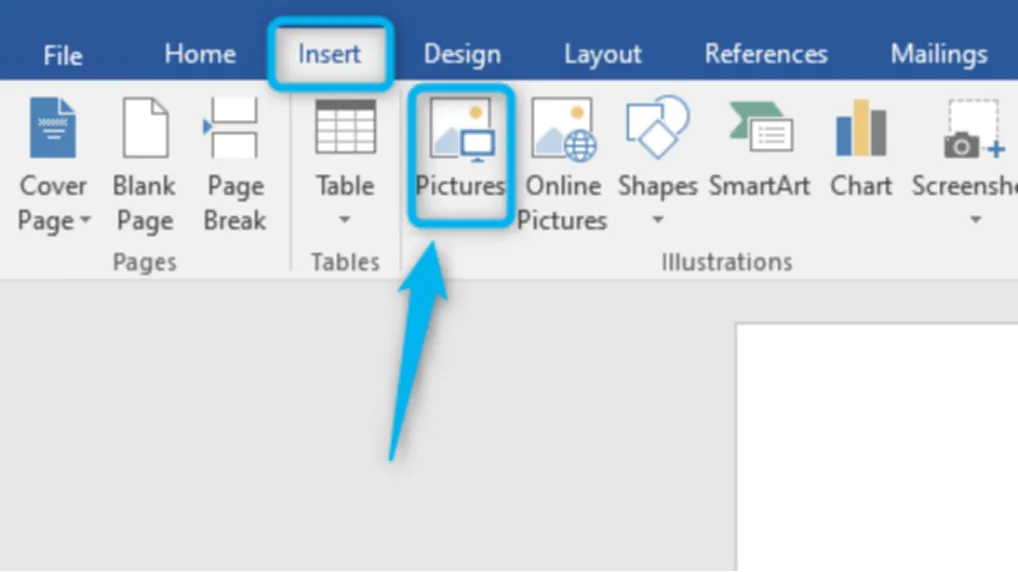
So, you’ve got your image nestled snugly in your Word doc. It might be a stunning landscape, a quirky illustration, or maybe even a selfie that needs a slight reorientation. Whatever it is, the first step is to get it ready for its transformation. Make sure the image is actually in your document. If it’s just a thought in your head, well, that’s a whole different kind of flipping we can’t cover here!
Must Read
Once it’s there, simply click on the picture. You’ll notice a few things happen. A border will appear around it, and you’ll see little circles and squares, known as handles, pop up at the corners and edges. These are your main tools for resizing and manipulating the image. But for flipping, we need to dig a little deeper, into Word’s magical toolbox.
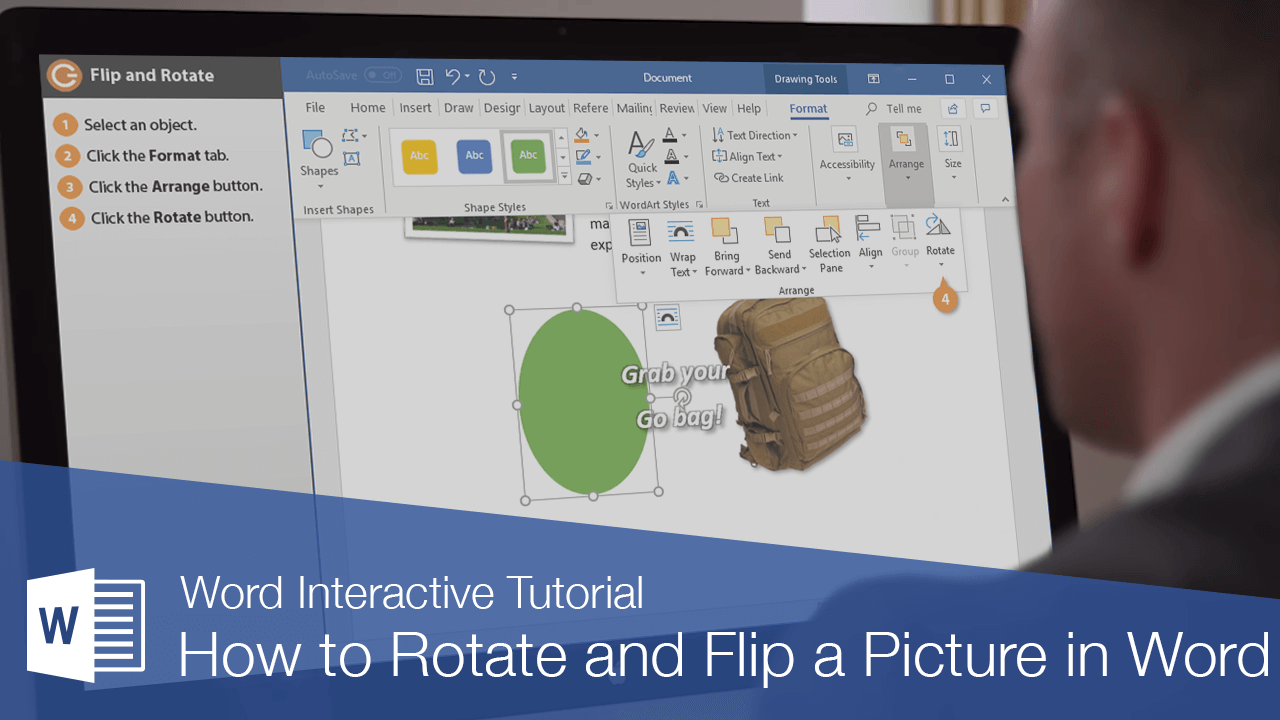
Accessing the Rotation Tools: Where the Magic Happens
With your picture selected, look up at the ribbon at the top of your Word window. You’ll see a new tab magically appear: Picture Format (or sometimes just Format, depending on your version of Word). This is where all the visual wizardry resides. Think of this tab as the backstage pass to your image’s performance.
Click on that Picture Format tab. Now, scan across the options. You're looking for something related to "Arrange" or "Rotate." In most modern versions of Word, you’ll find a prominent button labeled Rotate. It usually looks like a little square with a curved arrow around it. This is your gateway to flipping glory!
Flipping Vertically and Horizontally: The Two Main Moves
Clicking that Rotate button will reveal a dropdown menu. And lo and behold, right there in front of you are the two most common ways to flip an image: Flip Vertical and Flip Horizontal.
Let’s break these down:

- Flip Horizontal: Imagine you're looking in a mirror. That's essentially what a horizontal flip does. It reverses the image from left to right. If you have a picture of a person waving with their right hand, flipping horizontally will make it look like they’re waving with their left. This is super useful for creating symmetrical designs or making sure text that’s part of the image reads correctly if it’s been inserted backward. Think of it like reversing a film negative – it's still the same image, just mirrored.
- Flip Vertical: This is like turning the image upside down. It reverses the image from top to bottom. A picture of a bird flying upwards will now look like it’s diving down. This can create some really interesting, sometimes surreal, effects. It’s like seeing the world from a completely different perspective, or perhaps imagining the reflection of an object in a perfectly still lake.
So, if your picture needs a quick mirror-image effect, go for Flip Horizontal. If you want to turn your world upside down, Flip Vertical is your go-to. It's as simple as selecting the option from the dropdown menu. Watch the magic happen in real-time on your document!
A Little Extra Spin: More Rotation Options
While flipping vertically and horizontally are the stars of the show for a direct inversion, the Rotate menu offers a few other neat tricks. You’ll often see options like "Rotate Right 90°" and "Rotate Left 90°." These are great for nudging an image into the correct orientation if it’s been scanned or uploaded sideways. Think of it as getting your bearings before you decide to go for a full flip.
Then there’s the ever-so-convenient More Rotation Options.... This is where you can get really granular. Clicking this will open up a whole new dialog box, allowing you to enter a precise degree of rotation. Want to spin your picture exactly 47.5 degrees? You can do that! This is the ultimate control, the fine-tuning for the perfectionists among us. It’s like having a protractor for your pixels.
Beyond the Basic Flip: Creative Applications
Now that you’ve mastered the flip, let’s talk about why you’d want to do it. It’s not just about fixing a wonky image; it’s about enhancing your content.
Imagine you’re creating a brochure for a new product. You have a stunning product shot, but the angle isn’t quite working with the layout. Flipping it horizontally might just align it perfectly with the text flow, guiding the reader's eye. Or perhaps you’re designing a social media graphic and want a striking, symmetrical effect. Flipping an image and placing its mirrored copy strategically can create a balanced and eye-catching composition. It’s a trick the pros use all the time, often seen in advertising and design.
Think about how artists use symmetry. The human face is largely symmetrical, which is why we often find it pleasing. By flipping an image, you can introduce or enhance that symmetry in your documents. It’s a subtle psychological nudge that can make your content feel more harmonious and professional.
Cultural Tidbits and Fun Facts
Did you know that the concept of mirroring and symmetry has fascinated humans for millennia? Ancient cultures, from the Egyptians to the Greeks, incorporated symmetrical designs into their art, architecture, and even their philosophy. The idea of reflection and balance is deeply ingrained in our aesthetic sensibilities. So, when you flip an image, you’re tapping into a very old and universal principle of visual harmony.
And here’s a fun little fact: the “mirror image” effect, or lateral inversion, is something our brains are actually quite adept at handling, even though mirrors themselves are a relatively recent invention in human history. We’re wired to recognize patterns, and flipping an image is just another pattern for us to process. It’s why seeing a flipped image might feel a little “off” at first, but we quickly adapt.

Another cool application? Think about when you’re trying to fit two related images side-by-side. If one image shows something facing left and the other shows a related element facing right, flipping one of them can create a sense of dialogue or connection between the two visuals. It’s like they’re having a little chat across the page.
Troubleshooting Common Hiccups
Now, what if things don’t go quite as planned? Don’t panic! Even the most seasoned digital artists encounter the occasional glitch.
Problem: The flip button is grayed out.
Solution: This usually means your image isn't selected properly, or it might be an image that’s been inserted in a way that limits its manipulation (like an image behind text that’s not set to wrap). Make sure you’ve clicked directly on the image, and that the Picture Format tab is active. If it's still grayed out, try right-clicking on the image and looking for rotation options there, or try inserting the image again, making sure to choose a text-wrapping option like "Square" or "Tight" when prompted.
Problem: Flipping makes the image look weird or distorted.
Solution: This is usually not a flipping issue but a limitation of the image itself. If the image has text embedded in it that’s not designed to be reversed, flipping it will make that text unreadable. Also, if the image is asymmetrical or has a strong directional element, a flip might break that intended flow. In these cases, you might need to reconsider if flipping is the right move, or if a different rotation (like a 90-degree turn) is more appropriate. Sometimes, the best solution is to find an alternative image or edit the original outside of Word.
Problem: The flipped image doesn’t line up with other elements.
Solution: This is where the More Rotation Options... and using alignment tools come in handy. Once you’ve flipped, you might need to nudge the image slightly. Use the arrow keys on your keyboard for fine adjustments. You can also use Word’s alignment tools (found in the Picture Format tab, usually in the "Arrange" group) to align the flipped image with other objects or margins. It’s all about getting that perfect placement!
A Final Thought: The Power of Perspective
Flipping a picture in Word is, in its essence, about changing perspective. It’s a small action, but it can have a significant impact on how your message is received. It’s a reminder that sometimes, all it takes is a slight shift in viewpoint to make something familiar look new, more impactful, or simply better.
In our daily lives, we face similar situations. When a plan doesn’t work out, or a conversation goes sideways, or we feel stuck, the ability to “flip the script” – to look at things from a different angle – can be incredibly powerful. It’s about not being rigidly attached to one way of seeing things. It’s about embracing flexibility and creativity, whether you’re designing a document or navigating life’s little twists and turns.
So, the next time you’re working on something in Word and a picture just isn’t quite hitting the mark, remember the simple magic of the flip. It’s a readily available tool, a quick fix, and a creative spark waiting to be ignited. Go forth and flip with confidence!
