How Do I Convert Vhs To Dvd
I remember a few years ago, during a particularly enthusiastic spring cleaning spree, I stumbled upon a dusty box tucked away in the darkest corner of the attic. It was one of those moments where you feel like Indiana Jones discovering a long-lost artifact. Inside, nestled amongst faded photos and questionable fashion choices from the 80s, were my childhood VHS tapes. Suddenly, a wave of nostalgia hit me like a ton of bricks. There they were: birthday parties, awkward school plays, even that one time my dad attempted to teach us all how to roller skate (spoiler alert: it didn't go well). My heart sank a little as I realized these precious memories were trapped on a format that’s practically an ancient relic. It felt like a digital Pompeii, preserved but inaccessible. And that, my friends, is how I got on the quest to convert VHS to DVD.
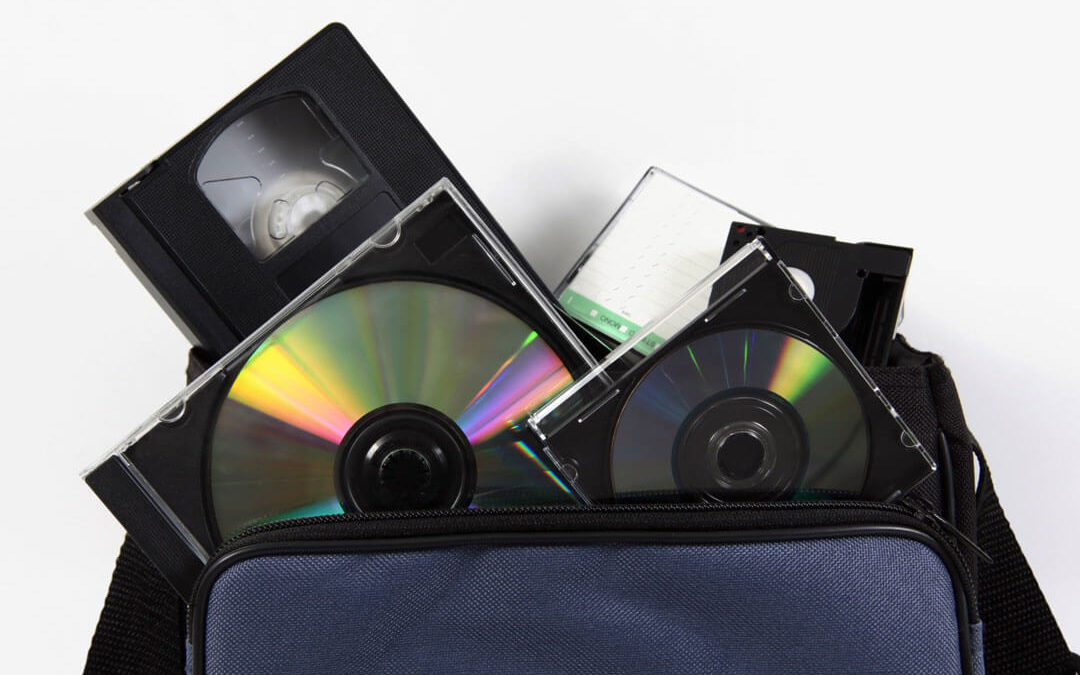
You’ve probably been there too, right? That feeling of looking at a stack of VHS tapes and thinking, "What do I even do with these things anymore?" They’re bulky, the picture quality is… well, let's just say charming, and finding a VCR that actually works can feel like a treasure hunt in itself. But the thought of those memories fading into oblivion is just too much to bear. Thankfully, technology, in its infinite wisdom (and sometimes bewildering complexity), has a solution. And it's not as daunting as you might think. So, grab a cup of your favorite beverage, settle in, and let's talk about how we can rescue those precious moments from the magnetic tape abyss and bring them into the 21st century.
The Great VHS Extinction: Why We Need to Act Now
Let’s face it, the VCR is basically the dinosaur of the home entertainment world. They’re big, they’re clunky, and the tapes themselves are notoriously fragile. Magnetic tape degrades over time, and those cherished recordings could literally be dissolving before our very eyes. Think about it: a tiny piece of plastic and magnetic dust holding the entirety of your family’s history. Kind of a scary thought, wouldn’t you say?
Must Read
And it’s not just about the physical deterioration of the tapes. Finding a working VCR is becoming increasingly difficult. Most electronics stores don’t even carry them anymore. If yours does work, consider yourself a lucky, lucky person! But even a working VCR is prone to chewing up tapes, which is a nightmare scenario we all want to avoid. So, the urgency to preserve these memories is real, folks. We’re not just talking about convenience; we’re talking about preventing permanent loss.
Plus, let’s be honest, watching a VHS tape is an experience. The fuzzy picture, the whirring sound of the player, the magic of rewinding – it’s a trip down memory lane in itself. But it’s not exactly convenient for sharing with younger generations who have probably only ever known crystal-clear digital streaming. Imagine showing your niece or nephew your graduation day on a grainy VHS. They might look at you like you’re speaking ancient hieroglyphics!
Option 1: The "Do It Yourself" (DIY) Approach - For the Adventurous Souls
Now, if you're the kind of person who enjoys a good technical challenge, or perhaps you have a mountain of VHS tapes and a tight budget, the DIY route might be for you. This is where we roll up our sleeves and get our hands dirty, so to speak. It involves a bit more effort, but the satisfaction of doing it yourself is pretty awesome.
What you'll need for this adventure is a bit of specialized equipment. First and foremost, you'll need a working VCR. If yours is on its last legs, you might need to scour eBay or thrift stores for a replacement. Don't worry if it looks a little… vintage. As long as it plays tapes, it's good to go.
Next, you’ll need a way to get that analog signal into your digital world. This is where a VHS to DVD converter comes in. These are essentially little gadgets that act as a bridge between your VCR and your computer. They usually plug into your VCR via RCA cables (those red, white, and yellow ones you’ve probably seen) and then connect to your computer via USB. Pretty neat, right?
Once you have your VCR and converter, you’ll also need some blank DVDs. And not just any blank DVDs – you'll want good quality ones. Cheap ones can lead to coasters (failed burns), and nobody wants that.

The Step-by-Step (with a sprinkle of caution):
Okay, let's break down the process. It’s not rocket science, but there are a few fiddly bits.
Step 1: Hook Everything Up. Connect your VCR to your TV (if you want to monitor the recording) and then connect your VCR to the converter. Then, connect the converter to your computer. Make sure all the cables are securely plugged in. Double-check! This is often where the gremlins hide.
Step 2: Install the Software. Most converter kits come with their own software. Install it on your computer. This software is what will allow you to capture the video from your VCR. Follow the on-screen instructions. It's usually pretty straightforward, but sometimes the interfaces can be a bit… retro. Think early 2000s software.
Step 3: Test Run! Before you commit to a full recording, do a short test. Pop in a tape, hit play on the VCR, and then hit record in your computer software. Watch for a minute or two. Does it look right? Is the audio syncing up? This is your chance to fix any issues before you waste hours. Seriously, don't skip this.
Step 4: Record Away! Once you’re confident, start your recording. You’ll likely need to hit play on the VCR and record on your computer simultaneously. Now, here’s the thing: you have to babysit this process. You can’t just walk away and expect it to work. You need to be there to rewind the tape, start the next section, and generally keep an eye on things. It’s like having a very low-tech, analog production assistant.
Step 5: Edit (Optional, but Recommended). Once you’ve captured your footage, you’ll have a digital video file on your computer. Now you can do some basic editing. Trim out the boring bits (like the entire segment where your Uncle Barry talks about his prize-winning petunias), add chapter markers, or even just clean up the audio a little. Most of the software that comes with the converters will have basic editing tools.
Step 6: Burn to DVD. This is the final frontier! Insert a blank DVD into your computer’s DVD burner. Use your editing software (or a dedicated DVD burning program) to create a DVD from your video file. Make sure you select the correct format for DVD playback. And then… you wait. Burning a DVD can take a while. Be patient!
The Pros: It's generally the most cost-effective if you have a lot of tapes. You have complete control over the process and can edit to your heart's content. Plus, there's a certain bragging rights factor involved. "Yeah, I converted all my childhood memories myself."
The Cons: It’s time-consuming. Seriously, this can take hours upon hours, especially if you have a lot of tapes. The quality of the output is highly dependent on the quality of your VCR and converter. And let's not forget the potential for technical glitches. You might find yourself muttering curses at your computer screen.
Option 2: The "Hire a Pro" Approach - For the Time-Strapped (or Technologically Challenged)
Now, if the idea of fiddling with cables, software, and potentially frustrating recording sessions makes you want to curl up in a ball and watch reruns of your favorite sitcom, then the "hire a pro" option is your knight in shining armor. This is for those of us who value our sanity and our free time above all else.
There are tons of companies out there that specialize in digitizing old media. You can find them online, or sometimes even at local photo processing shops. They have the fancy equipment and the know-how to get the job done efficiently and, hopefully, with excellent results.
How it Works: You essentially box up your VHS tapes (make sure they're labeled clearly!), drop them off or mail them to the service, and they do the rest. They’ll convert your tapes into digital files (usually MP4 or AVI) or burn them onto DVDs for you. Some services even offer cloud storage options, which is pretty sweet.
What to Look For in a Service:

- Reputation: Read reviews! See what other people are saying about their experience. You want a company with a good track record.
- Pricing: Most services charge per tape or per hour of footage. Get a clear quote before you commit. Don't be afraid to shop around and compare prices.
- Turnaround Time: How long will it take to get your converted media back? This can vary greatly.
- Output Format: What kind of digital files or DVD format will you receive? Make sure it's compatible with your needs.
- Handling of Tapes: Ask about their process for handling your precious originals. You want to know they'll be treated with care.
The Pros: It's incredibly convenient. You hand over your tapes and get back digital memories. It’s a huge time-saver. Professional services often have better equipment, so the quality of the conversion might be superior. Less stress for you!
The Cons: It's generally more expensive than the DIY route, especially if you have a large collection of tapes. You have less direct control over the editing process (though you can often request specific edits). And, of course, there's the slight anxiety of sending your irreplaceable memories through the mail.
Option 3: The Hybrid Approach - The Best of Both Worlds?
What if you want a bit of both? You're willing to put in a little effort, but you don't want to commit to full-on DIY. This is where the hybrid approach comes in handy.
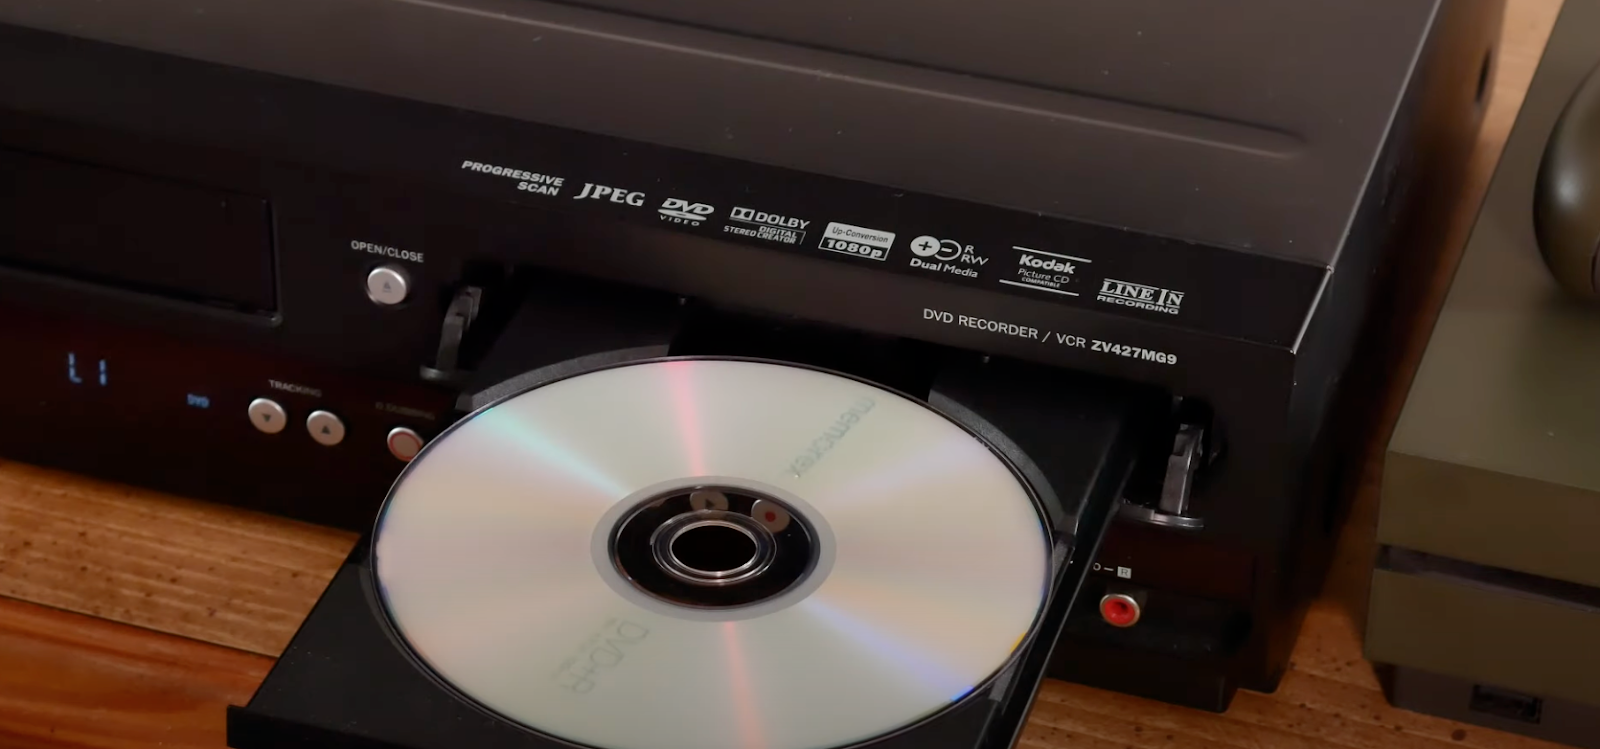
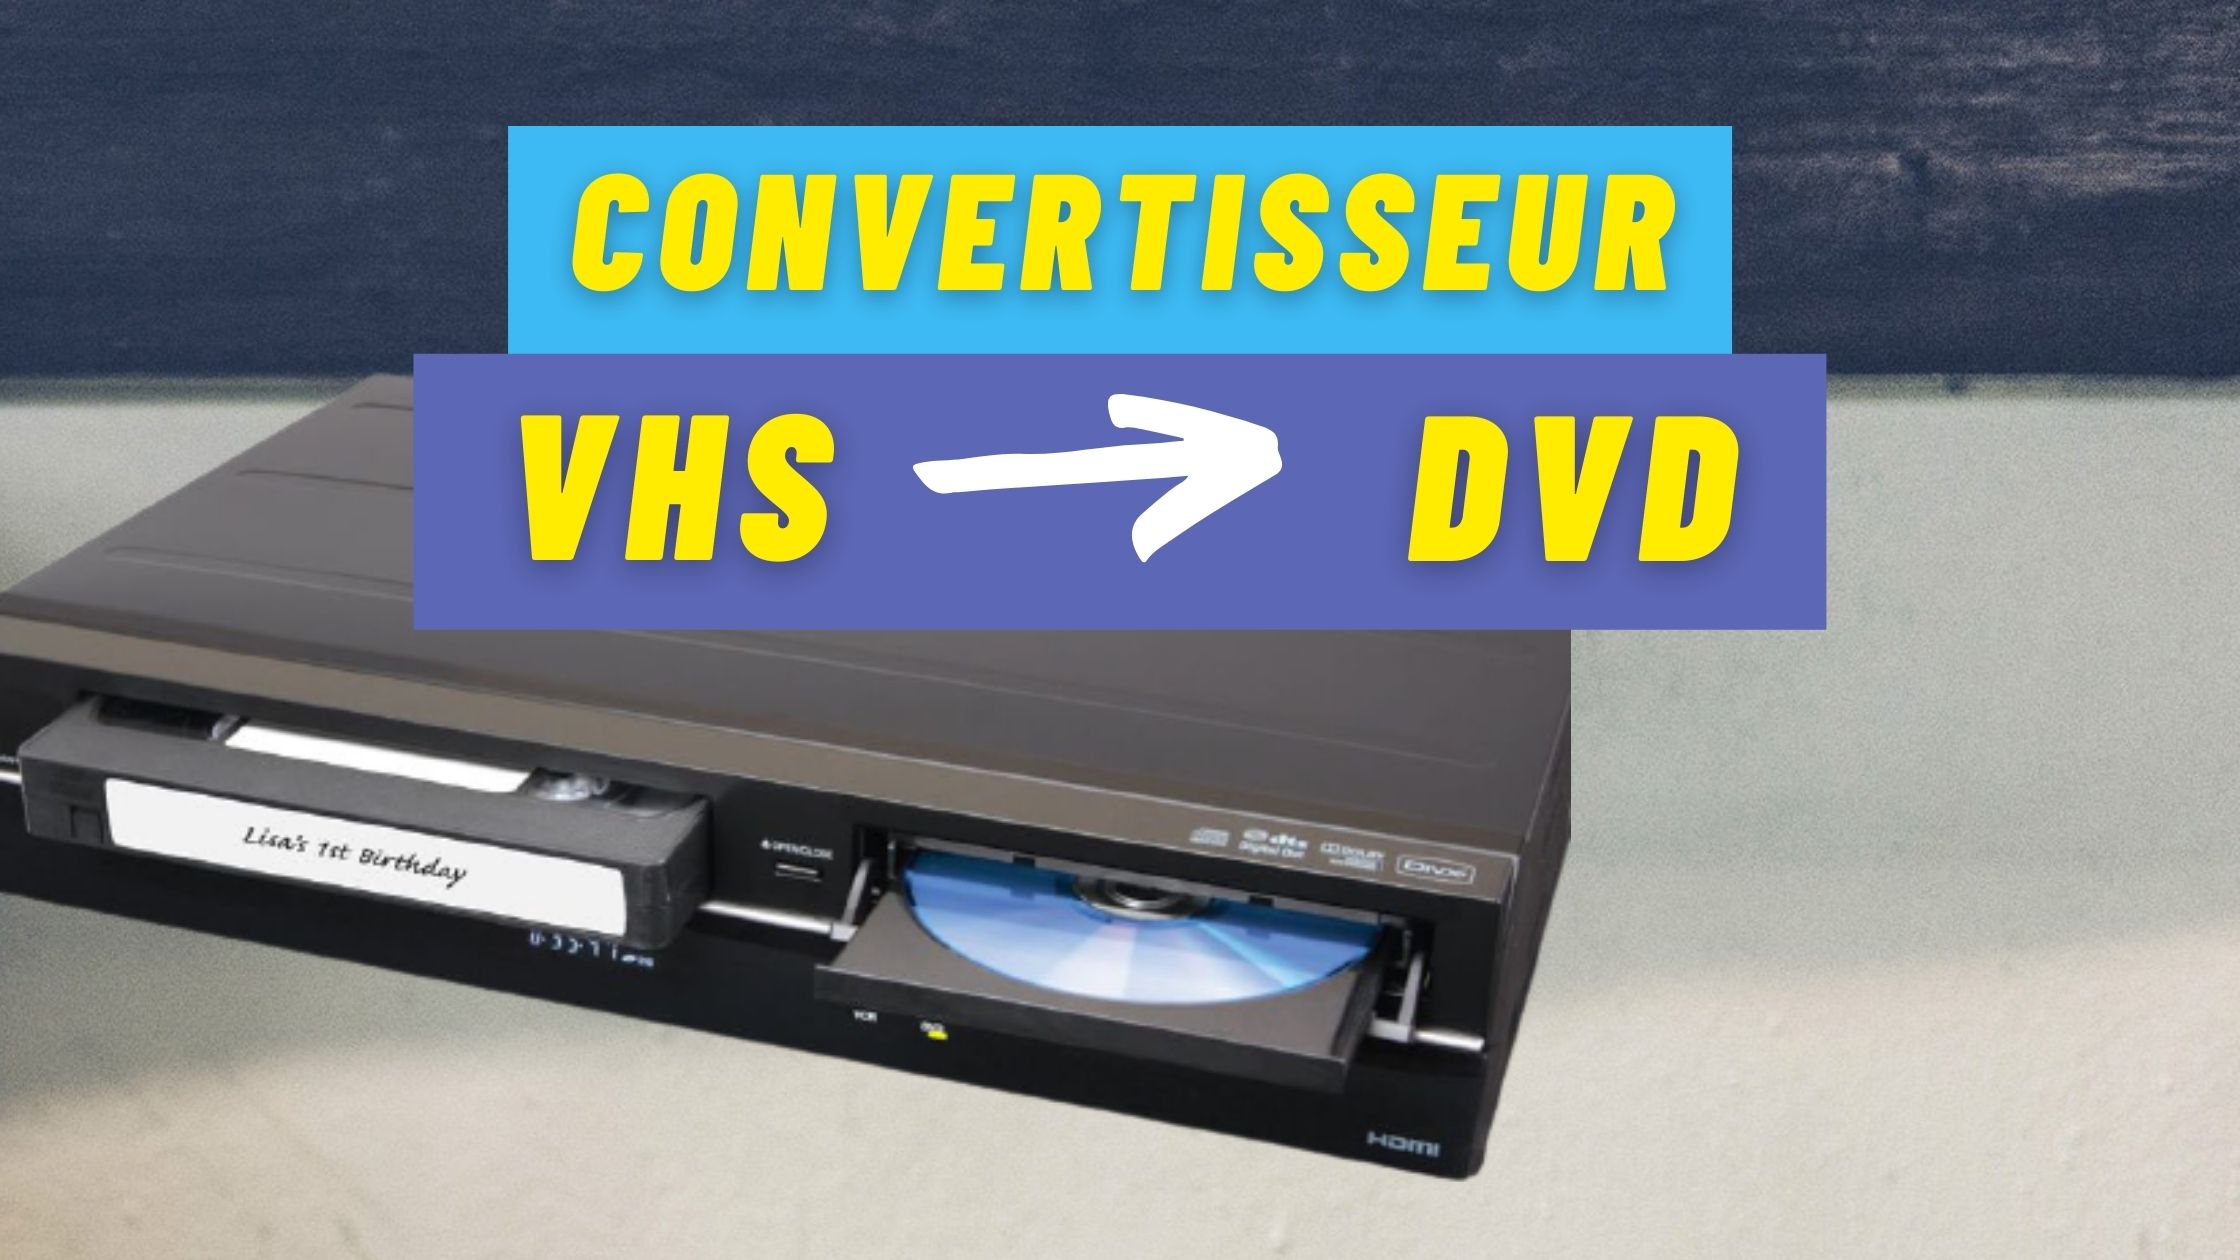
You could, for instance, invest in a good quality VHS to DVD recorder. These are standalone devices that don't require a computer for basic conversion. You plug your VCR into it, insert a blank DVD, and hit record. It's a simpler version of the DIY method, often with less editing capability but much easier to use.
Alternatively, you could use the DIY method to capture the raw footage onto your computer, and then if you're not comfortable with burning DVDs, you could take that digital file to a local shop that offers DVD burning services. It's a way to leverage professional services for the final, sometimes tricky, step.
The Pros: It offers a good balance between cost and convenience. You can avoid the complexities of computer software if you use a standalone recorder. Or, you can retain control over the capture process while outsourcing the more technical burning part.
The Cons: Standalone recorders might have limitations in terms of editing and advanced features. If you're outsourcing the burning, you're still paying for that service.
Beyond the Burn: What to Do with Your Newly Digitized Treasures
So, you've done it! You've successfully converted your VHS tapes to DVDs (or digital files!). Congratulations! But what now? Don't just let those new DVDs gather dust next to the old VHS tapes.
Make copies! DVDs can scratch and discs can fail. Make at least one backup copy, and store it separately from the original. Better yet, create digital backups on an external hard drive or cloud storage. This is the ultimate safeguard against future loss.
Organize them! Label your DVDs clearly. Create a system for your digital files. You want to be able to find those memories easily, right? Imagine having to sift through hundreds of unlabeled DVDs looking for that one embarrassing clip of your teenage self. Nightmare fuel.
Share them! This is the best part. Show them to your family, your friends, your kids. Relive those moments together. Uploading select clips to private family platforms or sharing via cloud services can be a wonderful way to keep everyone connected.
Consider repurposing. Some services will allow you to get your footage in digital formats like MP4. This opens up a whole world of possibilities. You could create highlight reels, edit them into home movies, or even use them as content for your personal blog or social media (if you’re feeling brave!).
The Final Tape-Rewind
Converting VHS to DVD might seem like a daunting task, but it's a project that's incredibly rewarding. Those fuzzy, nostalgic recordings are more than just old videos; they're pieces of your history, your family's story. Whether you choose to embrace your inner tech guru and go the DIY route, outsource the work to the pros, or find a happy medium, the end goal is the same: to preserve those precious memories for generations to come.
So, go forth! Conquer those dusty boxes, unearth those forgotten treasures, and give your VHS tapes the modern upgrade they deserve. Your future self (and your grandkids) will thank you for it. And who knows, you might even discover some hilarious moments you’d completely forgotten about. Happy converting!

