How Do I Clean A Baseball Hat

Okay, confession time. I once had a favorite baseball hat. Not just any hat, mind you. This was the hat. The one I wore to every game, every backyard BBQ, every ridiculously early morning dog walk. It was faded, a little misshapen from a rogue gust of wind that nearly sent it flying into a lake (true story, don't ask), and it smelled vaguely of sunscreen and victory. Then, one fateful afternoon, a rogue dollop of BBQ sauce decided to make its home right on the brim. It was… a disaster. A greasy, tomato-ey disaster. My first thought? "Welp, guess it's retirement time for you, old friend." But then, a flicker of hope. Could I, a mere mortal with a questionable track record in stain removal, actually save my beloved cap? Thus began my quest to conquer the art of cleaning a baseball hat.
And let me tell you, it's not as scary as you might think. Forget throwing it in the washing machine willy-nilly and hoping for the best (though I've definitely been there, and it’s rarely ends well, trust me).
So, how do you actually clean a baseball hat without turning it into a soggy, shapeless disappointment? Stick around, because we're about to dive deep into the nitty-gritty of cap care.
Must Read
The Pre-Clean Reconnaissance Mission: What Kind of Hat Are We Dealing With?
Before we unleash the cleaning arsenal, we gotta do some detective work. Not all hats are created equal, and you don't want to accidentally ruin a vintage gem or a super-delicate fabric. Think of it like a first date – you want to know a little about them before you commit.
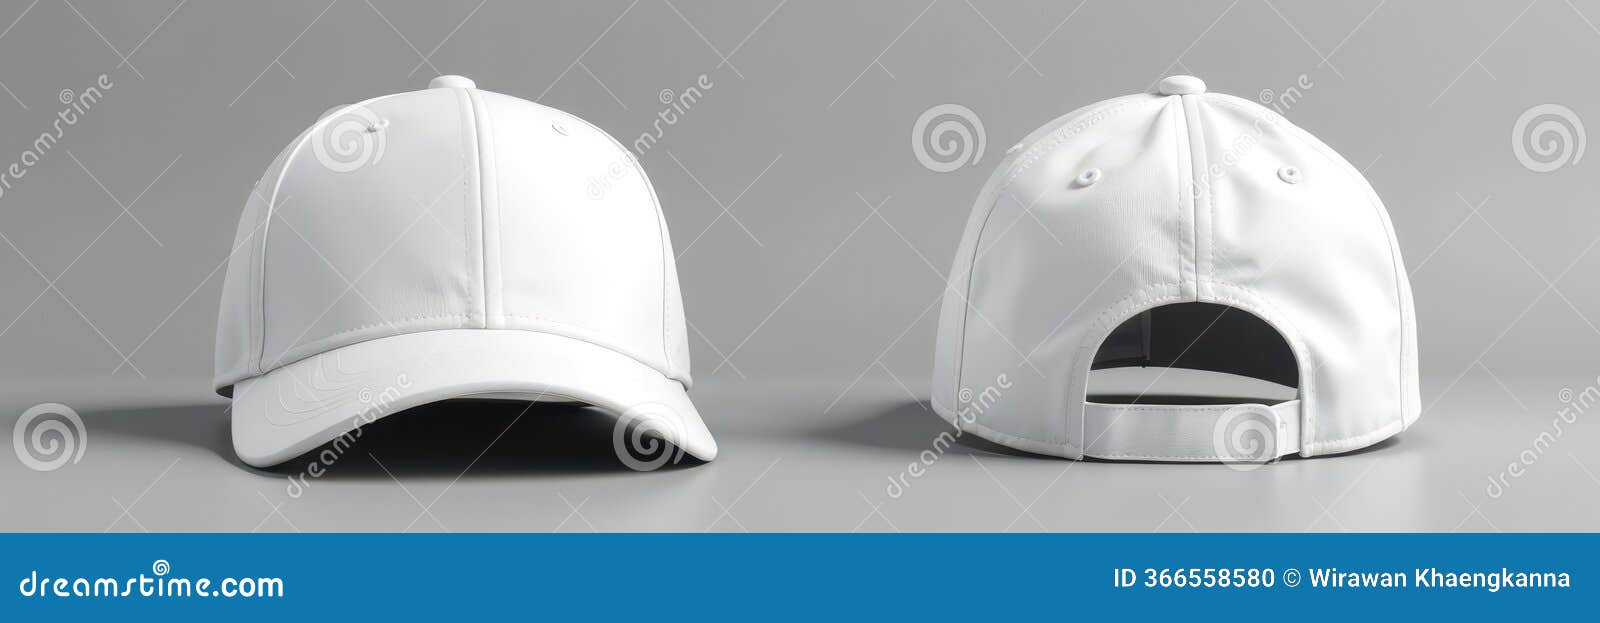
First up, check the <tag inside>. This is your hat's birth certificate, its instruction manual. Does it say "Dry Clean Only"? If so, respect the tag. You're probably looking at a professional cleaning or a very, very gentle spot clean. This is where things get a bit more… finesse-oriented. But for most of us, the tag will give us a hint about the material. Cotton, polyester, wool – these are our common players.
Next, take a good look at the structure. Does it have a stiff brim with a cardboard insert? Older hats, especially those vintage beauties, often had cardboard. If yours does, and it gets too wet, it can turn into a sad, soggy mess that never fully recovers its shape. Modern hats usually have plastic brims, which are much more forgiving. So, if you're unsure, maybe err on the side of caution with the cardboard-laden ones.
And what about those cool embellishments? Embroidery, patches, special logos? These might need a little extra TLC. You don't want to scrub off that awesome stitching that screams "I love this team!"
So, before you grab the nearest sponge, take a minute. Assess the situation. It’ll save you a lot of heartache later, trust me. It's like checking the weather before a picnic – you wouldn't want to be caught in a downpour with just a flimsy umbrella, right?
The Two Main Paths to Hat Purity: Hand Washing vs. Dishwasher (Yes, Really!)
Alright, now that we’ve identified our hat’s personality, let’s talk about the how. For the most part, you've got two main contenders for getting your hat spick and span: good old-fashioned hand washing, or the surprisingly effective (and slightly controversial) dishwasher method. Let's break 'em down.
Method 1: The Gentle Touch (Hand Washing)
This is generally the safest bet for most baseball hats, especially if you’re dealing with wool, older caps, or anything with delicate details. It allows you to control the process and be extra gentle.
What you'll need:
- A clean sink or basin.
- Cool to lukewarm water. (Hot water can shrink hats, so steer clear!)
- Mild detergent. Think something gentle, like dish soap (a tiny amount!), laundry detergent for delicates, or even a specialized hat cleaner.
- A soft brush (an old toothbrush works wonders!) or a clean cloth.
- A clean towel.
The Steps to Hat Nirvana:
1. Fill your sink or basin with cool to lukewarm water. Don't overfill it; just enough to submerge the hat. Remember, no hot water!

2. Add a small amount of mild detergent. We're not trying to create a bubble bath here. A teaspoon or two is usually plenty. Gently swish the water to distribute the soap.
3. Submerge your hat. Let it soak for about 10-20 minutes. This gives the water and soap time to work their magic on any grime and sweat. If you have specific spots you're worried about (like my infamous BBQ sauce incident), this is a good time to gently work at them.
4. Gentle scrubbing. This is where your soft brush or cloth comes in. Gently scrub the brim, the crown, and any stained areas. Be firm but not aggressive. Think of it as a spa treatment for your hat, not an interrogation. Pay extra attention to the sweatband – that's usually the culprit behind the less-than-pleasant hat odor.
5. Rinse thoroughly. Drain the soapy water and refill the sink with clean, cool water. Rinse the hat, gently squeezing out the soap. You might need to do this a couple of times to make sure all the detergent is gone. Leftover soap can attract dirt and cause discoloration. Nobody wants that!
6. Gently towel dry. Don't wring out your hat! This can damage its shape. Instead, press it gently between two clean towels to absorb excess moisture.
7. Reshape and air dry. This is arguably the most crucial step for maintaining your hat's structural integrity. Stuff the crown with a clean towel, a small pillow, or even a tightly rolled-up pair of socks. This will help it keep its shape as it dries. You can also place it over a bottle or a bowl to help it dry upright. Let it air dry completely. This can take several hours or even overnight, depending on humidity. Do not put it in the dryer. I can't stress this enough. The heat will likely warp and shrink it beyond recognition. Think of it like letting a delicate piece of clothing air dry – patience is key!
This method is fantastic for preserving the life and shape of your favorite caps. It's a labor of love, but totally worth it!
Method 2: The Dishwasher Decoy (Yes, Really!)
Now, I know what you're thinking. "The dishwasher? Are you crazy?" Hear me out. This method is surprisingly popular for a reason, and it can be a lifesaver for structured, non-wool hats that have plastic brims. The key here is to use a specific contraption and to avoid the heat dry cycle.
What you'll need:
- A "dishwashing cage" or hat frame. These are plastic contraptions you can buy online or at sporting goods stores. They're designed to hold your hat in shape during the wash. This is non-negotiable for this method!
- Your dishwasher.
- Mild dish soap.
- NO dishwasher detergent (it's too harsh and can bleach colors).
- NO heated dry cycle. Seriously, this is the big one.
The Dishwasher Dare:

1. Place your hat in the dishwashing cage/frame. Make sure it's securely inside and the brim is properly positioned.
2. Put the cage with the hat on the top rack of your dishwasher. Ensure it won't interfere with the spray arms.
3. Add a small amount of mild dish soap to the detergent dispenser. Again, we're not looking for industrial-strength cleaning here. Just a little something to help lift dirt.
4. Run the dishwasher on a normal cycle with a cool water setting. If your dishwasher doesn't have a cool water option, use the gentlest cycle available. CRITICAL STEP: Make sure the heated dry cycle is turned OFF. You want to air dry. If your dishwasher automatically defaults to heated dry, you might need to manually cancel it or choose a specific "air dry" option.
5. Once the cycle is complete, carefully remove the hat from the cage.
6. Reshape and air dry. Just like with hand washing, this is vital. Stuff the crown with a towel and let it air dry completely away from direct heat or sunlight.
The dishwasher method is great for tackling built-up grime and sweat in a hands-off way. However, it's definitely more of a riskier method than hand washing. If you have a particularly valuable or sentimental hat, I'd stick to the hand wash. But for your everyday, workhorse caps? It can be a surprisingly effective shortcut.
Tackling Stubborn Stains: When the Basic Wash Isn't Enough
So, you’ve done the soak, you’ve done the gentle scrub, and you’ve still got a rogue mark staring you down. Don't despair! Sometimes, those stubborn stains require a little extra firepower. But again, we're talking targeted attacks, not carpet bombing the whole hat.
The Spot Cleaning Specialists:
For Grease Stains (like my BBQ incident!):
Pre-treat the stain with a bit of dawn dish soap (yes, the blue stuff!). Gently rub it in with your fingers or a soft brush. Let it sit for about 15-30 minutes. Then, proceed with your normal hand-washing routine. The degreasing power of dish soap is pretty amazing.

For Sweat Stains (the dreaded yellowing):
This is where a paste of baking soda and water can work wonders. Mix them to form a thick paste and apply it directly to the sweat stains. Let it sit for about an hour, then gently scrub with a soft brush. Rinse and wash as usual. You can also try a mild oxygen-based cleaner, but always test it on an inconspicuous spot first.
For Ink Stains (uh oh!):
This is a tricky one. Rubbing alcohol can sometimes lift ink, but it can also lift the dye from your hat, so proceed with extreme caution. Dab a cotton swab with rubbing alcohol and gently dab at the ink stain. Work from the outside in to avoid spreading it. You'll likely need to rinse that area immediately and then wash the whole hat. Test this in a hidden spot first, seriously!
For General Grime and Dirt:
Sometimes, a simple stain remover stick or a bit of laundry pre-treater applied directly to the spot before washing can do the trick. Again, always follow the product instructions and test on a hidden area first.
The key with spot cleaning is gentleness and patience. You're trying to lift the stain without damaging the fabric or the color. And remember, sometimes, a faint shadow is better than a bleached-out patch. We're aiming for improvement, not perfection, folks!
The Drying Dilemma: Reshaping is Your New Best Friend
I've said it a million times, but I'll say it again: Drying is where hats go to die or to be reborn. The temptation to just toss it on a radiator or in the dryer is STRONG, I know. But resisting that urge is what separates a crisp, shapely hat from a floppy, sad mess.
Your goal during drying is to mimic the original shape of the hat.
The Stuffing Technique:
This is your go-to. Take a clean, dry towel and roll it up tightly. Or grab a small, clean pillow. Even a balled-up pair of socks can work in a pinch. Stuff this into the crown of the hat. You want it snug enough to fill out the shape but not so tight that it stretches the fabric unnaturally.
The Over-the-Object Method:
If you don't have anything to stuff inside, you can try placing the hat over something that mimics its shape. A large coffee mug, a small mixing bowl, or even an empty soda bottle can work. This helps the crown dry with its intended curvature. Make sure whatever you use is clean and won't transfer color.
Location, Location, Location:
Air dry your hat in a well-ventilated area, away from direct sunlight and direct heat sources (like radiators or intense sunbeams). Sunlight can fade colors, and direct heat can warp materials and adhesives.
Patience, Young Grasshopper:
This process can take time. Depending on the humidity and the thickness of the material, it could be anywhere from a few hours to a full day. Resist the urge to speed it up. Your hat will thank you for it by retaining its glorious shape.
Honestly, the drying stage is where you really earn your stripes as a hat-cleaning guru. Get this right, and you'll be amazed at how good your hat looks, even after a good wash.
The Bottom Line: Your Hat's Best Life
So there you have it. Cleaning a baseball hat doesn't have to be a daunting task. With a little care, attention, and the right techniques, you can keep your favorite caps looking and smelling fresh for seasons to come.
Remember to always check the tag, opt for cool water, be gentle, and most importantly, properly reshape and air dry.
Your trusty baseball hat has seen you through a lot. It’s been there for home runs, walk-offs, epic fail moments, and just everyday chillin'. Doesn't it deserve a little bit of pampering? I think so. Now go forth and conquer those hat stains! And hey, if you ever get BBQ sauce on your hat again, you know what to do. 😉

