Cleaning Mould From Grout

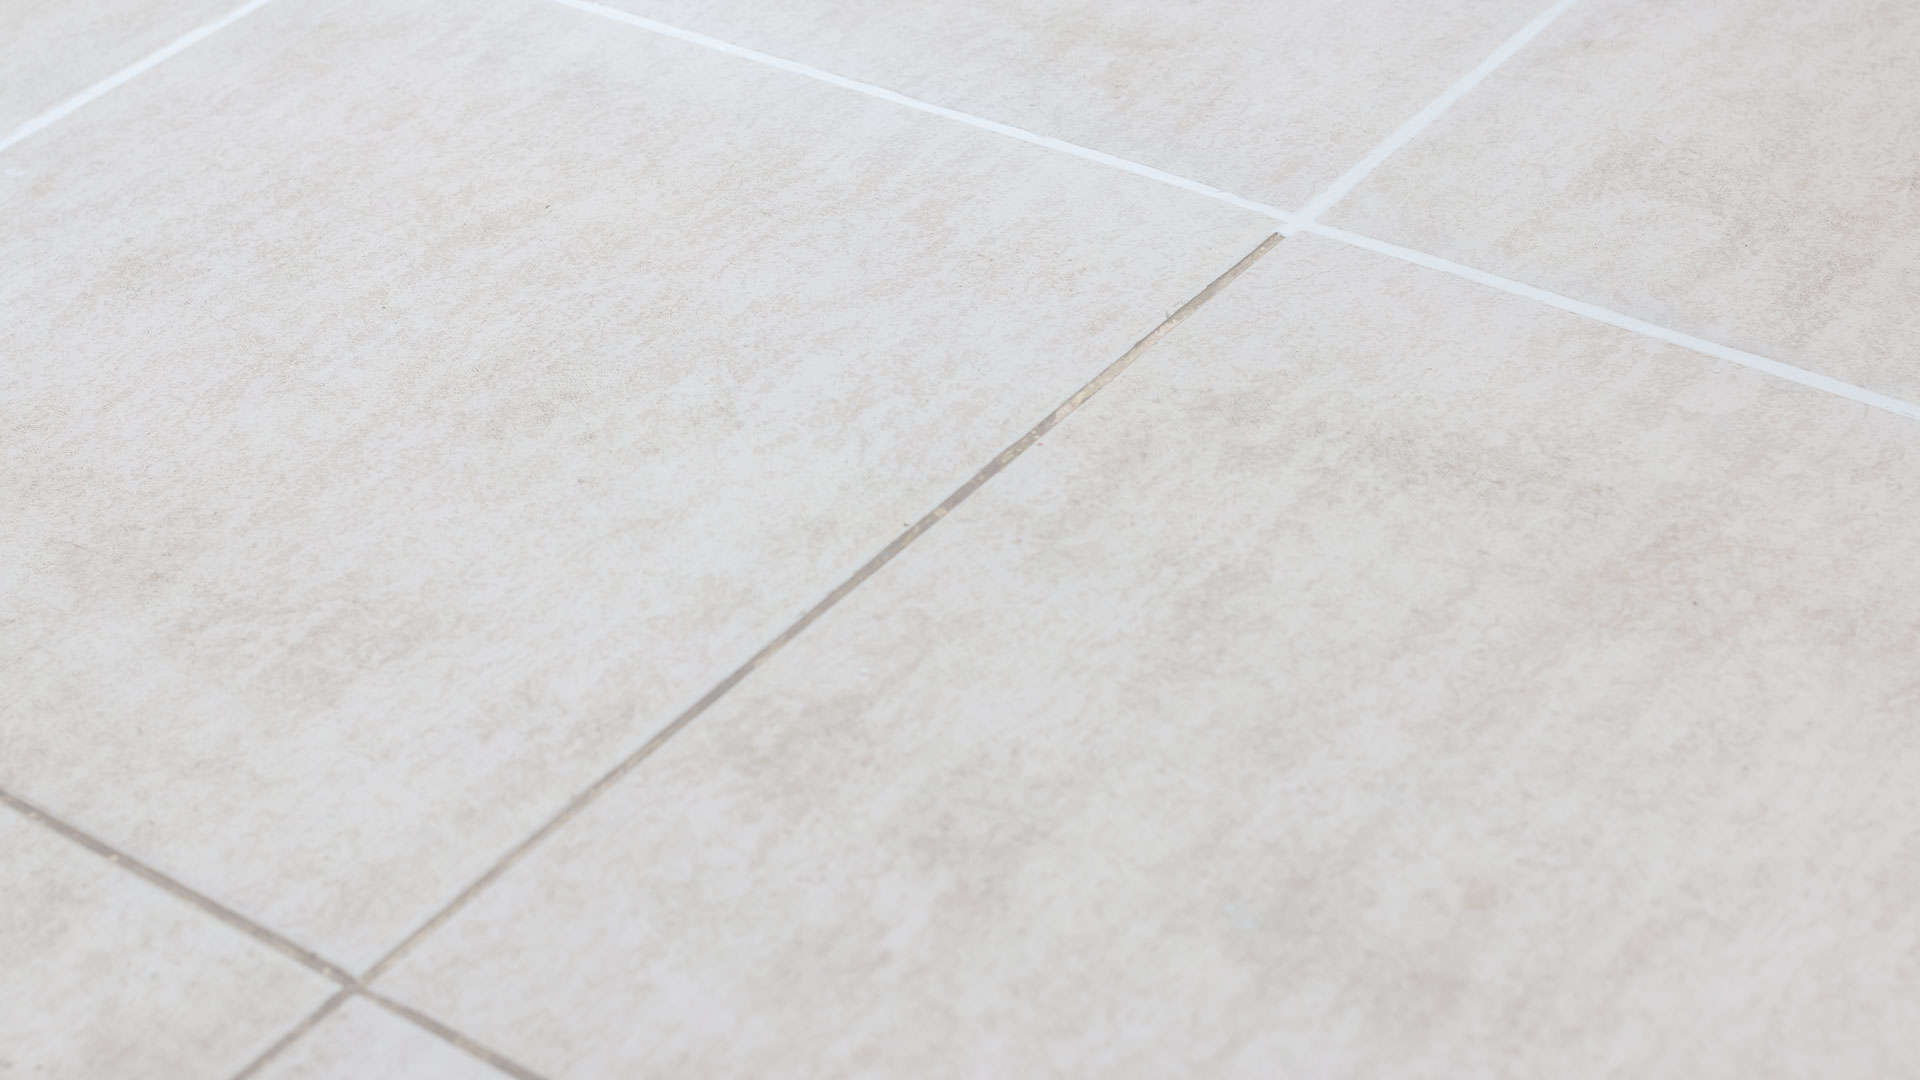
Ah, the grout. That often-overlooked, yet surprisingly significant, member of your bathroom or kitchen squad. You know, those little beige or white lines that hug your tiles like a well-meaning but slightly too enthusiastic hugger? We love our tiles, don’t we? They’re the unsung heroes of splash zones and culinary battlegrounds. But the grout? It’s the quiet observer, silently absorbing every errant splash, every steamy shower, every rogue coffee drip. And sometimes, just sometimes, it starts to get a little… funky.
We’re talking about that creeping, shadowy presence that’s not quite dirt, not quite moss, but something in between. It’s the mould. That unwelcome houseguest that shows up uninvited and starts redecorating in shades of grey, green, and that particularly depressing shade of “Oh dear.” You know the one. It’s usually lurking in the shower corners, along the bathtub rim, or even gracing the grout lines around your kitchen sink. It’s the visual equivalent of a sigh of resignation.
Let’s be honest, nobody wakes up in the morning and thinks, “You know what would make my day? A good old mould-scrubbing session!” It’s more of a “Oh, crumbs, look at that.” It’s the moment you’re about to impress a guest with your sparkling bathroom, and then you catch a glimpse of that fuzzy shadow, and your heart sinks faster than a lead balloon in a paddling pool. It’s the little things, isn't it? The tiny victories and the small defeats that make up the grand tapestry of homeownership.
Must Read
I remember the first time I really noticed the mould situation. I was doing my usual post-shower towel-down, feeling rather pleased with myself for not leaving a trail of water across the floor. Then my eyes drifted to the grout between the shower tiles. It looked like the tiles had been playing a particularly aggressive game of connect-the-dots with a dodgy black marker. Not exactly the spa-like ambiance I was aiming for. It was less “tranquil oasis” and more “forgotten bog.”
And the worst part? It seems to sprout overnight. You’ll swear it wasn’t there yesterday, and then BAM! A new patch has appeared, like a miniature, fuzzy alien landing in your bathroom. It’s like they have tiny grout-based spaceships. “Initiate Operation: Grout Infiltration!” they’re probably shouting from their microscopic command centres.
So, what do we do when this fuzzy interloper decides to set up camp? We fight back, of course! But thankfully, this isn't some epic battle requiring advanced weaponry or a degree in chemical engineering. Nope, we can tackle this with stuff you probably already have lurking in your cleaning cupboard, or at the very least, can grab from the corner shop without too much fuss. It’s about empowering the everyday homeowner, the unsung hero of domestic bliss.
First things first, let’s acknowledge that this isn’t a race. It’s more of a… leisurely stroll through the land of DIY cleaning. No need to rush, no need to panic. We’re not defusing a bomb here; we’re just trying to get our grout looking less like a neglected sketchbook and more like the clean, crisp lines it’s supposed to be.
The simplest weapon in your arsenal? Vinegar. Yes, that tangy stuff you put on your chips (or don’t, no judgement here). White vinegar is your friend. It’s acidic, it’s natural, and it’s remarkably good at telling mould where to shove it. Think of it as a stern but fair headteacher for your grout. “Now, mould,” it’ll say, “this is a clean environment, and you’re not welcome.”
How do you deploy this vinegar-powered justice? Easy peasy. You can either spray it on undiluted. Yes, straight from the bottle. Don’t be shy. Or, for a slightly more gentle approach, you can dilute it with some water. A 50/50 mix is usually a good starting point. Then, you’re going to want to let it sit. This is crucial. You can’t just blast it and expect miracles. Mould is a stubborn beast, and it needs a little coaxing, or in this case, a little soaking.
So, spray or dab that vinegar onto the affected grout lines. You can even use a cotton ball soaked in vinegar and place it directly on the mouldy patches. It’s like giving your grout a little vinegar facial. Let it work its magic for at least 30 minutes. An hour is even better. During this time, you can go and admire your already clean tiles, or maybe even have a cup of tea. You deserve it. This is the “waiting for the kettle to boil” phase of mould removal.
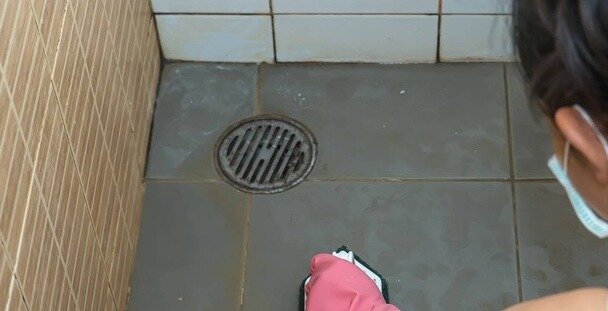
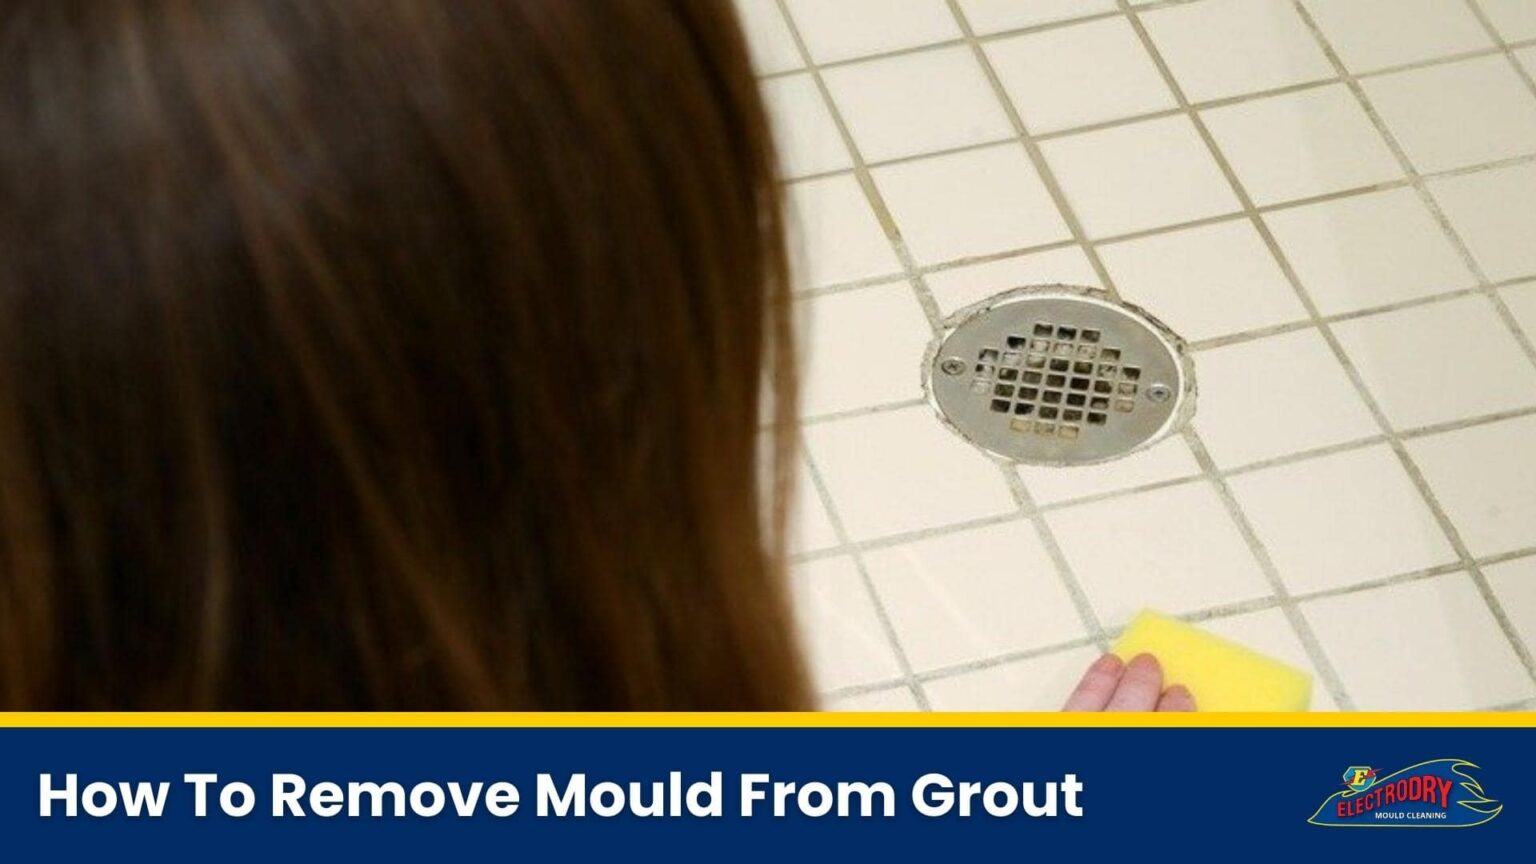
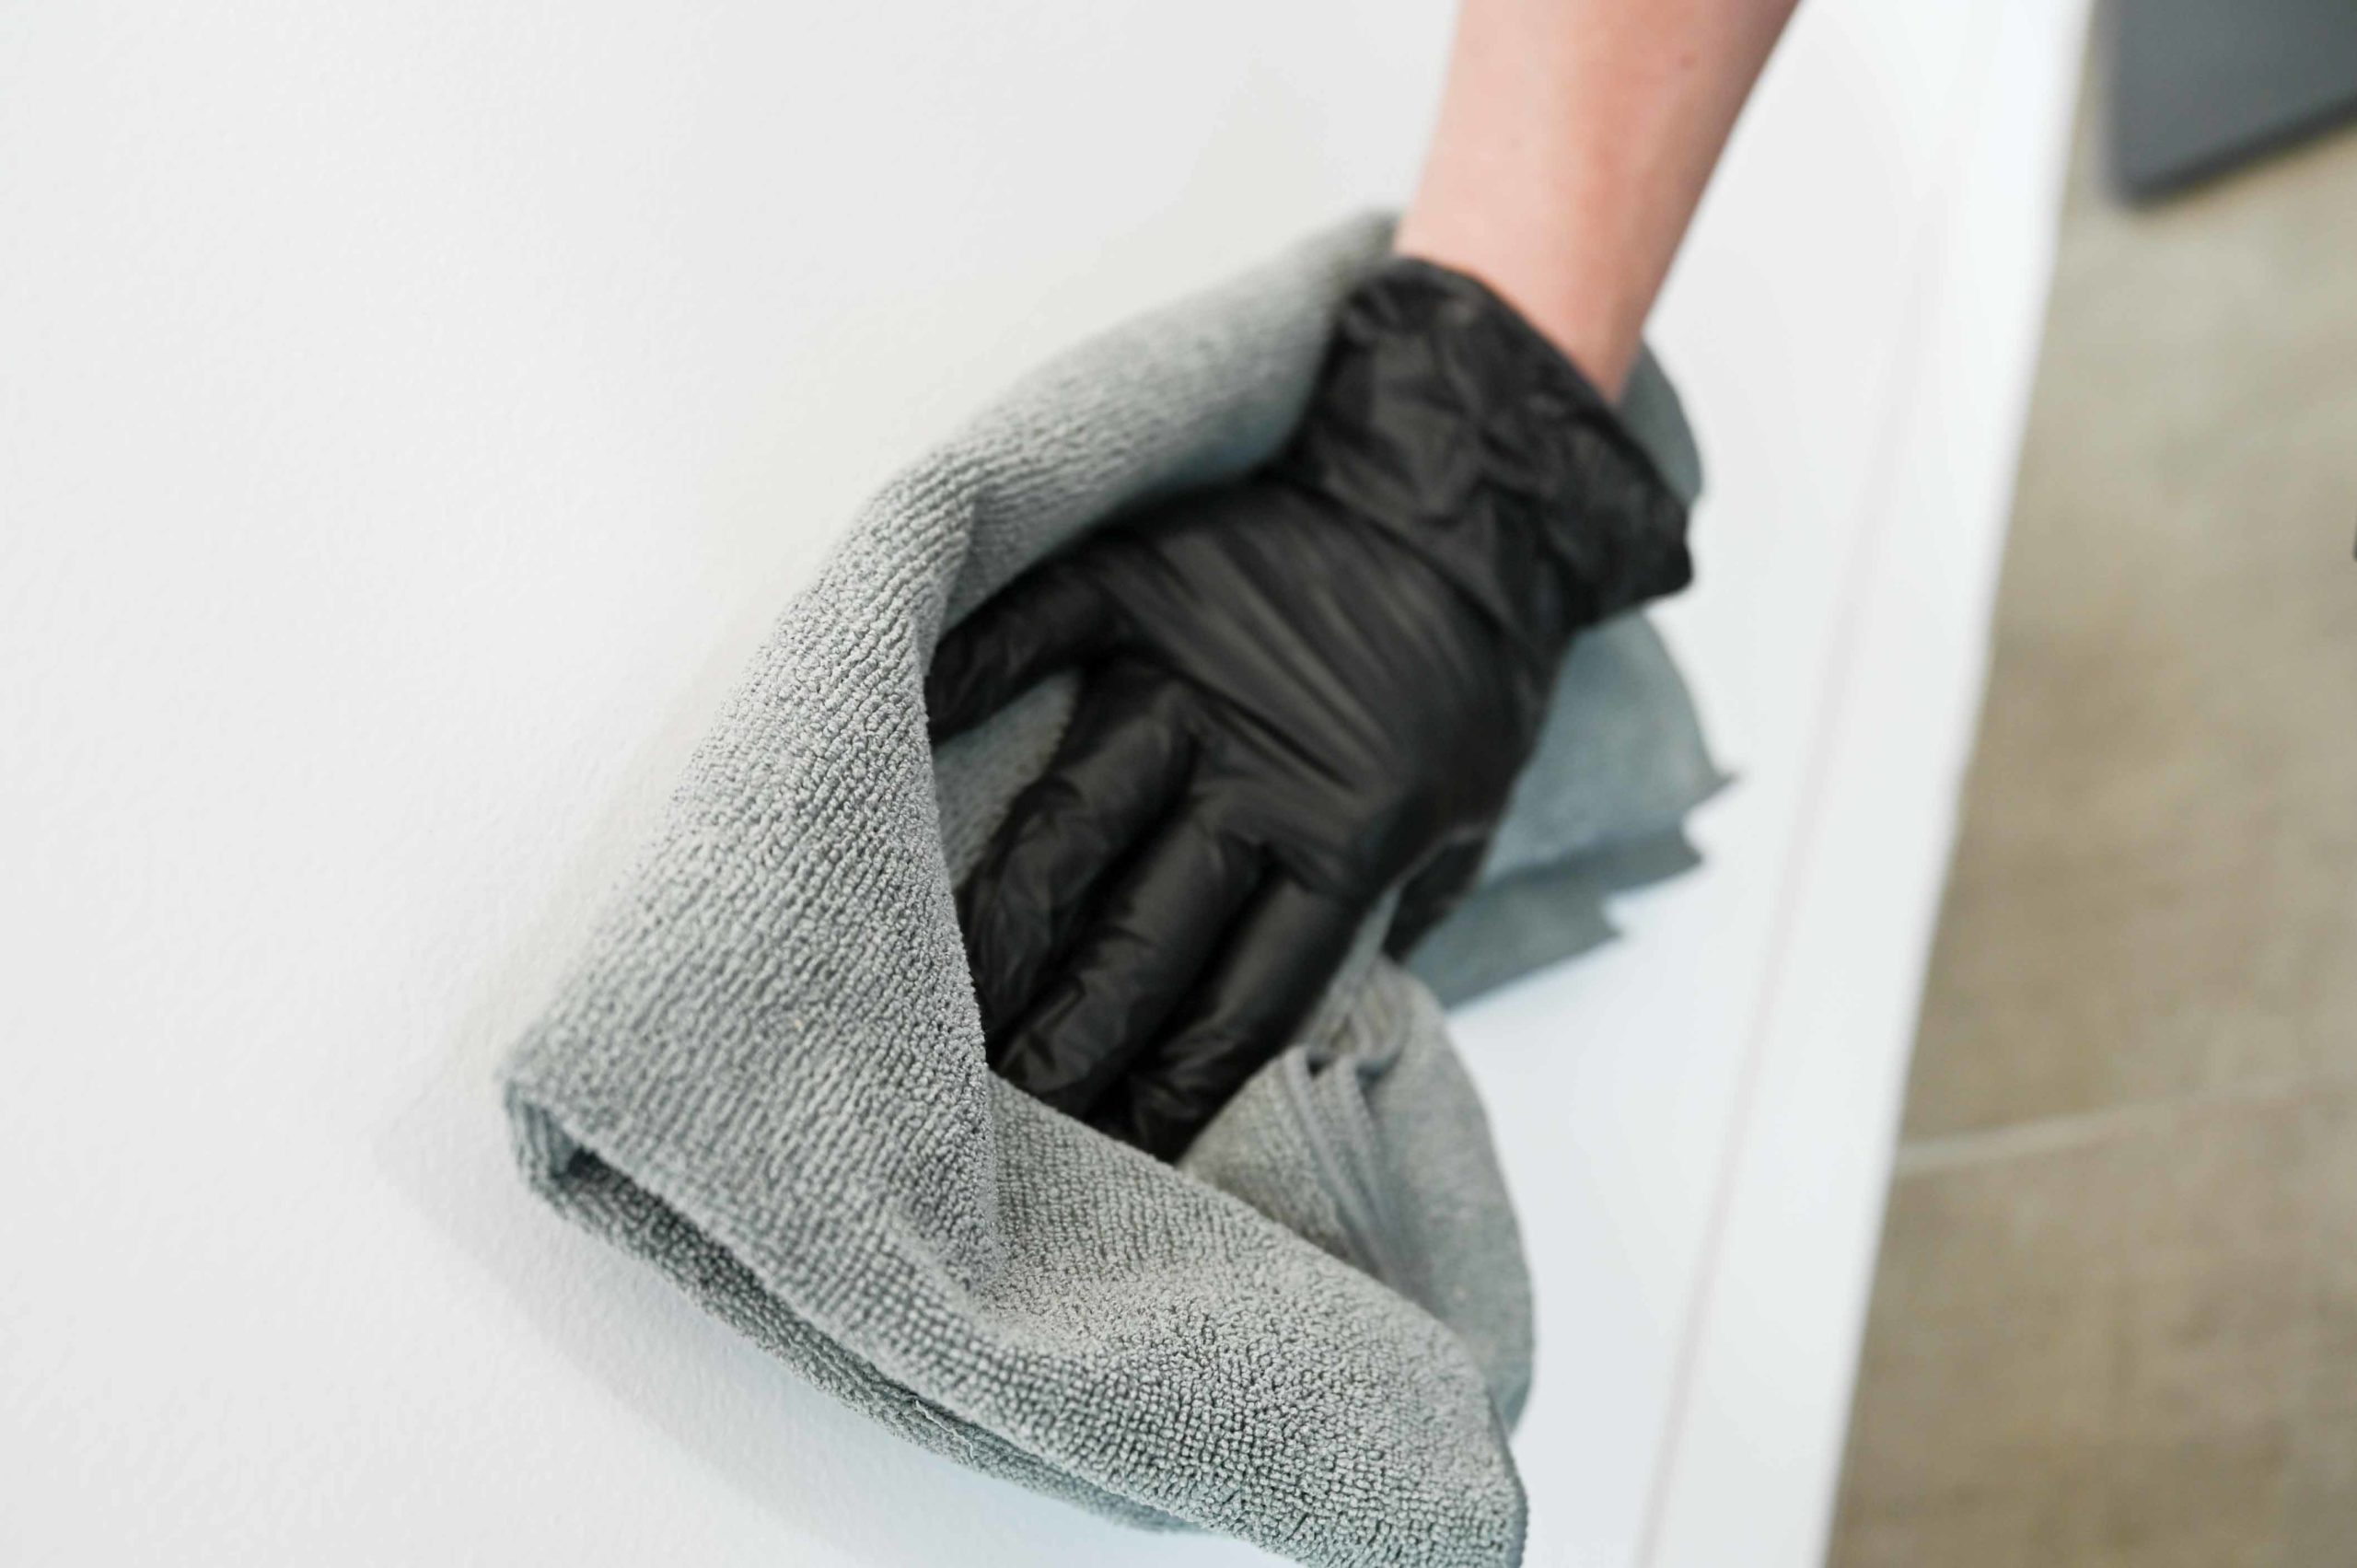
Once the vinegar has had a good chat with the mould, it’s time for the scrubbing. Now, this is where things can get a little more hands-on. You’ll need a scrubbing brush. Ideally, something with stiff bristles. An old toothbrush is your absolute MVP for this job. It’s the perfect size for getting into those little grout lines and really digging out the offending fuzz. Think of it as a miniature dental hygienist for your tiles.
Gently, but firmly, start scrubbing those grout lines. You’ll want to work in small sections. Don’t try to do the whole shower at once, or you’ll end up with tired arms and a sense of impending doom. Just tackle a few tiles at a time. As you scrub, you should start to see the mould loosening its grip. It’s like watching a tiny, stubborn party guest finally decide to leave after being told repeatedly.

Rinse your brush frequently and keep scrubbing. You might need to apply a bit more vinegar if you hit a particularly stubborn patch. This is where the patience comes in. You’re not just cleaning; you’re waging a quiet, domestic war against microscopic invaders. And you’re winning!
After you’ve scrubbed all the affected areas, rinse everything down thoroughly with water. You can use your shower head for this, or a jug if you prefer. You want to make sure all that loosened mould and vinegar residue is gone. And voilà! You should be seeing a significant difference. Your grout should be looking brighter, cleaner, and a lot less like it’s been decorated by a sad, grey ghost.
Now, what if the vinegar isn't quite cutting it? Don't despair! There are other trusty allies in the fight against grout grime. Enter baking soda. This stuff is a cleaning chameleon. It’s gentle, it’s effective, and it smells… well, it smells like nothing, which is often preferable to the smell of damp and despair.
You can create a paste with baking soda and water. Just mix them together until you get a consistency like toothpaste. Then, apply this paste to the mouldy grout lines. Let it sit for about 15-20 minutes. It’s like a little spa treatment for your grout, but with a much more satisfying outcome than a fancy facial. Baking soda acts as a mild abrasive and also helps to neutralize odours, which is a bonus.
After the baking soda paste has done its thing, grab your trusty toothbrush again and scrub. You’ll find the paste helps to lift the mould and grime, making it easier to scrub away. Again, rinse thoroughly afterwards. This baking soda paste can be used on its own or even in conjunction with the vinegar method. Some people like to apply vinegar first, let it sit, then apply the baking soda paste and scrub. It’s like a cleaning tag-team, a dynamic duo of domestic hygiene.

For those really, really stubborn patches, the ones that look like they’ve fused with the grout at a molecular level, you might need to call in the big guns. And by “big guns,” I mean bleach. Now, I’m not going to lie, bleach is a bit of a heavyweight. It’s powerful, it’s effective, but it also needs to be handled with care. Safety first, always!
Never mix bleach with other cleaning products, especially ammonia. This is a big no-no, a recipe for respiratory disaster. Ensure the area is well-ventilated. Open windows, turn on the fan, make it a breezy operation. You don't want to be breathing in those fumes. Think of it like diffusing a delicate chemical situation, but you're the bomb disposal expert for your bathroom.
If you decide to use bleach, dilute it with water. A common ratio is 1 part bleach to 10 parts water. Wear gloves, and maybe even some old clothes you don’t mind getting bleached. Apply the diluted bleach to the mouldy grout using a toothbrush or a cloth. Let it sit for a short period, no more than 10-15 minutes. Bleach is potent, and you don’t want to overdo it.
Then, scrub with your toothbrush and rinse thoroughly. Again, ventilation is key here. You’ll know it’s working because the mould will start to disappear like a bad dream. But remember, this is your last resort, your “nuclear option.” It’s for when the gentler methods have waved the white flag.
Once you’ve got your grout looking spick and span, the real challenge begins: prevention. Mould loves moisture and a lack of airflow. So, how do we deny it its favourite amenities? It’s all about making your bathroom a less hospitable environment for our fuzzy friends.
After every shower or bath, try to wipe down the shower walls and the floor. It sounds tedious, I know, but a quick squeegee or even a towel can make a world of difference. It’s like tucking your tiles into bed, making sure they’re dry and comfortable. This little habit can significantly reduce the amount of moisture available for mould to thrive on.
Ventilation is your best friend. Make sure your bathroom fan is working and use it! Even if it sounds like a small jet engine taking off, it’s doing its job. If you don’t have a fan, open the window after your shower, even if it’s just a crack. Let that fresh air circulate. Think of it as giving your bathroom a good, hearty breath of fresh air.
There are also anti-mould sprays and sealants available. You can apply these after cleaning to create a protective barrier on your grout. It’s like giving your grout a tiny, invisible superhero cape, shielding it from the forces of dampness and decay. Some people even re-grout their bathrooms periodically, which is a more involved process but can be a long-term solution.
And let’s not forget about cleaning regularly. It’s the oldest trick in the book, but it’s effective. A quick wipe-down of your bathroom and kitchen surfaces, including the grout, on a weekly basis can prevent mould from ever getting a foothold. It’s like staying on top of your email inbox; a little bit of effort regularly saves you from the overwhelming flood of unread messages.
So, the next time you notice those little greyish-green visitors starting to colonise your grout, don't panic. Grab your vinegar, your baking soda, or even your gloves and a well-ventilated space for some bleach. You’ve got this. It’s just a little bit of elbow grease, a touch of patience, and the knowledge that you’re a domestic warrior, armed with cleaning supplies and the unwavering determination to have a clean, mould-free home. And hey, if all else fails, you can always tell your guests it's a trendy, rustic grout effect. They’ll never know the difference, right?