Can You Use Wall Paint On Wood

Ever found yourself staring at a can of leftover wall paint and then glancing at that slightly scuffed wooden table, or maybe that plain wooden shelf that's begging for a facelift? It’s that moment, isn't it? That little spark of "Hey, I wonder..."
So, can you actually slather that same wall paint you used in your living room onto your beloved wooden furniture or those charming little crates you picked up at the flea market? The short answer is, drumroll please… yes, you totally can! But, as with most things in life, there’s a little bit more to the story than just grabbing a brush and going to town.
The "Why Not?" Factor
It's a natural question to ask, right? Wall paint is designed for walls. Wood is… well, wood. They seem like different beasts. And in some ways, they are! Walls are generally stable, consistent surfaces. Wood, on the other hand, can be a bit more temperamental. It expands and contracts with changes in humidity and temperature, it’s porous, and it can have all sorts of natural oils and grains that might throw a wrench in your plans.
Must Read
But here’s the cool part: the way paint works is pretty universal. It’s all about adhesion, coverage, and durability. And with a little bit of preparation and the right type of wall paint, you can definitely bridge that gap between drywall and hardwood.
What Kind of Wall Paint Are We Talking About?
This is where things get really interesting. When we say "wall paint," we're usually talking about latex or acrylic-based paints. These are the workhorses of home décor. They're water-based, which means they're generally low in VOCs (volatile organic compounds – fancy talk for fewer fumes!), easy to clean up with soap and water, and they dry relatively quickly. Sound good? These are your best friends for painting wood!
So, that leftover can of "Greige" or "Whispering Willow" you have lurking in the garage? If it's a latex or acrylic, it's a prime candidate for a wood makeover. Think of it like this: your wall paint is a versatile chameleon, ready to adapt to a new environment.

The Magic of Preparation
Now, before you dive headfirst into painting, let's talk about the secret sauce: preparation. This is the stage that separates a DIY disaster from a DIY triumph. For wood, this means a few key steps.
First up, cleaning. Get rid of any dust, dirt, grease, or grime. A good wipe-down with a mild soap and water solution should do the trick. If you're dealing with something really stubborn, a degreaser might be in order. Imagine trying to stick a sticker onto a greasy window – it’s just not going to hold, right? Wood is similar. A clean surface is a happy surface for paint.
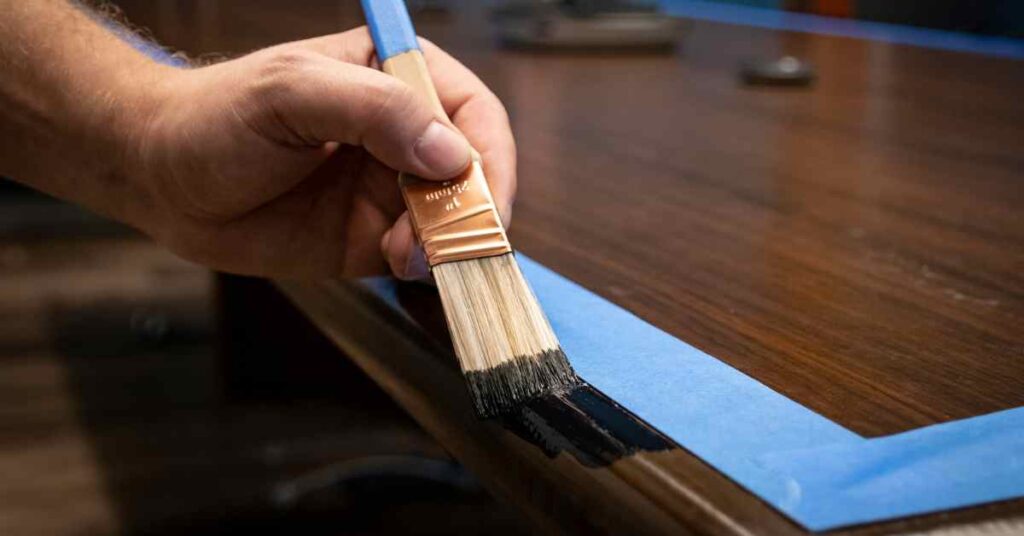
Next, sanding. This is crucial. You don't need to go all Godzilla on your wood, but a light scuffing with fine-grit sandpaper (around 120-220 grit is usually perfect) will create a slightly rougher texture. Why? Because paint loves to grip onto something, not just slide around on a super smooth surface. Think of it like giving your wood a gentle exfoliation, preparing it to embrace the paint.
And then, the unsung hero: primer. Oh, primer, you magnificent thing! While you can sometimes get away without it, using a primer specifically designed for wood is a game-changer. It acts like a sticky handshake between the wood and your wall paint, ensuring better adhesion and a more even finish. It also helps to block any stains or tannins from the wood bleeding through your beautiful new color. Some primers are even stain-blocking and adhesion-promoting all in one – talk about a multi-tasker!
Applying the Color: The Fun Part!
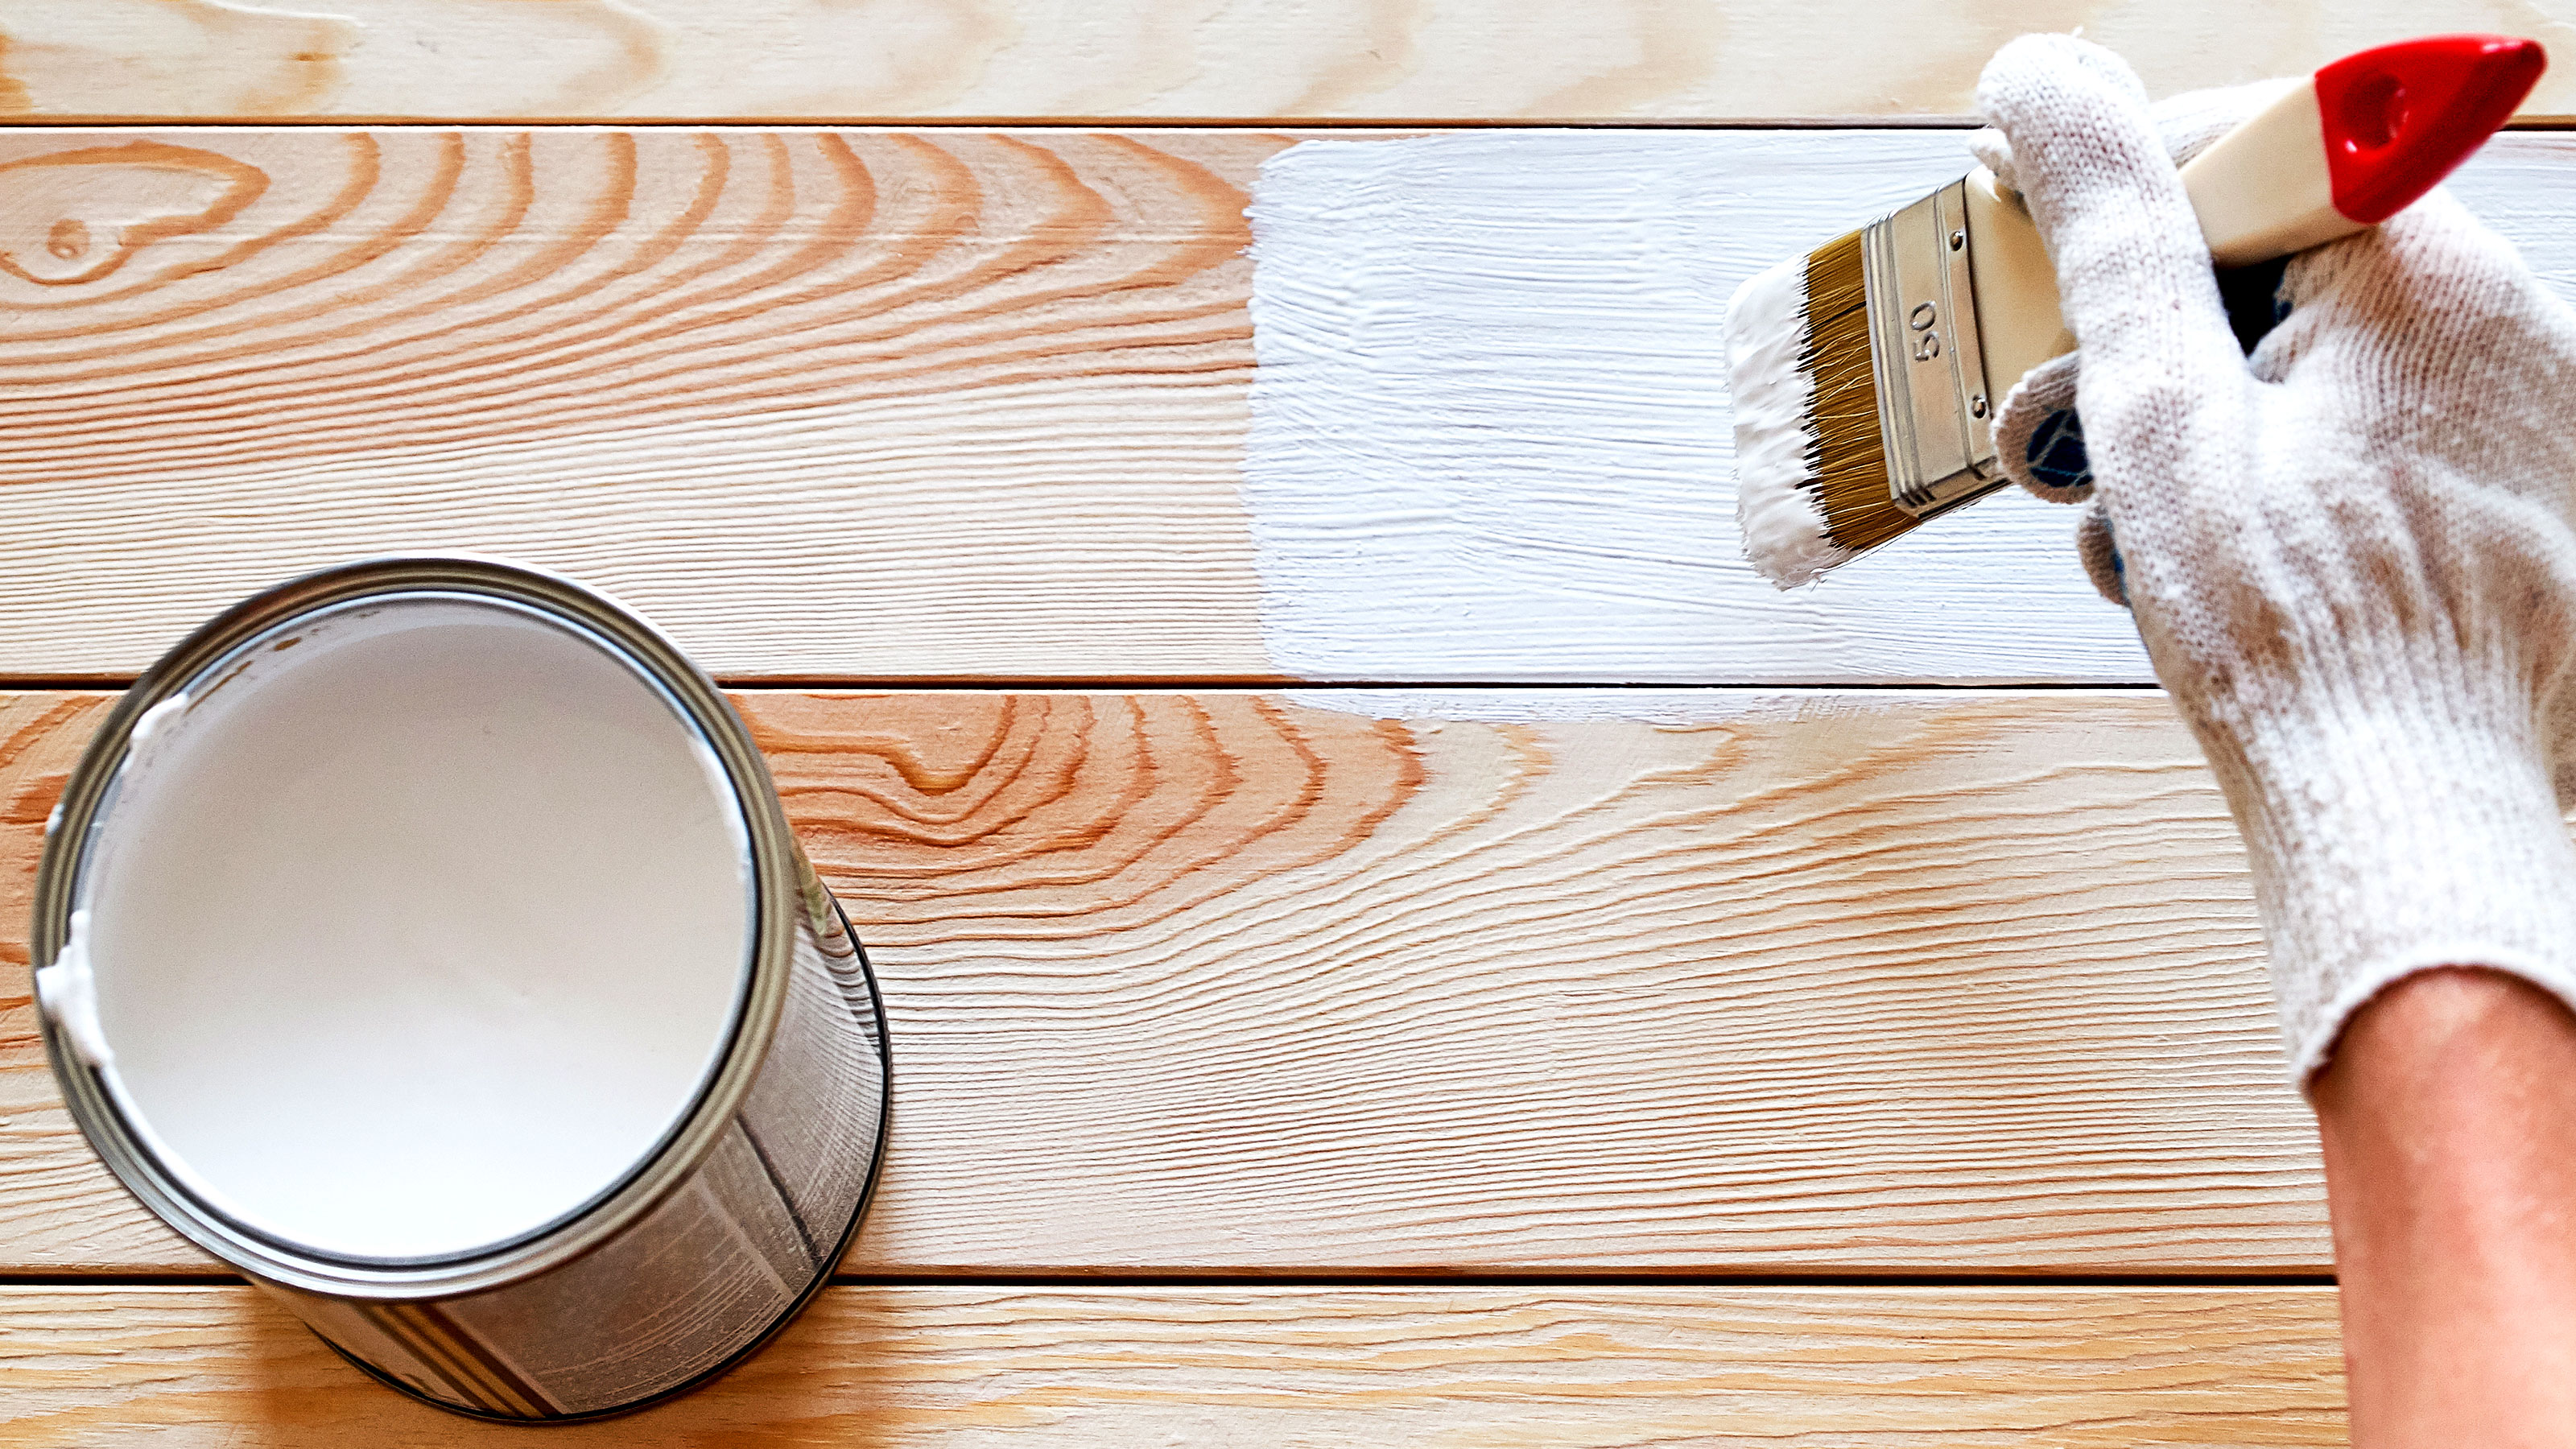
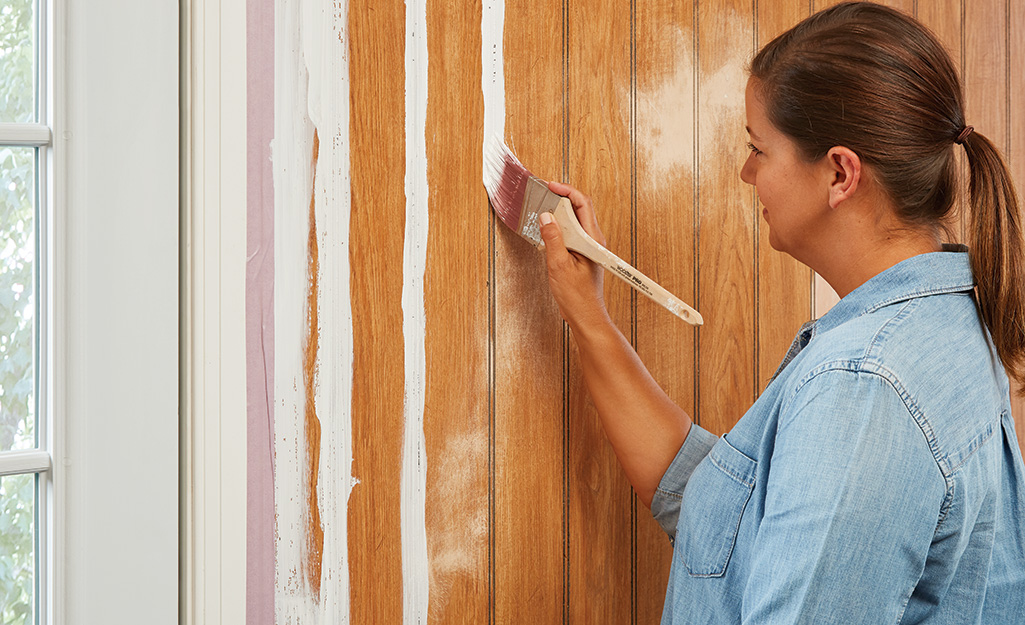
Once your wood is clean, sanded, and primed, it’s time to unleash your chosen wall paint! You can use brushes, rollers, or even a spray gun, depending on the project and your comfort level. For smaller items or intricate details, a good quality brush will be your best bet. For larger surfaces like tabletops or shelves, a small foam roller can give you a nice, smooth finish.
Apply your paint in thin, even coats. It’s always better to do multiple thin coats than one thick, gloppy one. Thick coats can lead to drips, uneven drying, and a less durable finish. Think of it like layering frosting on a cake – you want smooth, even layers, not a giant blob!

Allow each coat to dry thoroughly according to the paint manufacturer's instructions. Patience here is a virtue that pays off in spades. Rushing the process is like trying to run a marathon without training – it’s just not going to end well.
Finishing Touches: Sealing the Deal
Now, this is where we talk about durability. Wall paint, especially matte or eggshell finishes, might not be as robust as paints specifically designed for furniture or high-traffic areas. If you're painting something that will get a lot of use, like a dining table or a coffee table, you'll want to add a protective topcoat.
A clear polyurethane or a polycrylic sealer is your friend here. These create a protective barrier that shields your painted surface from scratches, spills, and everyday wear and tear. Apply a couple of thin coats of your chosen sealer, allowing each to dry completely. This is like giving your artwork a protective varnish, ensuring it stays looking fabulous for years to come. You wouldn't leave a masterpiece unprotected, would you?
When to Be Extra Cautious
While it’s generally a yes, there are a few scenarios where you might want to proceed with extra caution, or perhaps opt for a specialized wood paint:
- High-moisture areas: If you're painting something that will be constantly exposed to water, like a bathroom vanity that gets splashed daily, a standard wall paint might not hold up as well as a marine-grade or cabinet-specific paint.
- Heavy-duty surfaces: For floors or heavily used tabletops, a paint designed for extreme durability is usually a better bet.
- Oily woods: Some tropical woods have a lot of natural oils that can interfere with paint adhesion, even with primer. You might need a special primer for these.
But for most furniture, shelves, decorative items, or even an accent piece on a wall that happens to be wood paneling, your trusty wall paint can absolutely do the job. It’s a fantastic way to refresh and repurpose items, save a little money, and inject some personality into your space.
The Takeaway: Get Creative!
So, next time you’re looking at a plain wooden surface and have a half-used can of wall paint, don't just dismiss it. Think of the possibilities! It’s a super accessible way to get creative and give your home a personalized touch. From that old stool to a wooden picture frame, your wall paint is ready for its next adventure.
Embrace the DIY spirit, do a little prep work, and see what amazing transformations you can create. You might just surprise yourself with what you can achieve with a little bit of paint and a whole lot of imagination. Happy painting!