Whirlpool Side By Side Ice Maker Replacement
Okay, so picture this: it’s a sweltering Saturday afternoon, the kind where even the shade feels a bit… warm. You’re hosting a barbecue, the burgers are sizzling, the music’s on, and your best friend, the one who always asks for extra ice, waltzes over to the fridge. You know the look. The one that says, "Hey, where’s all the ice?" You confidently stride over, ready to deliver that satisfying cascade of frozen cubes, only to be met with... nothing. A hollow rattle. An empty abyss where frosty goodness should be. My friends, this is how I discovered the heartbreaking truth: my Whirlpool side-by-side ice maker had officially kicked the bucket.
It wasn’t dramatic, no flashing red lights or ominous groans. It was just… silent. Devoid of its usual cheerful whirr-clunk-crash soundtrack. And let me tell you, that silence was deafening. Suddenly, my perfectly chilled lemonade felt a little less perfect, and my burger-flipping prowess seemed significantly less impressive without the promise of a tall, frosty glass to accompany it. Talk about a party pooper. My initial reaction? A healthy dose of denial. "Maybe it's just a little… siesta," I muttered, patting the freezer door hopefully. Spoiler alert: it was not a siesta. It was a full-blown retirement.
So, after a few more disappointing trips to the empty ice bin, and a rather embarrassing request to a neighbor for a bag of ice (which felt like admitting defeat on a grand scale), I knew it was time. Time to face the music, or rather, the lack of ice maker music. It was time for a Whirlpool side-by-side ice maker replacement. And let me tell you, the thought of tackling this appliance repair project filled me with a mix of dread and a weird sense of… adventure. Could I, a mere mortal armed with a screwdriver and a YouTube tutorial, actually pull this off?
Must Read
The Great Ice Maker Investigation: What Went Wrong?
Before diving headfirst into replacement mode, a little detective work is in order, right? You don't just rip out a perfectly good (well, was perfectly good) appliance without a bit of probing. My first port of call, naturally, was the internet. A quick search for "Whirlpool side by side ice maker not making ice" is like opening Pandora's Box. Suddenly, you're swimming in forum threads, blog posts, and videos, all with people sharing their own ice-making woes. It’s a surprisingly… communal experience. You realize you’re not alone in your frosty despair.
Common culprits started popping up like little digital icebergs. There was the water line issue. This is the most straightforward. Is the water line kinked? Is the valve shut off? Sometimes, it's as simple as a frozen line, which, ironically, is the opposite of the problem you're trying to solve, but still a problem nonetheless. Then there's the filter. A clogged water filter can severely impact water flow, and thus, ice production. This one’s a relatively easy fix, so if you haven't changed yours in, say, a geological era, that's a good place to start. (No judgment, I’ve been there.)
My investigation, however, led me to suspect something a little more… internal. The ice maker itself seemed to be receiving water, but the cycle wasn’t completing. The little arm that signals "full bin" wasn't moving, and the mold was just… empty. It felt like a tiny, frozen factory that had decided to go on permanent strike. This is when you start to suspect the entire unit might need a good old-fashioned… replacement. Cue the dramatic music.
Choosing Your Ice Maker Destiny: The Replacement Saga Begins
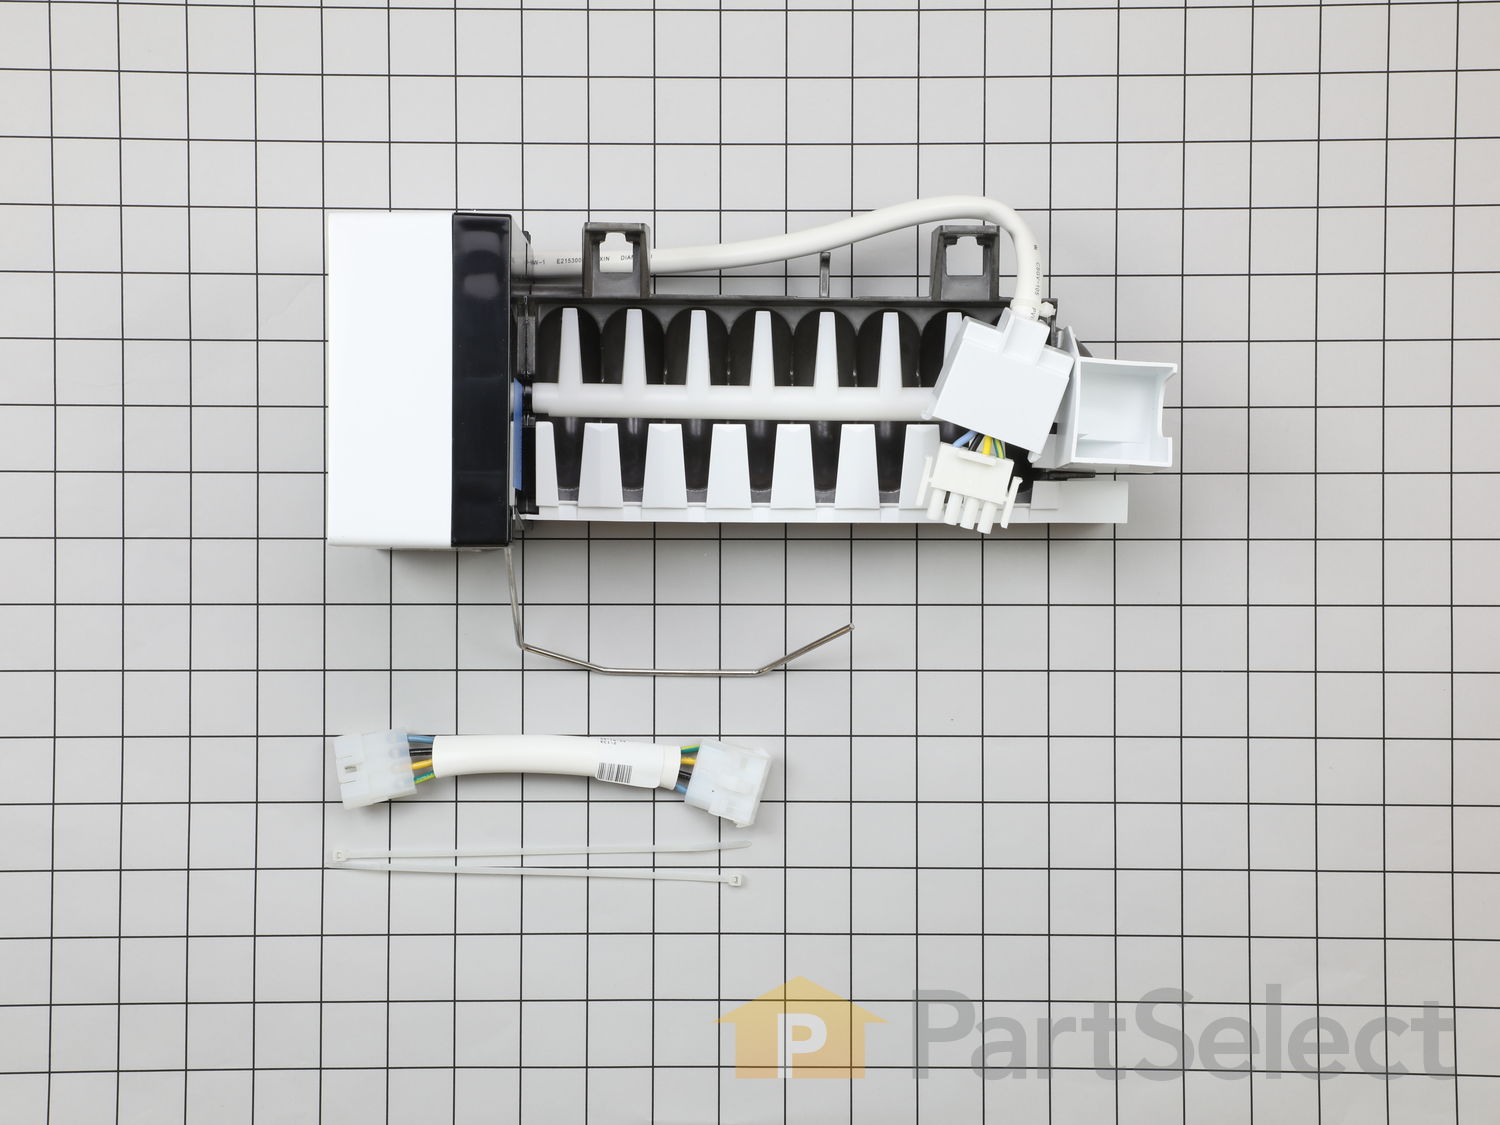
Alright, so you’ve diagnosed the problem (or at least, you think you have). Now comes the fun part: finding a new ice maker. This is where things can get a little… overwhelming. Your Whirlpool side-by-side has a specific ice maker model, and you need to find the exact, or at least a compatible, replacement. This isn't like picking up a generic brand of ice cream; precision matters here!
Your best bet is usually to find the model number of your refrigerator. It's typically on a sticker inside the fresh food compartment, often on the side wall or the top. Once you have that, you can search online appliance parts stores. Websites like RepairClinic, PartsDirect, or even Amazon can be your digital hunting grounds. You’ll want to look for reputable sellers and, if possible, read reviews. Nobody wants a shoddy replacement ice maker that conks out after a month. That’s just… cruel.
As I was browsing, I noticed a few things. Firstly, ice makers aren't exactly cheap. They’re a significant part of your refrigerator’s anatomy, and they come with a price tag to match. This is where a little internal debate might ensue. Is it worth the cost of a new ice maker, or is it time to consider a whole new fridge? (Deep breaths, you can do this.) Secondly, there are different generations of ice makers for the same fridge model. Some are updated, with slightly different connectors or designs. It's crucial to ensure you're getting the right one for your specific refrigerator. Again, that model number is your golden ticket.
I ended up finding a replacement that looked identical to my old one, complete with a slightly daunting-looking wiring harness. The reviews were decent, the price was… tolerable, and the estimated shipping time felt like an eternity. Waiting for a crucial appliance part feels like waiting for… well, ice when you desperately need it. The anticipation is real!
The Grand Unveiling: Tools and Preparation
So, your new ice maker has arrived, nestled safely in its cardboard cocoon. Now what? Time to roll up your sleeves and get your hands dirty. (Or, you know, slightly greasy, depending on your fridge's inner workings.) Before you even think about unscrewing anything, gather your tools. You don't need a full mechanic's workshop, but a few essentials will make your life a whole lot easier. Think a Phillips head screwdriver (likely in a couple of sizes), possibly a flathead screwdriver, some pliers, and maybe a small socket wrench. A headlamp or flashlight is also a lifesaver, because let's be honest, the back of a refrigerator is not exactly well-lit.
Preparation is key. You’ll want to unplug your refrigerator from the wall. This is non-negotiable. Safety first, always! Nobody wants to be electrocuted while trying to fix their ice maker. Don’t just unplug it and walk away; let it sit for a few minutes to discharge any residual electricity. Think of it as giving the fridge a moment of peace before its surgery.
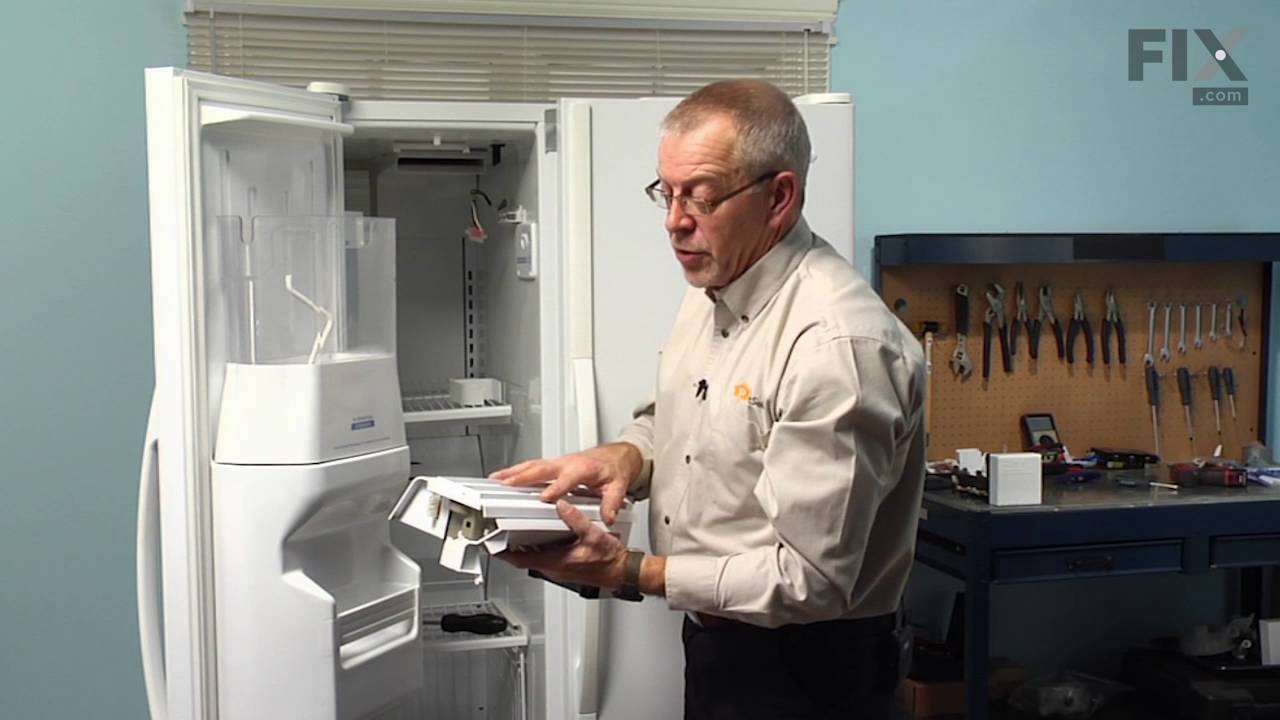
Next, you'll need to access the ice maker. This varies depending on your Whirlpool side-by-side model. Usually, it involves removing a panel or two inside the freezer compartment. Sometimes, it's as simple as a few screws. Other times, there might be clips or hidden tabs. Again, a quick YouTube search for your specific fridge model and "ice maker replacement" can be a treasure trove of visual guidance. Watching someone else do it, especially with all the little nudges and wiggles, is incredibly helpful. It’s like getting a cheat sheet for your appliance’s inner workings.
Have a towel or a small bucket handy. There might be a bit of residual water in the lines, and you don’t want a mini-flood in your freezer. It’s the little things, right? The things that make you go, "Ah, yes, someone thought of that!" Or, in my case, the things I discover after the mini-flood. You live and you learn.
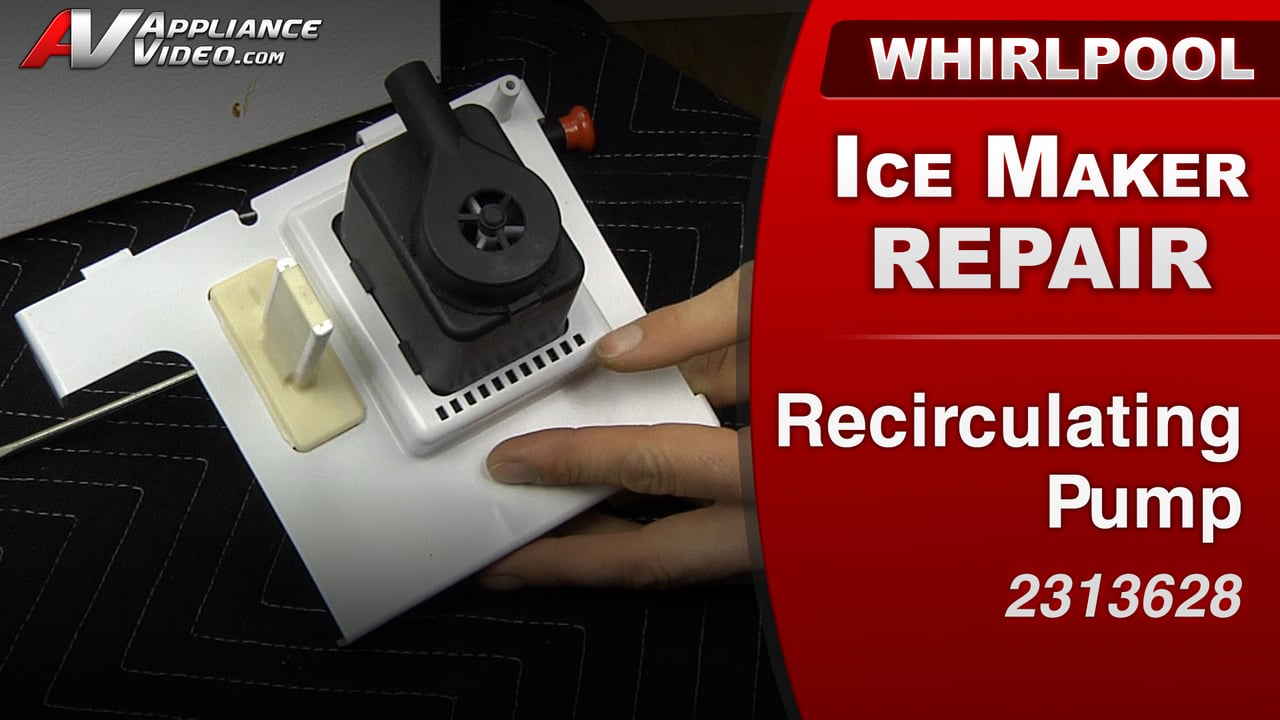
The Moment of Truth: Swapping Out the Old for the New
This is it. The main event. The showdown between the old, defunct ice maker and its shiny, new replacement. Take a deep breath. Remember all those YouTube videos? Channel that inner appliance repair guru.
First, you need to disconnect the old ice maker. This usually involves unplugging a wire harness. They're typically designed to only plug in one way, so you don't have to worry too much about misconnecting them later. Then, there are usually a few screws holding the ice maker in place. Unscrew them carefully, making sure you don't drop them into the abyss. I’ve lost more than my fair share of tiny screws to the dark corners of appliances.
Once the old ice maker is loose, you’ll need to carefully remove it. It might be a bit snug, and you might have to gently maneuver it out. This is where those pliers can come in handy for a gentle tug, if needed. Again, avoid excessive force; you don’t want to damage anything else in the process.
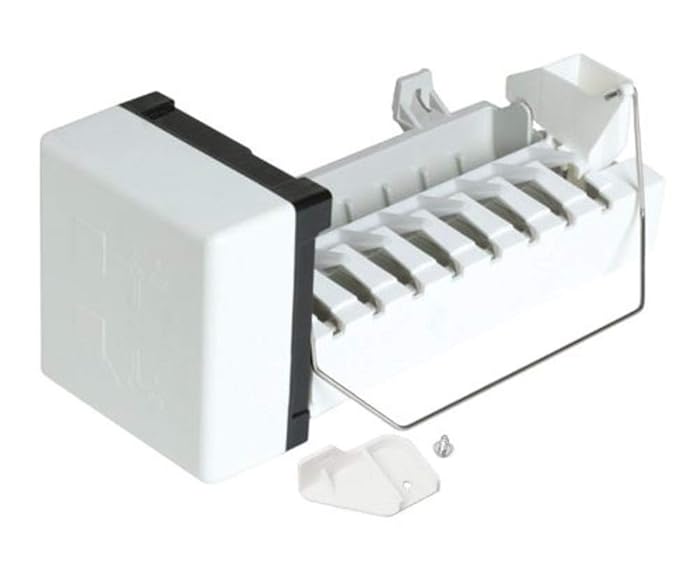
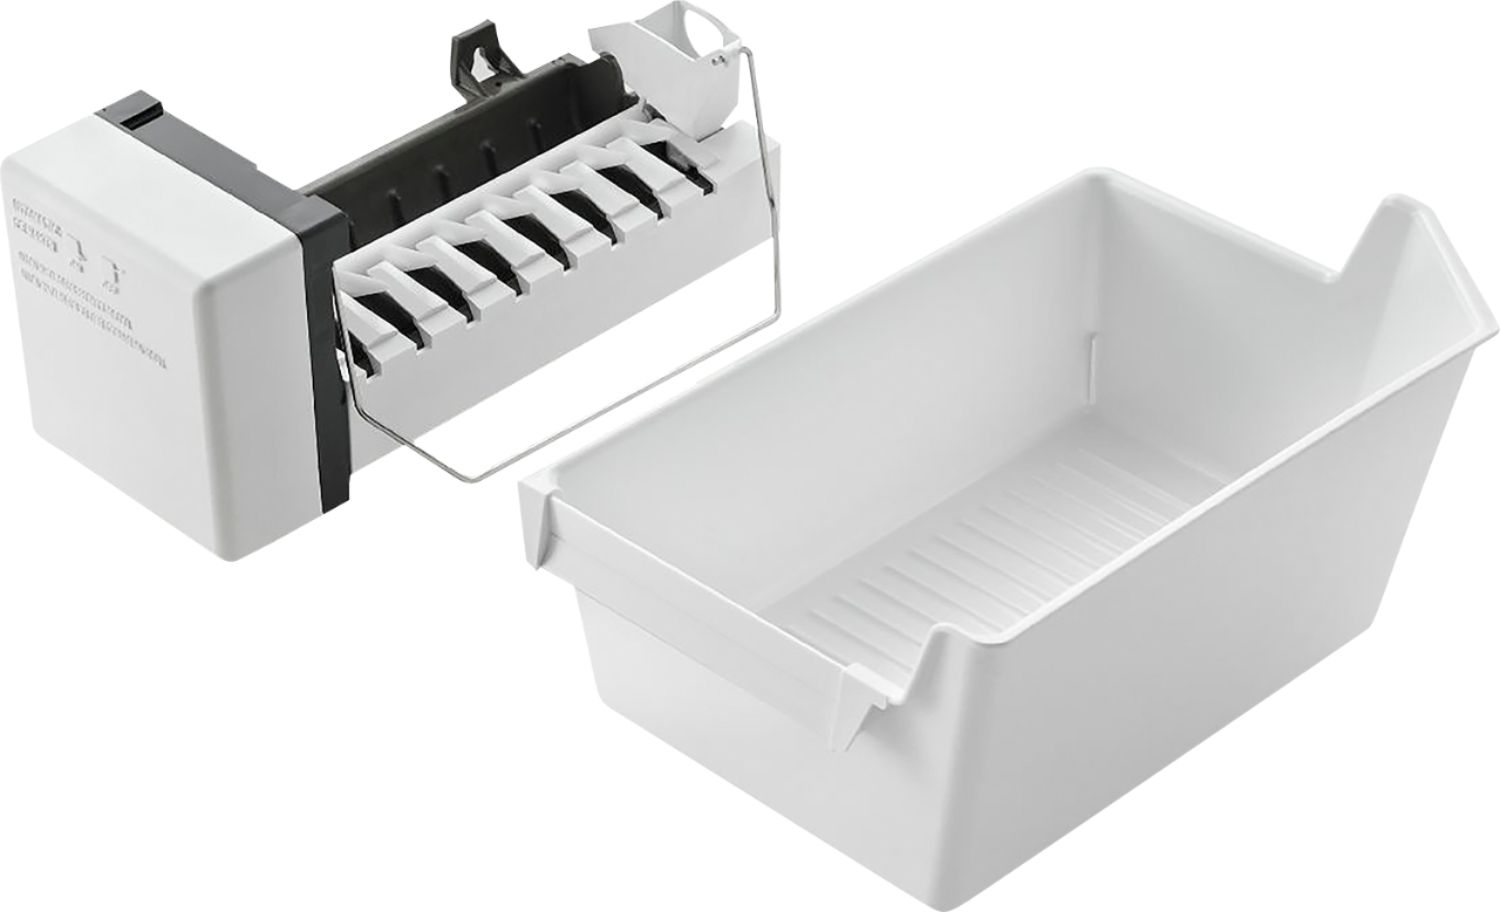
Now, it’s time to install the new one. Essentially, you’re just reversing the process. Line up the new ice maker with the mounting holes. Secure it with the screws. Crucially, reconnect the wire harness. Make sure it clicks into place, signifying a secure connection. This is one of those moments where you’ll feel a little surge of pride. You did that! You, with your own two hands, are bringing this appliance back to life!
Some ice maker replacements might have a small water tube that needs to be connected. Make sure this is seated properly. Again, the old one is your guide. Just replicate what you see.
The Waiting Game: Patience is a Virtue (Especially for Ice)
You’ve done it! The new ice maker is installed. You’ve screwed everything back together, and your freezer looks… well, like a freezer again. Now, before you get giddy with anticipation, there’s one more, incredibly important, step: plug your refrigerator back in. And then… you wait.
This is the part that tests your resolve. Your new ice maker needs time to acclimatize, to hook into the water line, and to start its first cycle. This isn't an instant gratification situation, unfortunately. Most manufacturers recommend waiting at least 24 hours for the ice maker to start producing ice. 24 hours! That feels like an eternity when you’re dreaming of perfectly chilled drinks. It’s like waiting for paint to dry, but with the promise of frosty cubes at the end.
During this waiting period, try not to open the freezer door obsessively. Resist the urge to peek. Resist the urge to tap on the ice maker. Just… let it do its thing. Imagine it’s a tiny, frozen miracle worker, diligently crafting the perfect cubes. Every time you open the door, you’re interrupting its flow, and who knows, maybe it’s shy.
Some people recommend emptying the first few batches of ice. This is because the new ice maker might have some residual plastic or manufacturing dust. It’s a good idea to err on the side of caution and discard the first couple of trays. So, after that agonizing 24-hour wait, you might have to wait a little longer for your first usable ice. It's a marathon, not a sprint, when it comes to ice production.
The Glorious Cascade: Success! (Hopefully!)
And then, it happens. You open the freezer door, perhaps with a little less trepidation this time, and you hear it. That familiar, comforting sound. A gentle clunk, followed by a cascade of ice. Oh, sweet, sweet sound of success! It’s a symphony of frozen water. Your Whirlpool side-by-side ice maker replacement has been a resounding success!
You can now confidently fill that glass with ice. You can host that barbecue without the dreaded "no ice" conversation. You can enjoy the simple pleasure of a perfectly chilled beverage. It’s a small victory, but in the grand scheme of appliance repairs, it feels epic. You’ve saved yourself money, you’ve learned a new skill (albeit a very specific one), and you’ve proven that you’re not afraid to get your hands a little dirty.
Of course, not every DIY repair goes perfectly. There’s always a chance you might run into an unexpected snag. Maybe the water line was frozen, or maybe you ordered the wrong part. If that happens, don't despair! Take a step back, re-evaluate, and don’t be afraid to call in a professional. But for many of us, tackling a Whirlpool side-by-side ice maker replacement is a very achievable DIY project. It’s a testament to the fact that with a little research, the right tools, and a healthy dose of perseverance, you can conquer even the most seemingly daunting household tasks. So, go forth and make ice, my friends. The world needs your perfectly chilled drinks!