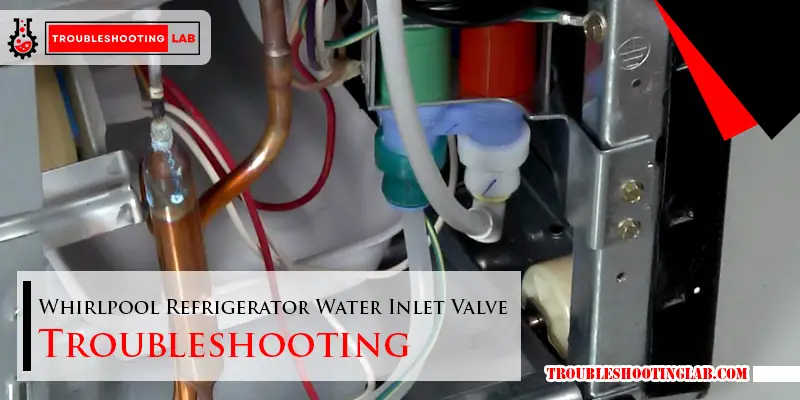
Replace Water Valve Whirlpool Refrigerator

So, the other day, I was mid-morning coffee, scrolling through some ridiculous cat videos (don't judge, it's a tough world out there), when I heard it. A faint, but persistent, drip… drip… drip. At first, I blamed the leaky faucet in the kitchen sink. It's an old house, you know? Things are bound to creak, groan, and, apparently, weep. But this drip was coming from the wrong direction. It was… cold. A quick peek behind the behemoth that is my Whirlpool refrigerator confirmed my suspicions. A tiny puddle was forming, steadily growing into a miniature lake. Oh, joy. Just what I needed on a Tuesday.
Now, I'm not exactly a DIY guru. My toolbox consists of a screwdriver I borrowed from a neighbor and a roll of duct tape that's seen better days. But the thought of calling a repairman for what seemed like a relatively minor (albeit, water-related) issue made my wallet do a little shudder. Besides, aren't we supposed to be more self-sufficient these days? Embrace the challenge? Channel our inner MacGyver? So, with a sigh and a prayer to the appliance gods, I decided this was a job for me. And if I can do it, chances are, you probably can too. We're talking about replacing the water valve on a Whirlpool refrigerator, folks. It sounds intimidating, but trust me, it's more about a bit of patience and the right approach than anything else.
First things first, let's acknowledge the elephant in the room. Or, in this case, the refrigerator in the kitchen. These things are heavy. Like, "need a team of burly lumberjacks" heavy. So, safety first, always. Before you even think about unscrewing anything, you need to disconnect the power. Seriously, don't be a hero. Find that plug and yank it out. Trust me on this one. The last thing you want is to be fiddling with water lines and suddenly feel a jolt that makes your hair stand on end. And while we're at it, if your fridge is one of those fancy ones with the water dispenser and ice maker, you’ll also need to turn off the water supply. There’s usually a shut-off valve behind the fridge or under the sink that feeds the line. Locate it and give it a good turn. No water, no accidental floods. Easy peasy, right?
Must Read
The "Drip, Drip, Drip" Diagnosis
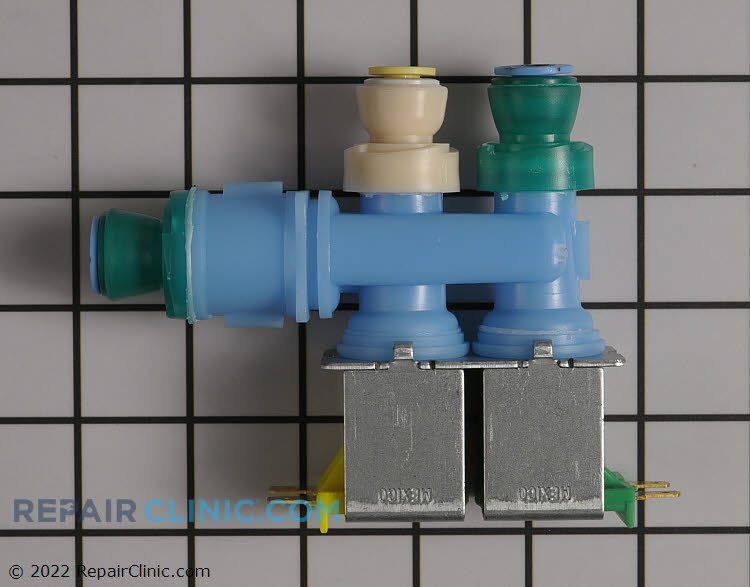
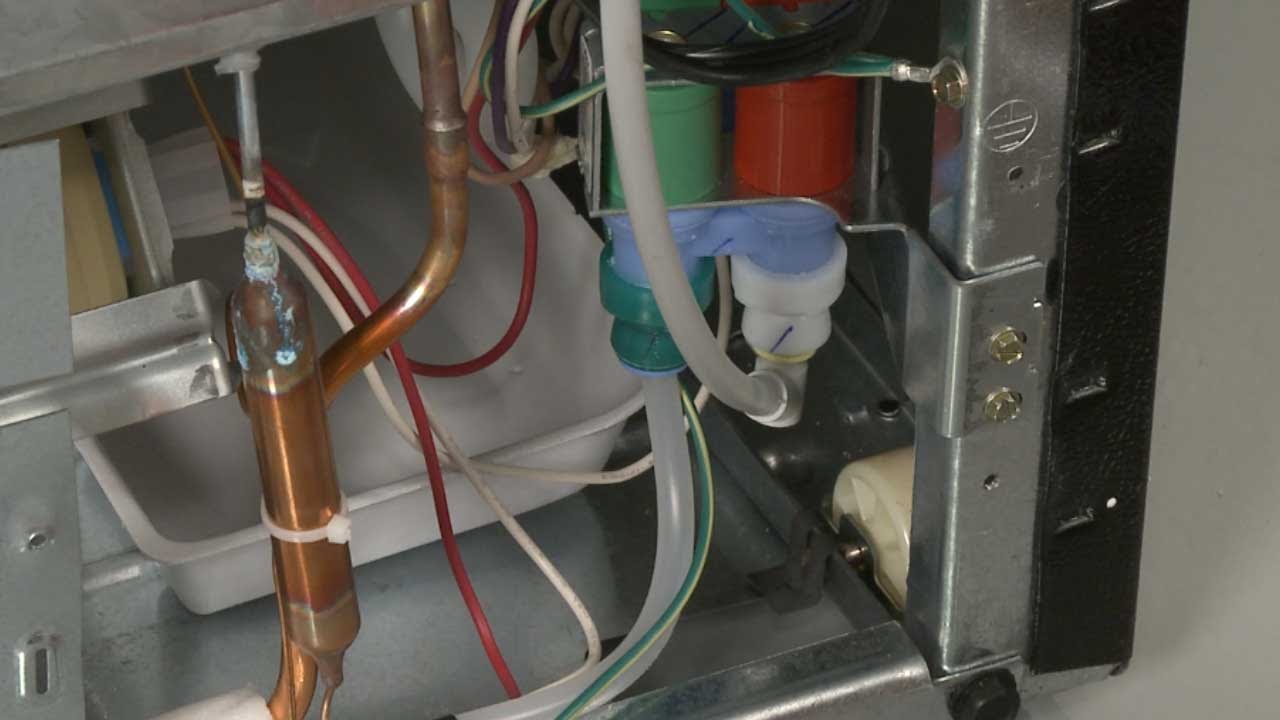
So, that little puddle was the alarm bell. But what exactly is the water valve on a Whirlpool refrigerator? Think of it as the gatekeeper for all the glorious, filtered water that ends up in your ice maker and water dispenser. It's usually a small, plastic component, often located at the back of the fridge, near where the water line connects. When it starts to malfunction, it can manifest in a few ways. The most obvious is, of course, a leak. But you might also notice that your ice maker isn't producing ice, or that the water dispenser is dribbling rather than gushing. It’s like the little dude at the gate is either too tired to open up properly, or he’s got a hole in his uniform.
Diagnosing the problem might involve a bit of detective work. If you've got a leak, trace it back to its source. Is it coming directly from the valve? Is the connection loose? Sometimes, it’s just a loose fitting, and a simple tighten-up can do the trick. But if it’s consistently dripping from the valve itself, or if the plastic casing looks cracked or brittle, it’s a pretty good indicator that the valve has seen better days. Don't be afraid to get your hands (and maybe your phone's flashlight) dirty. Peer into the nooks and crannies. It’s not a beauty contest back there, so don't expect any gleaming chrome.
Where to Find Your Replacement Valve (Without Selling a Kidney)
Once you've confirmed that your water valve is indeed the culprit, the next step is to find a replacement. And here's where things can get a little bit… specific. Whirlpool has a whole range of refrigerators, and not all water valves are created equal. So, the absolute best way to find the correct part is to consult your refrigerator's model number. You can usually find this on a sticker inside the refrigerator compartment, often on one of the side walls or near the crisper drawers. It’s usually a string of letters and numbers. Write it down. Guard it with your life. It’s your golden ticket.
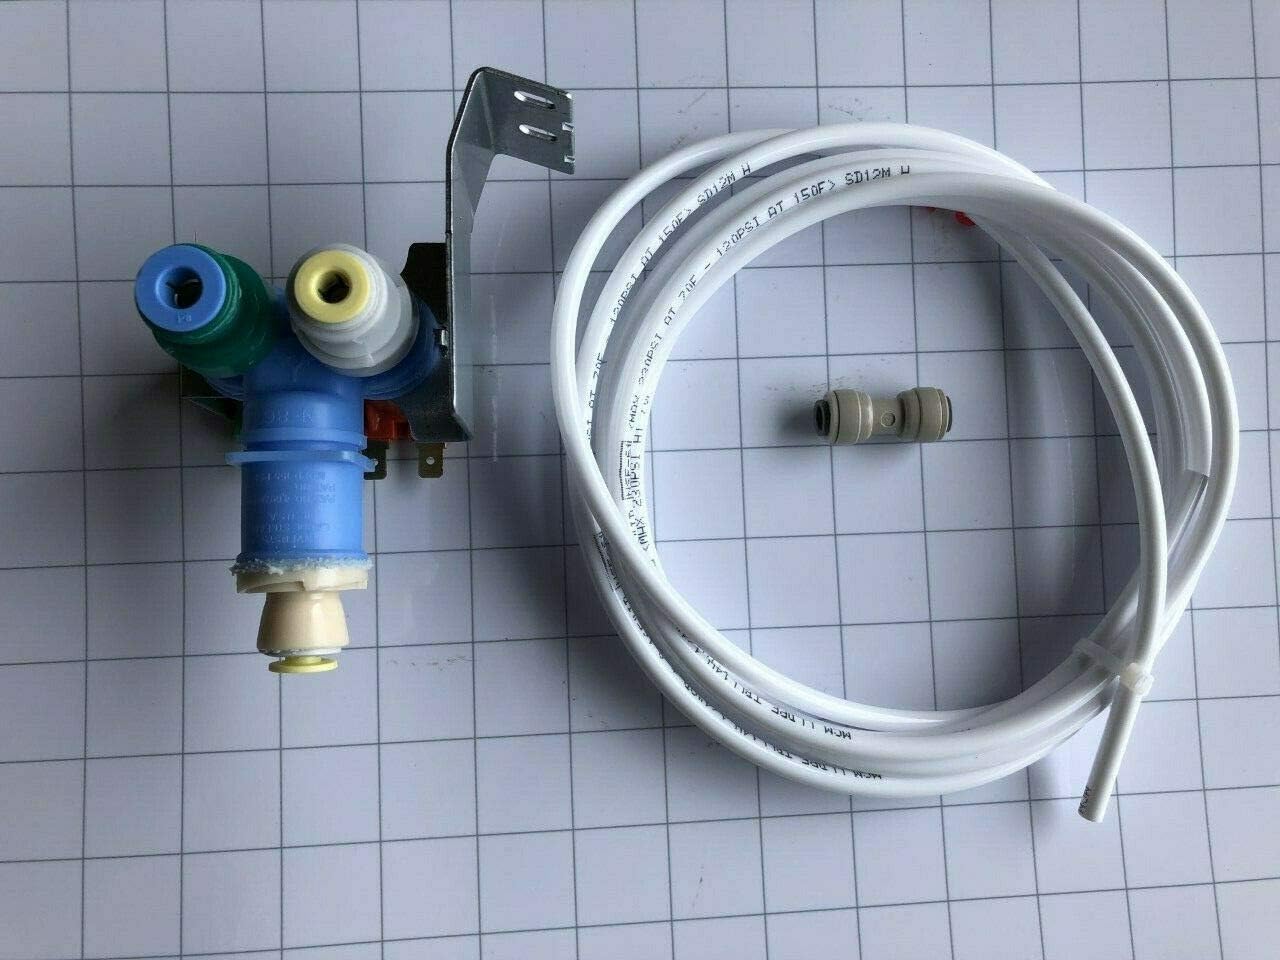
With your model number in hand, you can head to a few different places. The most obvious is your local appliance parts store. They can be a lifesaver if you need the part yesterday. Alternatively, you can search online. There are plenty of reputable appliance parts websites that will allow you to enter your model number and find the exact part you need. Think of it like online shopping for your fridge's internal organs. A bit morbid, perhaps, but incredibly practical. You can also often find diagrams and exploded views of your refrigerator online, which can be incredibly helpful in identifying the correct part and understanding how it fits.
Now, a word to the wise: sometimes, the original part might be discontinued. Don't panic! Often, there are compatible aftermarket parts that will do the job just as well. The website or store you're using should be able to help you find a suitable alternative. It's always a good idea to read reviews if you're buying an aftermarket part, just to be sure others have had success with it. And hey, sometimes the aftermarket ones are even a bit cheaper, which is always a win in my book. Because let's face it, appliance repairs aren't exactly budget-friendly.
The Grand Unveiling (and Re-veiling)
Alright, you've got your new water valve. You've bravely disconnected the power and shut off the water. It's time to get down to business. The exact location and attachment method of the water valve can vary slightly depending on your specific Whirlpool model. But generally, it’s going to be on the back of the fridge. You might need to pull the refrigerator out a bit further to get good access. If you're struggling to move it, consider using furniture sliders. They're cheap and make a world of difference. Seriously, if you ever move furniture, get yourself some of those.
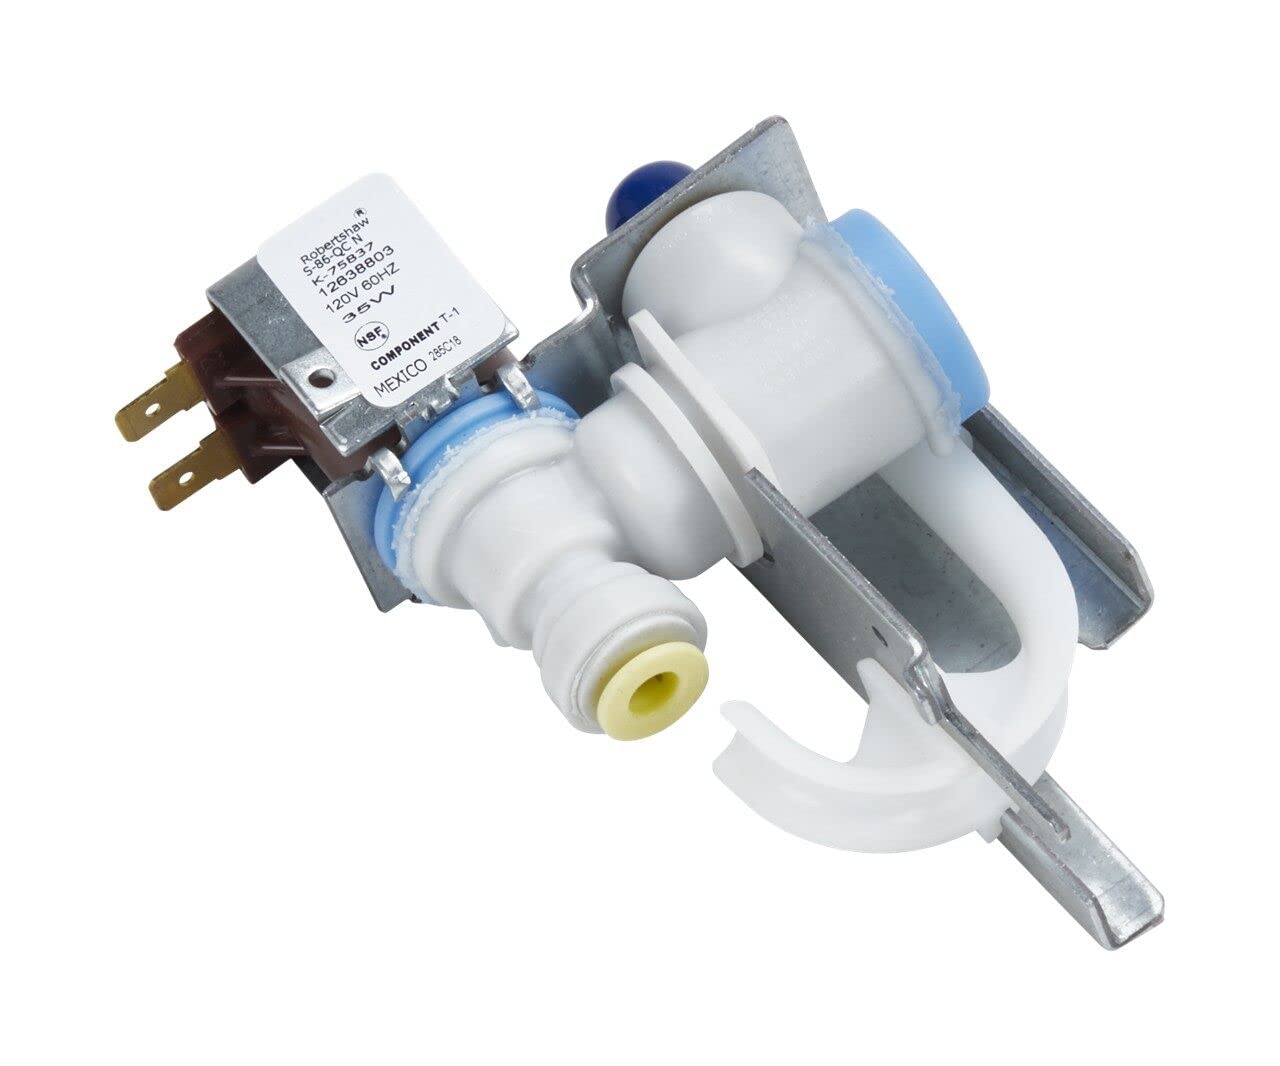
Once you can see the valve clearly, you’ll typically find that it's connected to the water supply line with a compression fitting or a clip. You might also see a couple of wires connected to it if it's an electrically operated valve. Take a good look at how everything is connected before you start taking it apart. A quick photo with your phone can be your best friend here. It's like a little cheat sheet for reassembly. Do not underestimate the power of a well-timed photograph!
To remove the old valve, you'll usually need a wrench for the compression fitting. Be gentle but firm. You don't want to strip the threads. If there are clips, they might just pop off with a bit of persuasion. As for the electrical connections, they usually have little tabs that you need to press to release them. Again, take your time. This isn't a race. It's a marathon of careful deconstruction.
The Moment of Truth: Installing the New Valve
Now for the fun part: putting in the new shiny valve! Reversing the process is generally how it works, but with a few important notes. Make sure the new valve is oriented correctly. It’s not rocket science, but you don’t want to install it upside down or backward. The water inlet should connect to your house water line, and the outlet(s) should go to your ice maker and/or water dispenser.

When you’re connecting the water line to the new valve, ensure a snug fit. If it’s a compression fitting, you might want to wrap a bit of plumber's tape around the threads for a better seal. Don’t overtighten, though! You’re aiming for a watertight seal, not to crack the fitting. Reconnect any electrical wires, making sure they click firmly into place. Again, refer to your handy-dandy photo if you’re unsure.
Once everything is connected and secured, it's time for the big reveal. Slowly turn the water supply back on. Listen carefully. Are there any immediate drips or leaks? Give it a few minutes. Sometimes, a slow leak might not appear right away. Keep an eye on it. If all looks good, reconnect the power to the refrigerator. You might want to run the water dispenser a few times to flush out any air and sediment from the new valve and line. And then, the ultimate test: check your ice maker. Is it starting to produce ice? Is the water dispenser flowing normally?
Troubleshooting Tips (Because Sometimes Things Go Wrong)
So, what if it’s still dripping? Or what if you’ve got a new leak? Don’t throw your tools at the wall just yet! Let’s think. Did you tighten the fittings enough? Is the water line itself kinked or damaged? Sometimes, the issue might not be the valve itself, but the line connecting to it. Inspect the entire length of the water line from the wall to the valve for any visible damage.
If you’ve followed all the steps and are still having trouble, it might be time to swallow your pride and call in a professional. There’s no shame in admitting defeat, especially when it comes to complex appliances. Sometimes, the problem might be deeper than a simple valve replacement. Perhaps the ice maker itself is faulty, or there’s an issue with the water pressure in your home. A qualified technician will have the tools and experience to diagnose those more complex problems.
But for the majority of us, a leaky water valve on a Whirlpool refrigerator is a very achievable DIY fix. It’s a satisfying project that saves you money and gives you that little boost of confidence. You’ve stared down a potentially watery disaster and emerged victorious. You've probably learned more about your refrigerator's inner workings than you ever thought you would. And who knows, maybe you’ll even start eyeing up other appliance repairs with a newfound sense of bravado. Just don't go trying to rebuild the compressor on your fridge next week, okay? Let's stick to the valves for now.
The key is to be patient, methodical, and to not rush the process. Take your time, gather the right information, and if you’re ever unsure, don’t be afraid to look for tutorials online or ask for advice. There are tons of helpful videos and forums out there dedicated to appliance repair. You’re not alone in this! So, the next time you hear that ominous drip, drip, drip, don't despair. Grab your borrowed screwdriver, a healthy dose of determination, and get ready to conquer that leaky water valve. You’ve got this!