Kitchenaid Dishwasher Door Spring Replacement

Oh, the KitchenAid dishwasher door! That majestic portal to sparkling clean dishes. But lately, has yours been... well, a little grumpy? Does it fight you when you try to open it, or slam shut with the force of a thousand angry squirrels? You might be experiencing the dreaded door spring saga!
It's like your dishwasher's personality has changed. One minute it's your faithful servant, the next it's a stubborn mule refusing to cooperate. This isn't just a minor annoyance; it’s a full-blown domestic drama unfolding in your kitchen!
Don't despair, brave homeowner! The culprit is often a tiny, yet incredibly powerful, component: the dishwasher door spring. These unsung heroes work tirelessly, day in and day out, to give your door that smooth, effortless glide. When they decide to take a vacation, things can get a bit... dramatic.
Must Read
Think of your dishwasher door as a graceful dancer. The springs are its perfectly choreographed ballet slippers, allowing it to move with elegance and precision. When those slippers wear out, the dancer starts to stumble. And nobody wants a stumbling dishwasher dancer, right?
The Mystery of the Sagging Door
You know that feeling when you open the door and it feels like it's falling off its hinges? Or perhaps it just doesn't stay open at all, forcing you to prop it up with a strategically placed dish towel like a miniature, wobbly fort? That's your KitchenAid dishwasher door spring sending out an SOS!
It's like your dishwasher is saying, "Help me, Obi-Wan Kenobi! You're my only hope!" And guess what? You are its only hope for a smooth, functioning operation. The good news is, this particular hope isn't some far-off galaxy; it's right here in your kitchen, waiting to be reignited.
This isn't rocket science, folks. It’s more like advanced Lego building, but with less plastic and more triumphant "aha!" moments. You've got this!
Unmasking the Culprit: It's All About the Springs
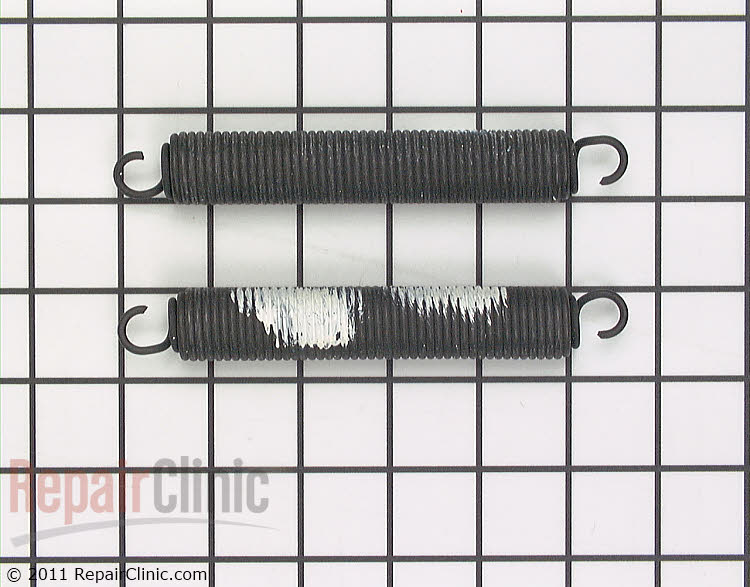
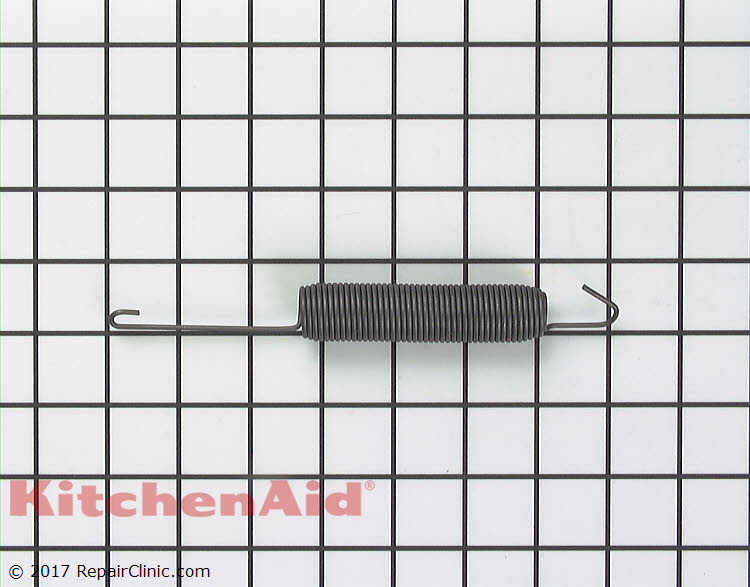
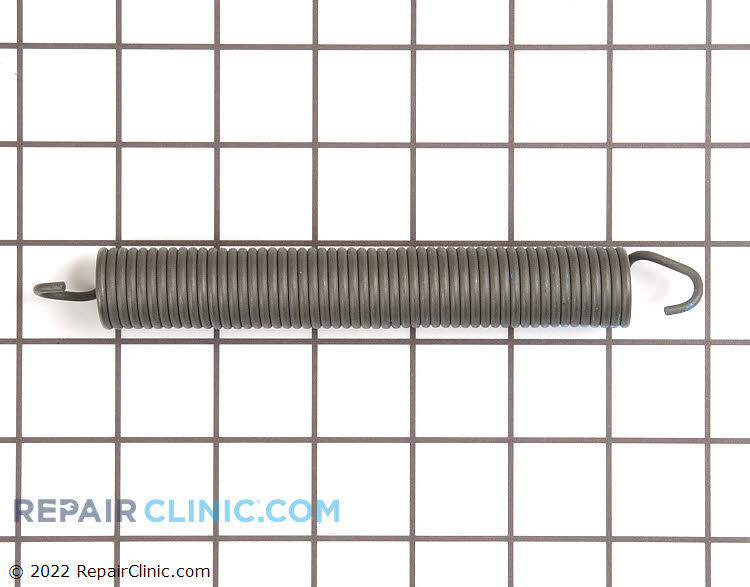
So, what exactly are these mystical door springs? Imagine tiny, coiled metal marvels. They're engineered with just the right tension to counterbalance the weight of your entire dishwasher door, which, let's be honest, can get pretty hefty with all those plates and bowls inside.

They live a tough life, enduring thousands of open and close cycles. It's a thankless job, but someone’s gotta do it! Over time, even the mightiest springs can get tired. They stretch, they weaken, and eventually, they can even snap.
When a spring decides to go on strike, the entire door mechanism feels the strain. One side might sag, the door might refuse to stay up, or it might descend with alarming speed. It’s a mechanical temper tantrum, and the springs are usually the instigators.
The Moment of Truth: When Springs Say "Adios!"
You might hear a strange sproing or a disheartening snap followed by a noticeable change in your door's behavior. Or perhaps it’s a gradual decline, a slow surrender to gravity. Either way, when the door starts acting up, it's a pretty strong indicator that the springs are past their prime.
Think of it like your favorite pair of jeans. Eventually, they lose their shape, they get a bit saggy, and they just don't hold you in the same way. Your dishwasher door springs are experiencing a similar fate, but with a lot more metal involved!
Don't beat yourself up about it. It's not a reflection of your dishwasher maintenance skills; it's just the natural lifecycle of these hardworking parts. They’ve served you well, but it's time for an upgrade!

The Heroic Quest: Gathering Your Tools
Now, for the fun part! You're about to embark on a noble quest to restore your dishwasher's former glory. And guess what? You don't need a suit of armor or a dragon to slay. Just a few basic tools and a can-do attitude!
First, you’ll need to identify your specific KitchenAid dishwasher model. This is crucial because springs are not one-size-fits-all! A quick peek at your dishwasher's manual or a search online using its serial number will be your trusty compass.
Next, you'll need a set of screwdrivers (likely a Phillips head and maybe a flathead), possibly some pliers, and of course, your shiny new replacement door springs. You can often find these online from reputable appliance parts retailers. Don’t forget a towel or a drop cloth to protect your floor – and your dignity!
The Grand Unveiling: Accessing the Springs
This is where things get a little hands-on. Typically, the door springs are located on the bottom sides of the dishwasher door. You'll often need to remove the lower kick plate or access panel to get to them. It's like discovering a secret passage!
This might involve unscrewing a few fasteners or simply prying a panel off. Don't be afraid to get a little leverage, but remember, gentleness is key. You're coaxing, not commanding!

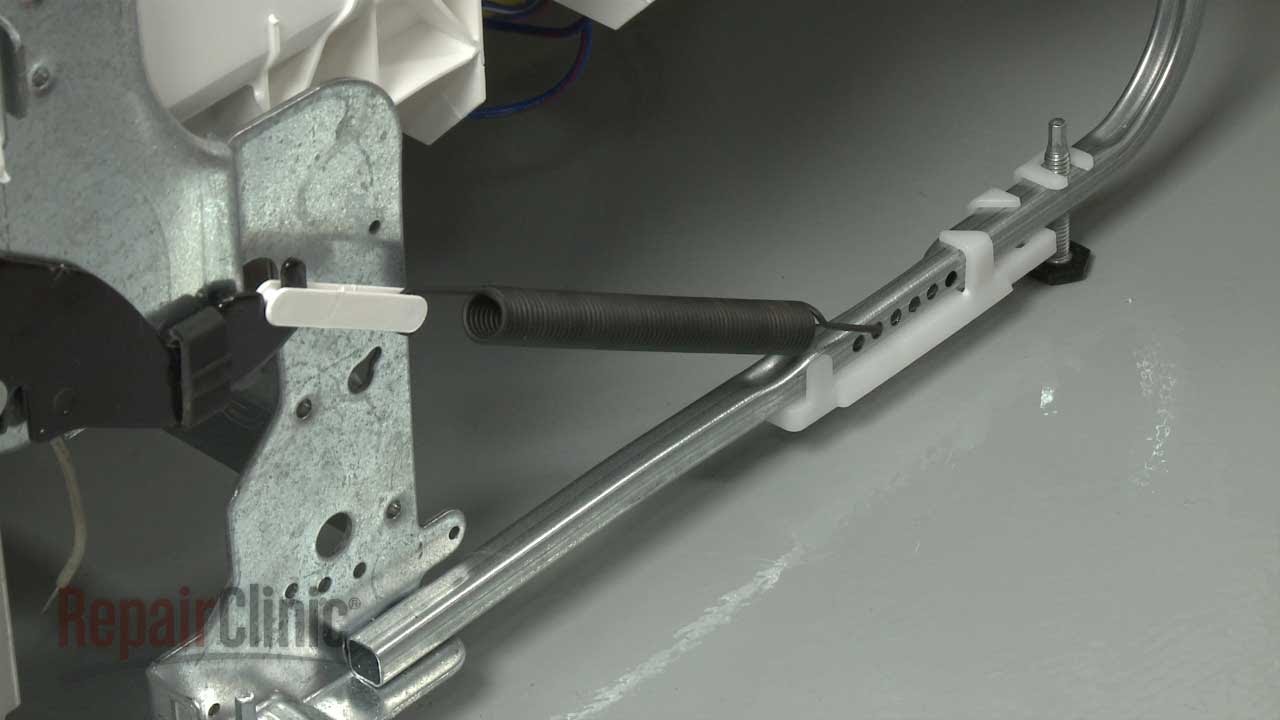
Once that panel is off, you'll see the springs in all their glory, attached to a bracket on the door and another on the dishwasher body. They might look a little intimidating, but fear not! They're just metal coils waiting to be replaced.
The Delicate Dance: Removing the Old Springs
This is the part where you channel your inner surgeon or bomb defuser. Carefully observe how the old spring is attached. You’ll likely need to use your pliers to release the tension on the spring and detach it from its anchor points.
Take your time. This is not a race. If the spring is particularly stubborn, a little gentle persuasion with your screwdriver might be in order. Remember, you’re working with tension, so always be mindful of where the spring is pointing!
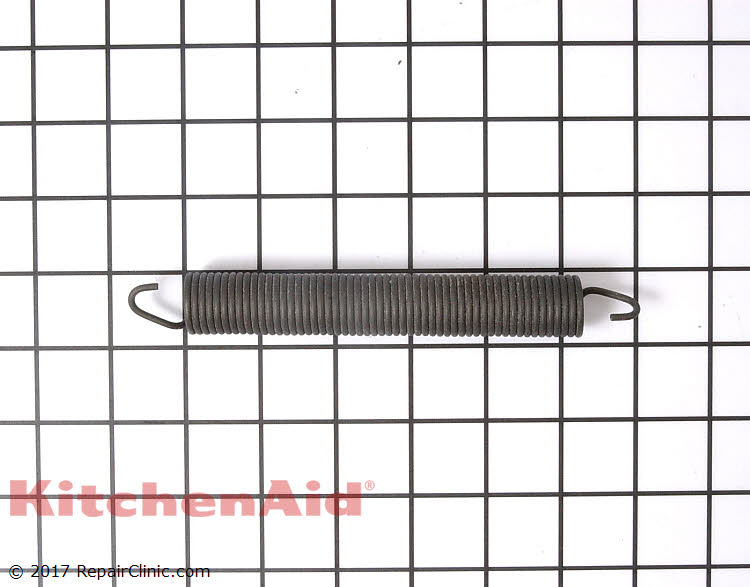
Once the old spring is detached, you might notice it looks a bit... sad. Stretched out, a little rusty, or even broken. This is proof positive that you’re on the right track!
The Moment of Rebirth: Installing the New Springs
Now for the triumphant moment! Take your shiny new KitchenAid dishwasher door springs and prepare to install them. They should be the exact same size and tension as the old ones. Again, your model number is your best friend here!
Reverse the removal process. You'll need to carefully attach one end of the new spring to its anchor point, and then, with a bit of careful maneuvering and leverage (your pliers will be invaluable here!), hook the other end into place. This can require a good amount of force, so brace yourself!
It might take a few tries, and you might feel like you’re wrestling an invisible octopus, but you will get it! The feeling of success when that spring clicks into place is pure, unadulterated joy.
The Final Flourish: Testing Your Handiwork
With both springs replaced (it's always best to replace them in pairs, like matching socks!), it's time for the grand reveal. Reattach any panels you removed, ensuring everything is secure. Then, take a deep breath and slowly, tentatively, open your dishwasher door.
Does it glide open smoothly? Does it stay put at whatever angle you desire? Does it not threaten to detach itself and make a break for freedom? If you answered "yes" to all of these, then congratulations, you are a Dishwasher Door Whisperer!
You’ve conquered the KitchenAid dishwasher door spring replacement, and your kitchen will forever be grateful. Now go forth and load those dishes with the confidence of a seasoned pro! Your dishwasher is back to its graceful, helpful self, all thanks to your heroic efforts.
Remember, a happy dishwasher door makes for a happy kitchen, and a happy kitchen is where all the best meals and memories are made! You've just saved yourself a good chunk of change and gained a valuable DIY victory. High fives all around!