How To Work Out M2 For Flooring
Ah, flooring. It’s the unsung hero of our homes, the silent canvas upon which our lives are lived. From the comforting crunch of autumn leaves underfoot (if you're lucky enough to have a charming porch) to the slick glide of a dance party in your living room, your floor sees it all. And when it comes to choosing the right material, especially when you're eyeing up that gorgeous, luxe look of marble or the earthy charm of hardwood, you’ll inevitably stumble upon a little acronym that might make your eyes glaze over: M2. But fear not, my fellow home enthusiasts! Working out your M2 for flooring isn't some arcane mathematical puzzle reserved for engineers. It's actually quite simple, and once you’ve got it down, you’ll feel like a DIY decorating guru, ready to conquer any renovation project with confidence.
Think of M2 as your flooring’s superpower metric. It’s not about measuring the power of your biceps (though a good workout is always a bonus!), but rather the square meter of the space you need to cover. In many parts of the world, particularly those that have embraced the metric system with open arms (we’re looking at you, Europe and a good chunk of the globe!), M2 is the standard. It’s the lingua franca of tiles, planks, and rugs.
So, why is this so important? Well, imagine you’re head-over-heels for a stunning mosaic tile, the kind that whispers of Roman villas and artisanal craftsmanship. You’ve pictured it in your mind’s eye, gracing your kitchen backsplash. If you only order enough tiles for, say, half the wall, you’re in for a rather frustrating, and potentially expensive, trip back to the store. And let’s not even start on the dreaded pattern match nightmares. Getting your M2 right from the get-go saves you time, money, and a whole lot of potential huffing and puffing.
Must Read
The Humble Tape Measure: Your New Best Friend
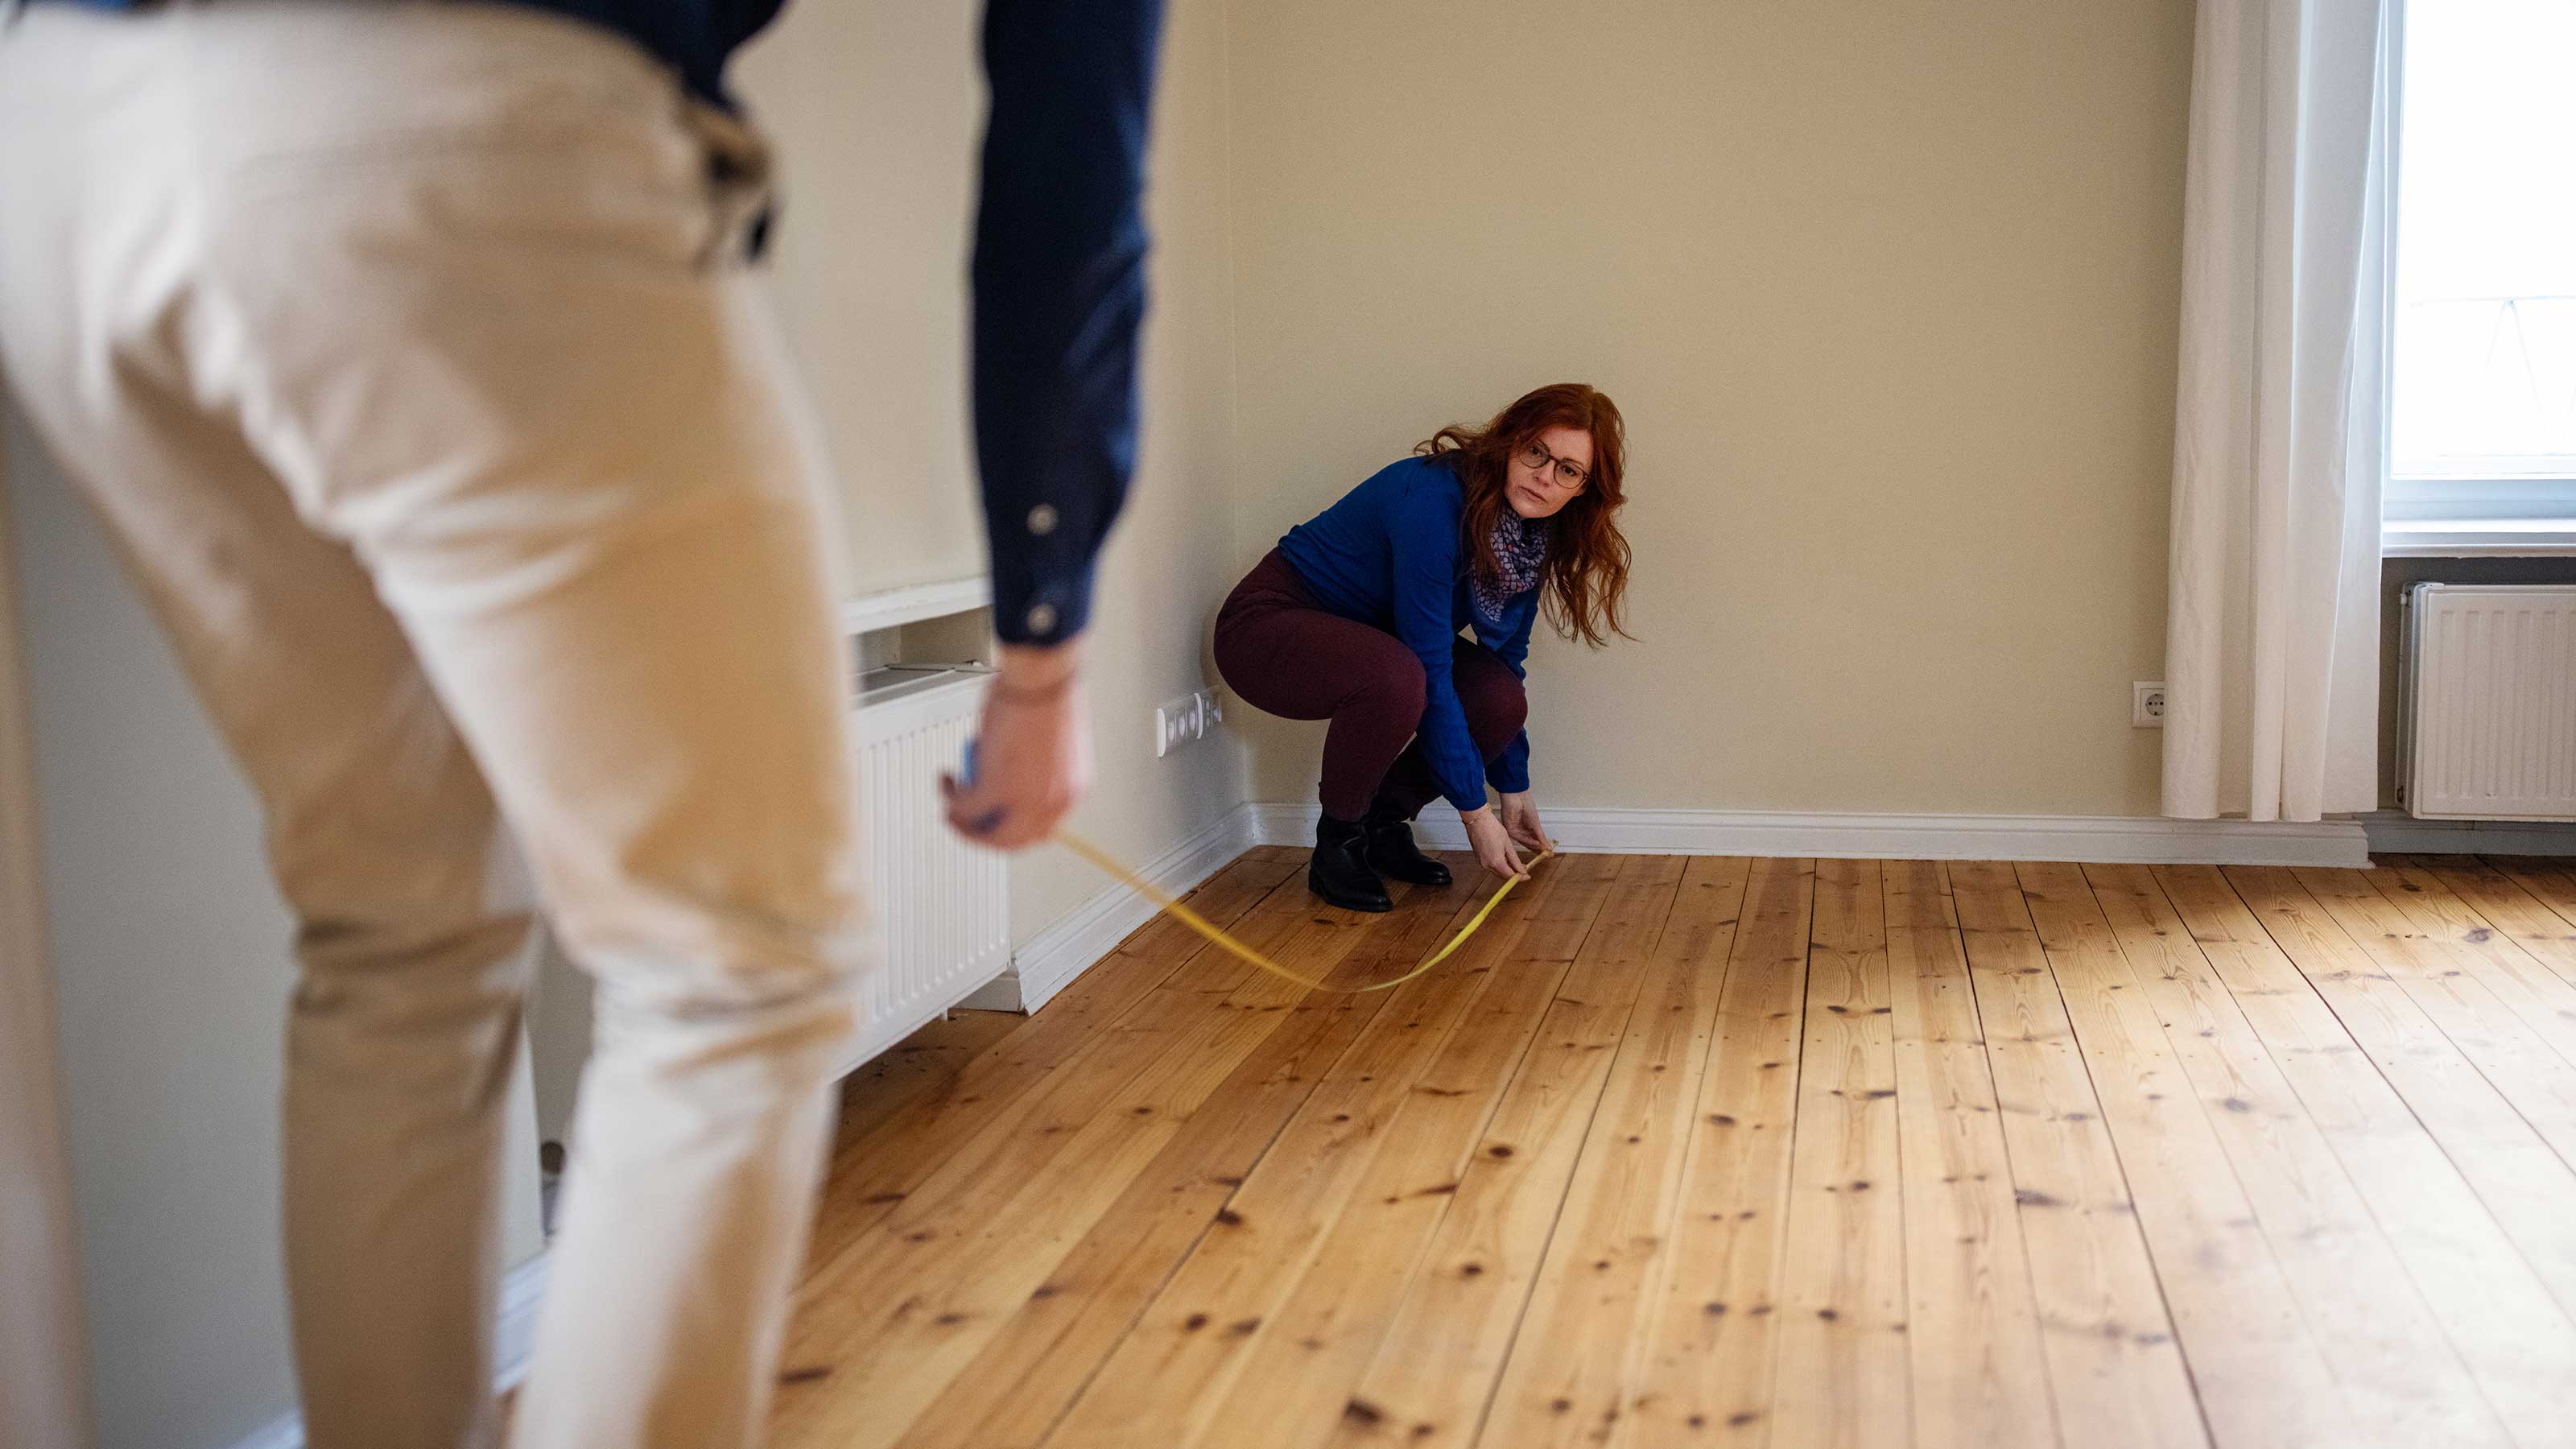
Let’s dive into the nitty-gritty, shall we? The most essential tool in your M2-calculating arsenal is, drumroll please… the tape measure! This trusty companion has probably witnessed more of your home’s quirks than your significant other. Grab it, extend it, and let’s get to work.
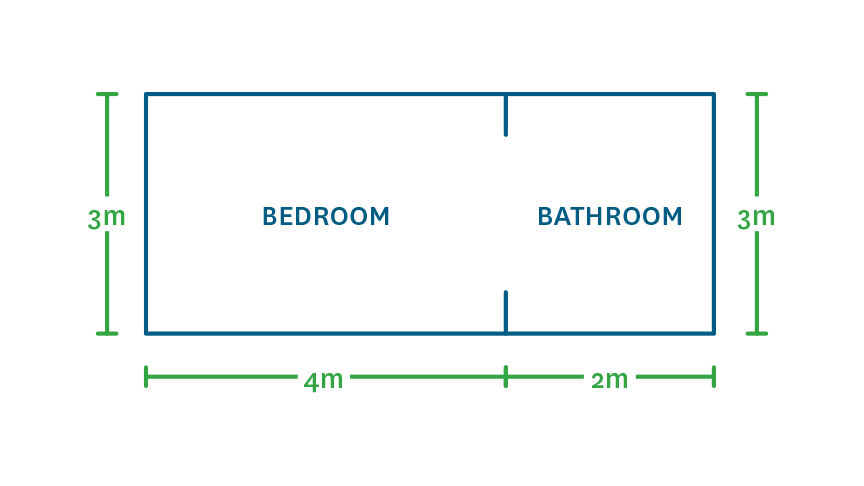
For a simple, rectangular room, it's as easy as A-B-C. Measure the length of the room and the width of the room. Make sure you're measuring from wall to wall, and try to be as accurate as possible. Don't just eyeball it; those little discrepancies can add up. Think of it like getting the perfect shot in a game of pool – precision is key.
Once you have your length and width in meters (if your tape measure is in feet and inches, don’t panic, we’ll cover conversions later!), the magic formula comes into play:
Area = Length x Width
So, if your living room is 5 meters long and 4 meters wide, your M2 is simply 5m x 4m = 20 M2. Voila! You’ve just calculated the basic area of your space. Easy peasy, right? It’s almost as satisfying as finding that last, perfectly ripe avocado at the grocery store.
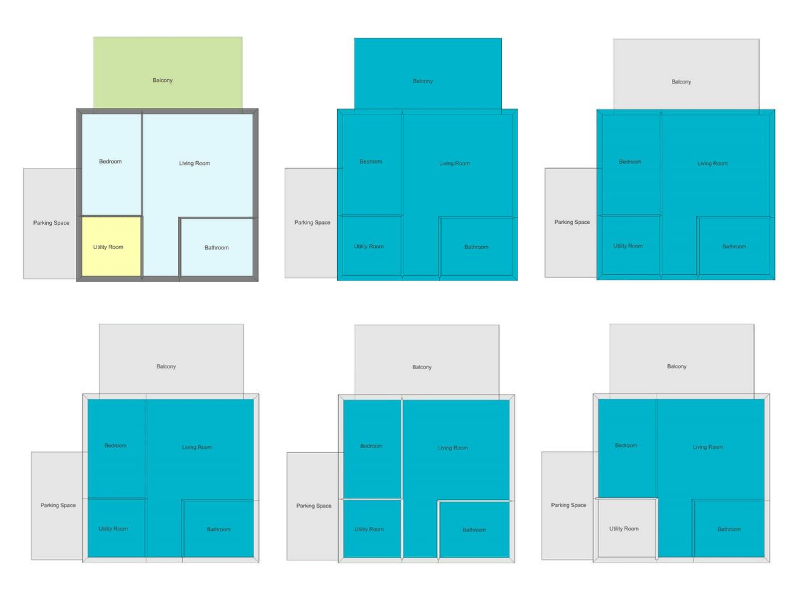
Conquering Irregular Shapes: Where the Fun (and a Little Math) Begins
Now, not all of us are blessed with perfectly square or rectangular rooms. Our homes are often a delightful jumble of nooks, crannies, and bay windows that add character and, yes, a bit of complexity to our flooring calculations. But don't let that deter you. We can still conquer these geometric challenges with a little strategic thinking.
For oddly shaped rooms, the trick is to break them down into simpler, more manageable shapes. Think of it like a culinary challenge – you wouldn’t try to bake a complex cake all in one go; you’d prepare your ingredients and layers separately.
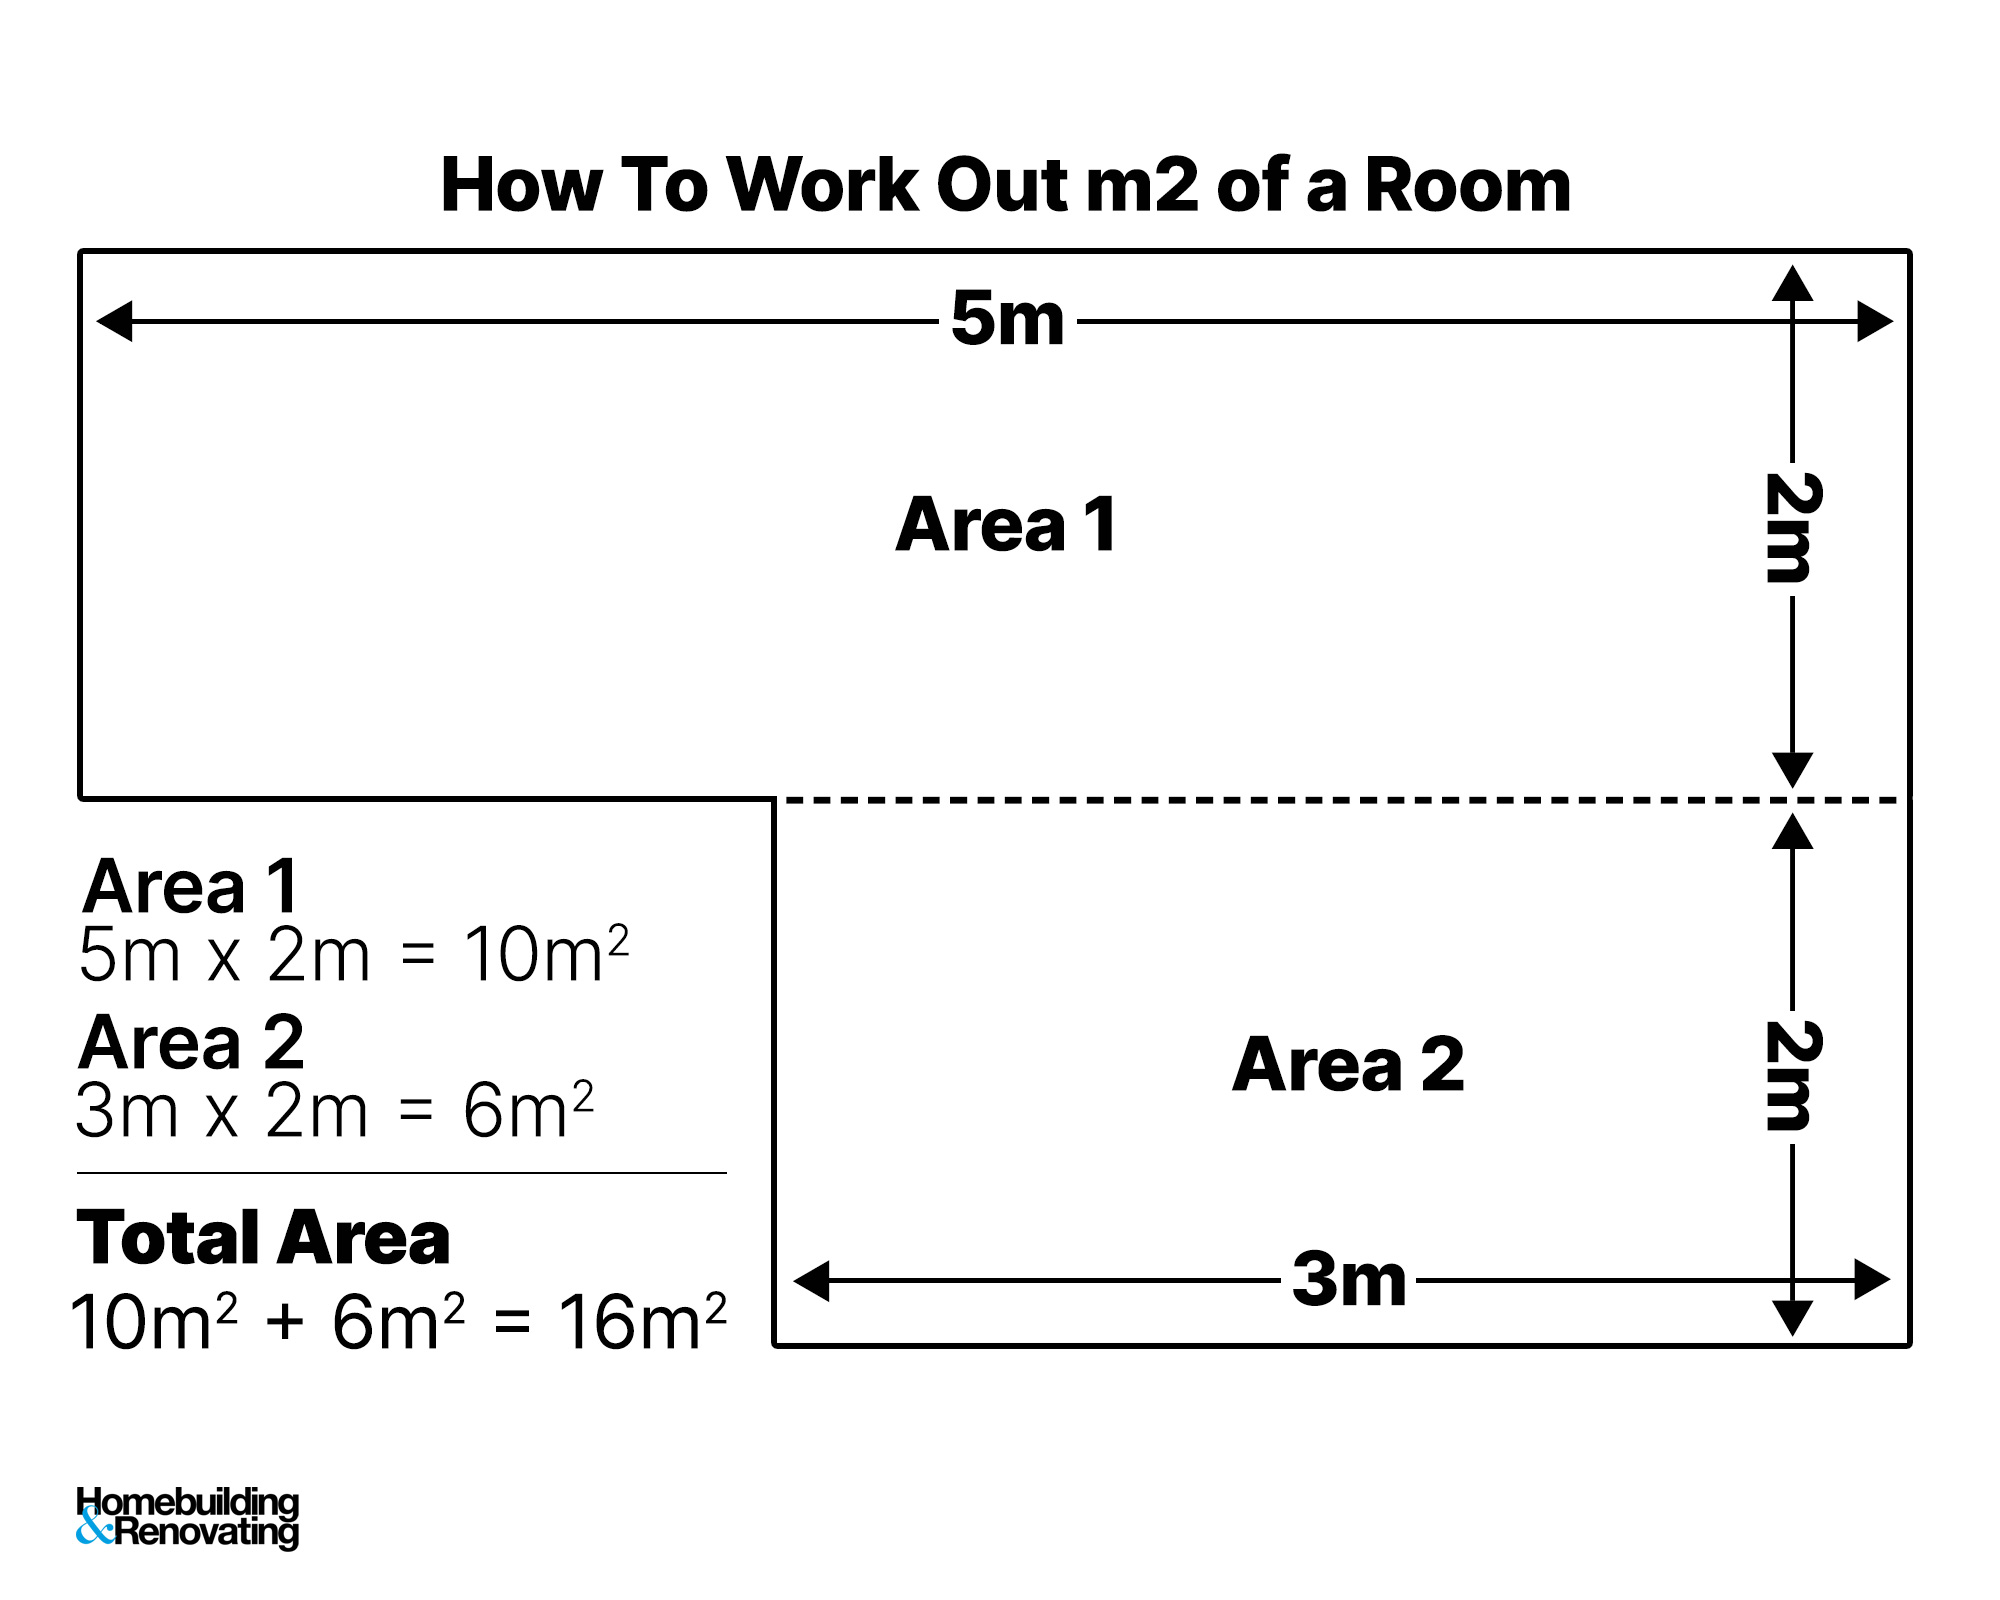
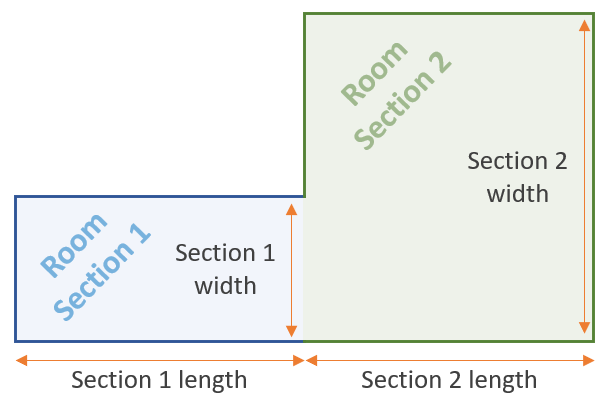
If your room looks like a wonky 'L', for instance, you can divide it into two rectangles. Measure the length and width of each rectangle individually, calculate the M2 for each, and then simply add them together. This is where a sketchpad or even a napkin can be your best friend. Jotting down your measurements and the shapes you're creating can save you a world of confusion.
Bay windows, alcoves, or even awkward closet spaces can be treated as separate rectangular or square areas. Measure each one individually, calculate its M2, and then add those figures to your main room’s M2. It's like solving a jigsaw puzzle – each piece fits together to reveal the bigger picture.
Pro Tip: For very complex shapes, you might even be able to break them down into triangles. The formula for the area of a triangle is (base x height) / 2. If you’re feeling particularly adventurous or you’re dealing with a room that’s more abstract art than architecture, this might come in handy. Just remember, the goal is to approximate and get a workable number.
The Magic of Conversions: When Feet Meet Meters
What if your trusty tape measure only speaks in feet and inches, but your flooring supplier speaks exclusively in M2? Don’t sweat it! This is where a little bit of conversion magic comes in. It’s not as daunting as deciphering ancient hieroglyphics, I promise.
The golden rule to remember is: 1 meter is approximately 3.28 feet.
So, if you’ve measured your room in feet, you have two main options:
1. Convert your measurements to meters before calculating the area. Divide your length in feet by 3.28 and your width in feet by 3.28. Then, multiply these meter measurements together to get your M2. For example, if your room is 15 feet long, 15 / 3.28 ≈ 4.57 meters. If it's 12 feet wide, 12 / 3.28 ≈ 3.66 meters. Then, 4.57m x 3.66m ≈ 16.7 M2.
2. Calculate the area in square feet and then convert to square meters. First, multiply your length in feet by your width in feet to get the area in square feet. For our example: 15 feet x 12 feet = 180 square feet. Then, to convert square feet to square meters, you need to know that 1 square meter is approximately 10.76 square feet. So, divide your square footage by 10.76. 180 sq ft / 10.76 sq ft/M2 ≈ 16.7 M2.
Whichever method you choose, the result should be roughly the same. It’s like choosing between taking the scenic route or the highway – you’ll get to your destination either way. Many online calculators can also do these conversions for you in a flash, if you prefer to bypass the manual calculation.
The Crucial "Wastage" Factor: Because Life Isn't Always Perfect
Now, here’s a vital piece of advice that separates the DIY novices from the seasoned pros: always buy more than you think you’ll need. This is where the concept of "wastage" comes into play.
Why wastage? Well, think about cutting tiles to fit around irregular shapes, doorways, or awkward corners. You’re going to have offcuts. Even with straight cuts, sometimes a plank might have a slight defect, or you might mismeasure and have to make a fresh cut. It’s not about being pessimistic; it’s about being prepared.
The general rule of thumb for wastage is to add 5-10% to your calculated M2. For simpler, rectangular rooms with minimal cuts, 5% might suffice. However, if you’re dealing with intricate patterns, lots of angles, or smaller tiles that require more cutting, lean towards the higher end of 10% or even a little more.
So, if your room is 20 M2, you’d add 5% wastage: 20 M2 x 0.05 = 1 M2. Your total order would be 20 M2 + 1 M2 = 21 M2. If you opt for 10% wastage: 20 M2 x 0.10 = 2 M2. Total order: 20 M2 + 2 M2 = 22 M2.
This extra material acts as your insurance policy against errors, defects, and those inevitable "oops" moments. It’s better to have a few spare tiles or planks left over that you can store for future repairs than to be short and have to track down the exact same batch of flooring, which might have been discontinued. Imagine trying to find that one, specific shade of distressed oak from three years ago – not fun!
Beyond the Basics: Considering Specific Flooring Types
While the M2 calculation remains the same, the way you apply it and the wastage percentage might vary slightly depending on the type of flooring you're choosing.
Tiles (ceramic, porcelain, natural stone): These are the most common candidates for precise M2 calculations and wastage. As mentioned, 5-10% is a good starting point. For mosaic tiles, where individual pieces are small and often on mesh sheets, you might be able to get away with slightly less wastage, but always check the manufacturer’s recommendations.
Hardwood and Laminate Flooring: These come in planks. The wastage here is often due to cuts needed to fit around obstacles and at the edges of rooms. 5-10% is also a good guideline. If you're laying them diagonally, you'll need to factor in more wastage, perhaps even 10-15%.
Carpet: Carpet is typically sold in rolls of a fixed width. Your M2 calculation is still important for estimating the total amount of carpet needed, but the supplier will often calculate the precise amount from the roll based on your room dimensions and their roll width. It's always good to provide them with your M2 measurement as a starting point, and they can advise on how many linear meters or full rolls you’ll need. Wastage for carpet can sometimes be higher due to the need to match patterns across seams.

Vinyl Flooring (sheet and LVT): Similar to tiles and planks, 5-10% wastage is generally recommended for Luxury Vinyl Tiles (LVT) and planks. For sheet vinyl, the supplier will often cut to fit your room, but you’ll still want to provide accurate M2 measurements.
Final Checks and Double-Checks: The DIYer's Mantra
Before you hit that "order" button, take a moment. Breathe. And then, double-check everything.
Did you measure all the necessary areas? Did you account for alcoves, hearths, or any built-in furniture that might affect the flooring area? Are your conversions correct? Is your wastage percentage realistic for the type of flooring and the complexity of your room?
If you're feeling a bit unsure, don't hesitate to call your flooring supplier. They deal with these calculations every day and can often help you verify your numbers. A quick phone call can save you a lot of headaches later on.
And here’s a fun little fact: the term "square meter" was officially adopted as the standard unit of area in the mid-19th century. So, while it might feel like modern jargon, it has a surprisingly long and distinguished history! It’s a testament to humanity’s desire for clear, consistent measurement.
Ultimately, mastering your M2 calculation is more than just a numerical exercise. It’s about approaching your home projects with a sense of control and confidence. It’s about empowering yourself to make informed decisions, to avoid costly mistakes, and to bring your design visions to life.
In the grand tapestry of our daily lives, where so much can feel out of our hands, the ability to accurately measure and plan for something as tangible as our flooring offers a small, yet deeply satisfying, sense of accomplishment. It’s a reminder that with a little patience, a touch of logic, and perhaps a reliable tape measure, we can shape our environments and create spaces that truly reflect our personal style and comfort. So go forth, measure with confidence, and let your beautifully floored dreams become a reality!