How To Wipe An Sd Card On Mac

Ever find yourself with an SD card that's packed full of photos from that amazing vacation, or maybe it's brimming with precious family memories? Well, sometimes, it's time for a fresh start! Wiping an SD card on your Mac might sound a little technical, but it's actually a surprisingly satisfying and incredibly useful skill to have. Think of it as hitting the 'reset' button for your digital storage, getting it ready for all your new adventures.
So, who is this little trick for, anyway? For beginners, it's a fantastic way to learn the basics of managing your digital files and ensuring you're not accidentally deleting things permanently before you mean to. It’s a gentle introduction to disk management. For families, imagine clearing out old holiday photos to make space for your child's latest school projects or a brand new batch of family portraits. It keeps your memories organized and your devices running smoothly. And for the hobbyists out there – photographers, videographers, or even gamers who use SD cards – a clean slate means more room for your creative endeavors. No more "storage full" warnings when you're mid-project!
What kind of "wiping" are we talking about? Mostly, it's about erasing all the data. You might want to do this before you sell or give away a device that uses an SD card, ensuring your personal information stays private. Or perhaps you're just consolidating files and want to start fresh on a particular card. It’s also a good idea to periodically wipe your cards to help maintain their performance, just like giving your computer a quick tune-up.
Must Read
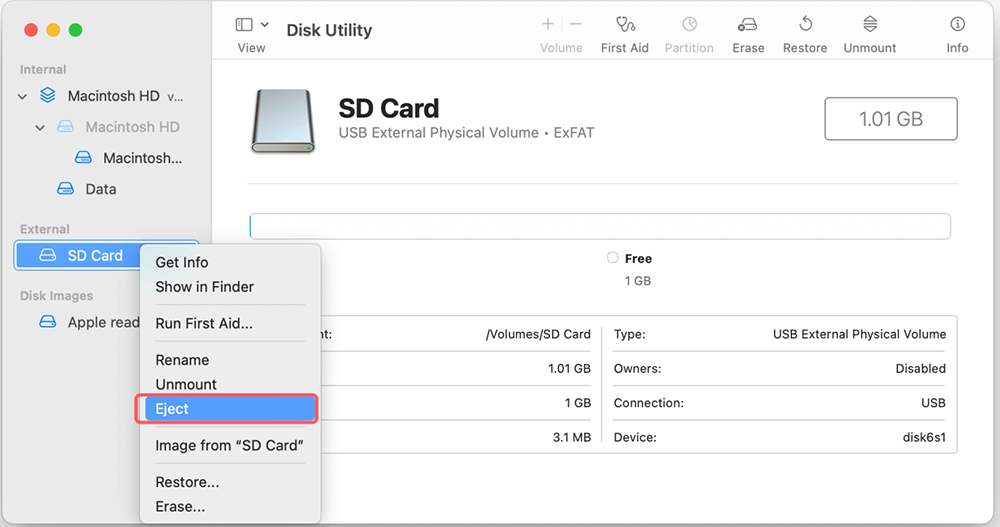
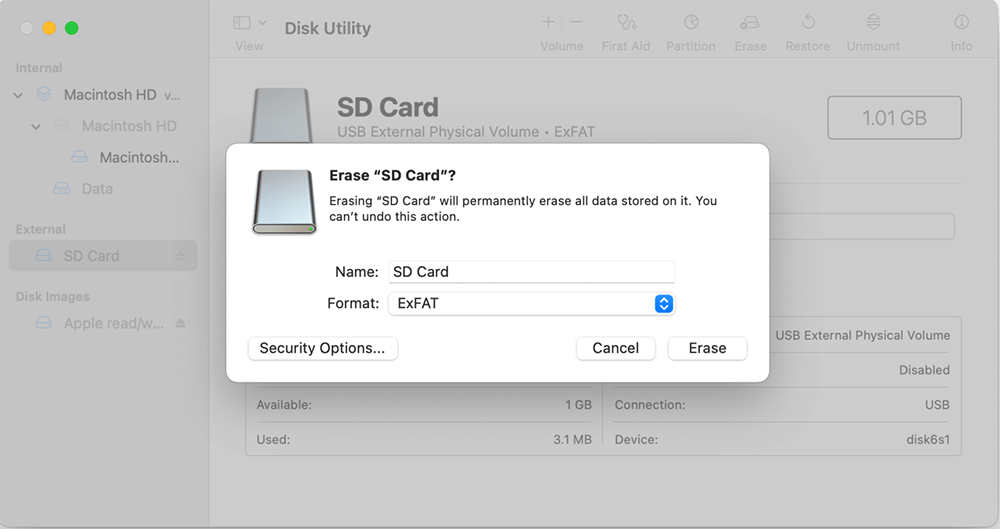
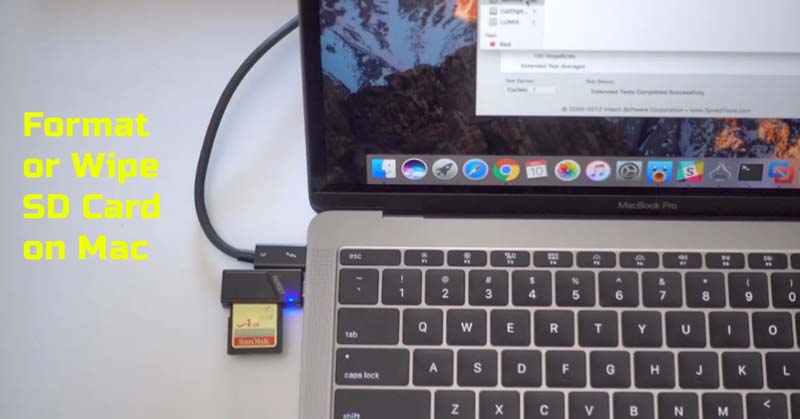
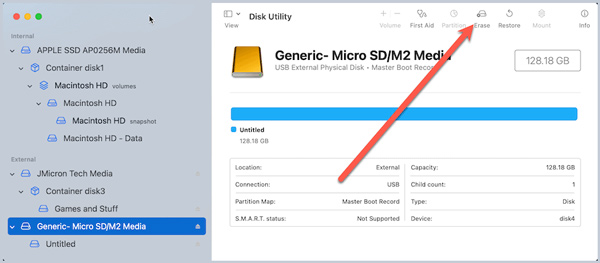
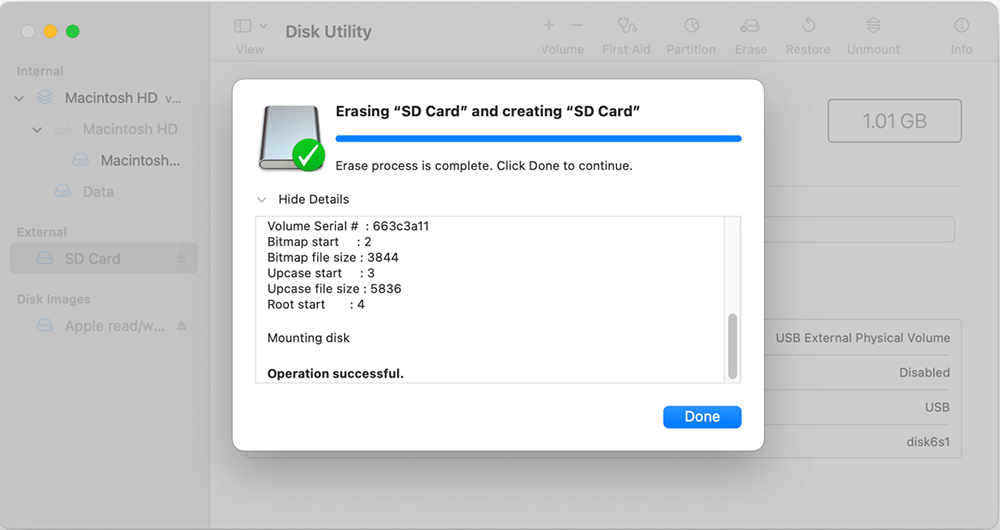
Getting started is easier than you might think! First things first, you'll need to connect your SD card to your Mac. Most Macs have a built-in SD card slot. If yours doesn't, a simple USB card reader is your best friend. Once it's plugged in, you'll see it appear on your desktop or in the Finder. The magic happens in an application called Disk Utility. You can find this by going to your Applications folder, then Utilities, and there it is! Open it up, and you'll see a list of drives on the left. Select your SD card (make sure you've chosen the correct one – this is important!). Then, you'll see an option to 'Erase'. Click that, choose a format (like 'MS-DOS (FAT)' or 'ExFAT' for maximum compatibility with different devices), and give your card a new name if you like. Hit 'Erase' again, and voilà! Your card is wiped clean and ready for action.
There’s even a variation called "security erasing" which offers a more thorough wipe, making it much harder to recover deleted data. This is especially handy if you're concerned about sensitive information. Disk Utility usually offers this option if your card supports it.
So, there you have it! Wiping an SD card on your Mac is a straightforward process that brings a sense of order and preparedness to your digital life. It's a small skill that unlocks a lot of convenience and peace of mind, making it a truly enjoyable and valuable part of managing your digital world.