How To Upholster The Back Of A Wingback Chair

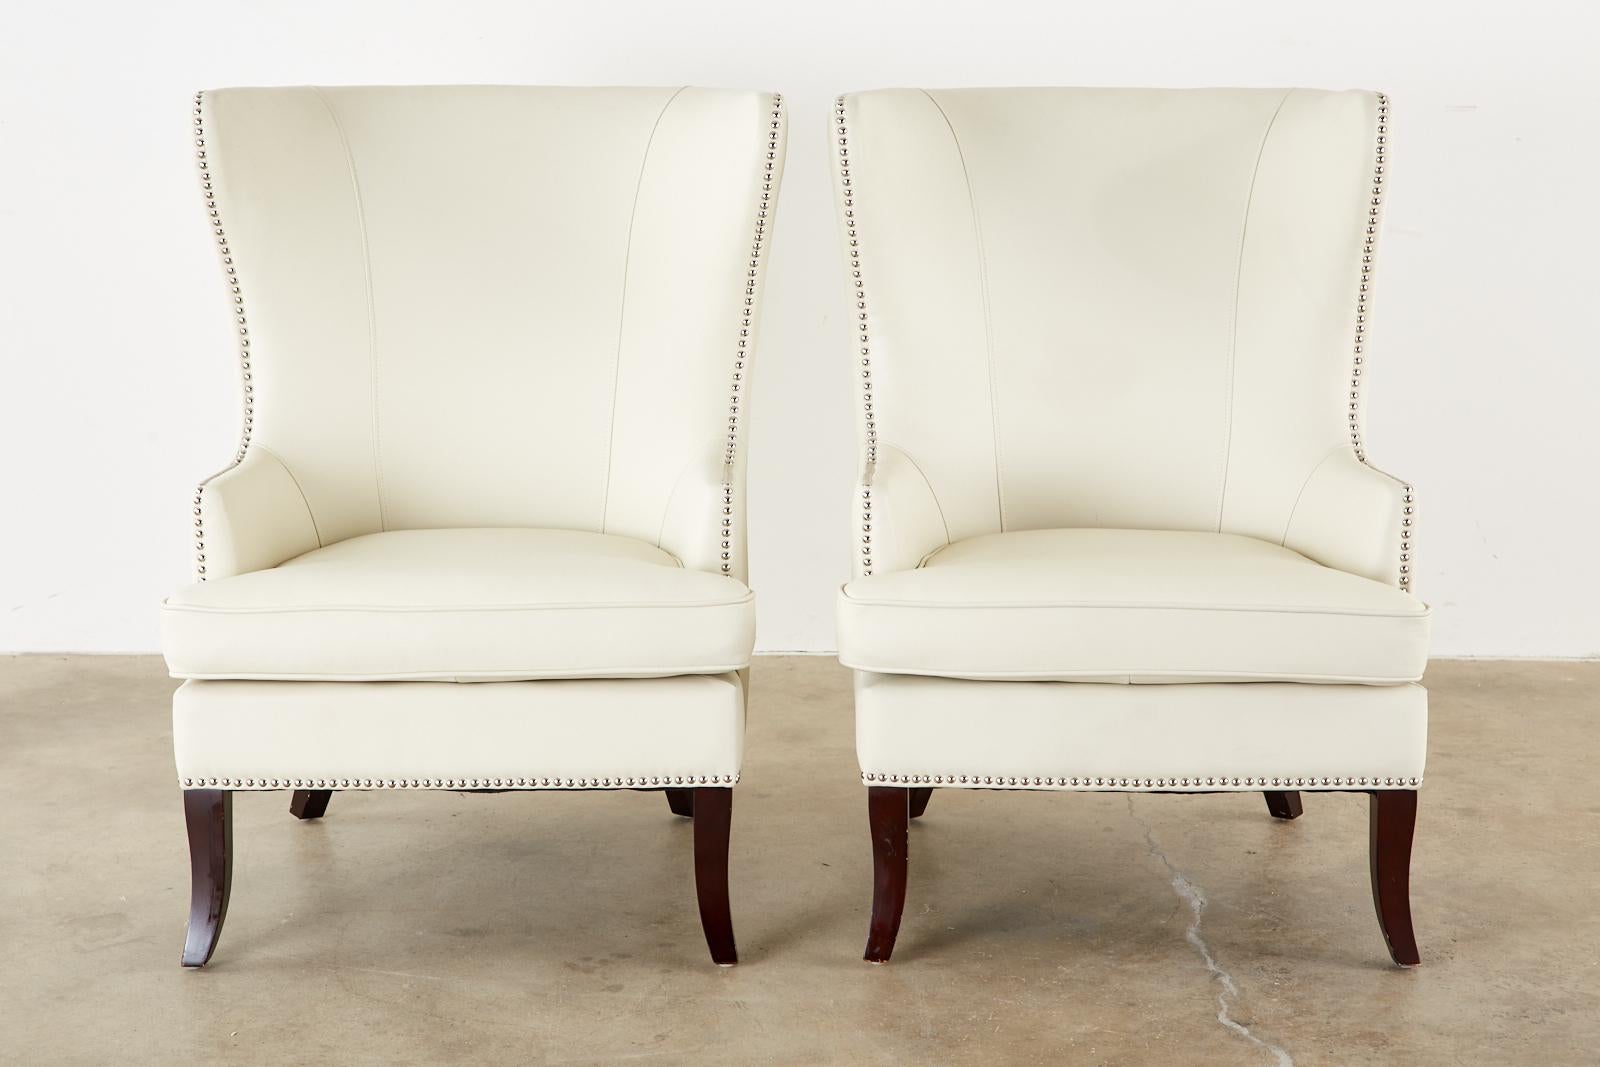
Ah, the wingback chair. It’s that regal old soul in the corner of the living room, isn't it? The one that looks like it’s seen a few decades, maybe even a scandalous tea party or two. And let’s be honest, sometimes its back looks as tired as we feel after a long Monday. You know, that sort of rumpled, perhaps a bit lumpy, "I've been through a lot" kind of look. Well, my friends, if you've ever eyed your own wingback's backside with a sigh and thought, "Could I… should I… tackle that?" then this is for you. We're not talking about a high-stakes, Michelin-star upholstery job here. We're talking about giving your trusty wingback a little spa day, a gentle facelift, a whispered "you've still got it!"
Think of it like this: you know how sometimes you just need to throw on a comfy sweater after a long day? Upholstering the back of your wingback is kind of the furniture equivalent. It’s not about precision engineering; it's about comfort, a bit of style, and the sheer satisfaction of saying, "Yep, I did that."
Now, before you start picturing yourself with a hammer and a pile of nails that looks more like a medieval torture device than a furniture repair kit, take a deep breath. We're going to approach this with the kind of relaxed confidence you have when you’re pretty sure you can assemble IKEA furniture without calling your ex. (Key word: pretty sure).
Must Read
The Wingback's Whisper: Why Bother?
Let's face it, sometimes the back of a wingback chair is the first thing guests notice. It's the behind-the-scenes worker of your living room. It might be a little faded, a little saggy, or maybe it just looks… sad. Like a forgotten pet rock. And who wants a sad chair? Nobody.
Perhaps your wingback’s back has seen better days. Maybe your cat, bless its furry little heart, decided it was the ultimate scratching post. Or maybe it’s just succumbed to the inevitable march of time, looking a bit like a deflated soufflé. Whatever the reason, a tired chair back can bring down the whole vibe. It’s like wearing a perfectly nice outfit with a stain on the back you didn’t notice until you’re at a fancy party. Awkward.
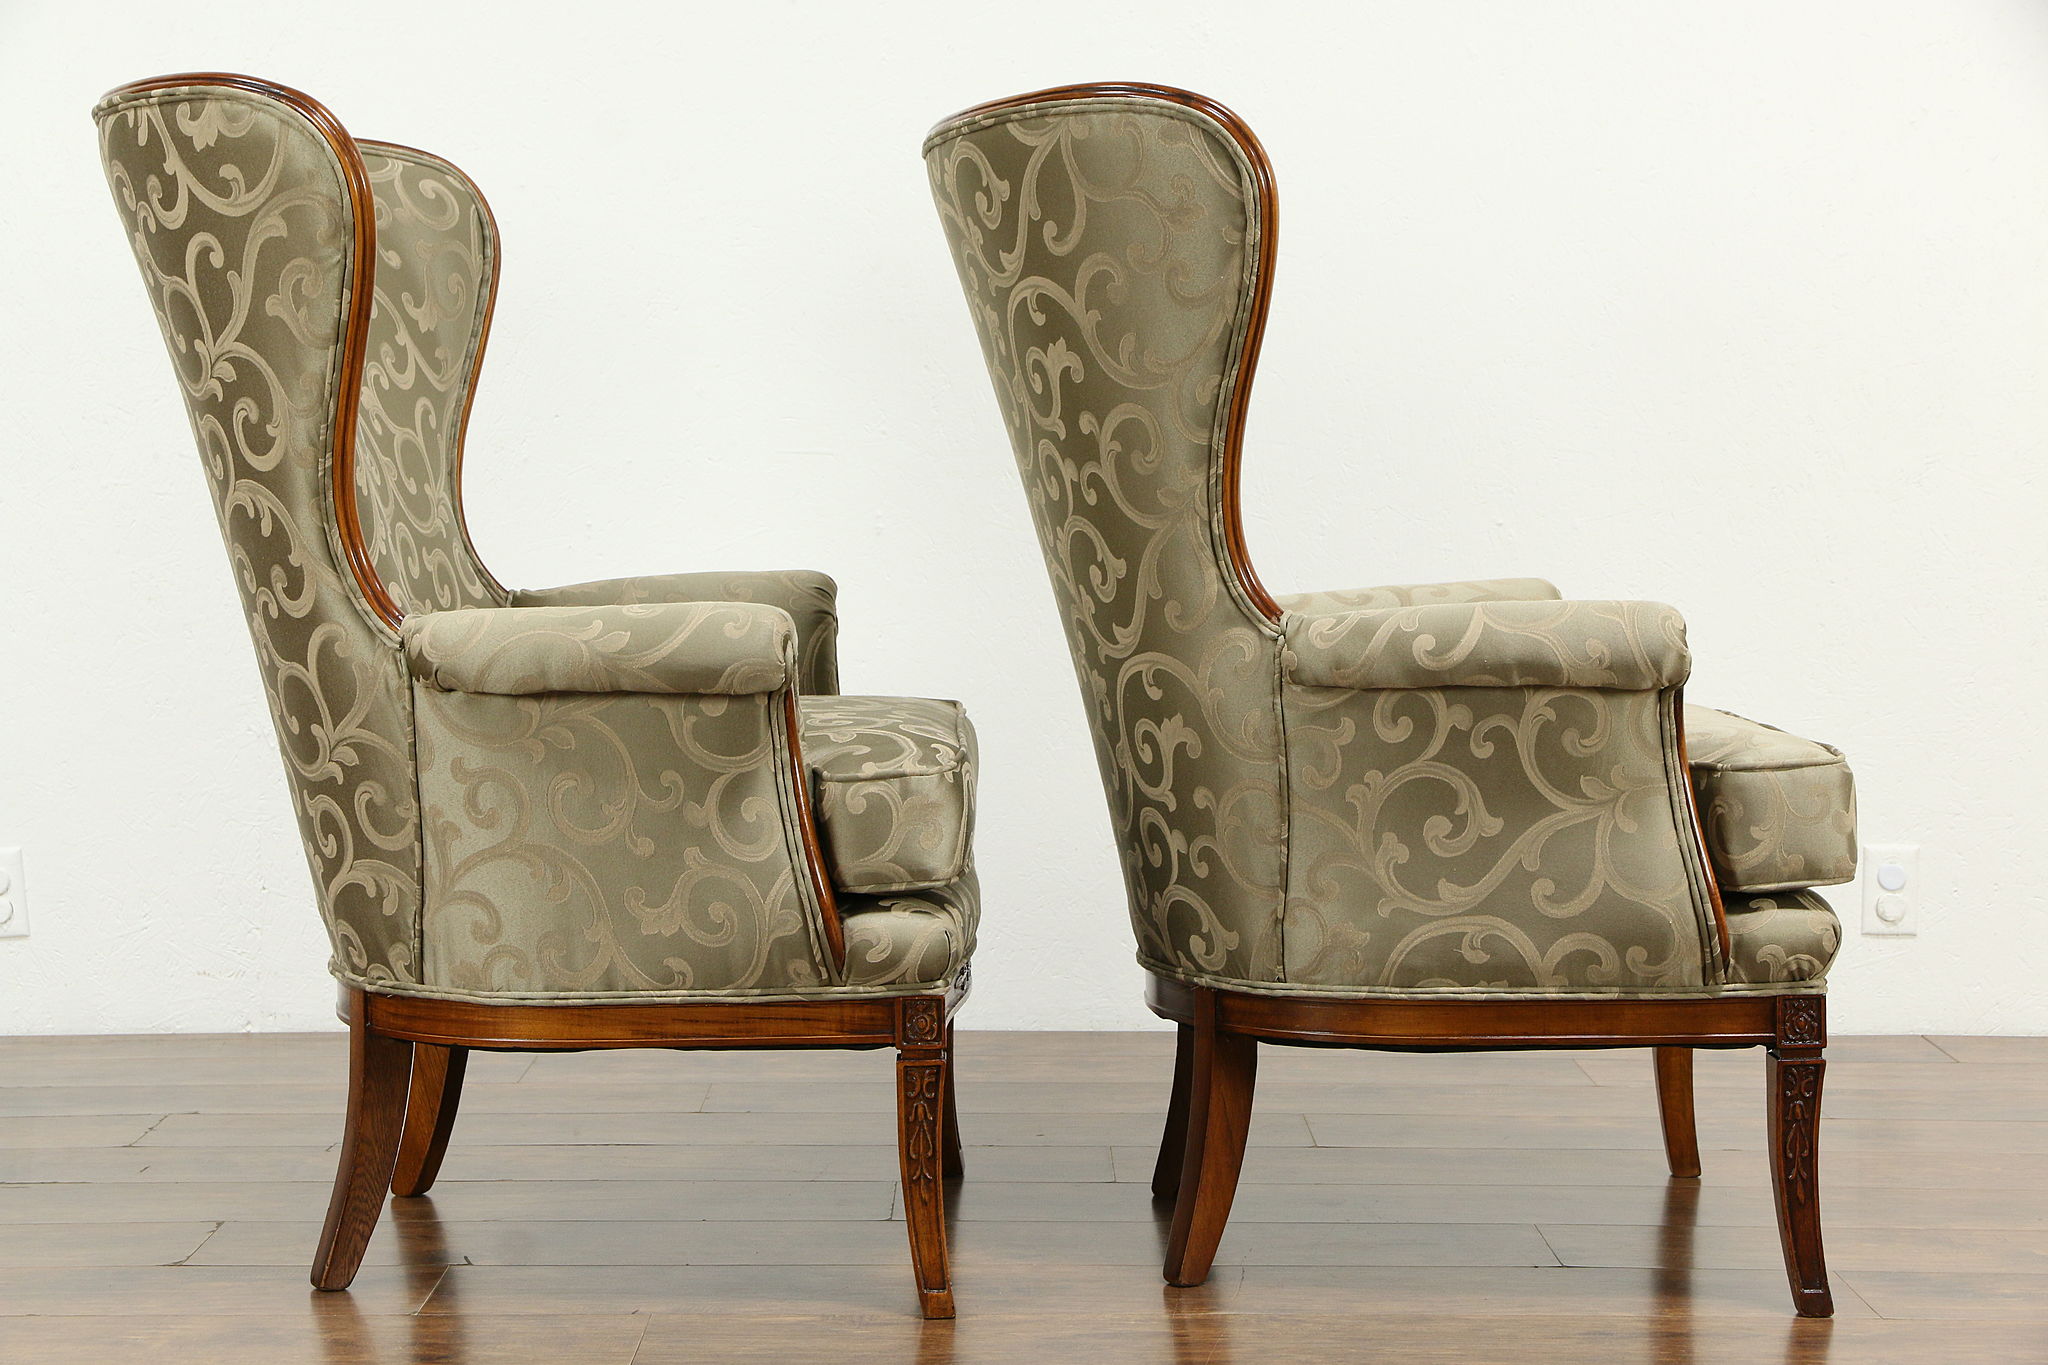
But here’s the secret: tackling the back is surprisingly manageable. It’s less about intricate curves and more about… well, a generally flat-ish surface. Think of it as the "intro to upholstery" section of the furniture world. It’s like learning to ride a bike with training wheels – a little wobbly at first, but soon you’re cruising.
Gathering Your Courage (and Your Stuff)
Okay, time for the "stuff you need" part. Don't panic. You probably have half of this lying around your house already. It’s like when you're baking and realize you just need a pinch of this and a dash of that.
First, you'll need your new fabric. Now, this is where the fun begins! Do you want something cozy and chenille, like a giant hug? Or maybe something bold and patterned, like a statement necklace for your chair? Think about the room. Is it a subtle whisper of elegance, or are we going for a full-on roar of personality? Remember, this is the back, so it’s a great place to experiment. If it doesn’t quite work out, at least it’s not staring you in the face all day. It’s like wearing mismatched socks – nobody really sees unless they’re looking closely.

Next up, the trusty staple gun. This is your new best friend. Not the fancy electric kind (unless you have one and feel like a boss), just a good old manual one. You know, the kind that makes a satisfying thwack? Get some extra staples, because you’ll likely use more than you think. It’s like when you’re building with LEGOs and you always need more of that specific brick.
You’ll also need some scissors. Sharp ones. We’re not trying to saw through the fabric like a dull butter knife on a steak. Think surgical precision… or at least, "cuts easily" precision.
A flathead screwdriver or a seam ripper will be your trusty sidekicks for gently coaxing out any old staples. Think of them as tiny furniture archaeologists, excavating the past.
And, of course, you’ll need a pair of hands. Preferably yours. And maybe a friend if you’re feeling social and want someone to pass you the staples or offer moral support. “You got this!” can go a long way.
Optional but highly recommended: a good playlist. Upholstery is best done with a soundtrack. Something upbeat to keep you going, or something mellow if you’re feeling zen.
The Big Reveal: Taking Off the Old Skin
This is where we get a little hands-on. You'll need to carefully remove the existing fabric from the back of the chair. This might involve some wrestling, some grunting, and possibly a few muttered words under your breath. It's like peeling off a really stubborn sticker – you've got to find that edge.

Start by looking for any visible staples. If you see them, gently work your screwdriver or seam ripper underneath and pry them out. Be patient. You don't want to damage the underlying wood of the chair, do you? That would be like accidentally tearing a page out of your favorite book. Noooo.
Work your way around the edges, lifting the fabric. You might find some hidden staples, or even some old glue. Just take your time. The goal is to get the old fabric off cleanly, leaving the chair frame exposed. Think of it as shedding an old skin, ready for something new and fabulous.
Don’t be surprised if you find… things. Lint bunnies the size of small rodents? Crumbled bits of forgotten snacks? Evidence of past pet adventures? It’s all part of the charm of breathing new life into old furniture. It’s like opening up a dusty attic – you never know what treasures (or curiosities) you’ll unearth.
The Moment of Truth: Measuring Twice, Cutting Once (ish)
Now that your wingback’s back is baring its soul, it’s time to get your new fabric ready. Lay your old fabric down on your new fabric. Don’t just eyeball it. Measure it. Then measure it again. And then, just for good measure, measure it one more time. It’s like when you’re cutting out a pattern for sewing – precision is key, but for us, “pretty darn close” will often do the trick.
Add a few extra inches all around. This is your "grapevine allowance," your "just in case" buffer. It’s the little bit of extra fabric you’ll need to wrap around the edges and staple securely. Think of it as the little extra wiggle room you need when you’re trying to squeeze into those favorite jeans after a holiday feast. You want that extra give!
Once you’ve got your measurements, carefully cut out your new fabric. Try to keep your lines as straight as possible. If you’re a little wiggly, don’t sweat it. We’re going for a charmingly rustic look, right?
The Grand Finale: Stapling Like a Pro (or at Least a Very Enthusiastic Amateur)
This is where the action happens. Lay your new fabric over the back of the chair, making sure it’s centered and smooth. Start stapling in the middle of one edge. Pull the fabric taut – you want it nice and snug, like a well-fitting glove, not loose and baggy like a hand-me-down sweater.
Gently pull the fabric across to the opposite edge and staple there. Then move to the sides. Work your way outwards from the center, pulling the fabric taut as you go. Think of it as stretching a rubber band – you want even tension all around.
As you get to the corners, you’ll need to fold the fabric neatly. This is where those extra inches come in handy. You can fold it like you’re wrapping a present, creating neat pleats. If it looks a little… quirky, well, that’s just character! It's like when you accidentally get a little extra frosting on your cookie – it's still delicious.
Keep stapling, working your way around the entire perimeter. You want those staples to be close enough together to hold the fabric securely, but not so close that they’re all bunched up like a flock of confused sheep. Aim for about an inch apart, maybe a little less if you’re feeling extra secure.
If you notice any bumps or wrinkles, you can try to gently pull the fabric and re-staple. It’s a bit of a dance, a give-and-take. You’re coaxing the fabric into place, not forcing it.

The Finishing Touches: The Little Things That Make a Big Difference
Once the back is fully stapled, take a step back and admire your handiwork. Does it look… better? Does it have a certain je ne sais quoi? If you’re happy with it, you’re almost done!
Now, you might have some excess fabric hanging around the edges. You can trim this off with your scissors, leaving about an inch or so to fold over and staple again for a cleaner finish. This is like tucking in your shirt – it just makes everything look a little neater.
Some people like to add a decorative trim or a piping around the edges to really polish it off. This is optional, of course, but it can add a touch of elegance. Think of it as adding a belt to an outfit – it can really pull everything together.
And there you have it! You’ve just successfully tackled the back of your wingback chair. It might not be showroom perfect, and it might have a few charming quirks that scream "homemade," but it's yours. It's revitalized. It's ready for its close-up.
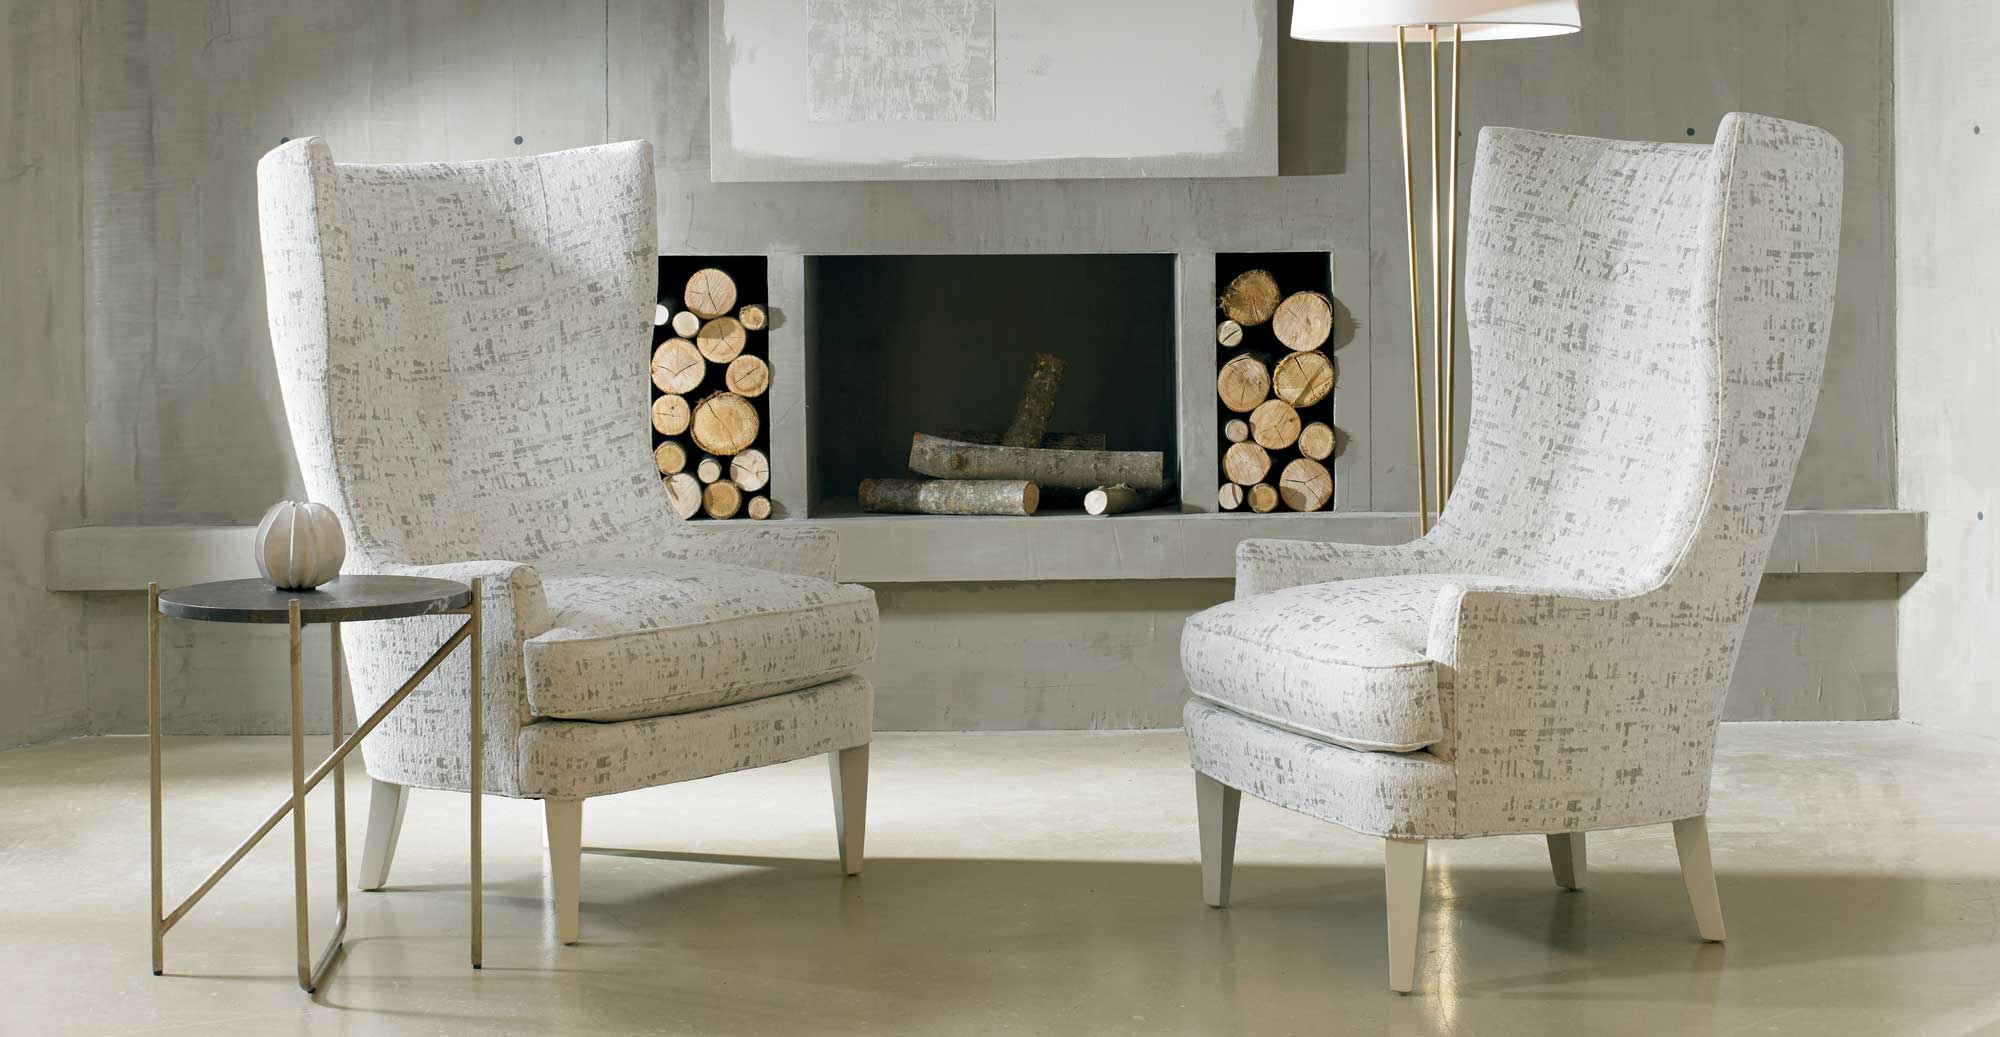
The Wingback's New Lease on Life
So, the next time you’re lounging in your wingback, catch a glimpse of its newly upholstered back. Feel a little swell of pride? You should! You’ve taken something that was perhaps looking a bit forlorn and given it a vibrant new personality. It’s like seeing an old friend after they’ve had a really good haircut – they just look… happier.
And think about it: you’ve saved yourself a good chunk of change that you can now spend on… well, more fabric, probably. Or maybe some fancy tea to celebrate your upholstery victory. Whatever it is, you’ve earned it. So go ahead, sit back, relax, and enjoy the renewed elegance (and comfort!) of your very own DIY-ed wingback chair. It’s a small victory, perhaps, but in the grand scheme of things, it’s a pretty darn satisfying one.