How To Tighten Newel Post At Top Of Stairs

Hey there, DIY adventurers and folks who like their homes to feel just right! Ever notice that little wobble at the top of your stairs? You know, that sturdy-looking newel post that suddenly feels less like a regal guardian of your staircase and more like a tipsy uncle after a particularly enthusiastic hug? Yep, that’s the one. And guess what? We're about to tackle it head-on, because a solid newel post isn't just about safety; it's about that satisfying feeling of knowing things are just where they should be.
Now, before you picture yourself wrestling with lumber and power tools like you're auditioning for a home renovation reality show (though, hey, if that’s your dream, go for it!), let’s talk about why this seemingly small task can actually inject a little bit of sparkle into your life. It’s about taking control, about making your home feel even more like your sanctuary. Plus, think of the sheer satisfaction when you walk up those stairs and that post stands tall and proud, unwavering. It’s a little win, but sometimes, those little wins are the ones that make our day.
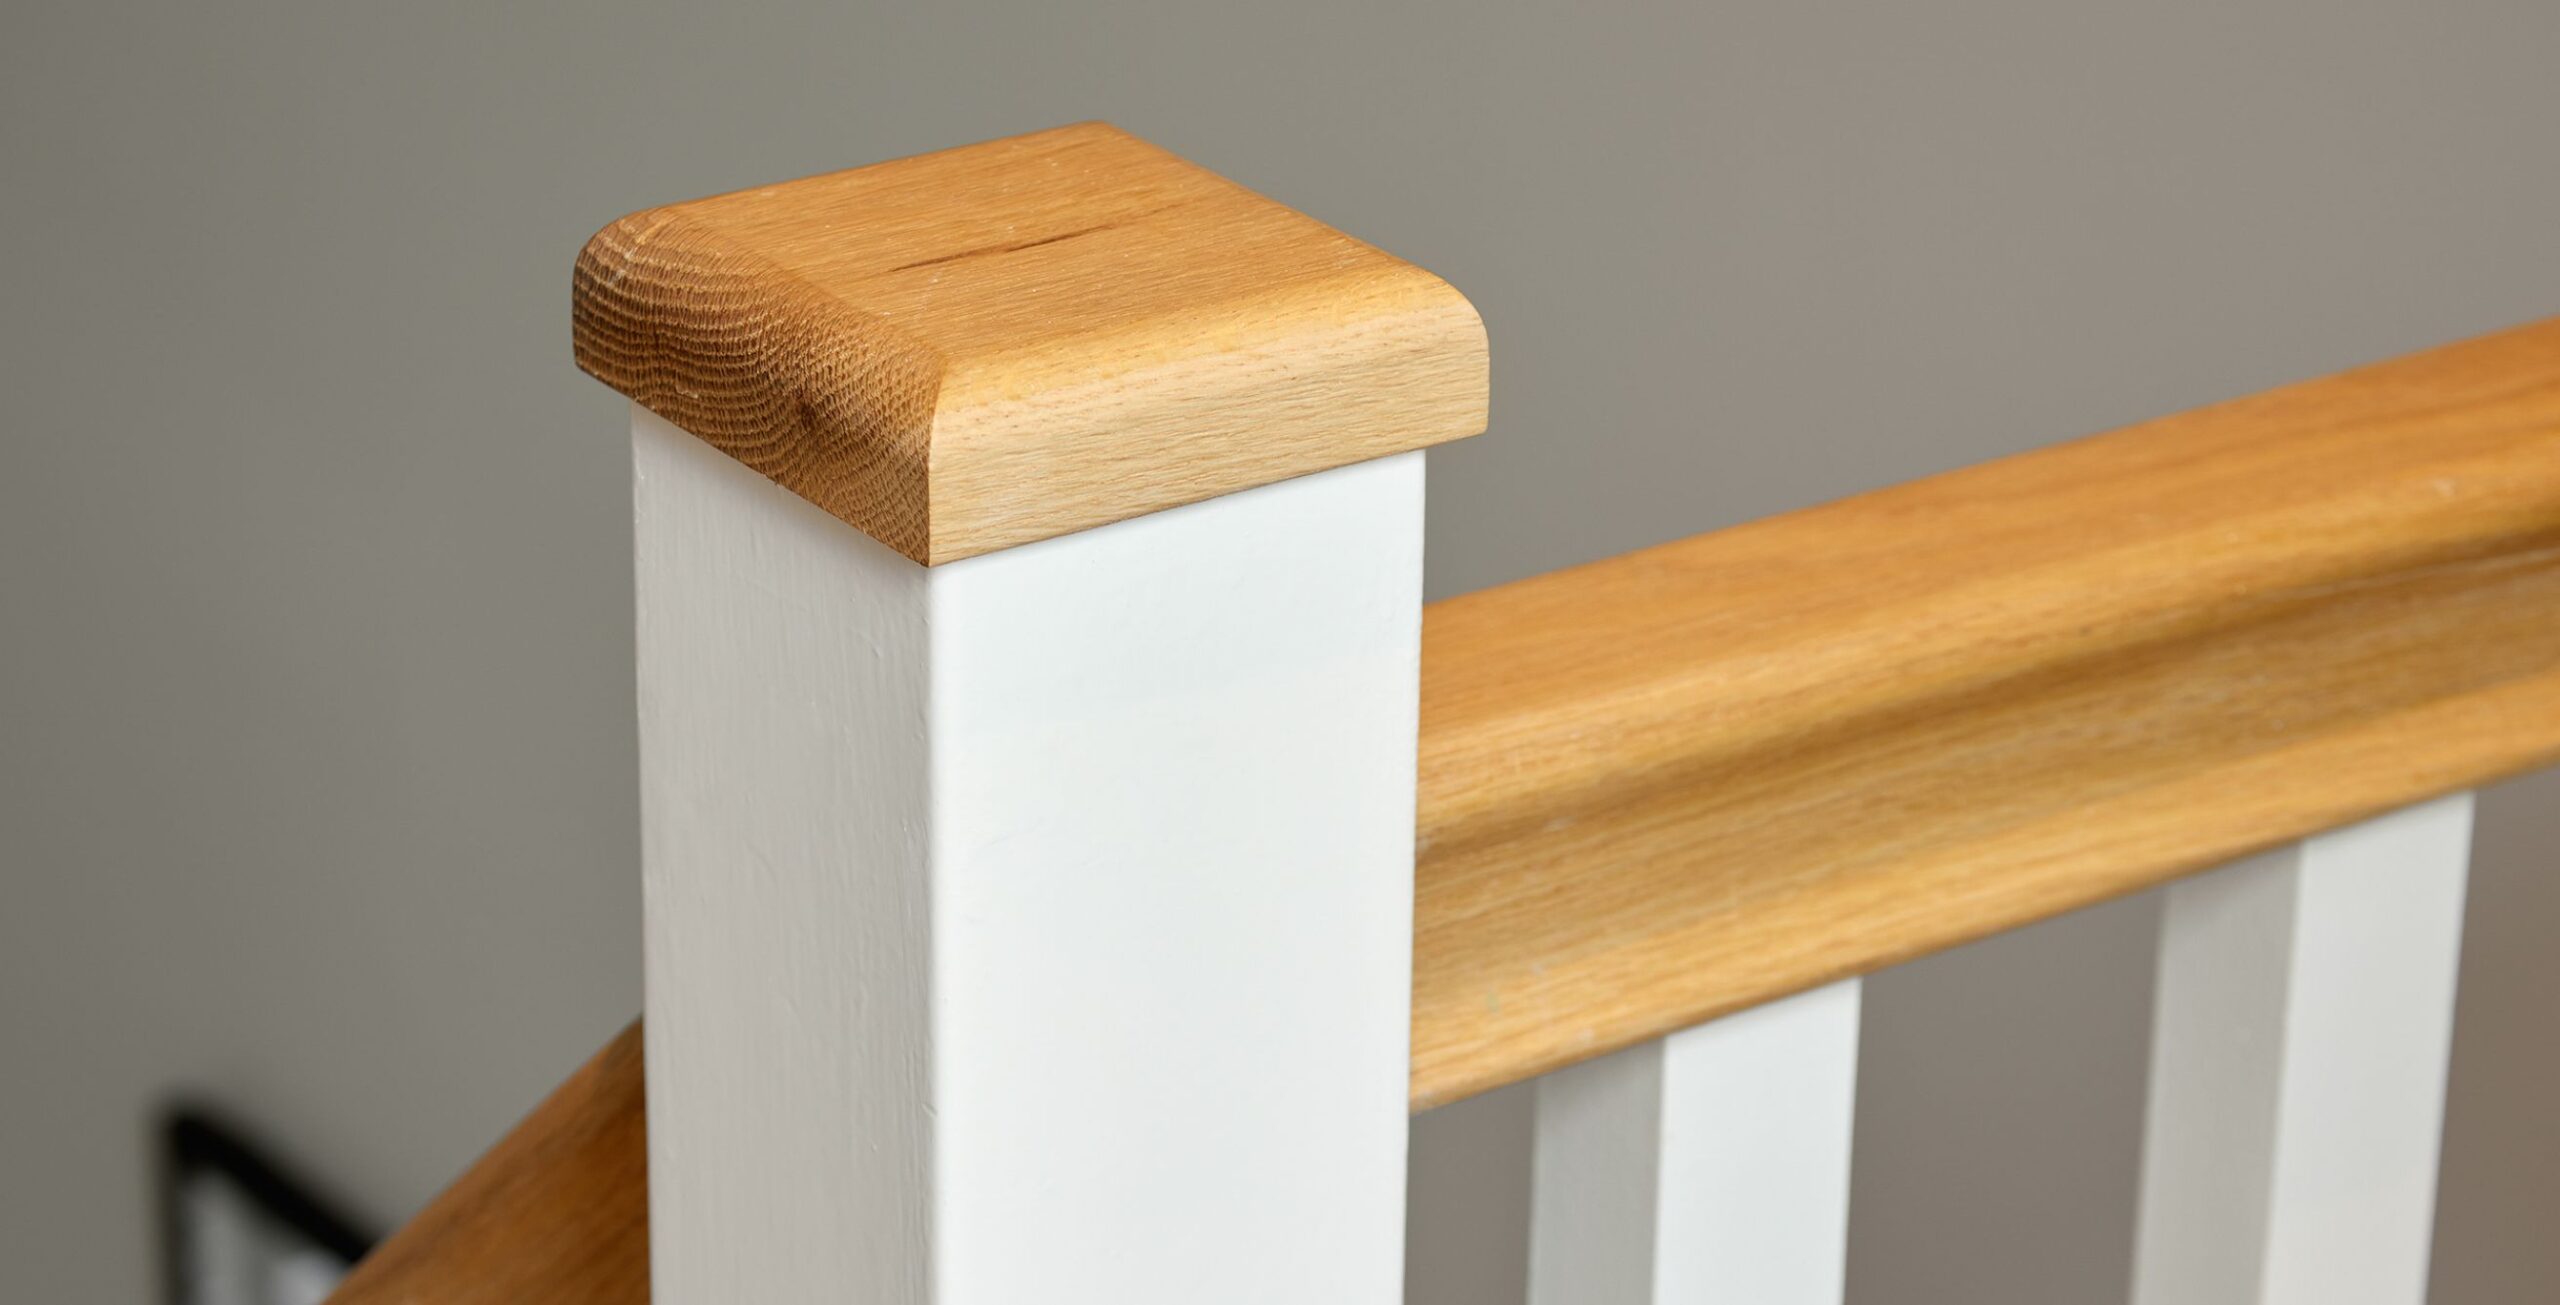
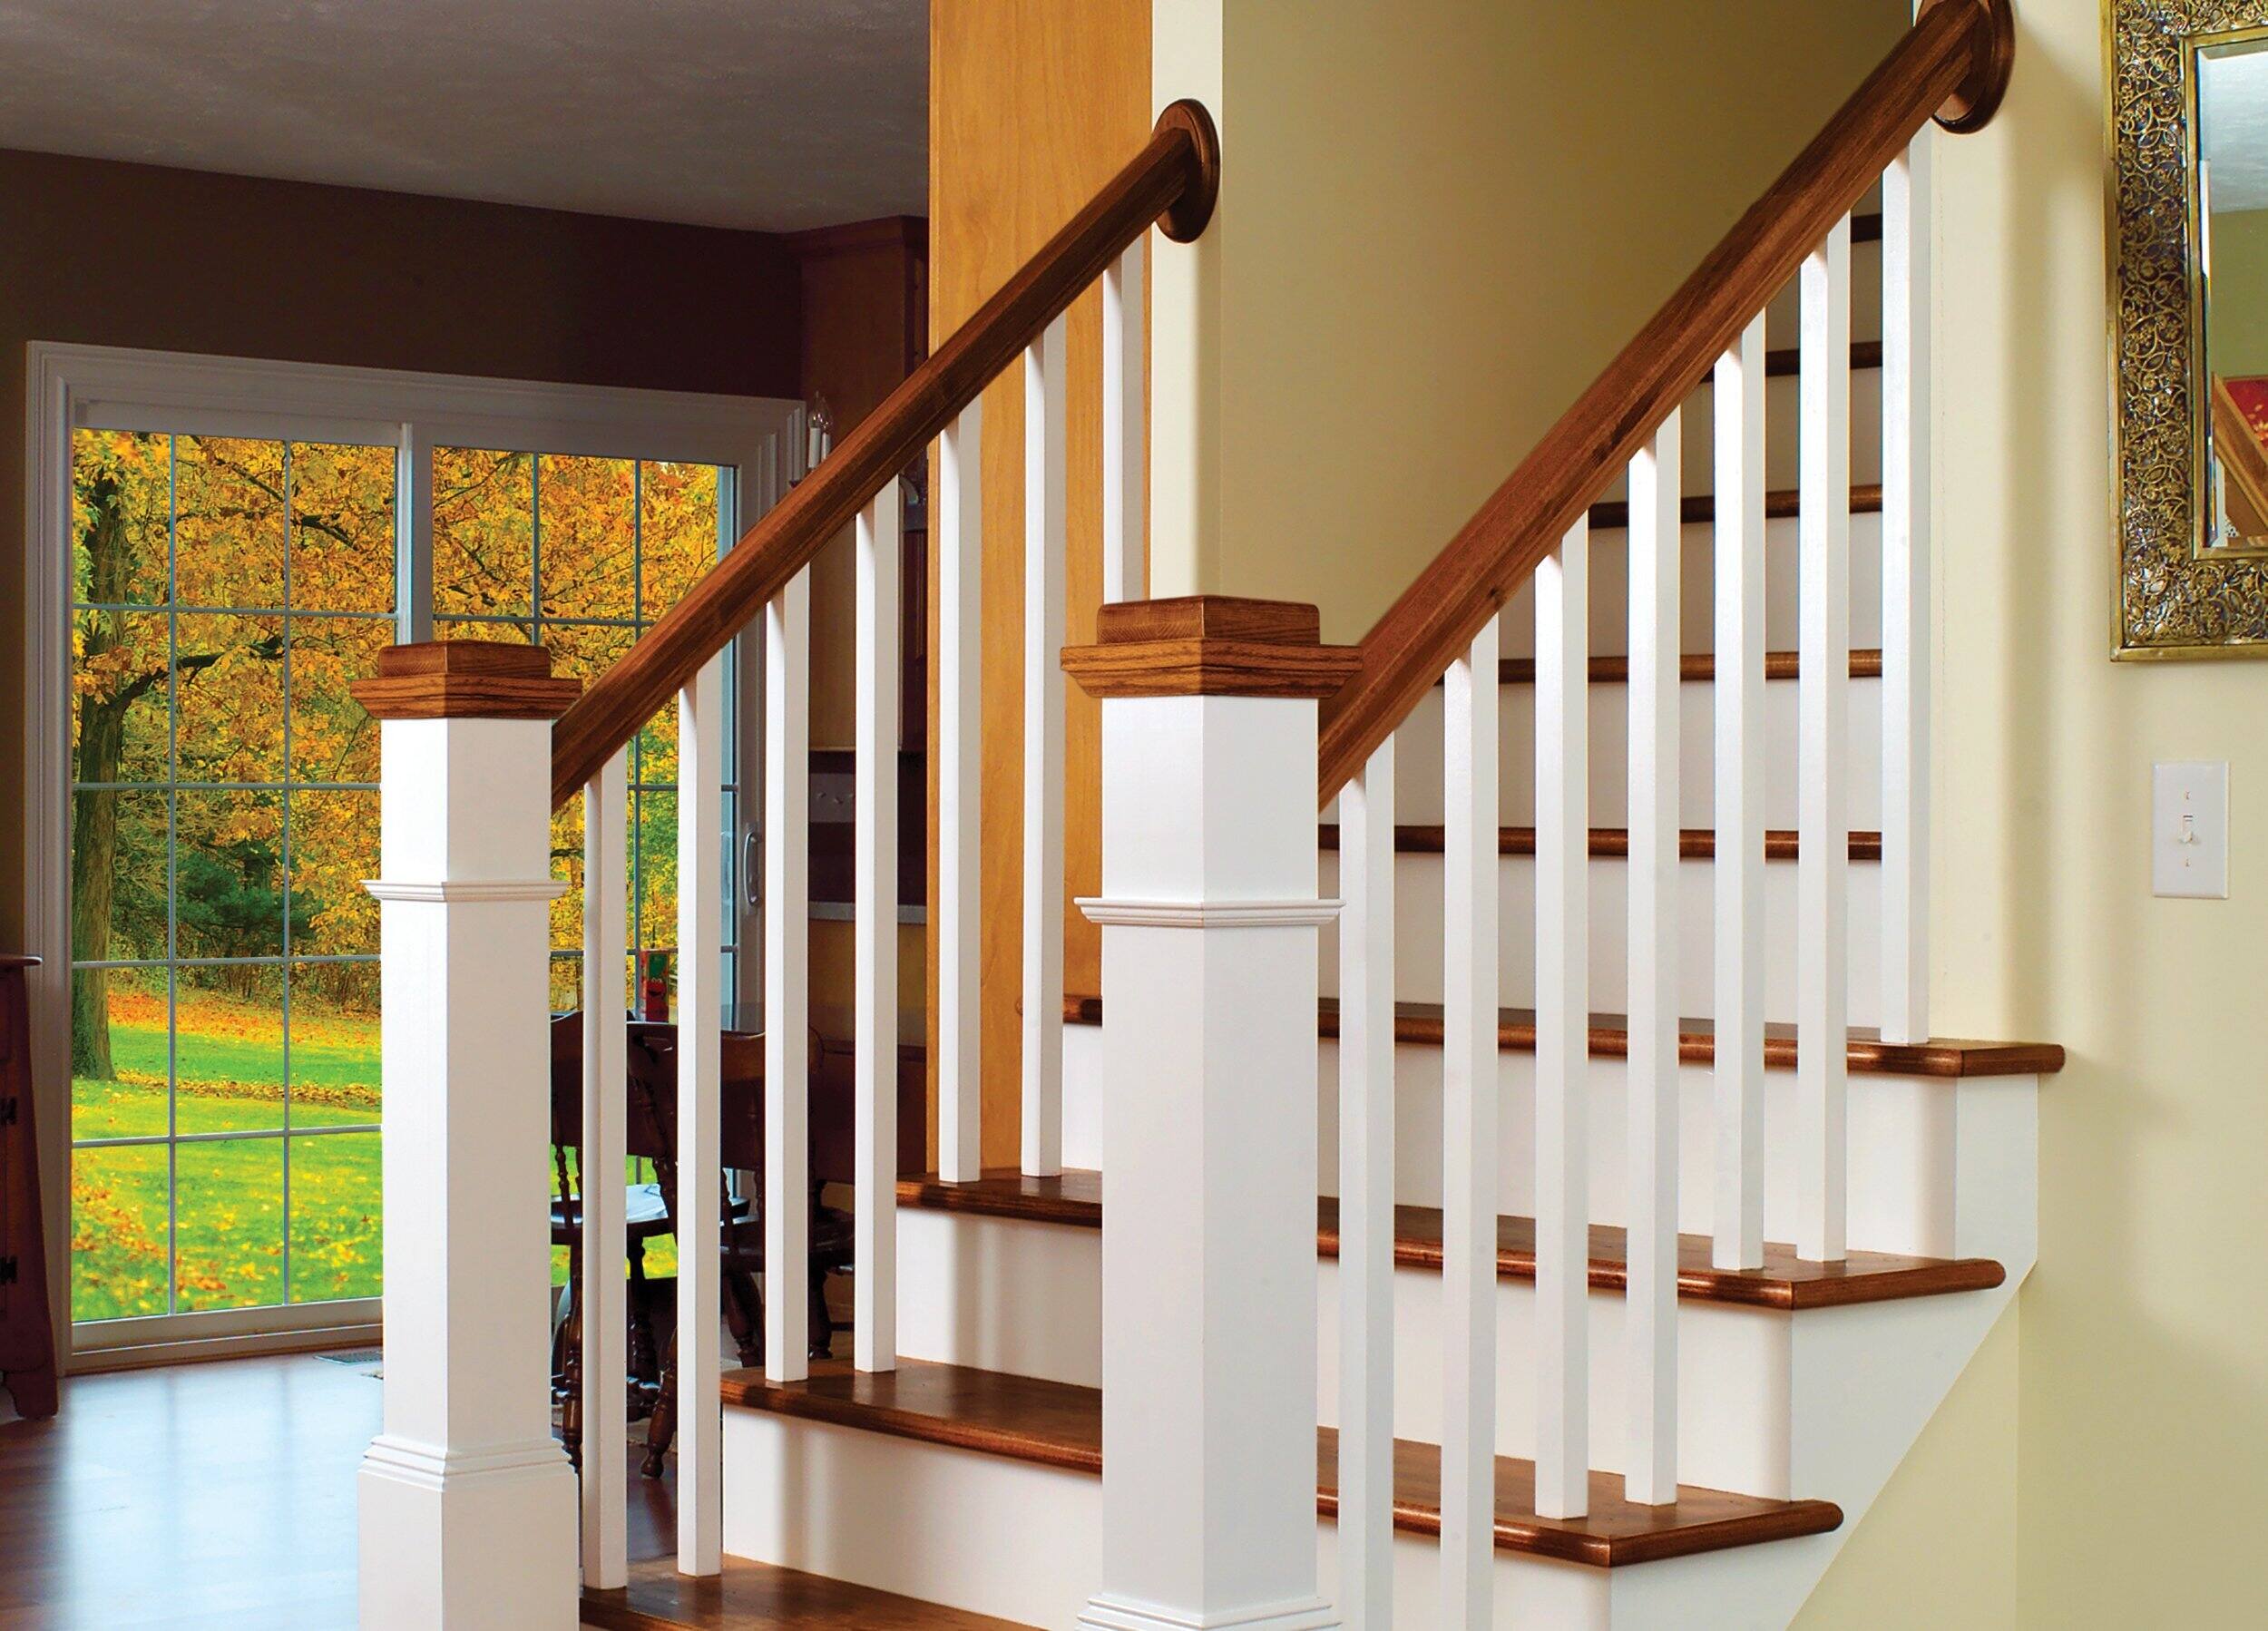
So, let's dive in! What exactly is this mysterious "newel post" we're talking about? Think of it as the grand captain of your staircase. It’s that substantial post at the bottom or top of a staircase that anchors the handrail. When it gets wobbly, it’s like the captain is starting to sway on the deck – not ideal, right?
Must Read
Why does this happen, you ask? Life, my friends, life! Over time, the wood can shrink a little, the screws might loosen up from all the traffic, or maybe that one time your dog got extra excited about a squirrel and gave the post a good lean. Whatever the reason, a loose newel post is usually an easy fix, and a fix that will make you feel like a superhero in your own home.
The "Wobble Whisperer" Toolkit: What You'll Need
Don't worry, we're not talking about a complex industrial setup here. You probably have most of this stuff lying around, or you can grab it without breaking the bank. First things first, let's gather our arsenal:
- A Screwdriver (or Drill with the Right Bit): Depending on how your post is secured, you might need a Phillips head or a flathead. If you have a drill, it’ll speed things up, but a trusty manual screwdriver can definitely get the job done.
- Wood Screws: You'll want some sturdy wood screws. The length will depend on how deep you need to go, but it's always good to have a few options. We'll talk more about this in a sec.
- A Measuring Tape: For, you know, measuring. Crucial for accuracy, and who doesn't love a good measurement moment?
- A Pencil: For marking. Because we like things neat and tidy.
- Optional but Helpful: A Shim or a Thin Piece of Wood: Sometimes, you just need a little extra oomph to fill a gap.
- Safety First! Safety Glasses: Always a good idea when you're working with tools. Protect those peepers!
See? Not so daunting, right? It’s more like a treasure hunt for useful items around your home.
Operation: Solidify! The Step-by-Step Guide
Alright, team, time to get down to business. Let's walk through this, nice and easy.
.JPG)
Step 1: The Diagnostic Wobble!
First, gently, but firmly, test the newel post. Give it a good push and pull in different directions. Where does it feel loose? Is it at the very top where it meets the handrail? Or is it lower down, where it connects to the floor or a step? Identifying the epicenter of the wobble is key. This will tell you where to focus your efforts.
This is where you become a home detective. You're looking for clues, uncovering the mystery of the wobbly post. It’s like a mini-mystery novel unfolding right in your hallway!
Step 2: Accessing the Anchor Points
Most newel posts are secured with screws that are either visible or hidden. If you can see screws, fantastic! That’s your direct route. If they’re hidden, sometimes there's a small decorative cap or trim piece that you can carefully pry off. Use a putty knife or a thin screwdriver for this, and be gentle so you don't damage the wood.
Sometimes, these decorative bits are just held on with a bit of glue. A little persuasion might be needed, but a light touch is your best friend here. Think of it as a gentle dance, not a wrestling match.
.JPG)
Step 3: The Screw Tightening Tango
If you found visible screws, this is where the magic happens. Grab your screwdriver or drill and start tightening them. Don't go nuts and overtighten them right away. Tighten them a little, then test the post again. Repeat this process, tightening gradually.
You want to get it snug and secure, but not so tight that you strip the screw or damage the wood. Imagine you're giving the post a firm, reassuring pat on the back. That’s the feeling you’re going for.
Step 4: Dealing with Hidden Shenanigans
If your screws are hidden, and you've managed to access them, the tightening process is the same. Just be extra careful when you're putting any decorative caps back on. If you pried something off, you might need a tiny dab of wood glue to reattach it. Make sure to wipe away any excess glue immediately with a damp cloth.
This is where your precision comes into play. It’s like performing a delicate surgical procedure, but for your stairs. You’ve got this!
Step 5: The Shim Strategy (If Needed)
Now, what if you tighten all the screws you can find, and there's still a bit of wiggle room? This is where those shims or thin wood scraps come in handy. Sometimes, there's a slight gap between the post and the stair tread or handrail that needs filling.

You might need to remove the post slightly, insert a shim into the gap, and then re-secure the post. This takes a bit more finesse. You’re essentially giving the post a more solid footing. It's like adding a supportive friend to the team.
Be conservative with the shims. You don't want to force anything. A little bit can go a long way in creating that stable connection.
Step 6: The Grand Finale: The Wobble Test Revisited
Once you’ve tightened everything up, it's time for the victory lap! Give that newel post another good wobble test. Does it feel solid? Does it stand firm? Is it radiating an aura of unwavering stability? If so, congratulations! You’ve successfully wrestled the wobble into submission.
Take a moment to appreciate your handiwork. You’ve just improved the safety and aesthetics of your home. That’s pretty darn cool, if you ask me.

Why This Little Project is a Big Deal
Beyond the obvious safety benefits (which are, of course, paramount!), there’s something incredibly empowering about tackling these home maintenance tasks. It’s about cultivating a sense of pride in your living space. Every time you walk past that now-solid newel post, you'll have a little mental nod of accomplishment. It’s a tangible reminder that you can make a difference, that you can improve your surroundings.
Think about it – a sturdy staircase is more than just a way to get from point A to point B. It’s a pathway, a connection between floors, a part of your home’s story. And when it’s solid, it feels… well, it feels right. It adds a subtle layer of comfort and security to your daily life. It’s the little things, folks!
And who knows, maybe this little DIY success will inspire you to tackle other projects. That squeaky door hinge? That picture frame that’s been leaning a bit too much? Suddenly, these small fixes seem not only manageable but also… dare I say it… fun! It’s a gateway to a more confident and capable you.
So, the next time you notice that familiar wobble, don't sigh and ignore it. See it as an invitation. An invitation to connect with your home, to learn something new, and to experience the quiet thrill of making something just a little bit better. You have the power to make your home even more of a haven, one solid newel post at a time.
Go forth, my friends, and conquer those wobbles! Your stairs will thank you, and you'll feel a little bit more awesome doing it. Keep that can-do spirit alive!