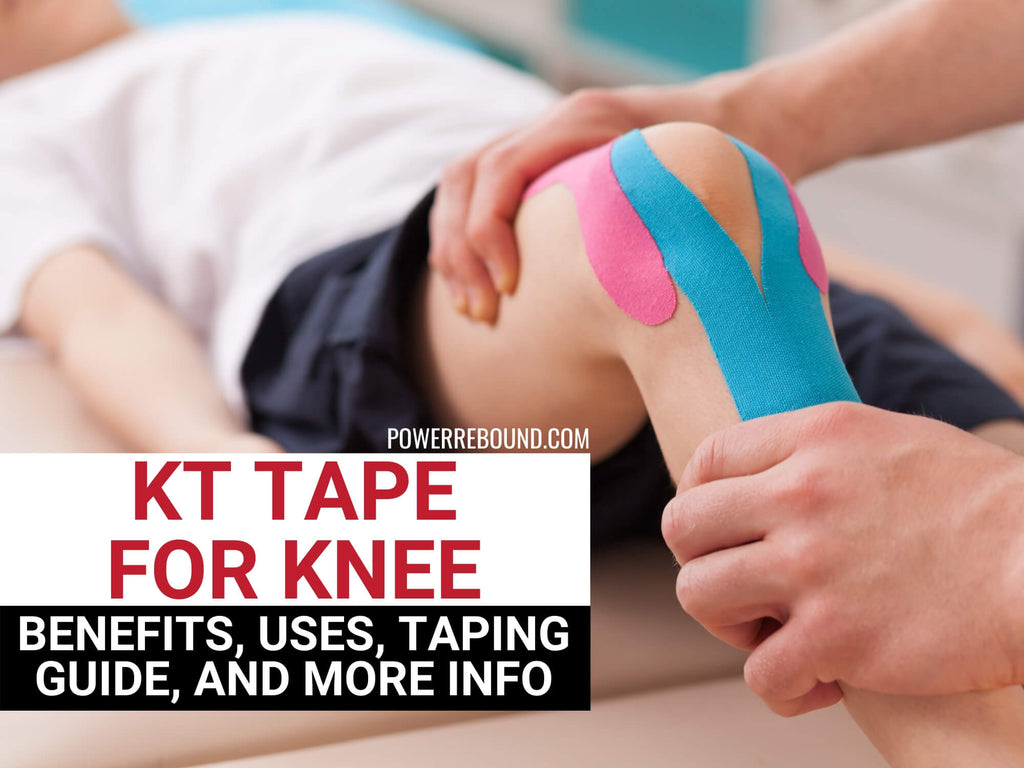
How To Tape A Knee With Kt Tape

Hey there, coffee buddy! So, you’ve been eyeing that brightly colored tape everyone’s rocking at the gym, huh? Yeah, I’m talking about Kinesiology Tape, or KT Tape as most of us call it. It looks kinda… fancy? But honestly, it’s not as complicated as it seems. Think of it as a high-tech band-aid that gives your muscles and joints a little extra love. And guess what? Taping your own knee isn't rocket science, I promise! We can totally tackle this together, no sweat. Let’s dive in, shall we?
First things first, why would you even bother with this sticky stuff? Well, if you’re like me, you’ve probably had those moments where your knee just aches. You know, the kind that makes you wince when you go down the stairs or groan when you get up from your desk. Oof! KT Tape can seriously help with that. It’s not a magic cure, of course, but it can offer some pretty sweet pain relief and support. Think of it as giving your knee a little hug, a really supportive hug. It also helps with swelling and can even improve your circulation. Pretty neat, right?
Okay, so you’ve got your tape. Did you go for the super neon pink, or the more subtle black? No judgment here, whatever makes you feel like a superhero. Now, before we get all surgical on this knee, a quick heads-up: make sure your skin is clean and dry. Like, really clean. Any lotions or oils will make this tape decide to bail on you faster than you can say "oops." And if you have hairy legs, you might want to consider a quick trim in the area you're taping. Trust me on this one. It’s way less painful later!
Must Read
Now, let’s get down to business. Taping a knee isn’t one-size-fits-all, which is cool because everyone’s knee is a little different, right? We’re all unique snowflakes, even our knee pain! But there are some super common ways to do it that work for a lot of people. The most popular application for knee pain is usually for something called the patellofemoral pain syndrome, or PFPS. Fancy name, right? Basically, it's when the kneecap (your patella, to be all scientific) isn’t tracking quite right. It can feel like a dull ache, or sometimes a sharp pain, especially when you’re bending your knee. Sound familiar? Yeah, me too.
The most basic and probably the most effective way to tape your knee for that pesky PFPS involves just a couple of strips of tape. We're talking simple, people! You’ll need two pieces of KT Tape, each about 10-12 inches long. You can cut them to size, of course, but that’s a good starting point. And remember, these tapes have a backing you need to peel off. Don't go sticking the sticky side to yourself prematurely. That's a rookie mistake, and we're not rookies anymore!

So, let’s get this party started. First strip. You’re going to take one of those 10-12 inch strips and fold it in half lengthwise, sticky sides together. This is so you can tear the backing paper in the middle without touching the adhesive. Clever, huh? Then, rip that backing paper in half, right down the middle. So now you have two halves of the backing exposed. Lay the middle of the tape across your kneecap. Where’s the middle? Imagine a little line going straight down the middle of your kneecap. That’s your sweet spot. Apply the tape there with no stretch. Just lay it down gently.
Now, here’s the fun part, the action part! You’re going to take one of those torn backing papers and peel it off. Then, gently pull your leg into a position that lengthens the muscle. For the front of the knee, this often means straightening your leg out a bit. So, while your leg is slightly extended, you’re going to lay down the tape. Think about pulling up and around your kneecap. You want to apply about 50-75% stretch to this section. Don’t go crazy with the stretch, you don't want to rip your skin off! Just a good, firm pull. And lay it down smoothly, pressing from the middle outwards, to avoid any annoying air bubbles. Nobody likes a wrinkly tape job.
Once that first side is down, you’re going to do the exact same thing on the other side. Peel off the remaining backing paper, keep that leg slightly extended, and lay down the tape with that same 50-75% stretch, pulling it up and around your kneecap. Again, press it down smoothly, from the middle outwards. So, now you should have a big ‘X’ or a ‘+’ shape covering your kneecap. This is the basic ‘patella support’ or ‘ McConnell taping’ technique. It’s like giving your kneecap a gentle guiding hand.

But wait, there’s more! For a little extra oomph, you can add a second strip. This one is usually a bit shorter, maybe 8-10 inches. This strip is all about supporting the muscle that runs down the side of your thigh and helps with knee stability. Think of it like a little buddy for your quad muscle. Again, fold it in half, rip the backing, and lay the middle of the tape down with no stretch. Where’s the middle? This time, you’re going to aim it a little below and to the side of your kneecap. Let’s say, about two inches below and slightly to the outside. Just lay it down, no stretch, that anchor point is key!
Now, for this second strip, you're going to do something a little different with the stretch. You'll want to extend your leg again, maybe a bit more so the muscle is really lengthened. Then, peel off one side of the backing. This time, you're going to lay this down with about 25-50% stretch. You're not pulling it super tight. It’s more about giving that muscle a gentle tug. Lay it down smoothly, pressing from the middle outwards. Repeat on the other side of your kneecap, so you've got another strip going up and over, again with that 25-50% stretch. So now you’ve got your ‘X’ and two supporting strips running alongside it. Ta-da! You’ve just taped your knee like a pro. High five!
Now, a few more little nuggets of wisdom for you. When you’re applying the tape, you’ll notice that the end pieces, the very tips of the tape, should be applied with no stretch. This is super important! The ends are the anchor points. If you put stretch on the ends, they’re more likely to lift and peel off. And that’s just sad. So, always lay those ends down with a gentle, no-stretch application. It’s like the polite handshake of the tape world. Respectful and firm.

Also, after you’ve applied the tape, give it a good rub. Seriously! Rubbing the tape generates a little bit of heat, which activates the adhesive and makes it stick much better. It’s like giving your tape a warm hug to say, "Let's be friends for a long time!" You can rub it for about 30 seconds to a minute. Don’t be shy. Get in there and give it some love. It’s for your own good, remember?
How long does this magic tape last? Well, it’s usually good for about 3 to 5 days. It can survive showers, sweat, and all sorts of general life stuff. Just try not to scrub it too aggressively in the shower, you know? Treat it with a little kindness. And when it’s time to take it off, don’t just rip it off like you’re trying to win a bet. Ouch! That’s a recipe for pain and possibly some ripped-up skin. The best way to remove it is to peel it back slowly and gently, going in the direction of hair growth. Some people even like to use baby oil or olive oil to help break down the adhesive. That’s a pretty smart move, actually.
What if you’re not sure about your knee pain? Like, is it just a little tweak, or something more serious? Always, always, if you’re in a lot of pain or if your knee feels unstable, it’s a good idea to see a doctor or a physical therapist. This tape is great for support and pain relief, but it’s not a substitute for professional medical advice. Think of me as your friendly neighborhood tape enthusiast, not your personal orthopedist. Got it? Good.
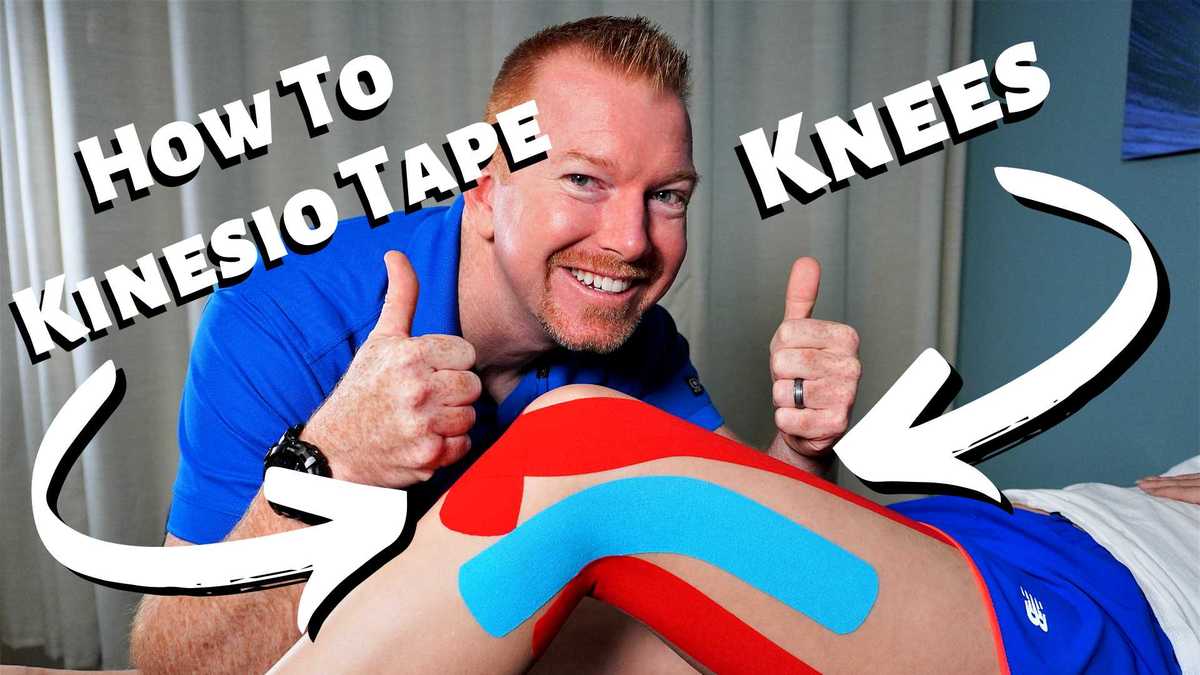
There are also other ways to tape your knee for different issues. Like if you have pain on the outside of your knee, or pain behind your kneecap, the applications might be a little different. But for that general ache and stiffness, the patella support method we went through is a fantastic starting point. You can even find tons of videos online if you’re a visual learner. Just type in "KT Tape knee" and you'll be bombarded with options. Pick one that looks clear and easy to follow. Sometimes seeing it done is the best way to get the hang of it.
And hey, don’t be discouraged if your first attempt isn't perfect. My first tape job looked like a spider had a terrible accident on my leg. It happens! The more you practice, the better you’ll get. It’s like learning to ride a bike, or mastering that tricky yoga pose. A little bit of fumbling is part of the process. Just keep at it, and you’ll be taping your knee like a pro in no time.
So, there you have it! A casual guide to taping your knee with KT Tape. It’s not as intimidating as it looks, right? A little bit of prep, a few carefully placed strips, and you’ve got yourself some extra support and pain relief. Go forth and conquer those stairs, my friend! And if you ever need a refresher, you know where to find me. We can grab another coffee and talk tape. Or, you know, just complain about our knees. That’s always an option too!