How To Tape A Knee For Pain

Hey there, you! Yeah, you with the cranky knee. Come on over, grab a virtual coffee. Let’s chat about this achy joint of yours. Is it that annoying ache that just won't quit? Or maybe it’s a sharp jab that makes you wince when you stand up? We’ve all been there, right? Or at least, I have. My knees have seen some things, let me tell you.
So, you’ve heard about taping your knee. Maybe you saw it on a sports broadcast, or a friend swore by it. And now you're wondering, "Can I actually do this without looking like a mummy from a budget movie?" The good news, my friend, is a resounding YES! It’s not some arcane wizardry, I promise. Think of it as a little extra hug for your knee, a gentle nudge in the right direction.
Why even bother, you ask? Well, when your knee is feeling a bit wobbly, like a newborn giraffe on ice, taping can offer some serious stability. It can help your muscles work a little smarter, not harder. Imagine them getting a little pep talk from the tape, saying, "Alright team, let’s keep this joint in line, shall we?" It can also help to reduce inflammation and, dare I say it, lessen that persistent pain. Who doesn't want less pain? Seriously, sign me up for a lifetime of less pain.
Must Read
Now, before we dive headfirst into the sticky world of athletic tape, a little disclaimer. I'm not a doctor, okay? This is friendly advice, like your slightly-more-experienced friend telling you how to assemble IKEA furniture. If your pain is severe, or you suspect something more serious is going on, please, please, see a professional. They’ve got the fancy degrees and the medical magic. We’re just here for a bit of DIY support.
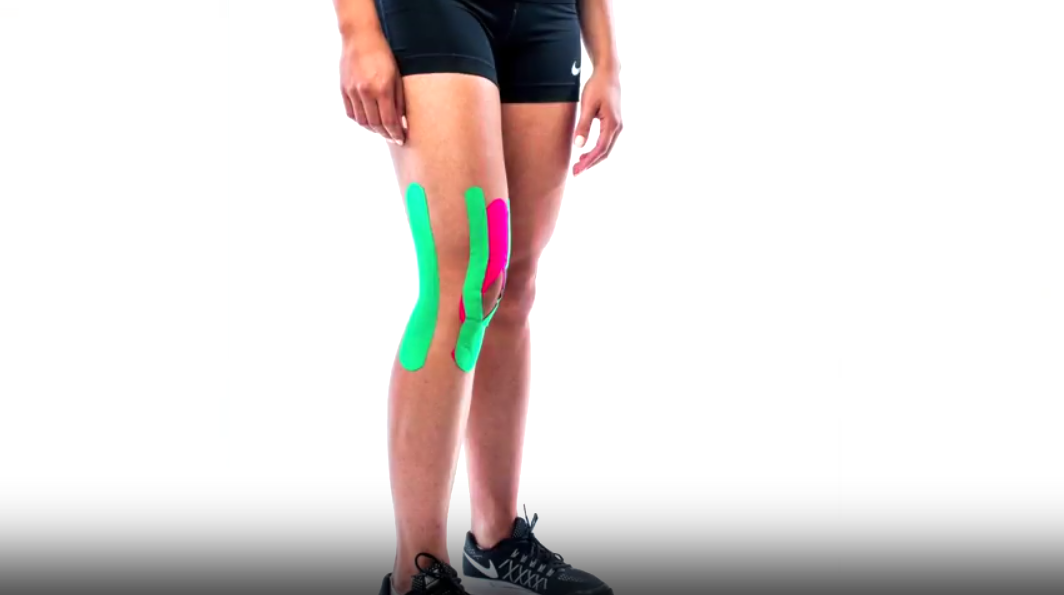
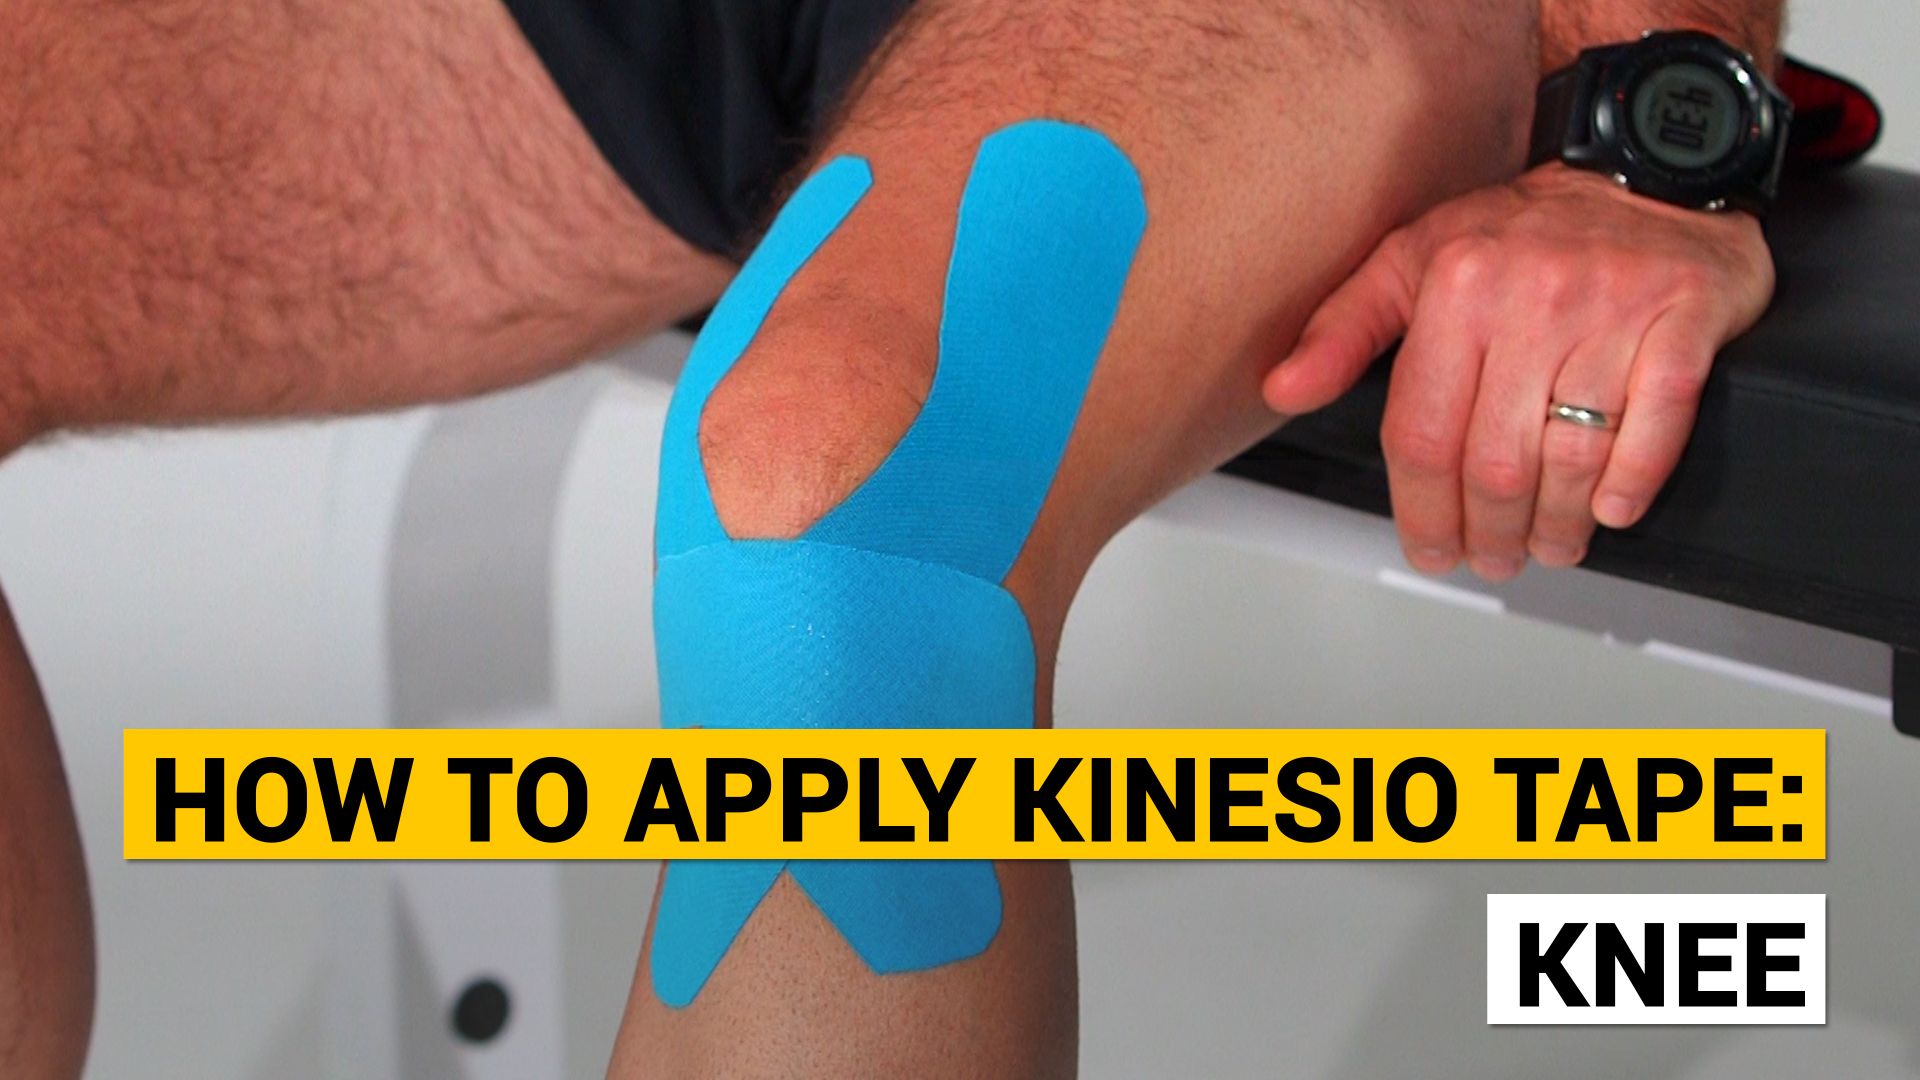
Alright, ready to get our tape on? Let's talk about what you'll need. It's not exactly a trip to the hardware store, but you'll want a few things. First up, the star of the show: athletic tape. There are a few types, but for general knee support, the standard 1.5-inch or 2-inch rigid tape is usually a good bet. Think of it as your trusty sidekick. You can also get kinesiology tape, which is a bit stretchier and comes in fun colors, but we’ll stick to the classic for now. It’s like choosing between a sensible sedan and a tricked-out sports car. Both get you there, but one feels a bit more… robust.
You’ll also want some underwrap. This is like the comfy base layer for your knee. It's usually a foam-like material that goes on first. Why? Because athletic tape can be a tad sticky, and this stuff protects your skin from getting too… well, taped. It’s like putting on a soft sock before your hiking boot. Essential, really. And then, of course, a good pair of scissors. Don't be tempted to rip the tape. It's messy, it's painful, and it’s just not the done thing. Sharp scissors are your friend.
The Grand Tape-Up: Step-by-Step Shenanigans
Okay, deep breaths. We're going to do this. First things first, clean your skin. No one wants to tape over a sweaty, grimy knee. That's just asking for trouble, and probably some questionable smells. Make sure your leg is dry. Totally dry. Like a desert in July.
Now, that underwrap we talked about? Unroll a generous amount, maybe enough to go around your thigh and calf a few times, leaving a little extra at the top and bottom. It should feel snug, but not like a tourniquet. We're aiming for support, not strangulation. Think of it as a gentle hug, not a bear hug from a wrestler. You want to cover the area where you'll be taping. Usually, this is from just above your kneecap to just below it. It’s like creating your own personal, comfy knee pillow.

Once your underwrap is in place, it's time for the main event: the athletic tape. Now, there are a ton of taping techniques out there. Some are super fancy and look like they belong in a sports medicine textbook. But for us, for good ol' pain relief, we're going to focus on a couple of simple, effective methods. We're not trying to win an Olympic medal for taping accuracy, just to make your knee feel better. Small victories, people!
The Anchor and Stirrup Method: Your Knee's New Best Friends
This is a classic for a reason. It’s designed to provide support and prevent that pesky sideways movement that can aggravate your knee. Ready? Let’s do this.
First, we make our anchors. You’ll want to cut two strips of tape, about 10-12 inches long. Don't measure too precisely; we’re going for functional here. Take your first strip and place it on the front of your thigh, just above your knee. Now, wrap it around your leg, so the tape is running horizontally across the back of your thigh. Smooth it down really well. This is your first anchor. It’s like the foundation of a little tape house for your knee.
Repeat this with your second strip on the front of your calf, just below your knee. Again, wrap it around so it's horizontal across the back of your calf. Nice and snug, but not too tight. These anchors are going to hold everything in place, like tiny, sticky security guards.
Now for the stirrups. These are the strips that do the real work of supporting your knee. Cut two more strips, again, about 10-12 inches. Take one strip and place the middle of it on the front of your knee, right over the kneecap. Now, peel off the backing and bring the ends of the tape down and around the sides of your knee, anchoring them to the bottom anchor strip you just put on your calf. You’re essentially creating a U-shape. You want these to be taut, pulling gently upwards. Think of it like lifting your kneecap a little. It's like a mini-lift for your knee!

Now, for the other stirrup. Take your last strip and place the middle of it on the back of your knee. Bring the ends up and around the sides, anchoring them to the top anchor strip on your thigh. Again, you want a nice, gentle pull. This creates another U-shape, but this time it's coming from the back. These two stirrups, working together, are going to help keep your kneecap from wobbling around like a jelly on a plate.
After those stirrups, you might want to add a couple of support strips. Cut a couple more strips, maybe 8 inches long. These will go horizontally across your knee, overlapping the stirrups. Place one just above your knee, and another just below. These add extra stability and ensure everything stays put. It’s like putting on a little tape blanket. Comfort and support, all rolled into one sticky package.
The Donut/Patella Method: For That Extra Kneecap Hug
If your pain is really centered around your kneecap itself, or you feel like it’s just a little bit out of place, this method can be a lifesaver. It’s all about giving your patella (that’s your kneecap, for those of you not fluent in anatomy) some focused attention.
Again, start with your anchors. Two strips, one above the knee on the thigh, and one below on the calf, wrapped horizontally around. You know the drill by now. They’re the silent, supportive backbone of the operation.
Now, for the fun part: the donut! Cut a strip of tape about 6 inches long. Fold it in half lengthwise, sticky sides together, creating a double-layered, non-sticky strip. Now, unpeel the backing from one side of the folded strip. You're going to place this sticky side so it wraps around the sides of your kneecap, creating a little "wall" that helps to guide your patella. Think of it as a tiny, tape-made bumper car for your kneecap. You want the tape to curve around the sides, and the ends to overlap slightly on the front or back. It’s like giving your kneecap a gentle, supportive embrace.
If you have some extra tape left, you can add a few more horizontal strips over the top, just like in the previous method, to really lock everything down. It’s like adding a little tape lid to your donut creation. Extra security!
The Golden Rules of Taping: Don't Be That Guy!
Alright, so you've taped your knee. How does it feel? Hopefully, a little bit better! But before you go out and conquer the world (or at least, your stairs), let's go over a few important tips. Because nobody wants a taped knee that's causing more problems than it's solving. That would be ironic, wouldn't it?
Don't tape too tight. I cannot stress this enough. You should be able to wiggle your toes. If your foot starts tingling, or your toes turn blue (okay, maybe not blue, but you get the idea), it's too tight. Loosen it up, or take it off and start again. Circulation is key, people! We’re supporting your knee, not cutting off its blood supply. That’s generally frowned upon.
Smooth it out. Every piece of tape you apply needs to be smoothed down. Run your hands over it, press firmly. This ensures the tape adheres properly and doesn't wrinkle or bunch up. Wrinkled tape is like wrinkled clothes – it just doesn't look good, and it's less effective. We want sleek and supportive!
Watch for skin irritation. If you notice redness, itching, or blistering, it's time to take the tape off. Some people are more sensitive to the adhesive than others. If this happens, try a different brand of tape, or consider using more underwrap. Or, you know, just give your skin a break. It's tried its best.
When to take it off. Generally, you can leave athletic tape on for a day or two, as long as it’s not bothering you. But if it starts to peel, or it gets wet (sweat, rain, accidental splash from a rogue sprinkler), it’s best to remove it. Lingering damp tape is a breeding ground for… well, things you don't want on your skin. And it’s just not as effective anymore. It’s like trying to use a soggy band-aid – not ideal.
Removal is an art form. Don't just rip it off like you're tearing into a birthday present. That’s a recipe for pain and ripped-off skin. Slowly and gently peel the tape back, ideally in the direction of hair growth. Some people find it helpful to soak the tape in warm water first, or use a tape remover spray. You can also try rolling the tape back on itself as you pull. Think of it as a gentle farewell, not a dramatic exit.
Don't expect miracles. Taping is a great tool, and it can really help manage pain and provide support. But it's not a magic wand. It won't instantly cure your knee. It's a part of a bigger picture. Listen to your body. If you're in a lot of pain, taping might just be a temporary fix. You might need to look at strengthening exercises, physical therapy, or other treatments. It’s a team effort, your knee and you!
And hey, if you’re feeling completely clueless, or your knee is really acting up, remember that professional help is always an option. A physical therapist can show you specific taping techniques tailored to your knee and your pain. They’re like the Jedi Masters of joint care. We’re just the Padawans learning the basics.
So there you have it! A little crash course in knee taping. It might take a couple of tries to get the hang of it, but don’t get discouraged. Think of it as a fun, slightly sticky DIY project. And who knows, maybe you’ll even start enjoying it. (Okay, probably not enjoying it, but maybe tolerating it a bit more!) Go forth, tape with confidence, and may your knees be ever less achy!