How To Tape A Finger
Hey there! So, your finger decided to have a little adventure, did it? Maybe you tripped over the cat, or went a little too wild chopping onions (we’ve all been there!). Whatever the reason, a taped finger can feel like a major bummer. But don't you worry your pretty little head about it. Taping a finger is actually pretty darn simple. Think of it like giving your digit a tiny, comforting hug. And honestly, it’s way less complicated than assembling IKEA furniture. So grab a cuppa, settle in, and let’s get this finger sorted!
First things first, let's talk about why you’d even bother taping a finger. Is it just for show? Nope! It’s usually to give it some extra support when it’s been a bit banged up. Maybe you sprained it, or you’ve got a minor cut that needs a bit of protection. It’s basically like a little superhero cape for your knuckle, keeping it stable and reminding it to behave. No more rogue wiggling during important tasks, right?
Gather Your Super Supplies!
Alright, before we get all fancy with the tape, we gotta have our tools. It’s like a mini DIY project for your hand. What do you need? Not much, really. It’s not rocket science, thank goodness. We're aiming for a smooth operation here, not a full-blown medical drama.
Must Read
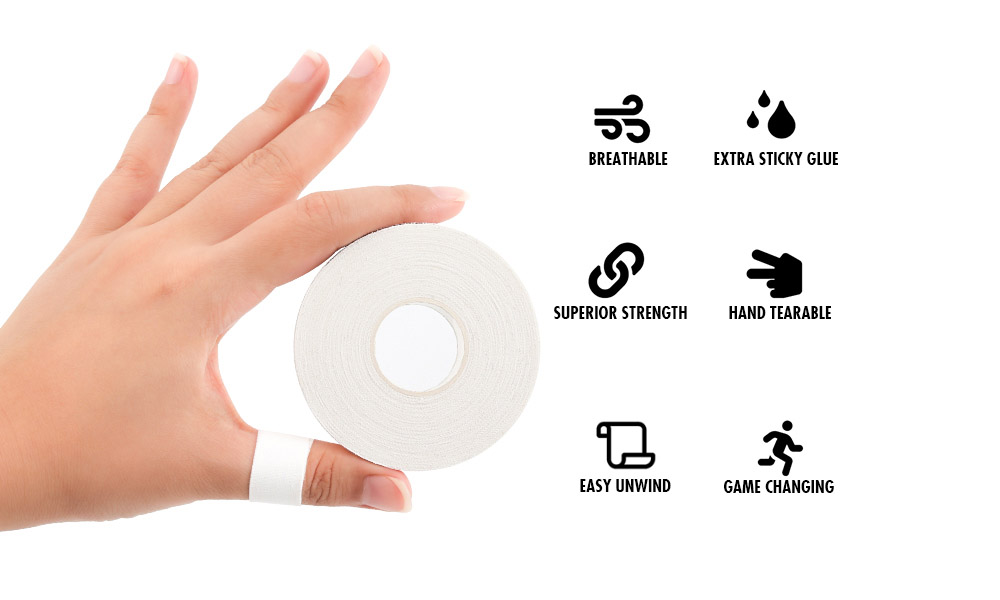
The Essential Player: Medical Tape
This is your star of the show. You can’t just grab any old sticky tape from the junk drawer, okay? We’re talking about medical tape. Think of the stuff nurses use. It’s usually made of paper or cloth, and it’s designed to be gentle on your skin. You can find this at any pharmacy or even in the first-aid aisle of your local supermarket. Don't be that person who uses duct tape. Seriously. Your skin will hate you. Trust me on this one.
There are a couple of types you might see. There’s the paper kind, which is pretty breathable and easy to tear. Then there’s the cloth kind, which is a bit more durable. For a simple finger situation, either will probably do the trick. Just make sure it’s not that weird, super-strong athletic tape unless your doctor specifically told you to use it. We’re not trying to permanently fuse your finger to your hand, remember?
Optional (But Handy!) Assistants
Sometimes, it’s nice to have a little backup. If your finger is a bit raw or you’re worried about irritation, you might want to grab some gauze pads. These are like little fluffy clouds that sit between your skin and the tape. They add a bit of cushioning and absorb any… well, anything that might decide to ooze. Not exactly glamorous, but practical!
And if you’re going for the full spa treatment for your digit, you could even consider some athletic wrap or a finger cot. These are a bit more advanced, and usually, you only need them if you’re dealing with something more serious or if your doctor suggested them. For our purposes today, a good roll of medical tape is usually all you really need. Keep it simple, keep it effective.

The Taping Tango: Step-by-Step Fun!
Okay, ready to get your hands (or, well, finger) dirty? Let's do this! It's a bit of a dance, really. A very gentle, supportive dance.
Step 1: Clean and Dry is Key!
Before you even think about slapping tape on, you have to clean your finger. Wash it with some good old soap and water. Get rid of any dirt, grease, or… mystery gunk. Seriously, we don’t know where your finger has been. Once it’s clean, pat it dry completely. If you tape a wet finger, the tape won’t stick well, and you’ll just end up with a sticky, soggy mess. And nobody wants that. So, dry is the magic word here.
If you’ve got a cut that you’re taping, make sure it's also clean and maybe dabbed with a little antiseptic if you have one. No need to go overboard, but a clean slate is always best. Think of it as prepping the canvas for your artistic tape masterpiece. (Okay, maybe not a masterpiece, but you get the idea.)
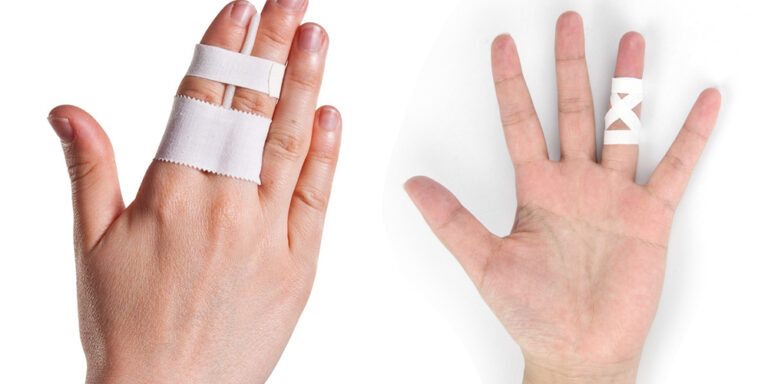
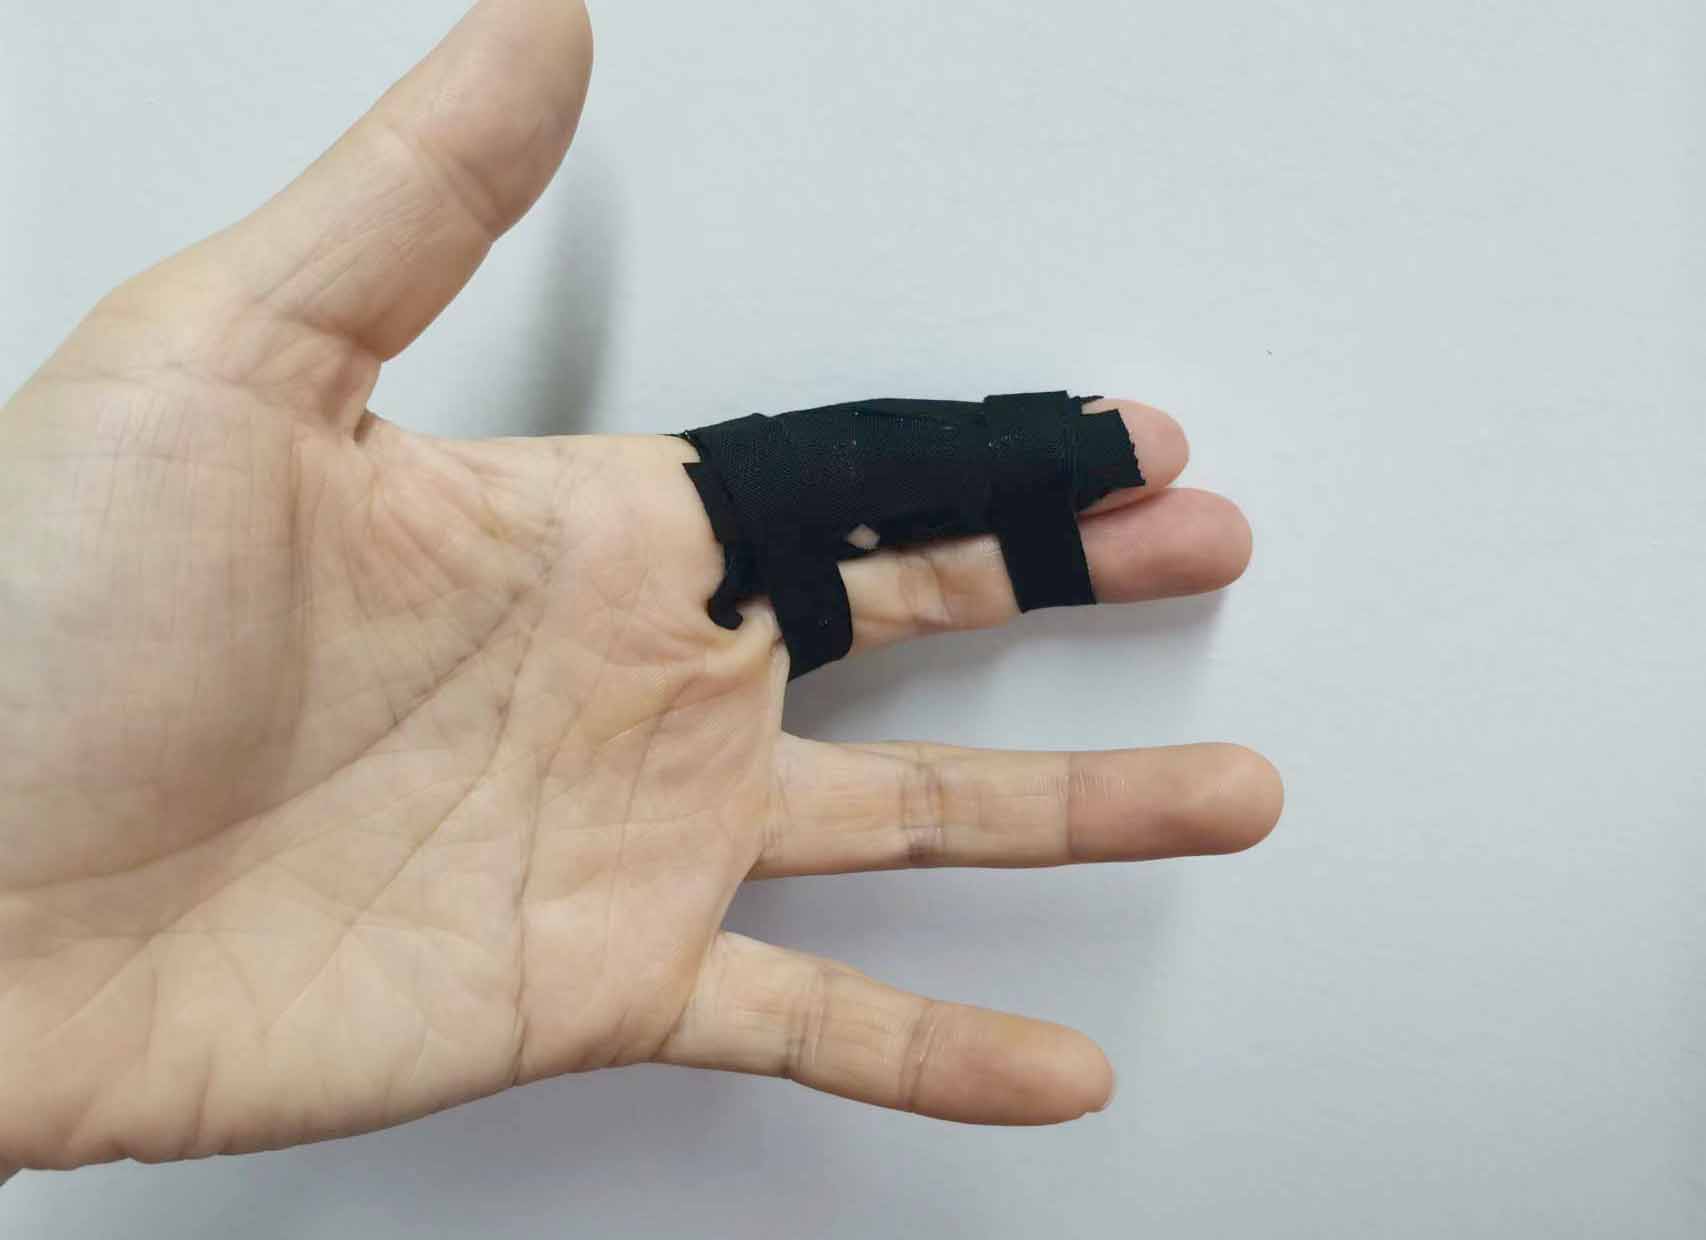
Step 2: The Buddy System - Finger Splinting!
This is where it gets interesting. Often, when you tape a finger, you don't tape it by itself. You’re going to use a neighboring, healthy finger as its buddy. It’s called buddy taping, and it’s a genius move! This gives the injured finger extra stability and support. It’s like having a wingman for your sore digit.
So, bring the injured finger right up next to a strong, uninjured finger. They should be touching, side-by-side. Imagine them holding hands for moral support. This is the basic position your tape will be holding them in. Make sure they’re in a comfortable, neutral position. Not too bent, not too straight. Just chillin'.

If you’re using a gauze pad, now’s the time to place it between the two fingers. This is just a little buffer zone, a privacy screen for your digits. It prevents the tape from sticking directly to both fingers, which can be annoying when you eventually take it off. Plus, it adds that extra bit of comfort we talked about.
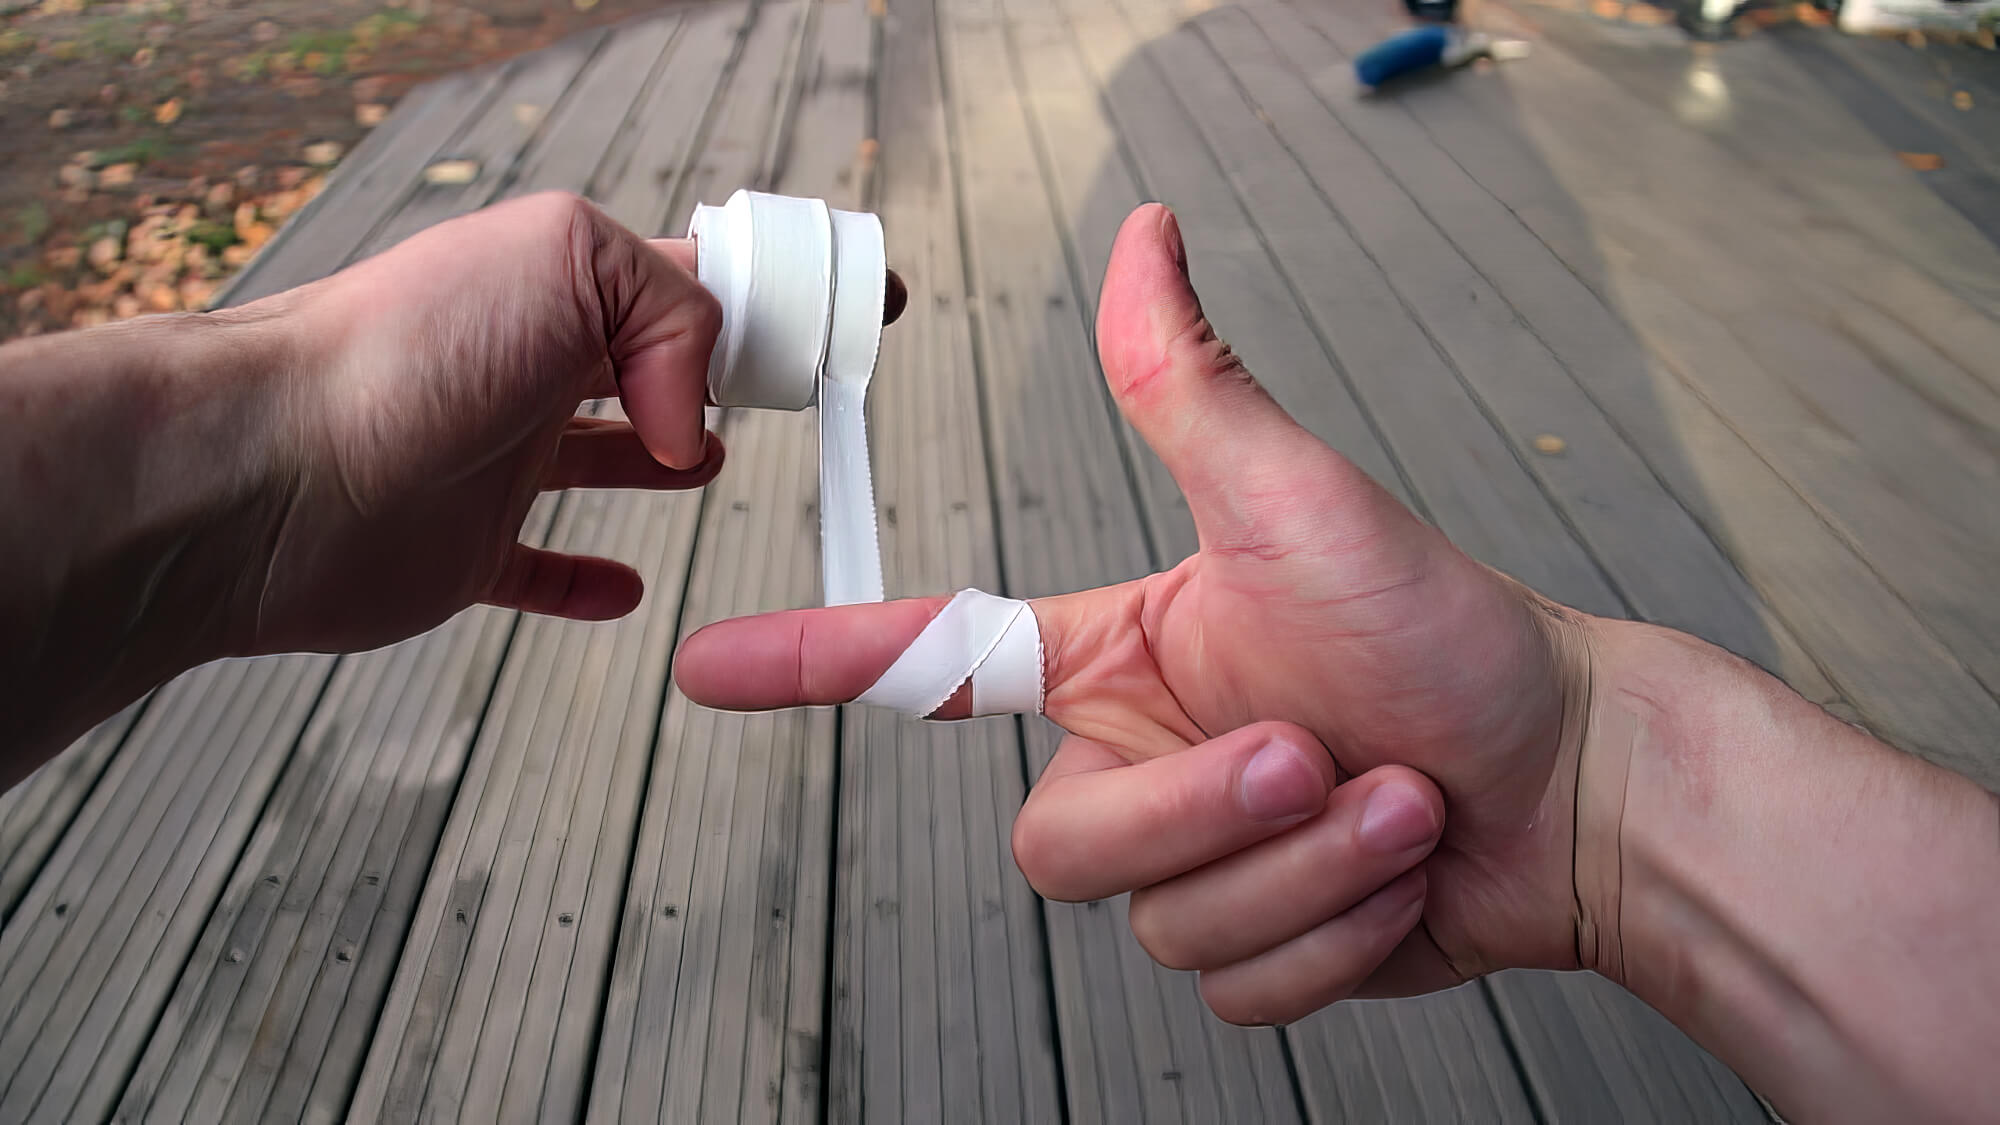
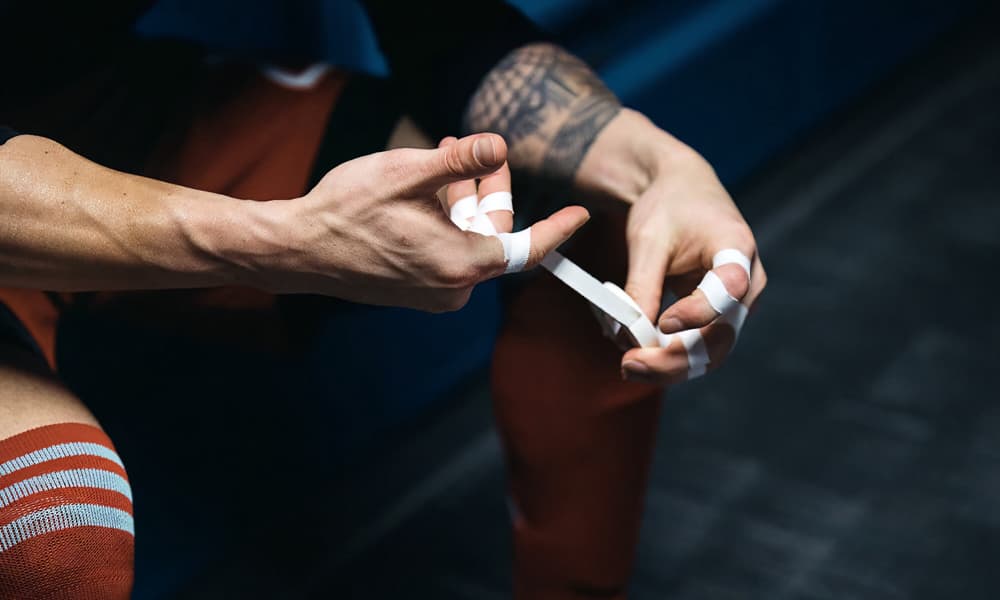
Step 3: The Taping Begins!
Now for the main event! Grab your medical tape. You don’t need a ton, just a good length. Start by wrapping the tape around the base of both fingers, where they meet. Make one or two snug (but not too tight!) loops. You want it to feel secure, but not like a tourniquet. We’re aiming for support, not amputation!
Once you've got a good base, start wrapping the tape up and over the knuckle of the injured finger, and then down and around the base again. You're basically creating a little figure-eight or a cross pattern. The goal is to keep the injured finger held firmly against its healthy buddy. Think of it as giving them a gentle, unbreakable embrace.
You’ll want to make a few passes with the tape. Go up and over, then down and around. Repeat this a couple of times, making sure each wrap is snug and helps to immobilize the injured finger. You can go up to the joint of the injured finger, but avoid going over the joint of the healthy finger too much, as that might restrict its movement unnecessarily.
Pay attention to how it feels. If it’s cutting off circulation (tingling, numbness, or turning blue – yikes!), loosen it up! If it’s so loose that your injured finger is still flopping around, tighten it up a bit. It’s a delicate balance, but you’ll get the hang of it. You’re the maestro of tape now!
Step 4: The Finishing Touches
Once you feel like you’ve got a good, supportive wrap going, you need to secure the end of the tape. Just tuck it in neatly so it doesn’t snag on anything. You can tear off the tape or cut it with scissors. If you’re using paper tape, tearing is usually easy enough.
Give your taped fingers a little wiggle. Do they feel stable? Is the injured finger nicely supported? If it feels good, you’re done! You’ve successfully taped a finger. Pat yourself on the back! Or, you know, just pat your taped finger. It deserves some love.
And there you have it! Your finger is now officially on lockdown, in the best possible way. It’s ready to heal and get back to its normal, everyday finger duties. No more rogue adventures for you, little guy!
When to Seek Expert Help (Don't Be a Hero!)
Now, while taping is great for minor boo-boos, it’s not a magic cure for everything. There are times when you absolutely need to see a doctor. Don't be a tough guy (or gal!) and try to tape your way out of a serious injury. Your finger isn't a superhero that can regenerate limbs, unfortunately.
If you suspect you’ve broken a bone (it really, really hurts, it’s misshapen, or you heard a snap), get yourself to a doctor, stat! If the pain is unbearable, or if the swelling is intense and doesn’t go down, that’s another red flag. If your finger is numb or tingling and doesn’t get better when you adjust the tape, that’s also a sign something’s up. And if you have any open wounds that look deep or infected (redness, pus, fever), please, please see a medical professional.
Taping is for minor sprains, strains, or to protect small cuts. It’s for when you need a little extra stability. It’s not for when your finger looks like it’s trying to escape your hand. You know the difference, right? Listen to your body. It’s usually pretty good at telling you when it’s had enough.
Taking Off the Tape: The Grand Finale
Eventually, you'll need to remove the tape. Don’t just rip it off like a Band-Aid! That’s just… barbaric. Be gentle. You can soak the taped area in warm water for a bit, which will help loosen the adhesive. Then, slowly and carefully peel the tape off, going in the direction of hair growth (if there is any, and if you care!).
If it’s still a bit stubborn, you can try using a little bit of olive oil or baby oil. Just dab it on the edge of the tape and let it sit for a few minutes. It’s surprisingly effective at breaking down sticky stuff. When it’s off, wash your finger again and maybe apply a little moisturizer. Your skin deserves a little pampering after its tape ordeal.
And there you have it! You are now officially a finger-taping pro. Go forth and tape with confidence! Just try not to injure yourself again so soon. Let’s give those fingers a break, shall we?