How To Stick A Mirror On A Wall

So, you've got a mirror, a beautiful, shiny portal to your own fabulousness, and it's just sitting there, feeling a bit… unemployed. It’s longing to grace your wall, to bounce light around like a disco ball at a party, and to give you those crucial last-minute outfit checks. But how do you get this majestic rectangle from leaning precariously against the sofa to a proud, permanent fixture on your wall? Fear not, my friend, for I’m here to guide you through the thrilling, the triumphant, the utterly achievable mission of sticking a mirror on a wall!
Think of your wall as a blank canvas, patiently waiting for its starring role. And your mirror? It’s the undisputed headliner, the diva that deserves center stage. We're not just putting up a mirror; we're orchestrating a home decor masterpiece, a symphony of light and reflection!
The Essential Toolkit: Your Mirror-Hanging Arsenal
Gather Your Gear Like a Treasure Hunter
First things first, let's assemble your trusty sidekicks for this grand adventure. You wouldn't go on a quest without your sword and shield, right? Well, this is our quest for wall-glorious reflection! We need our trusty measuring tape. This isn't just any old tape; it's your magical wand for ensuring perfect placement.
Must Read
Next up, a good old pencil. This is your temporary tattoo artist for walls, marking spots with gentle grace. And of course, we can’t forget the star of the show: our chosen mirror adhesive. This stuff is the superhero glue that will hold our precious mirror fast, defying gravity and all its mischievous temptations.
Depending on the weight of your mirror, you might need a little extra muscle. Think of heavy-duty picture hanging hooks or wall anchors as the bouncers at your mirror’s exclusive party, ensuring it stays put and doesn't decide to take an unscheduled tumble.
Step One: The Art of Placement – Where Will Your Mirror Shine?
Survey Your Wall Like a Royal Cartographer
This is where the magic really begins. Before you even think about sticky stuff, you need to decide where your mirror will live its best life. Is it for a grand entryway, greeting guests with a dazzling smile? Or is it in your bedroom, offering daily affirmations of your awesomeness?
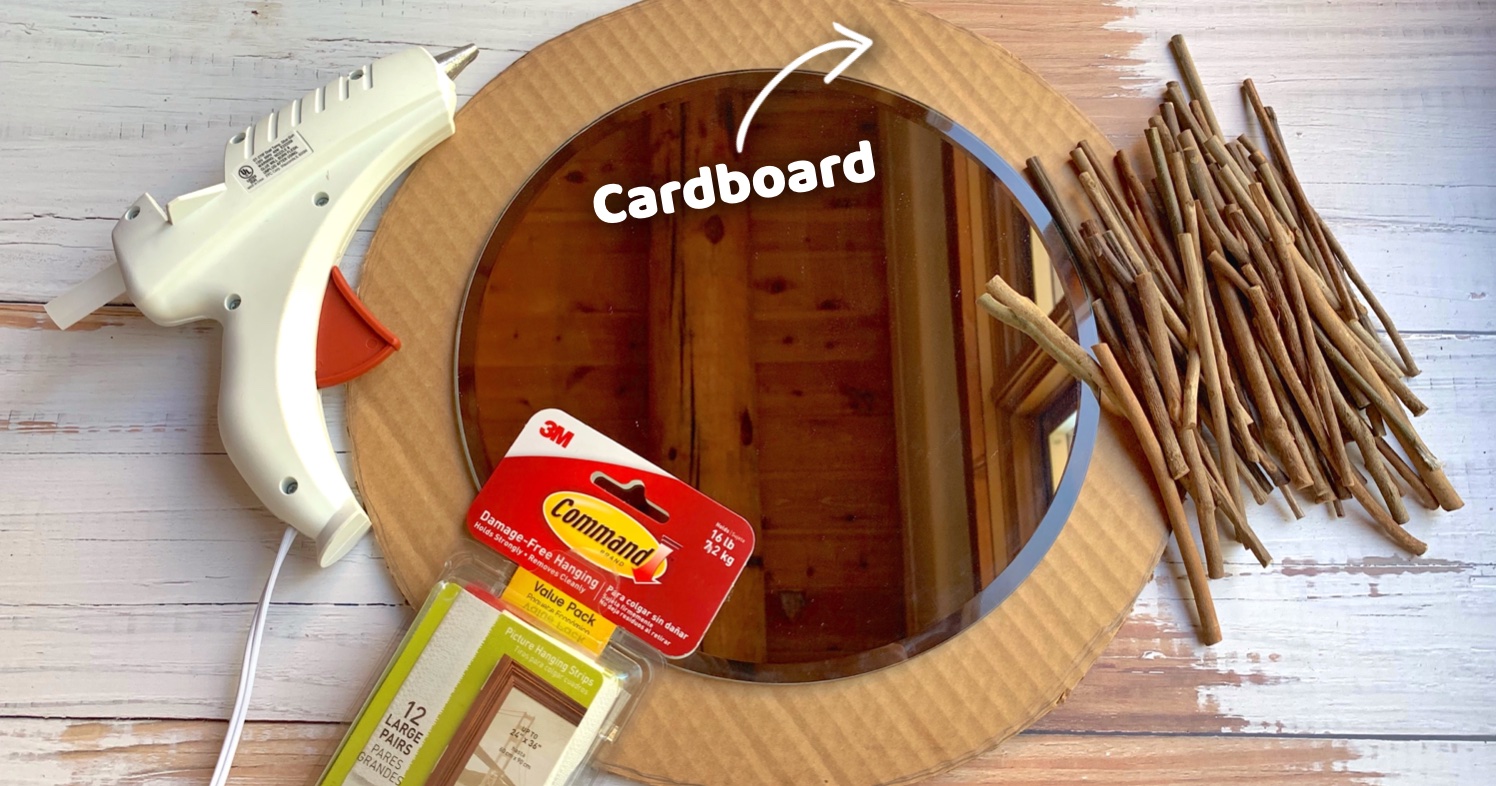
Hold the mirror up, or if it's too heavy, hold up a piece of cardboard the same size. This is your dress rehearsal! Imagine your reflection, the way the light will dance. Does it feel right? Does it make your heart sing a little opera tune?
Consider the furniture around it. You don’t want your mirror awkwardly staring at the ceiling fan, do you? Aim for eye level, or slightly above, so you can catch your reflection without doing a yoga pose. This is about making your space better, more inviting, and dare I say, more you.
Mark Your Territory (Gently!)
Once you’ve found the perfect spot, it’s time for the pencil to do its delicate work. If you’re using hanging hardware, this is where you’ll mark precisely where those hooks or anchors need to go. Measure twice, mark once – that’s the golden rule of mirror placement, whispered down through generations of decorators.
If you’re using adhesive, you might just mark the corners lightly as a guide. This is your visual roadmap, your secret handshake with the wall, ensuring everything is perfectly aligned for the big reveal. No wonky mirrors allowed on our watch!
Step Two: Prepping the Surface – A Clean Slate for Success
Wipe Away the Worries (and Dust!)
Now, imagine your wall is getting ready for a spa day. It needs to be clean and ready to embrace our mirror with open arms. Grab a clean, damp cloth and give the area where your mirror will go a good wipe-down. Dust bunnies are the archenemies of strong adhesion; they’re like tiny ninjas trying to sabotage our efforts!
Make sure the wall is completely dry before moving on. Nobody likes a sticky, damp mess. This step might seem small, but it’s crucial for a bond that lasts longer than your favorite song on repeat.
If your wall has a lot of texture, or if you're worried about the adhesive gripping properly, you might want to give it a light sanding in the designated area. This creates a slightly rougher surface, like a good handshake, allowing the adhesive to really lock in.

Step Three: The Grand Application – Adhesive Magic!
Choose Your Adhesive Wisely, Young Padawan
This is where things get exciting! There are a few magical concoctions out there designed to stick things to walls with impressive tenacity. For lighter mirrors, special mirror mounting tape or heavy-duty double-sided tape can be your best friend. It’s like having a million tiny, super-sticky hands holding your mirror in place.
For heavier mirrors, you might need something a bit more robust, like mirror adhesive glue. This stuff is seriously strong, like a superhero with super-sticky superpowers. Always read the instructions on your chosen adhesive carefully; they are the ancient scrolls of wisdom for this particular task.
Some adhesives come in tubes that you squeeze, creating neat little lines. Others come in strips that you just peel and stick. Think of it as decorating your mirror with a fancy, functional border.
Applying with Precision and Pizzazz
Now, let’s get to the business of sticking. If you’re using tape, apply it to the back of the mirror in a pattern that makes sense. Think of a grid or a series of parallel lines. You want good coverage, like a cozy blanket for your mirror.
If you're using glue, apply it in dots or lines as recommended by the manufacturer. Don't go overboard; a little goes a long way. You're not trying to drown your mirror, just give it a firm, loving embrace.

Some adhesives benefit from a little pressure to activate their stickiness. So, after you apply, give the tape or glue a good rub down. This is like giving your mirror a firm pat on the back, saying, "You’ve got this!"
Step Four: The Moment of Truth – Mirror Meets Wall
The Gentle Press, The Anticipation Builds
Okay, deep breaths! This is the big moment. Carefully, and with the confidence of a seasoned sculptor, lift your mirror. Line up the edges with your pencil marks, or just eyeball it with your newfound artistic flair.
Once you’ve got it where you want it, press the mirror firmly against the wall. Hold it there for a good 30 seconds to a minute. This is its first dance with the wall, and it needs a solid connection.
Imagine you’re giving your mirror a gentle hug, ensuring it feels secure and loved. This is the beginning of a beautiful, reflective friendship.
The Wait – Patience is a Virtue (and a Necessity!)
Now comes the hardest part: waiting. Most adhesives need a bit of time to cure fully and reach their maximum stickiness. This is not the time to be testing its limits by hanging your coat on it! Resist the urge to immediately admire your handiwork by tapping on it.

Check the instructions on your adhesive. Some are ready in a few hours, others need a full 24 hours. Think of it as a delicious cake baking in the oven – the anticipation is worth the final, perfect result.
During this curing period, try to avoid jarring the mirror or the wall. Let it settle in, get comfortable, and form that unbreakable bond. It's like giving your new pet some space to get used to its new home.
Step Five: The Glorious Reveal – Admire Your Handiwork!
Step Back and Behold Your Magnificence
The waiting is over! It’s time to step back, perhaps with a glass of something bubbly, and gaze upon your creation. Your mirror is now a proud, permanent resident of your wall, reflecting light and adding a touch of sparkle to your space.
See how it brightens the room? Notice how it makes the space feel larger and more open? This is the magic of a well-placed mirror, and you made it happen!
You’ve conquered the wall, tamed the tape (or glue!), and brought a magnificent reflective friend into your home. Give yourself a pat on the back – you've earned it! Now go forth and enjoy all the wonderful reflections that await you.

