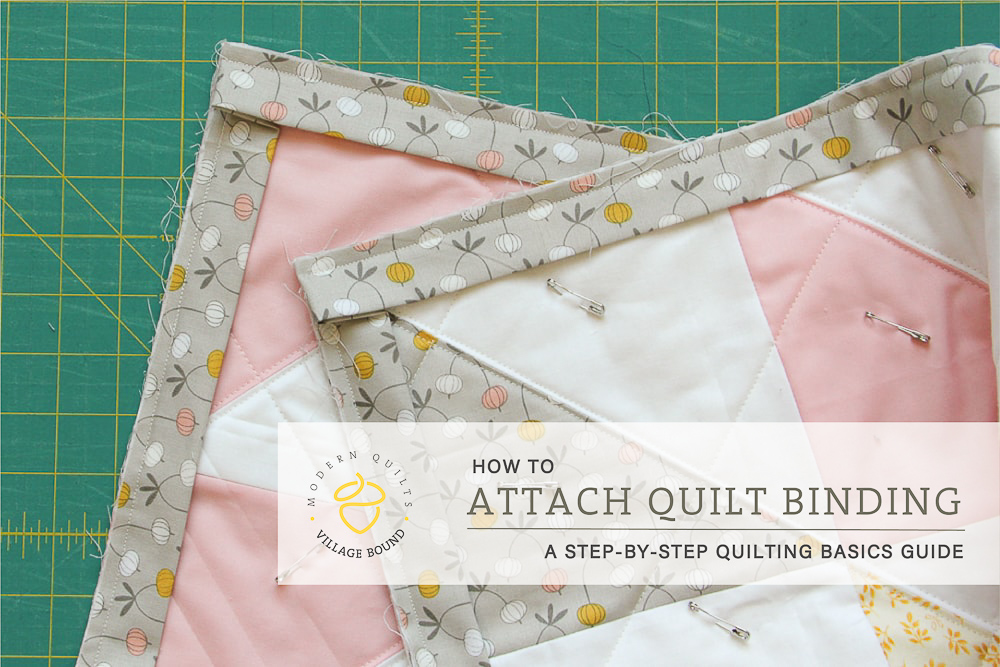
How To Sew Binding To A Quilt

Okay, so you've done it! You've wrestled with fabric, navigated the quilting maze, maybe even shed a happy tear or two (or just a frustrated sigh) over that beautiful quilt you've just finished. It's a masterpiece, a cozy hug waiting to happen. But… there's one last little hurdle, the finishing touch, the grand finale: binding.
Now, I know what some of you might be thinking. Binding? Sounds… like a chore. Like the boring bit at the end. Like having to fold all your laundry after a weekend getaway. But trust me, this isn't just about making your quilt look neat. It's about giving your creation the perfect frame, the sturdy hug that says, "I'm here to stay, and I'm going to keep you warm for years to come!" Think of it like the icing on the cake, the polished finish on a lovingly built piece of furniture, or the way a perfectly tied ribbon makes a gift feel extra special. It’s the difference between a pretty pile of fabric and a finished heirloom.
Why should you care about this seemingly small detail? Well, let me tell you. A well-done binding is like wearing your favorite pair of comfy, but stylish, slippers around the house. It’s the little thing that makes everything feel just right. It protects the edges of your quilt from wear and tear, so your hard work doesn't start fraying after a few washes. It adds a pop of personality, a subtle or bold statement that complements your quilt design. And honestly, a beautiful binding just makes you feel incredibly proud. It’s like the final flourish on your signature dish – everyone will notice, and they’ll be asking for seconds!
Must Read
So, What Exactly Is Quilt Binding?
Imagine your quilt is a delicious sandwich. You’ve got the top layer (your gorgeous quilt top), the filling (the batting), and the backing. Binding is like the crust that holds it all together, neatly tucked away and looking ever so tidy. It’s typically a strip of fabric, cut on the straight grain or bias, folded in half lengthwise, and then attached to the raw edges of your quilt. It’s the unsung hero of quilt finishing!
There are a couple of main ways to tackle binding: the “sew it on the front, then finish on the back” method (which is super common and what we’ll focus on mostly), and the “all on the front” or “all on the back” methods. For ease and a truly professional look, the first is usually the winner, and it’s surprisingly straightforward once you get the hang of it.
Let’s Get This Binding Party Started!
First things first, you need to prepare your binding strips. Think of this as gathering your ingredients before you start baking. You’ll need enough fabric to go all the way around your quilt, plus a little extra for joining your ends. Most quilters recommend cutting strips about 2 ¼ to 2 ½ inches wide. Why this width? It gives you enough wiggle room for your seam allowance on the front and enough to fold over and stitch down on the back. Don't worry if your quilt is a funny shape; you can always piece your binding strips together to make it long enough. It’s like making a really long scarf – you just keep adding bits!
When you’re joining your strips, a little diagonal seam is your best friend. This makes the seam less bulky and almost invisible. It's a bit like making a perfectly smooth joint in your woodworking project – neat and strong. So, lay two strips right sides together, with one end slightly offset, like a tiny staircase. Draw a diagonal line from one corner to the other, stitch along that line, trim the excess, and press the seam open. Ta-da! You’ve got a longer, stronger binding strip. Repeat until you have a strip that’s longer than the perimeter of your quilt.
Attaching Your Binding: The First Date
Now for the exciting part – actually attaching it! We’re going to start by sewing the binding to the right side of your quilt. Lay your quilt flat, right side up. Take your prepared binding strip and, starting about 6-8 inches from a corner (this little gap is important!), align the raw edge of the binding with the raw edge of your quilt. The raw edges should be nestled together.
Using your sewing machine, start stitching about ¼ inch from the edge. Backstitch at the beginning to secure it, just like you would when starting any seam. As you sew, keep that ¼ inch seam allowance consistent. This is your golden rule for this step. Imagine you’re drawing a perfectly straight line along the edge of your quilt – that’s what your machine should be doing.
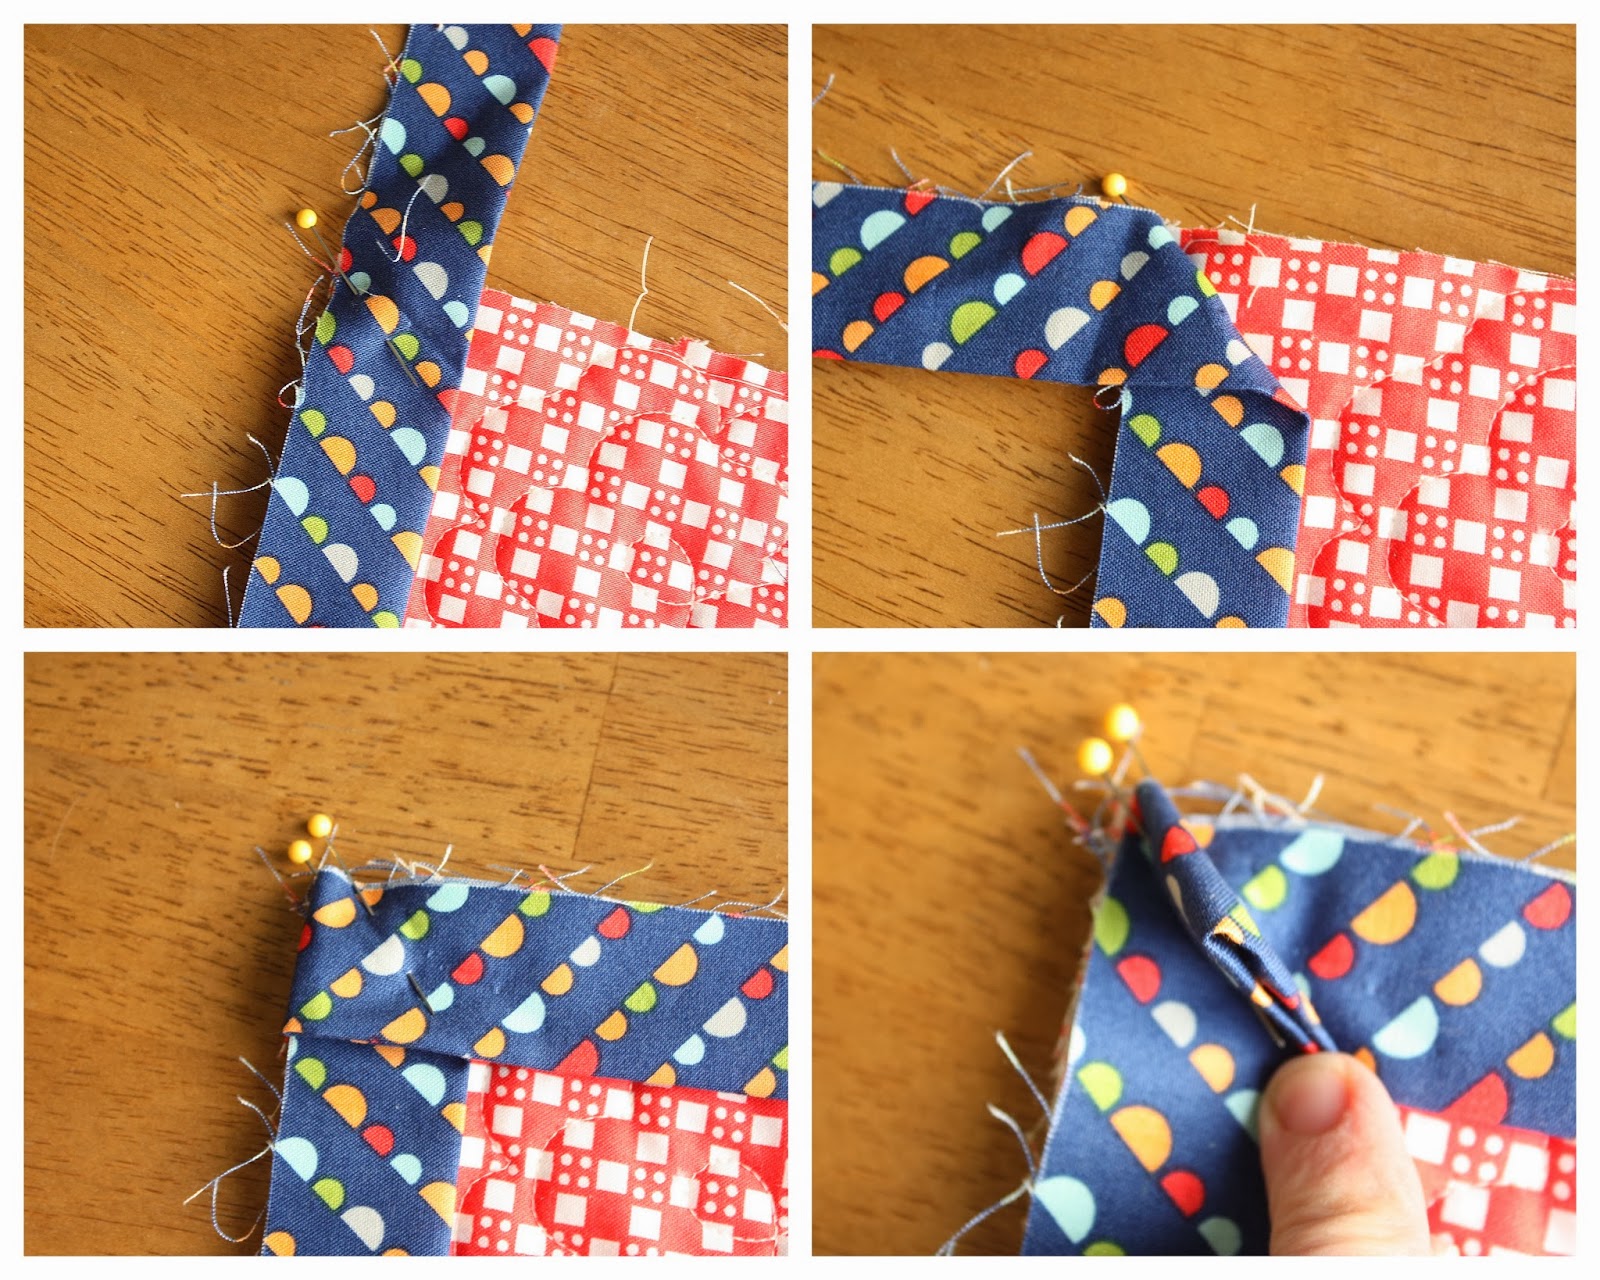
When you get to a corner, this is where the magic happens. Stop sewing about ¼ inch before the corner. Lift your presser foot, and pivot your quilt so the needle is right at the corner point. Then, bring your presser foot back down, and sew off the edge. Now, fold your binding strip straight up, away from the quilt. You’ll see a nice, crisp fold forming at the corner. Then, fold the binding strip back down, aligning its raw edge with the next raw edge of the quilt. It’s like folding a present! Continue sewing, maintaining that ¼ inch seam allowance, until you’re about 6-8 inches from where you started. Remember that little gap we left? We’ll connect it soon.
Joining the Ends: The Grand Reunion
This is the part that sometimes makes people a little nervous, but it’s honestly not that tricky. We need to join the two raw ends of your binding so it forms a continuous loop. Lay your quilt flat. Bring the two unsewn ends of your binding together, overlapping them. You want to create a neat, mitered corner where they meet.
The easiest way to do this is to fold your quilt back slightly, revealing the raw edges of the binding ends. Then, fold one binding end over the other, creating a diagonal fold that will be the join. You’re aiming for a clean, 45-degree angle. It's like solving a little puzzle! You can even mark this line with a pencil. Once you’ve got that nice diagonal fold, trim the excess fabric from both ends, leaving enough to create a neat seam. Now, place the ends right sides together, matching up those diagonal lines you created. Stitch them together with a ¼ inch seam. You’ve just made your binding the perfect length!
Now, unfold your quilt and reattach the now-joined binding strip to the gap you left. Finish sewing all the way around. When you reach your starting point, overlap the binding slightly and backstitch to secure. You’ve officially sewn your binding to the front of your quilt! Give yourself a pat on the back – that’s a big step!
The Backstage Magic: Finishing Touches
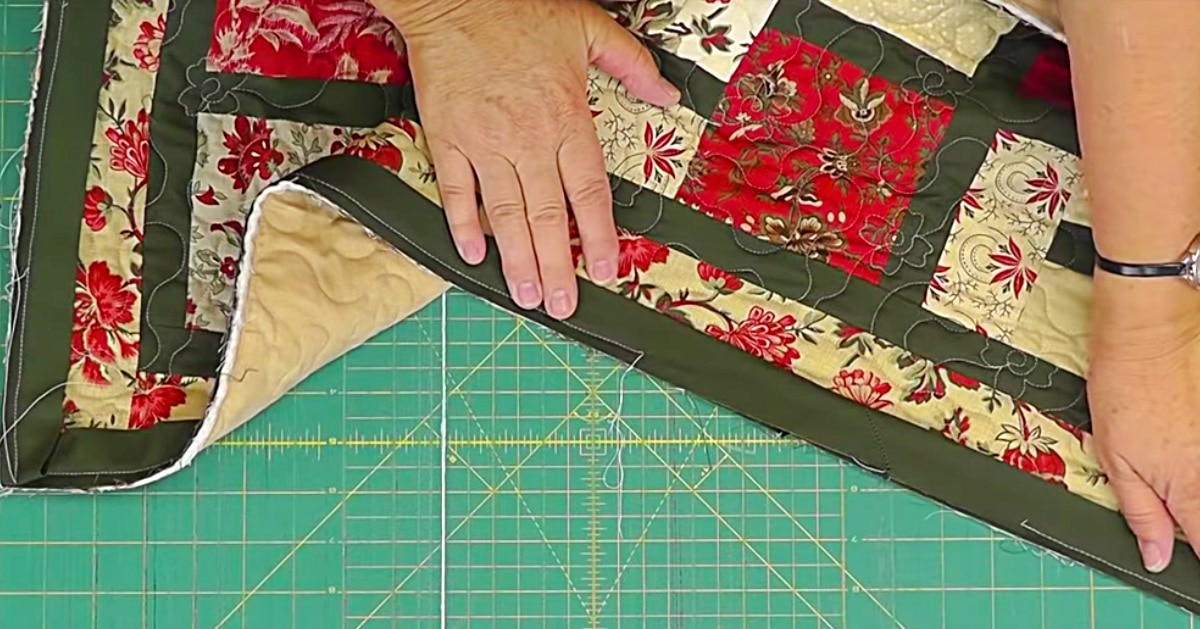
Now, flip your quilt over to the back. You’ll see all those lovely raw edges of the binding and the quilt’s edges peeking out. This is where we make it all disappear and look super professional. Fold the binding strip over to cover the raw edges. You want to fold it so that the folded edge of the binding just barely meets the stitching line on the front, or even slightly covers it. This ensures that no raw edges are showing on the back.

You can hand-stitch this down for an invisible finish, or if you’re feeling brave (and want to save time, which we all do!), you can machine stitch it. If you’re machine stitching, there are a few ways to go about it. One popular method is to “stitch in the ditch” – meaning you stitch right in the seam line between the binding and the quilt on the back. This can be a little tricky to get perfectly straight, but with practice, it looks amazing. Another method is to simply stitch close to the folded edge of the binding on the back, making sure you catch both the binding and the batting underneath. This is often referred to as “topstitching” on the back.
If you’re hand-stitching, use a strong thread that matches your binding (or contrasts beautifully if you like that look!). A blind stitch, or whip stitch, is your friend here. It’s a small, almost invisible stitch that secures the binding to the backing fabric. It’s a bit like mending a delicate piece of clothing – it requires a little patience, but the result is worth it. Think of it as giving your quilt a gentle, loving embrace.
The Grand Reveal!
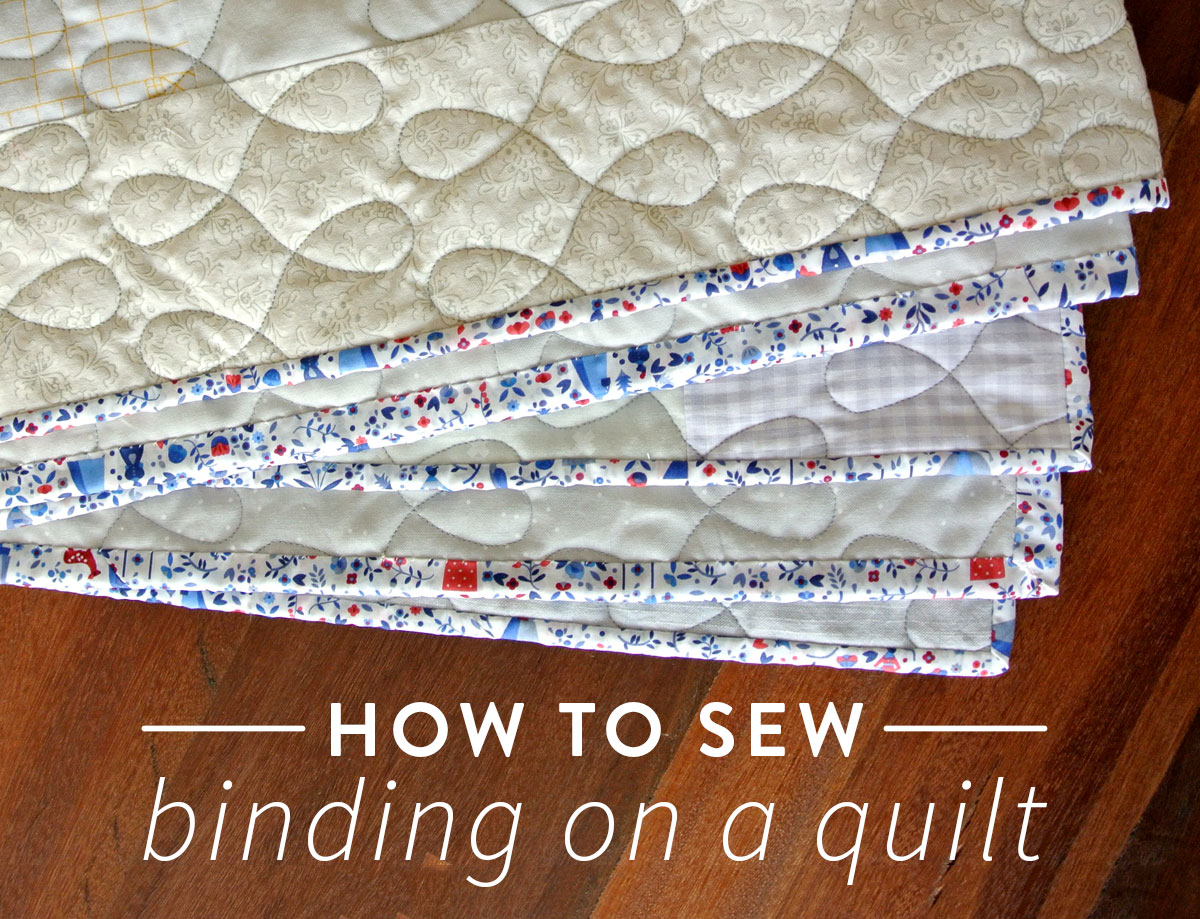
And there you have it! You’ve bound your quilt! Take a moment to admire your handiwork. Run your hand along the edges. See how neat and tidy it looks? It’s like putting the perfect frame around a beautiful painting. Your quilt is no longer just a collection of fabric pieces; it’s a finished work of art, ready to be loved, used, and passed down. It’s a testament to your skill, your patience, and your creativity. So go ahead, snuggle up, and enjoy the cozy, beautiful result of your binding endeavors!